Crochet Halloween Kitty Amigurumi With Drawstring Neck
Crochet works by pulling loops of yarn through one another with a small hook, building fabric one stitch at a time. It spread across Europe in the early 1800s and has stayed popular ever since, mostly because all you need to start is a hook and some yarn.
This Crochet Halloween Kitty Amigurumi With Drawstring Neck is a fun little project for the season. It has a camel head, an orange body, and a sack-style collar tied with yarn. Below you will find the materials, every round, the finishing details, and a few quick fixes for common problems.
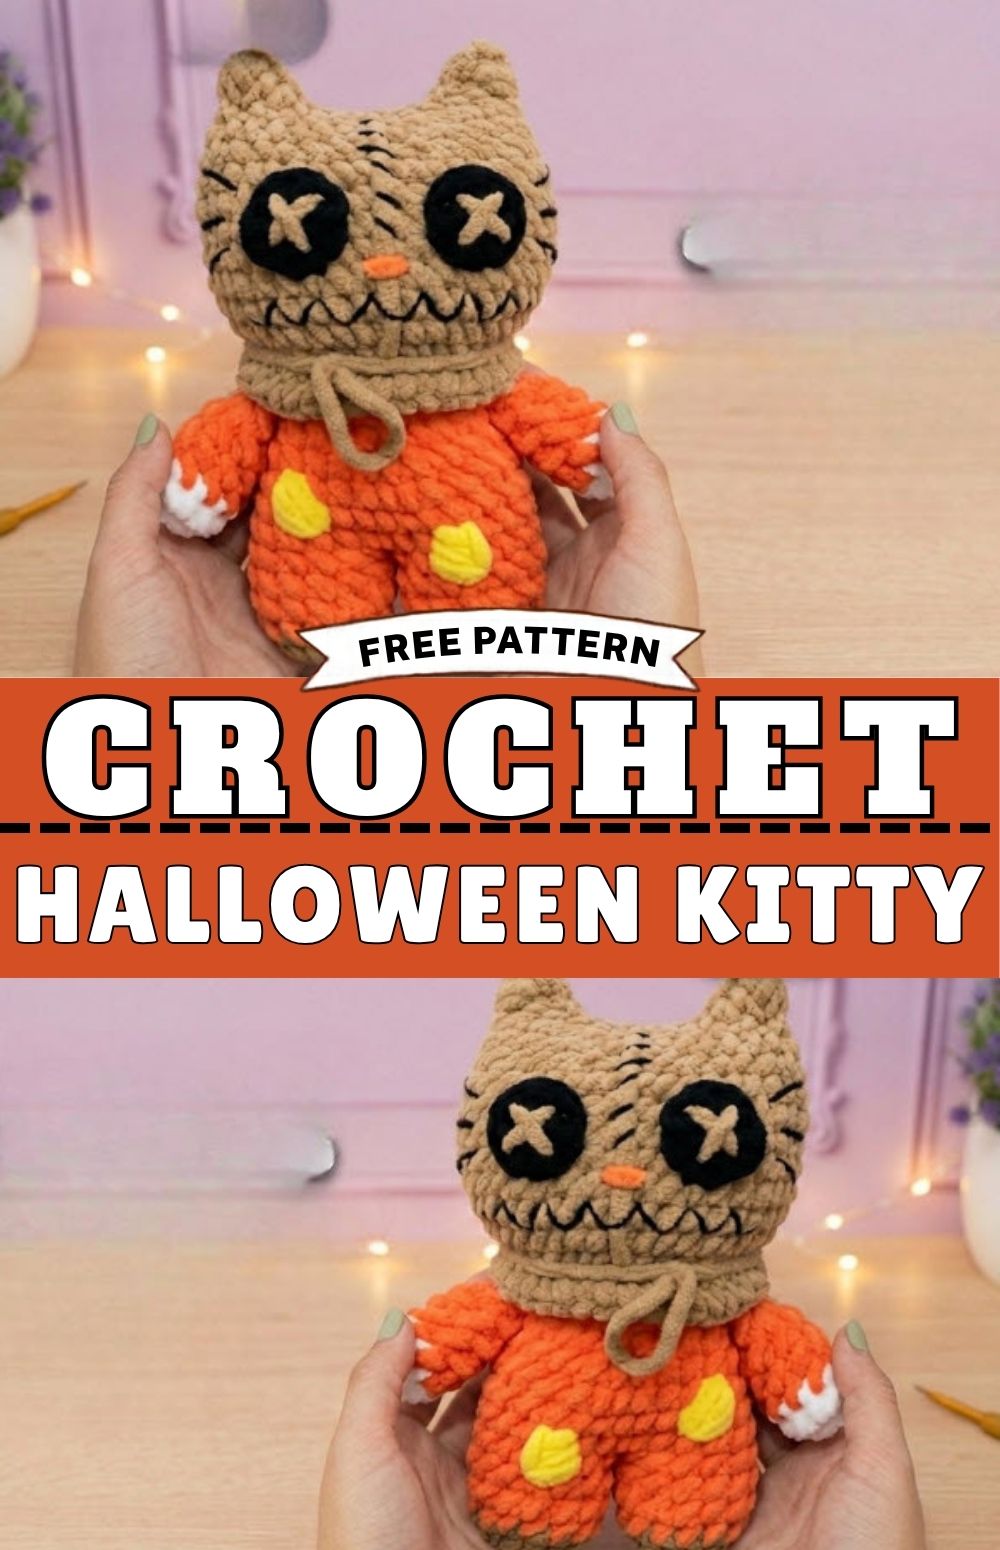
Pattern Overview and Key Features
This kitty looks like a little pumpkin-colored scarecrow cat. The body is orange, the head and feet are camel, and the hands have white tips. A white bobble at the back adds a fluffy, tail-like touch.
What makes this design stand out:
- A drawstring neck that looks like a tied sack
- Pointed ears shaped right into the final head round
- Black eyes with small embroidered crosses
- A zigzag-style stitched mouth and a tiny orange nose
- Yellow-orange patches for a rustic burlap look
Every piece is worked in joined rounds, which keeps the finished toy dense and sturdy.
Skill Level
This pattern suits an advanced beginner or a confident intermediate crocheter. Most rounds are plain single crochet. The parts that need a little more focus are the invisible decreases, the bobble stitch, joining the arms to the body, and shaping the ears in Round 27. Work each round slowly and check your stitch count as you go.
Materials and Yarn Information
Yarn
The original pattern uses 100% polyester chunky yarn, such as “Confi” by Stambrescarina.
- Orange (main color): about 50–60 g
- Camel or light brown: about 50–60 g
- Small scraps of white, black, and mango (yellow-orange)
- Black embroidery thread for the whiskers
Tools
- 5.50 mm crochet hook
- Toy stuffing (fiberfill)
- Stitch markers, tapestry needle, pins, and scissors
- Bamboo stick to push stuffing into small spaces (optional)
- Lighter to seal yarn ends (optional, use with care)
Finished Size and Sizing Options
The original pattern does not list final measurements, so no exact size is promised here. The size depends on your yarn thickness and how tightly you work each stitch. Using the same yarn and the 5.50 mm hook will give the closest match. A thinner yarn with a smaller hook will make a smaller kitty, but you may need to adjust the stitch counts.
Stitches and Abbreviations
- MR: magic ring
- sc: single crochet
- inc: increase (two sc in one stitch)
- dec: invisible decrease
- hdc: half double crochet
- dc: double crochet
- sl st: slip stitch
- ch: chain
- Bobble stitch: a cluster made from 3 double treble crochet stitches, worked in white
Every round ends with a slip stitch in the first stitch, followed by ch 1. Move your stitch marker up at the start of each round.
Gauge Information
No gauge is given for this pattern. What matters is keeping the stitches tight and close so the stuffing cannot show through. If you see gaps, pull each stitch more snugly or go down a hook size. The original uses a 5.50 mm hook.
Tips Before You Start
- Stuff firmly, especially the sides of the head and the ear area.
- Use a bamboo stick to push stuffing into the legs and arms.
- Change colors on the last stitch of the round so the color change stays neat.
- Leave long tails on pieces you will sew on later, such as the eyes.
- Pin the eyes in place before sewing so both sit evenly.
- If you seal yarn ends with a lighter, work carefully, or simply weave them in instead.
Step-by-Step Crochet Instructions
Step 1: Start the Arms (Make 2)
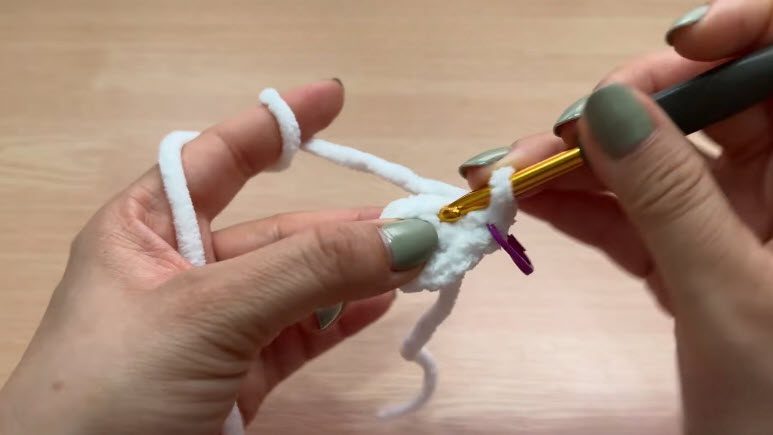
Start with white yarn. Round 1: make 6 sc in a magic ring, slip stitch in the first sc, and ch 1. Repeat this slip stitch and chain at the end of every round. Round 2: work (1 sc, 1 inc) around = 9 sc. On the last stitch, change to orange yarn and cut the white yarn.
Step 2: Crochet the Feet and Legs
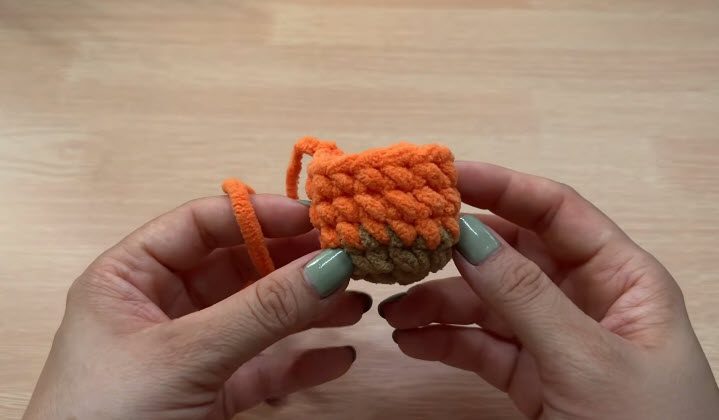
Start with camel yarn. Round 1: make 7 sc in a magic ring, slip stitch to join, and ch 1. Round 2: work 1 inc in each stitch around = 14 sc. On the last stitch, change to orange and cut the camel yarn. Rounds 3 to 5: work 1 sc in each stitch (14 sc). For the first leg, fasten off and seal the ends. For the second leg, do not cut the yarn.
Step 3: Join the Legs
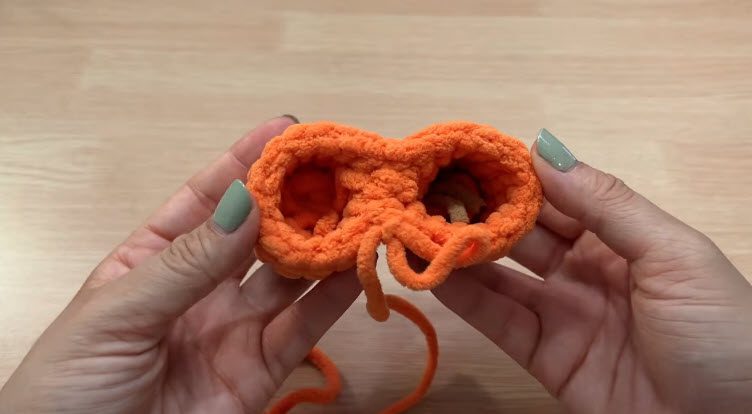
Round 6: ch 1 and join to the first leg with a sc. Place a stitch marker and work 14 sc around the first leg. Then work 14 sc around the second leg = 28 sc total. Slip stitch and ch 1. Use the leftover tail from the first leg and a tapestry needle to sew up any small gap between the legs.
Step 4: Make the Bobble Bag Trim
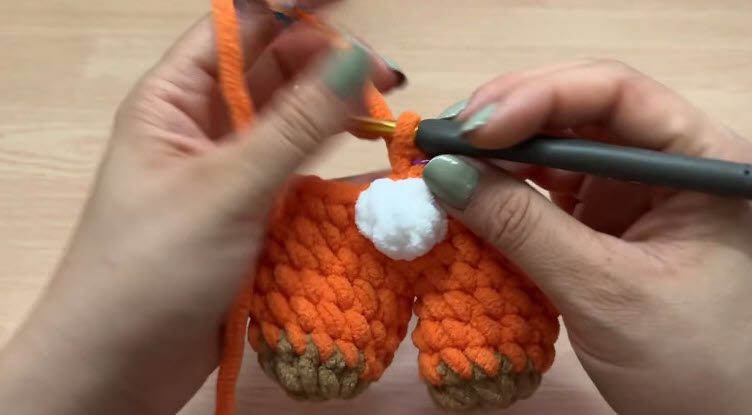
Round 7: Work 1 sc in each stitch (28 sc) and change to white on the last stitch. Round 8: Make 1 bobble stitch (a 3 double treble crochet cluster) in white. Change to orange when you pull through the final loops of the bobble, then work 27 sc around. Slip stitch and ch 1.
Step 5: Attach the Head and Make the Collar
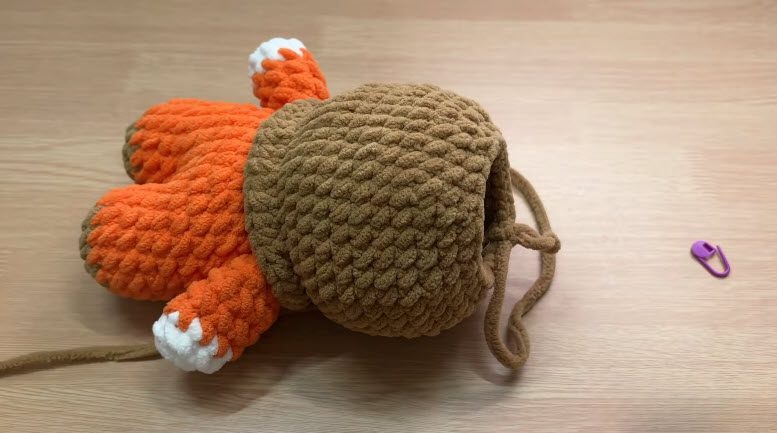
Join the arms in Round 13, then change to camel on the last stitch and cut the orange yarn. Round 14: work 1 inc in every stitch = 36 sc. Slip stitch in the front loop only of the first stitch, ch 1, and place a marker in the remaining back loop. Round 15: into the front loops, work 1 hdc in each stitch (36 hdc), slip stitch, ch 1, cut the yarn, and secure it. Round 16: attach camel yarn to the back loops and work (8 sc, 1 inc) around = 40 sc. Then continue the head rounds as written in the original pattern.
Step 6: Add the Eyes
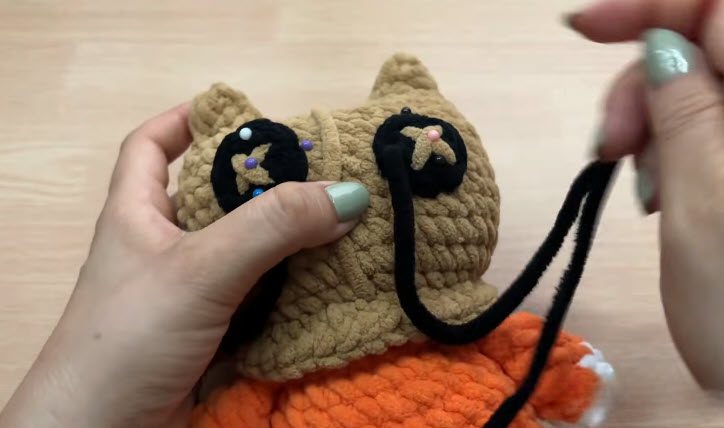
Make 2 eyes in black. Work 7 hdc in a magic ring, slip stitch to join, and leave a long tail. Embroider a small cross inside each eye with camel yarn. Pin the eyes onto the face between Rounds 20 and 23, leaving about 3 stitches of space between them. Check that both sit evenly, then sew or glue them in place.
Step 7: Finish the Face, Collar Tie, and Patches
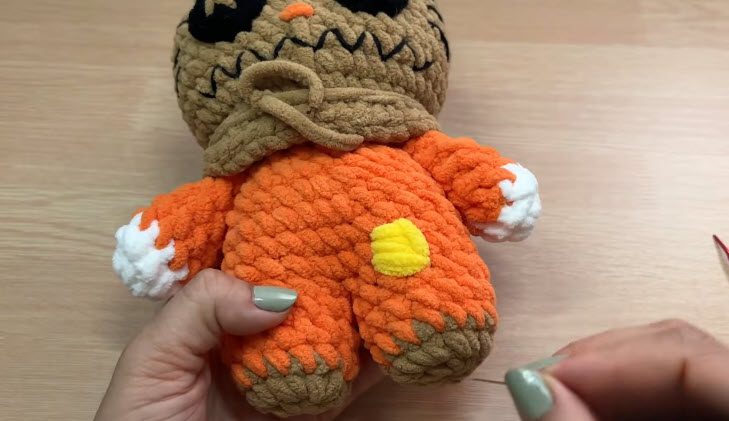
Embroider a small orange triangle nose between Rounds 19 and 20. Use black embroidery floss for the whiskers and to reinforce the center line. Stitch a smiling “V” or zigzag mouth around Round 18. Wrap a long strand of camel yarn around the neck between Rounds 15 and 16, tie a small knot in front, and trim the ends. Finally, use mango yarn to embroider small square patches on the body between Rounds 6–7 and Rounds 8–9.
Common Problems and Quick Fixes
- Stuffing shows through the stitches: Pull each stitch snugly, or go down one hook size.
- Eyes look uneven: Pin both eyes first, keep about 3 stitches between them, and check before sewing.
- A small gap between the legs: Close it with the leftover tail from the first leg and a tapestry needle.
- Legs or arms feel floppy: Push extra stuffing in with a bamboo stick until they feel firm.
- Colour changes look messy: Switch yarn on the last stitch of the round, as noted in the tips above.
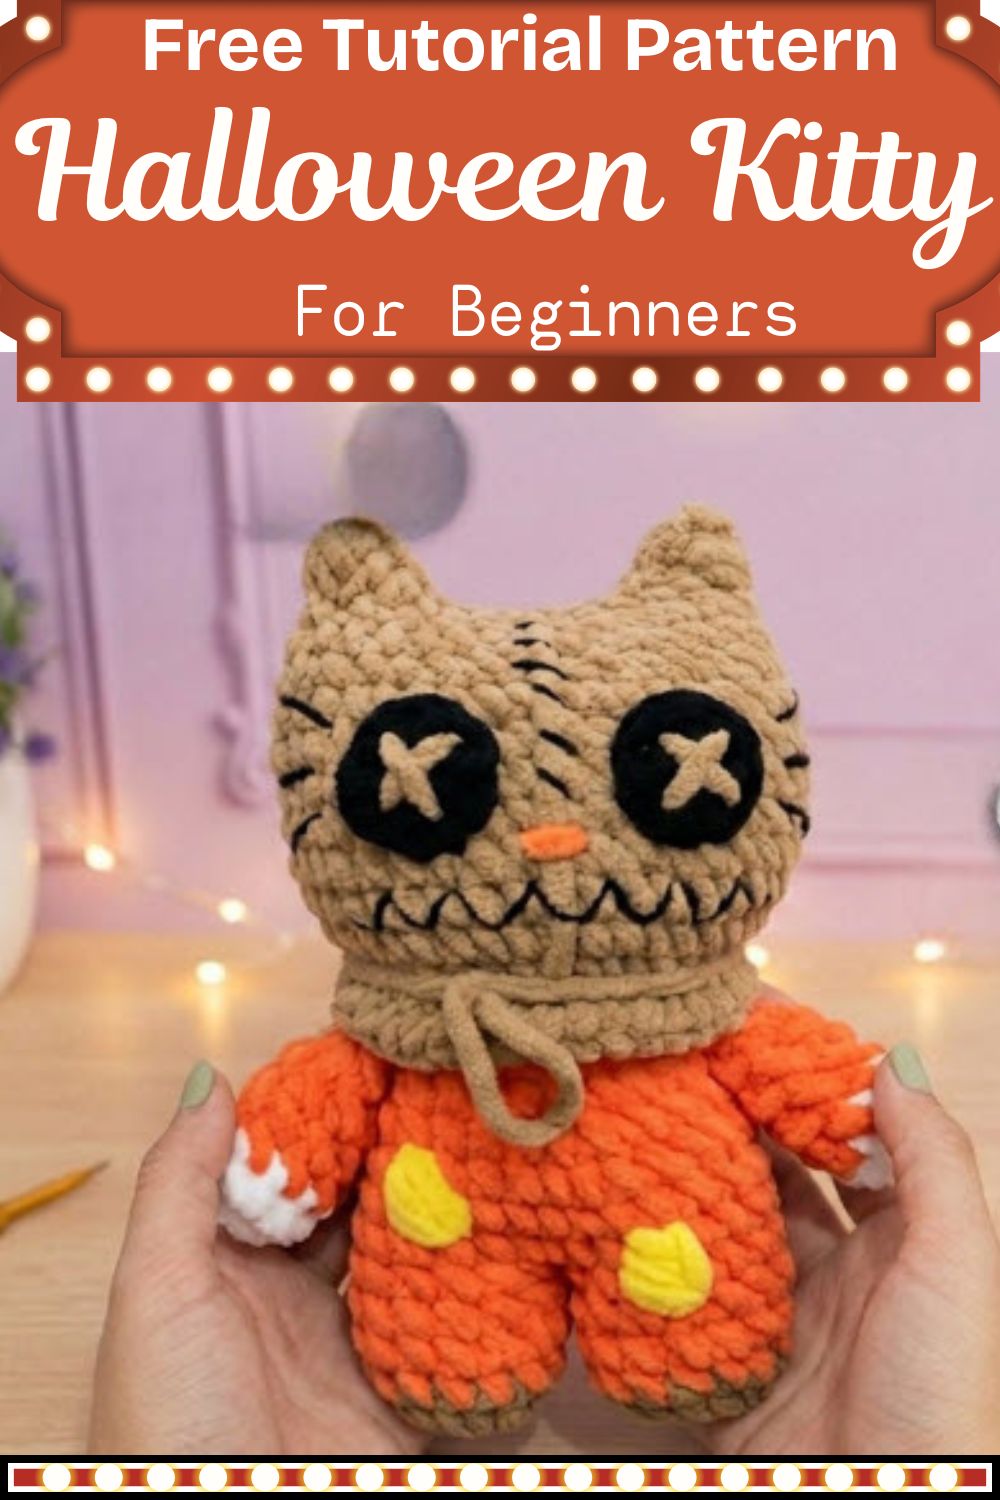
Your Pumpkin Kitty Is Ready
Once the patches are stitched and the collar is tied, your little scarecrow cat is done. Take your time with the embroidered face, since the mouth and whiskers give it so much character. It makes a sweet Halloween decoration, and the drawstring neck gives it a look you rarely see on a simple amigurumi.