Crochet Goat Amigurumi Pattern for Beginners
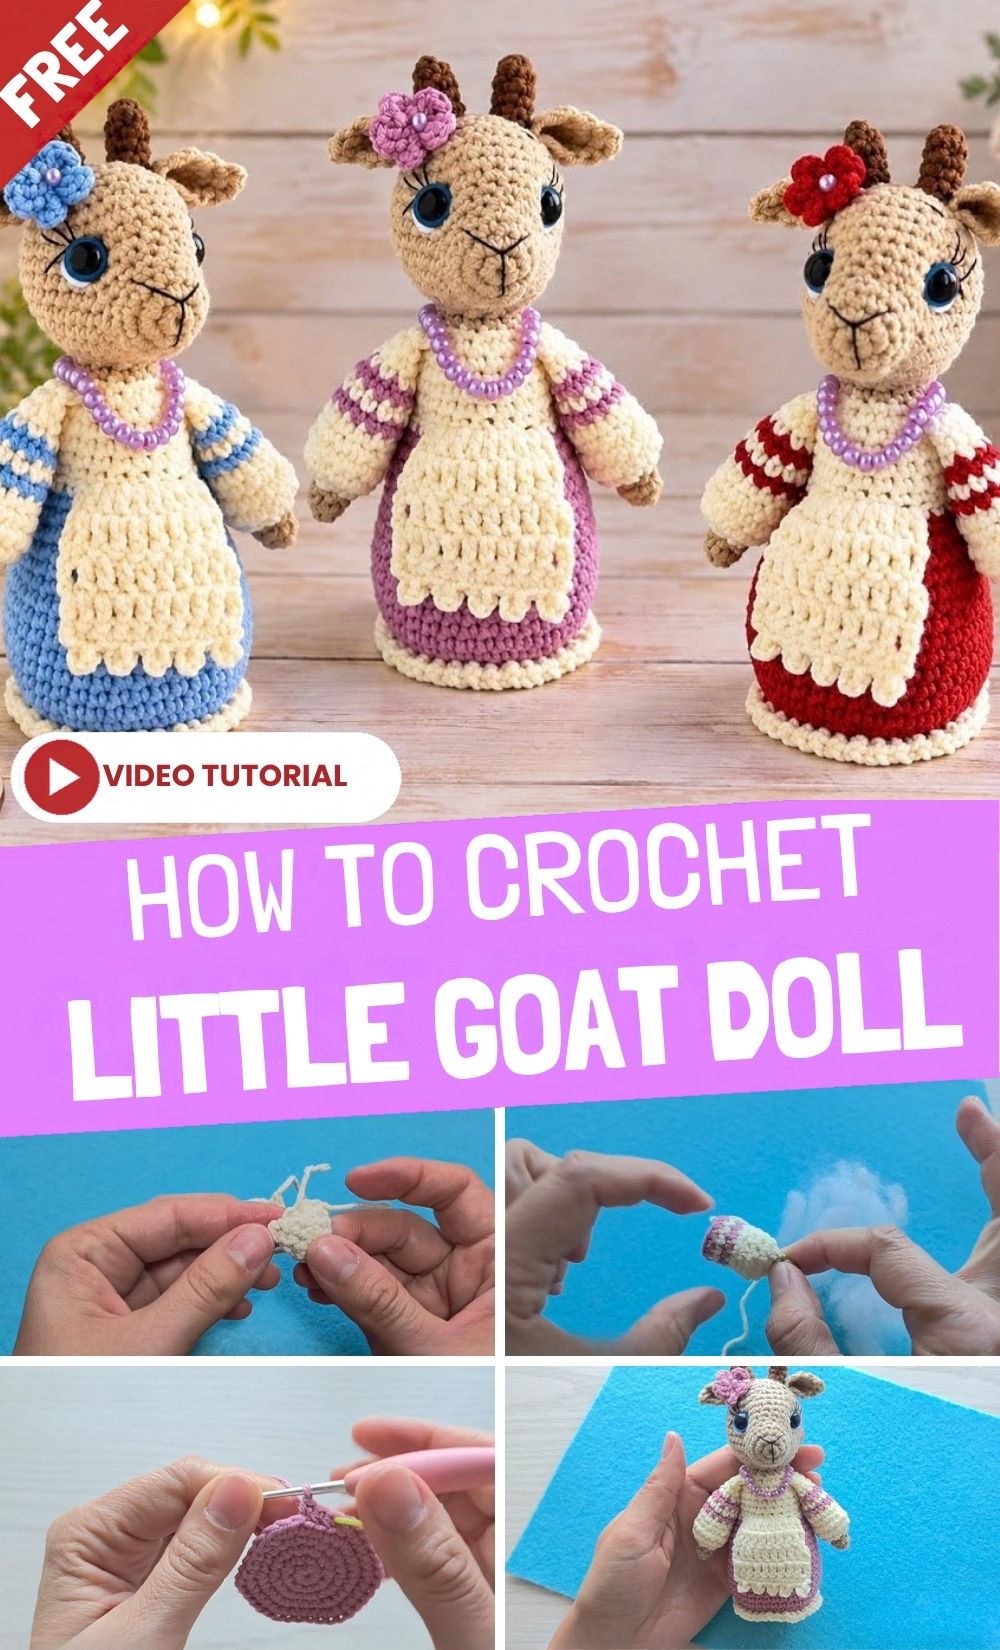
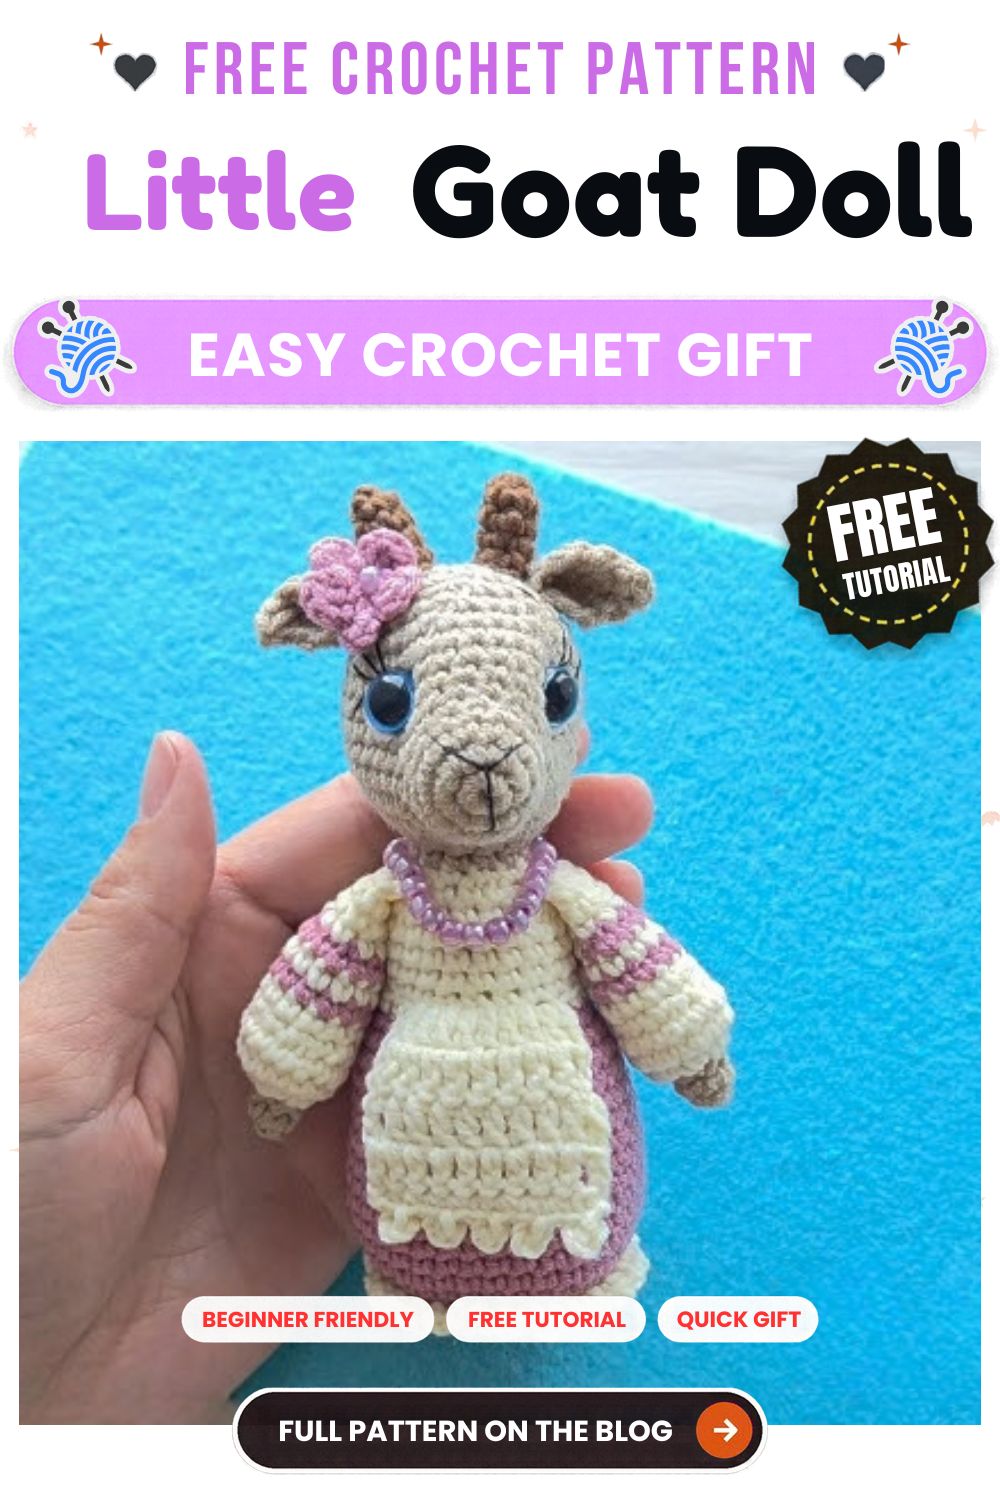
A crochet goat amigurumi is a small, round-bodied toy you can finish in a few sittings. It works as a desk buddy, a bag charm, or a handmade gift. You’ll crochet the head and body in one piece, then add ears, horns, arms, and legs.
If you’ve made a magic ring before, you already have the main skill. Everything else is basic single crochet, plus increases and decreases.
Why Make a Crochet Goat Amigurumi?
This pattern is a good step up from flat shapes. You work in spirals, shape a head and body from one piece, and sew on small parts. Because everything is tiny, you see your progress quickly.
It also gives you practice with stuffing, which changes how a toy looks more than most beginners expect.
Materials for Your Crochet Goat Amigurumi
- Yarn: fine or sport weight in cream, off-white, or light beige for the body. Add a little light brown or tan for the horns and hooves.
- Crochet hook: 2.0 mm. A small hook keeps the fabric dense so the stuffing stays hidden. If your yarn label suggests something different, test a small swatch first.
- Safety eyes: 5 to 6 mm, or black yarn if you prefer to embroider them.
- Stuffing: polyester fiberfill.
- Tools: yarn needle, stitch marker, and scissors.
- Extras: pink thread or yarn for blush, and black or dark brown for the nose.
Yarn amounts are small, but they vary with your yarn and tension. Start with a short length of each colour.
Stitches and Terms You Will Use (US Terms)
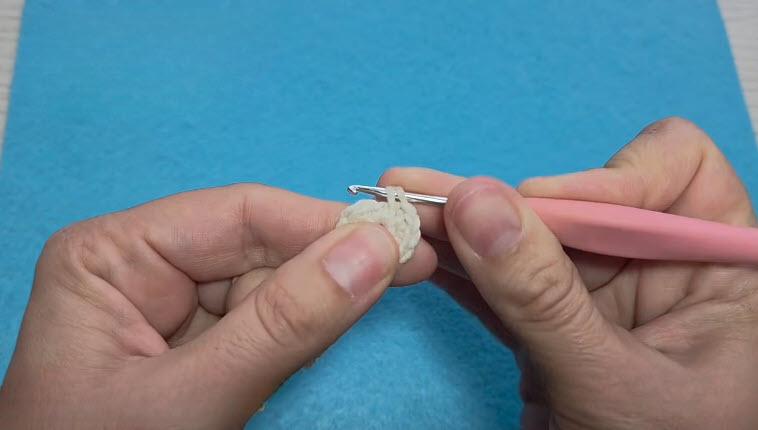
- MR (magic ring): an adjustable loop that lets you start a round and pull the center tight.
- sc (single crochet): a short, dense stitch. UK patterns call this same stitch double crochet.
- inc (increase): two single crochets in the same stitch.
- dec (decrease): two stitches worked together into one.
- sl st (slip stitch): a very short stitch used to join or finish.
- ch (chain): a row of linked loops that forms a foundation.
- st(s): stitch or stitches.
- Stitch marker: a small clip placed in the first stitch of each round so you know where it starts.
Link idea: add your magic ring, single crochet, increase, and decrease tutorials here.
Make the Head and Body
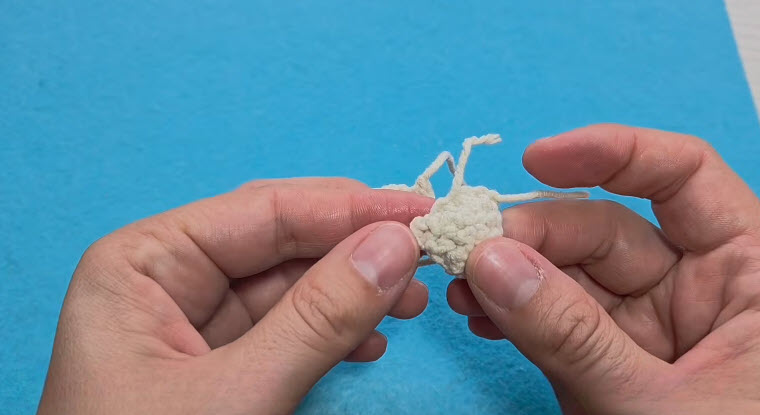
Work in a spiral without joining the rounds, and move your stitch marker up as you finish each round. The head and body are one piece, so don’t fasten off between them.
- Round 1: With the body colour, make an MR and work 6 sc into it. (6 sts)
- Round 2: Inc in every stitch. (12 sts)
- Round 3: [1 sc, inc] repeat 6 times. (18 sts)
- Round 4: [2 sc, inc] repeat 6 times. (24 sts)
- Rounds 5 to 8: Sc in every stitch. (24 sts)
Now add the eyes. Place them between Rounds 6 and 7, about 4 to 5 stitches apart. Check the spacing before you lock the backs on, because they can’t be moved once secured.
- Round 9: [2 sc, dec] repeat 6 times. (18 sts)
- Round 10: [1 sc, dec] repeat 6 times. (12 sts)
Stuff the head firmly at this point, since it gets harder to reach later.
- Round 11: [1 sc, inc] repeat 6 times. (18 sts)
- Rounds 12 to 14: Sc in every stitch. (18 sts)
- Round 15: [1 sc, dec] repeat 6 times. (12 sts)
Add the rest of the stuffing to the body before you close it.
- Round 16: Dec in every stitch. (6 sts)
Fasten off, leaving a tail. Thread it through the front loop of each remaining stitch, pull tight to close the hole, and weave the tail into the body.
Make the Ears (Make 2)
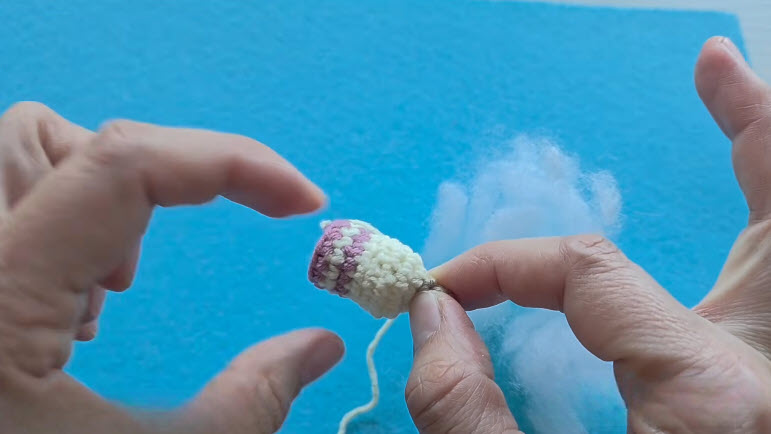
- With the body colour, make an MR and work 4 sc into it. (4 sts)
- Round 2: [1 sc, inc] repeat 2 times. (6 sts)
- Round 3: Sc in every stitch. (6 sts)
- Fasten off, leaving a long tail for sewing.
Pinch the base of each ear flat. Then sew them to the sides of the head, near Round 4.
Make the Horns (Make 2)
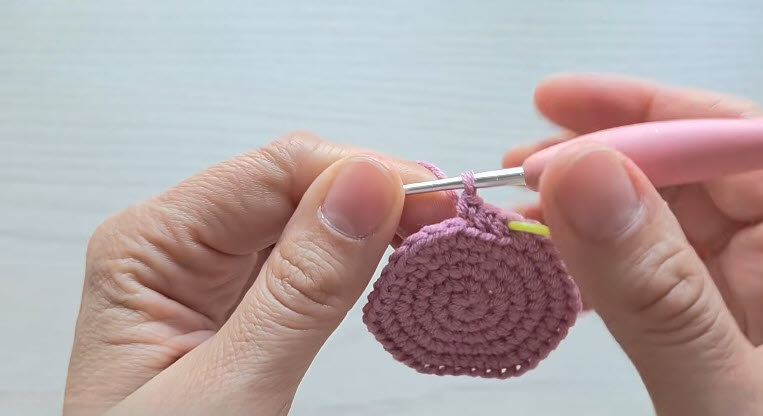
- With the brown yarn, ch 4.
- Skip the chain on your hook, and work 1 sl st into each of the next 3 chains. (3 sts)
- Fasten off, leaving a tail for sewing.
Sew the horns to the top of the head, just inside the ears.
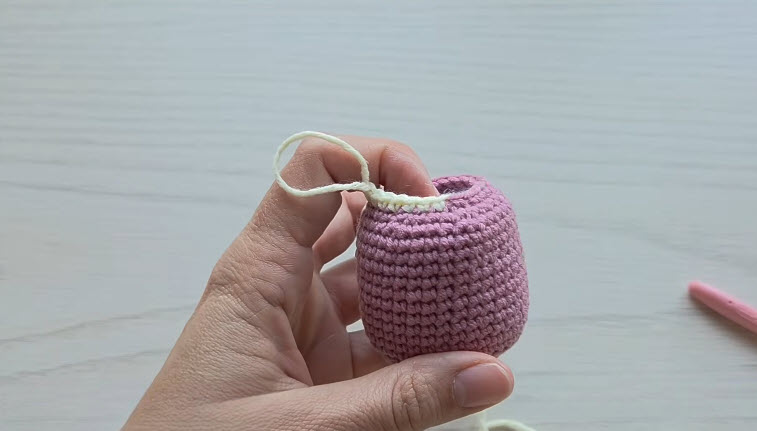
Make the Arms and Legs (Make 4)
- With the brown yarn for the hoof, make an MR and work 5 sc into it. (5 sts)
- Change to the body colour and sc in every stitch for 3 rounds. (5 sts)
- Fasten off, leaving a long tail.
Stuff each piece lightly, or leave it unstuffed for a softer, floppier limb. Then sew the legs to the bottom of the body and the arms to the upper sides.
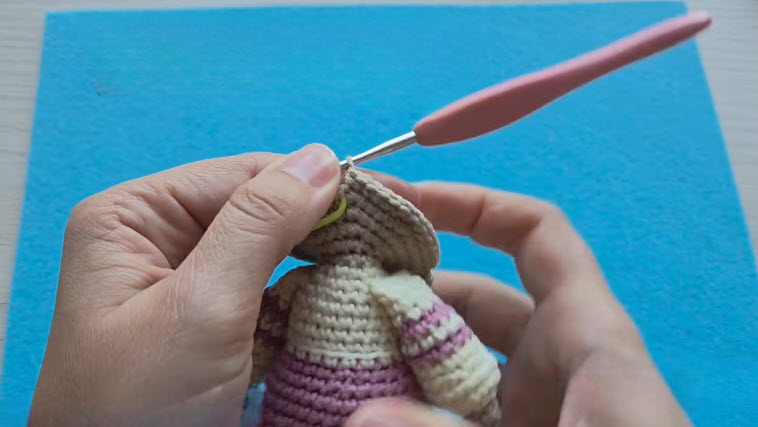
Add the Face and Finish
- First, use black thread or dark brown yarn to stitch a small “Y” shape between the eyes for the muzzle.
- Next, stitch two short pink blush lines under the eyes.
- Finally, check that every piece is sewn on securely and weave in all loose ends.
For a keychain, sew a small loop or jump ring to the top of the head, between the horns.
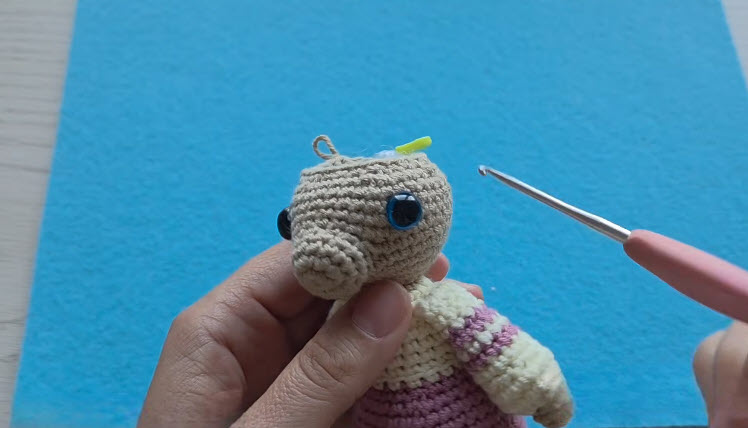
Common Crochet Goat Amigurumi Mistakes
- Stuffing shows through: use a smaller hook or tighten your tension.
- A lumpy head: stuff in small pieces rather than one large clump.
- Wrong stitch count: count at the end of each round and fix it before moving on.
- A hole at the top of the body: pull the final round tight and weave the tail through twice.
Troubleshooting Your Crochet Goat
If the head leans, one ear or horn is probably sewn too low, so re-attach it evenly. A floppy body means the stuffing is too light, so add more through the gap before sewing the arms and legs. Limbs that point the wrong way usually just need a few extra stitches at the base.
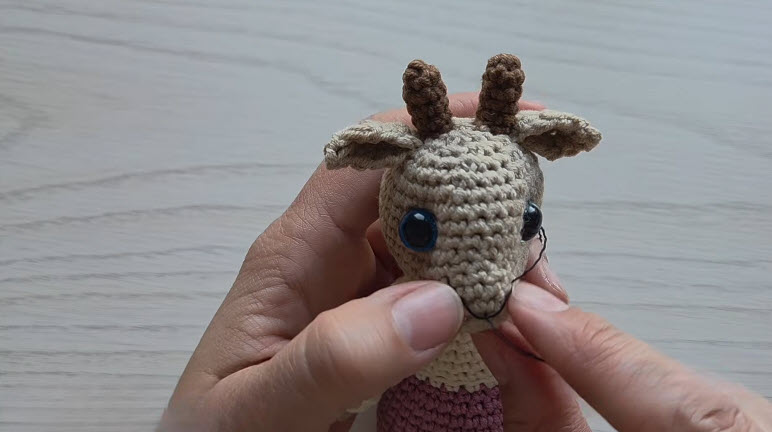
Tips for a Neater Crochet Goat
- Keep your tension even, because tight and consistent stitches matter more than speed.
- Use a stitch marker on every round.
- Pin the ears, horns, and limbs in place before you sew them.
- Hold the goat up and compare both sides before the final stitches.
Bonus: Try Seasonal Colour Swaps
Swap the cream for pale blue or soft pink to make a winter or spring goat. For a lamb-style version, leave off the horns and use a fluffier yarn. Remember that yarn weight changes the final size, so test on a small piece first.
 Frequently Asked Questions About the Crochet Goat Amigurumi
Is this crochet goat amigurumi good for beginners?
Yes, if you can make a magic ring and single crochet. The pattern otherwise uses only increases, decreases, and short slip-stitch chains.
How big will the goat be?
That depends on your yarn, hook, and tension. A smaller hook and thinner yarn give a smaller, firmer goat.
Can I use thicker yarn?
You can, but the toy will be larger, and you’ll need a bigger hook. Count your stitches the same way, because the pattern doesn’t change.
Are safety eyes okay for a child’s toy?
Not for babies or toddlers. Embroider the eyes with black yarn instead for any toy a young child will handle.
How do I make it into a keychain?
Sew a small loop or attach a jump ring to the top of the head, then add a keyring.
Do I have to stuff the arms and legs?
No. Stuffing makes them firmer, while leaving them empty gives a softer, floppier look.
Your Little Goat Is Ready to Play
You’ve made a head and body from one piece, added the small parts, and given your goat a face. Pose it on your desk or clip it to a bag, then try a second one in a different colour. When you want another small amigurumi, a simple animal with fewer parts is a great next project.