Crochet Mushroom Keychain Pattern with Tiny Arms
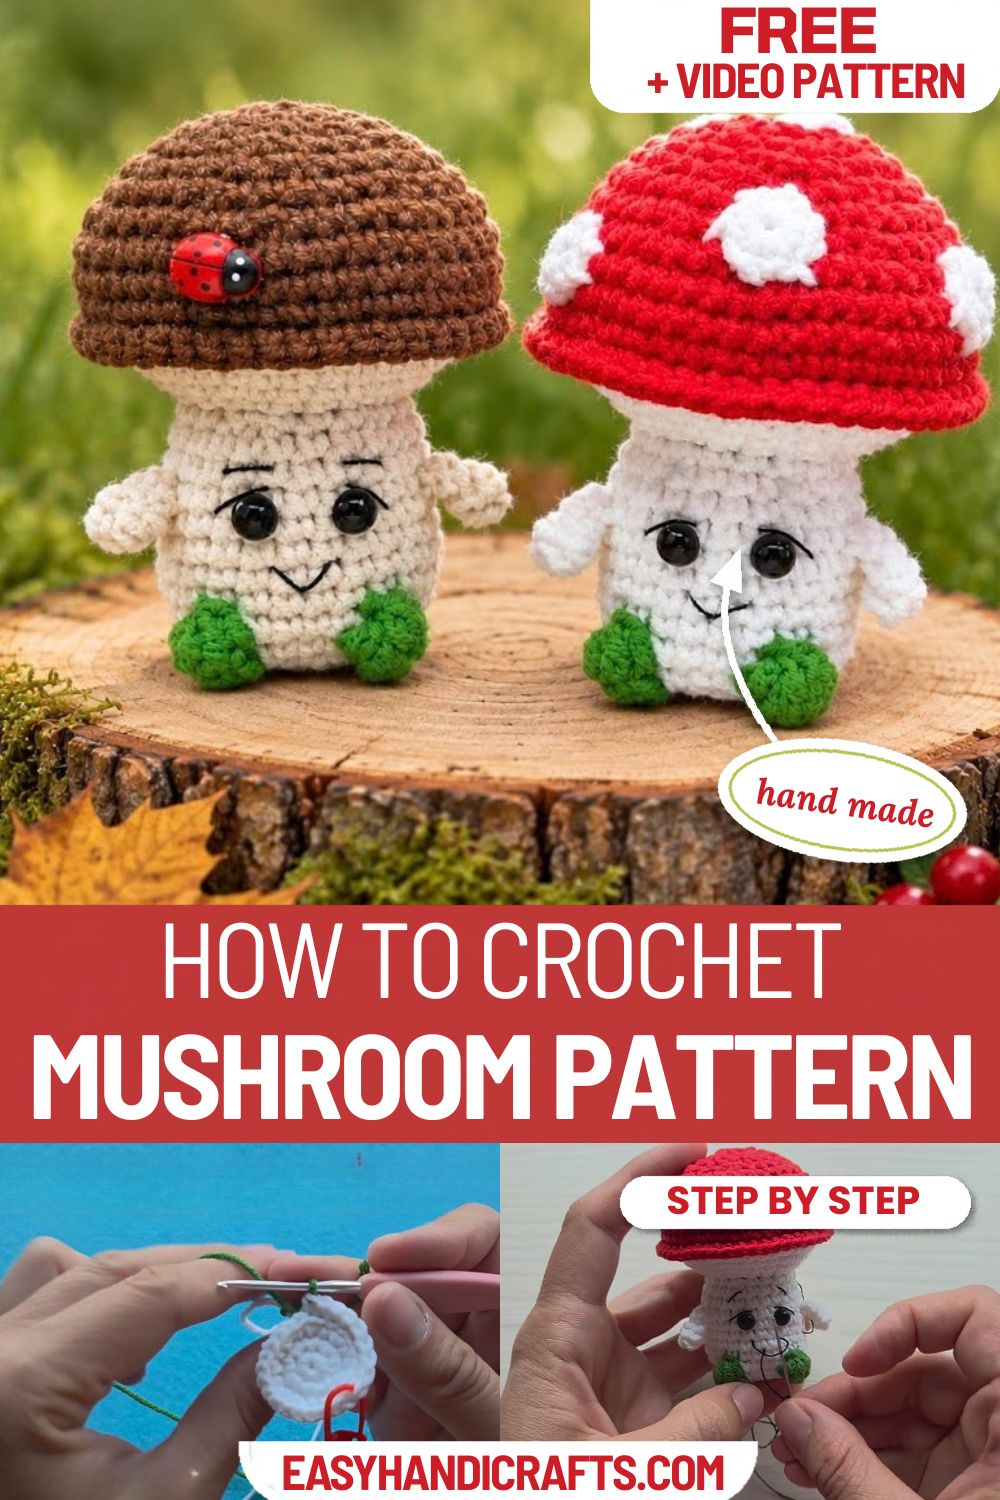
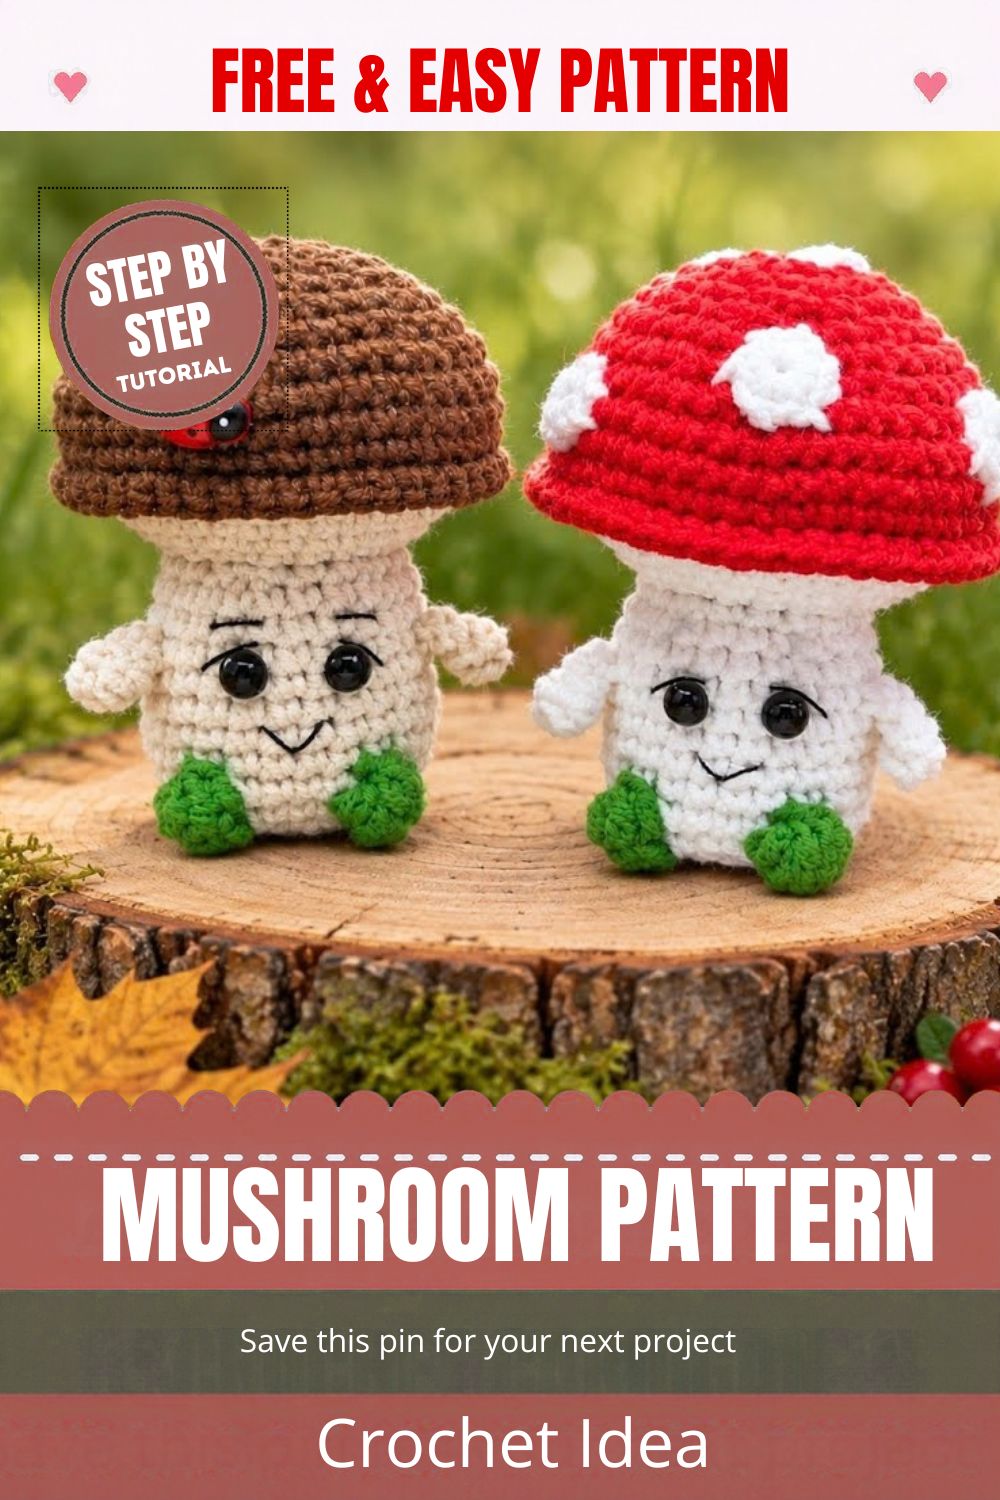
A crochet mushroom keychain is a small amigurumi toy with a red cap, white spots, and a little face on its stem. The stem also has two green feet and two tiny arms, so the finished piece looks like a sweet mushroom character. Because it is worked in one piece from the bottom up, you only need to sew on the spots and add the face and hardware at the end.
In this pattern, you will start with a magic ring, form the feet with colour-changing clusters, and shape the stem with arms. Then you will build and close the cap, stuff the piece, and finish it with a jump ring so it works as a bag charm, a keychain, or a desk ornament. Along the way, each stitch and term is explained, so clusters and loop-only rounds are easy to follow.
Why Make a Crochet Mushroom Keychain?
This project teaches several useful skills in one small piece. For example, you practice changing colors, making clusters, working in one loop only, and shaping a cap with even increases and decreases. As a result, it makes a good step up from your first simple amigurumi.
Also, the pieces are tiny, so mistakes are quick to fix and you won’t waste much yarn.
Materials for Your Crochet Mushroom Keychain
- Yarn: a cotton or cotton-blend yarn that suits a 2.0 mm hook, in white or cream for the stem and spots, red for the cap, and a little green for the feet.
- Crochet hook: 2.0 mm. A small hook keeps the fabric dense, so the stuffing stays hidden.
- Eyes: 6 mm safety eyes or glue-on eyes.
- Stuffing: polyester fiberfill.
- Tools: tapestry needle, scissors, and a stitch marker.
- Extras: dark embroidery thread for the face, glue if you use glue-on eyes, and a keyring or clasp with a jump ring.
Although yarn amounts are small, they depend on your yarn and tension, so start with a short length of each color.
Stitches and Terms for the Crochet Mushroom Keychain (US Terms)
- MR (magic ring): an adjustable loop that lets you start a round and pull the center closed.
- sc (single crochet): a short, dense stitch. In contrast, UK patterns call this same stitch double crochet.
- dc (double crochet): a taller stitch. In UK patterns, it is called treble crochet.
- ch (chain): a row of linked loops that forms a foundation.
- sl st (slip stitch): a very short stitch used to join or move across your work.
- inc (increase): two single crochets in the same stitch.
- dec (decrease): two single crochets worked together into one.
- Cluster: several double crochets worked into the same stitch, each left unfinished with its last loop on the hook, then closed together with one yarn over.
- BLO / FLO: back loop only and front loop only. Each stitch has two loops across its top, and working into only one of them leaves a small ridge on the other.
- Stitch marker: a small clip placed in the first stitch of each round, so you always know where the round starts.
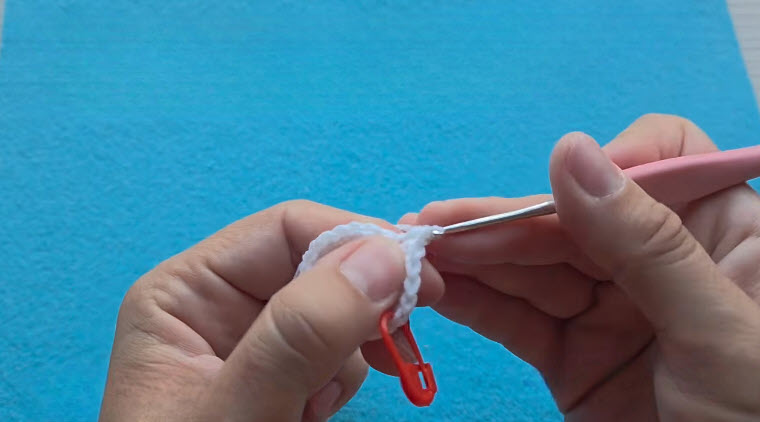
Step-by-Step Crochet Mushroom Keychain Pattern
Work in a spiral without joining the rounds, and move your stitch marker up as you finish each round.
Make the Base and Feet
- Round 1: With white yarn, work 8 sc into an MR. (8 sts)
- Round 2: Inc in every stitch. (16 sts)
- Round 3: [1 sc, inc] repeat 8 times. (24 sts)
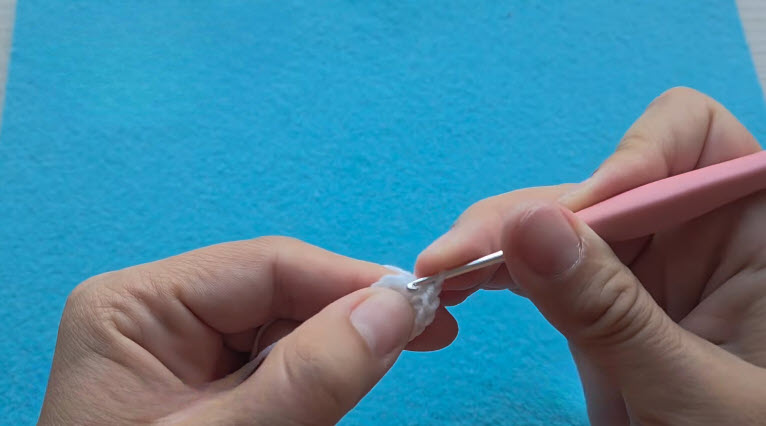
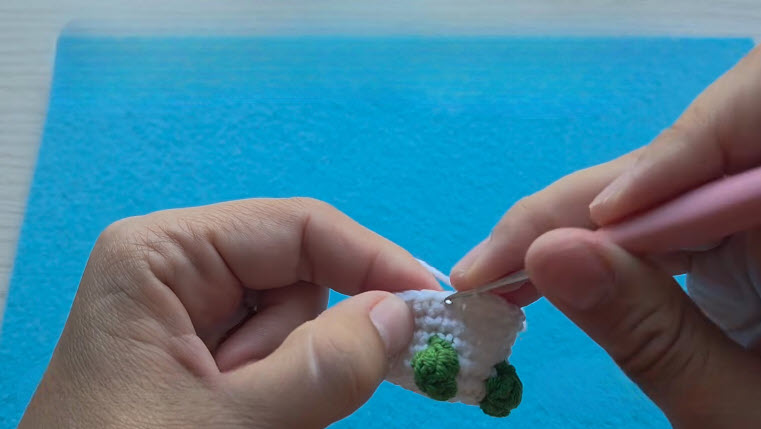
Next, you’ll make the feet. Each foot is a green cluster, so you’ll switch colors twice in each of the next two rounds.
- Round 4 (BLO): Work in the back loops only.
- First, work 9 sc in white.
- Then switch to green and work a 4-dc cluster into the next stitch. Switch back to white as you close the cluster.
- Next, work 4 sc in white.
- After that, switch to green and work another 4-dc cluster into the next stitch. Switch back to white.
- Finally, work 9 sc in white. (24 sts)
- Round 5 (both loops): Repeat the same sequence, placing each cluster over the cluster below it. (24 sts)
- Rounds 6 to 8: Sc in every stitch with white. (24 sts)
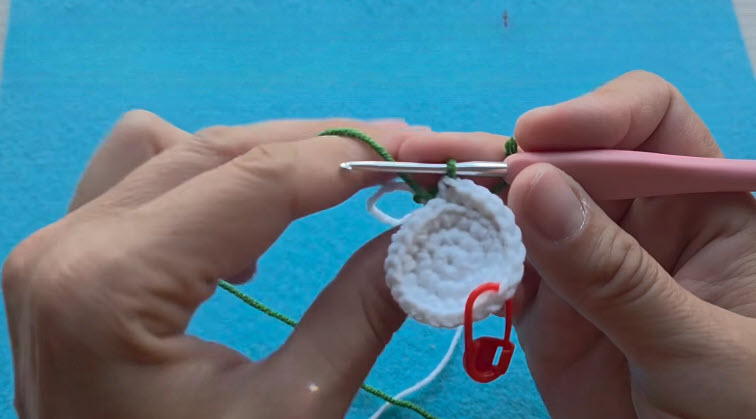
You can carry the unused green yarn loosely along the inside, or you can fasten it off and rejoin it for each foot. Either way, keep the carried strand loose so the fabric doesn’t pucker.
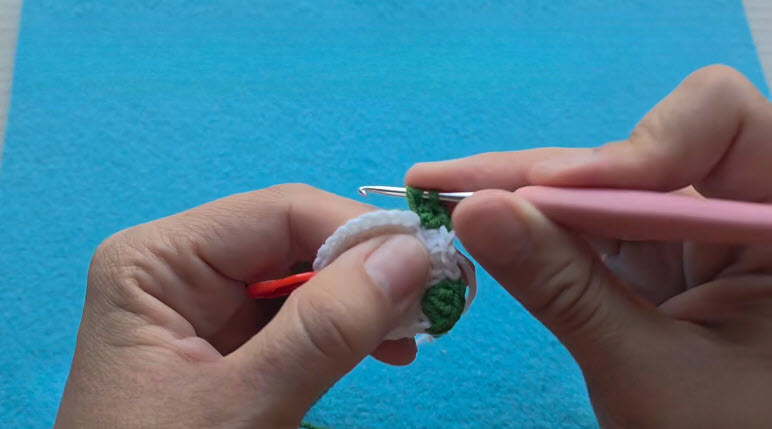
Make the Arms and Stem
- Round 9: Work 8 sc. Then make the first arm (see below). Next, work 9 sc across the front and make the second arm. Finally, work 7 sc to finish the round. (24 sts)
How to make each arm:
- Ch 5.
- Then, starting in the 3rd chain from the hook, work a 3-dc cluster. This forms the hand.
- Next, sl st into the base of the chain.
- After that, work 2 sc down the chain.
- Finally, sl st back into the stem stitch and continue the round.
- Rounds 10 to 12: Sc in every stitch. (24 sts)
- Round 13: [2 sc, dec] repeat 6 times. (18 sts)
Add the Eyes
Attach the eyes now, before you stuff the mushroom. Place them between Rounds 10 and 11, and test the spacing with pins first, because safety eyes can’t be moved once the backs are locked on. However, if you chose glue-on eyes, you can add them at the end instead.
Shape the Cap
- Round 14 (FLO): [2 sc, inc] repeat 6 times. (24 sts)
- Round 15: [3 sc, inc] repeat 6 times. (30 sts)
- Round 16: [4 sc, inc] repeat 6 times. (36 sts)
- Round 17: [5 sc, inc] repeat 6 times. (42 sts)
- Round 18: [6 sc, inc] repeat 6 times, switching to red on the last stitch. (48 sts)
Fasten off the white yarn. Then continue with red.
- Round 19 (BLO): Sc in the back loop of every stitch. (48 sts)
- Rounds 20 and 21: Sc in every stitch. (48 sts)
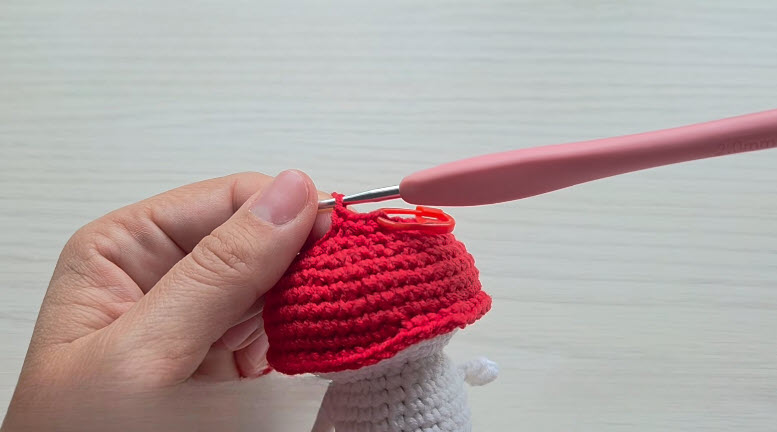
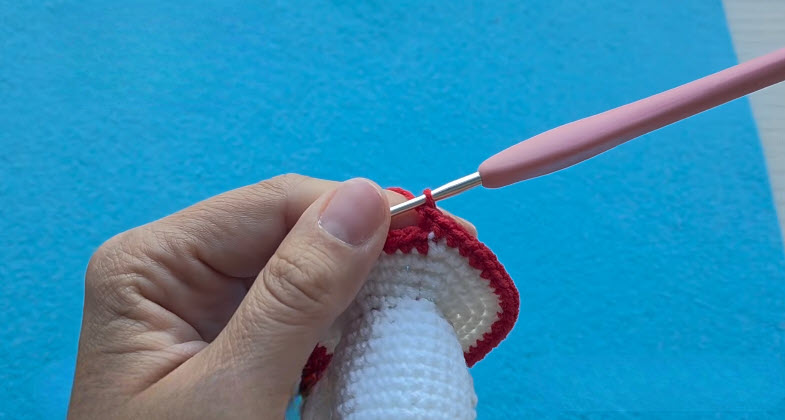
Cap edging: Next, join red yarn to the front loops of Round 19 and work 48 sc around. This creates a defined rim. Then fasten off and weave in the end.
Stuff and Close the Cap
- Round 22: [6 sc, dec] repeat 6 times. (42 sts)
- Round 23: [5 sc, dec] repeat 6 times. (36 sts)
- Round 24: [4 sc, dec] repeat 6 times. (30 sts)
- Round 25: [3 sc, dec] repeat 6 times. (24 sts)
Now stuff the stem and cap firmly with fiberfill.
- Round 26: [2 sc, dec] repeat 6 times. (18 sts)
- Round 27: [1 sc, dec] repeat 6 times. (12 sts)
Top up the stuffing, and then finish the closing.
- Round 28: Dec 6 times. (6 sts)
Fasten off. Then thread the tail through the front loop of each remaining stitch, pull tight to close the hole, and hide the end inside.
Make the White Spots (Make 6)
- With white yarn, work 7 sc into an MR.
- Then sl st to the first stitch to close.
- Finally, fasten off, leaving a long tail for sewing.
Pin all six spots on the cap first and check that they look evenly spaced. After that, sew them on.
Add the Face and Hardware
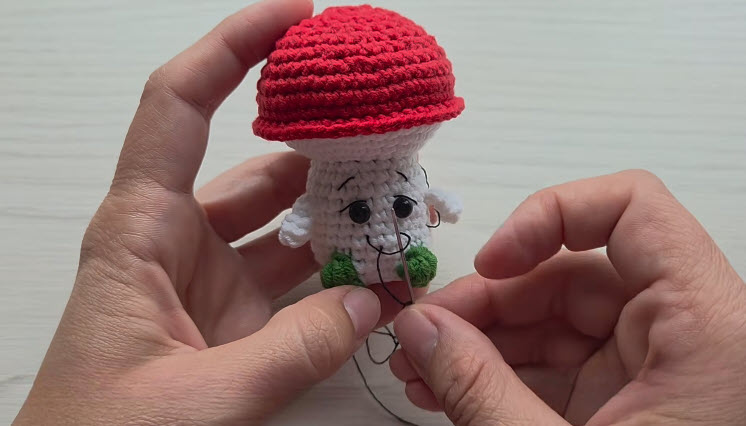
- First, use dark thread to embroider small eyelashes or eyebrows above the eyes.
- Next, stitch a curved smile under the eyes.
- Finally, attach a jump ring through a stitch at the top of the cap, then add your keyring or clasp. For extra strength, go through two stitches instead of one.
Common Crochet Mushroom Keychain Mistakes
- Stuffing shows through: use a smaller hook or tighten your tension.
- Messy color changes: pull the new color through on the last step of the stitch, not after it.
- Puckered feet: keep any carried yarn loose, or cut and rejoin the green instead.
- Wrong stitch count: count at the end of each round, and fix it before moving on.
- Eyes that are too low or uneven: test the position with pins before locking the backs.
Troubleshooting Your Crochet Mushroom
If the cap looks flat, the stuffing is probably too light, so add more before the final rounds. Similarly, a wobbly stem usually needs firmer stuffing near the base. When the rim looks uneven, check that the cap edging has 48 stitches and that each one sits in a front loop of Round 19. Finally, if the clusters look loose, work the last yarn over a little tighter.
Tips for a Neater Crochet Mushroom Keychain
- Keep your tension steady, because tight and even stitches matter more than speed.
- Also, use a stitch marker on every round.
- Stuff in small pieces rather than one big handful.
- Before you sew on the spots, hold the mushroom up and compare both sides.
Bonus: Try a Different Cap Color
Swap the red cap for blue, pink, or brown, and use cream for the spots. As a result, you can make a whole group of mushrooms that look different but follow the same pattern.
Frequently Asked Questions About the Crochet Mushroom Keychain
Is this crochet mushroom keychain good for beginners?
It suits confident beginners and up. You need a magic ring, increases, decreases, and a willingness to try clusters and color changes. If clusters are new to you, practice one on a scrap first.
How big will the mushroom be?
That depends on your yarn, hook, and tension. In general, a smaller hook and thinner yarn make a smaller toy.
Can I use a different yarn?
Yes, but the size will change. In addition, you may need a different hook size to keep the fabric dense.
Are safety eyes okay for a child’s toy?
Not for babies or toddlers. Instead, embroider the eyes with dark thread for any toy a young child will handle.
Do I have to make the green feet?
No. You can work the base in white only and skip the color changes. Otherwise, the rest of the pattern stays the same.
Little Mushroom, Big Charm
You’ve shaped a stem with feet and arms, built a cap, and finished it with spots and a face. Now clip it onto a bag, and then try a second one in a new cap color. When you want another small amigurumi, a simple animal with fewer parts makes a good next project.