Crochet Bear Ice Cream Amigurumi Pattern for Nursery Décor
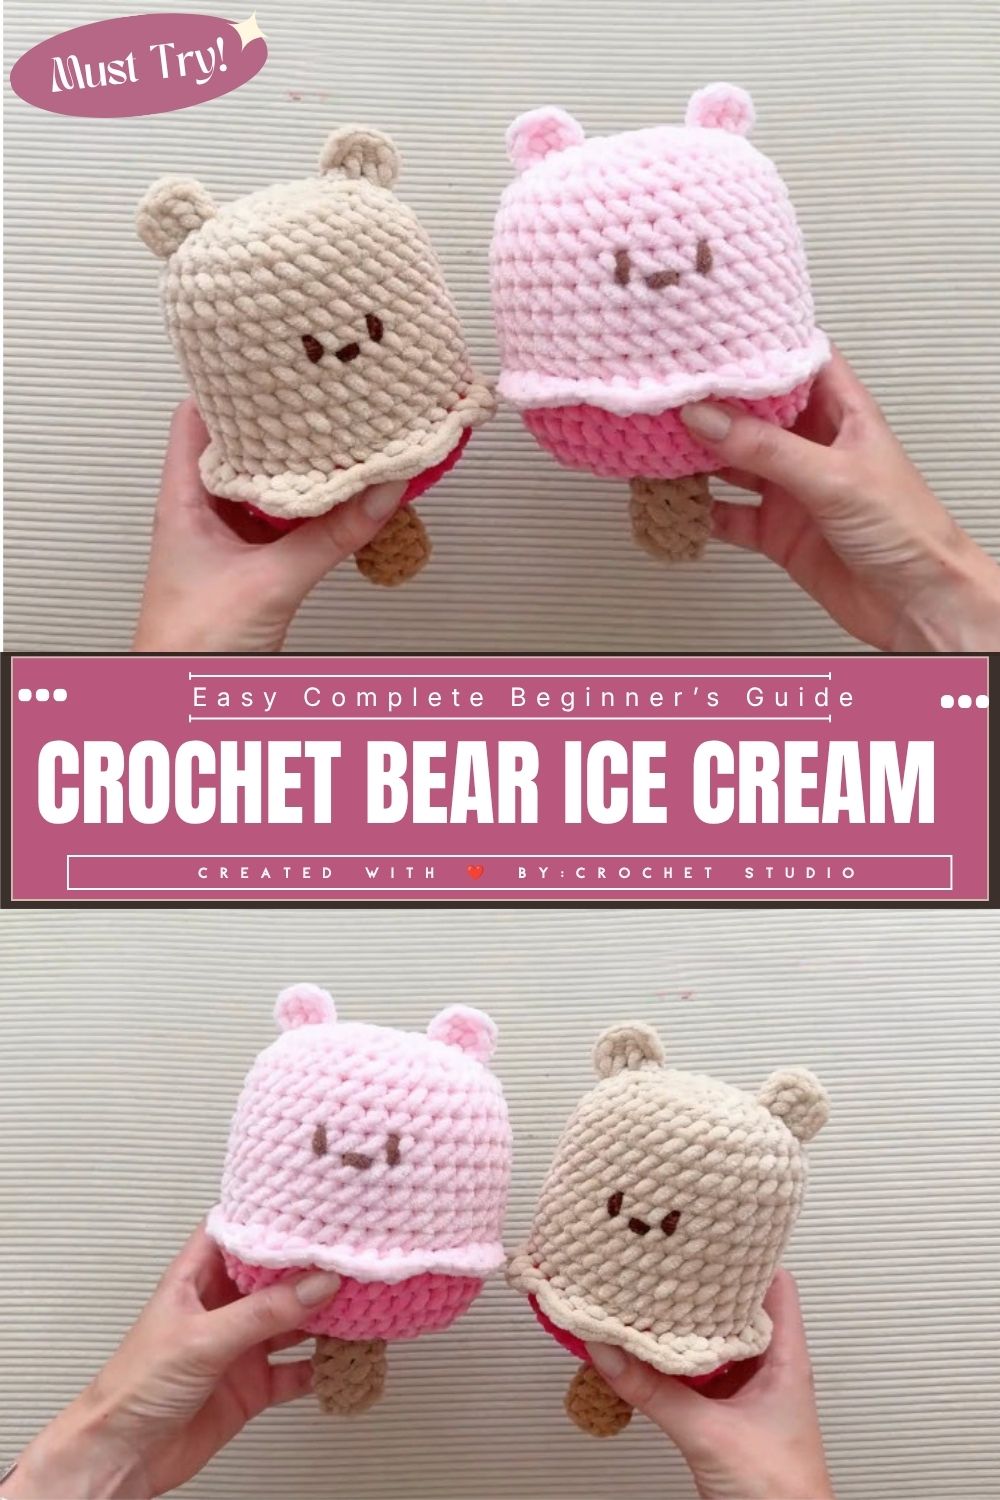
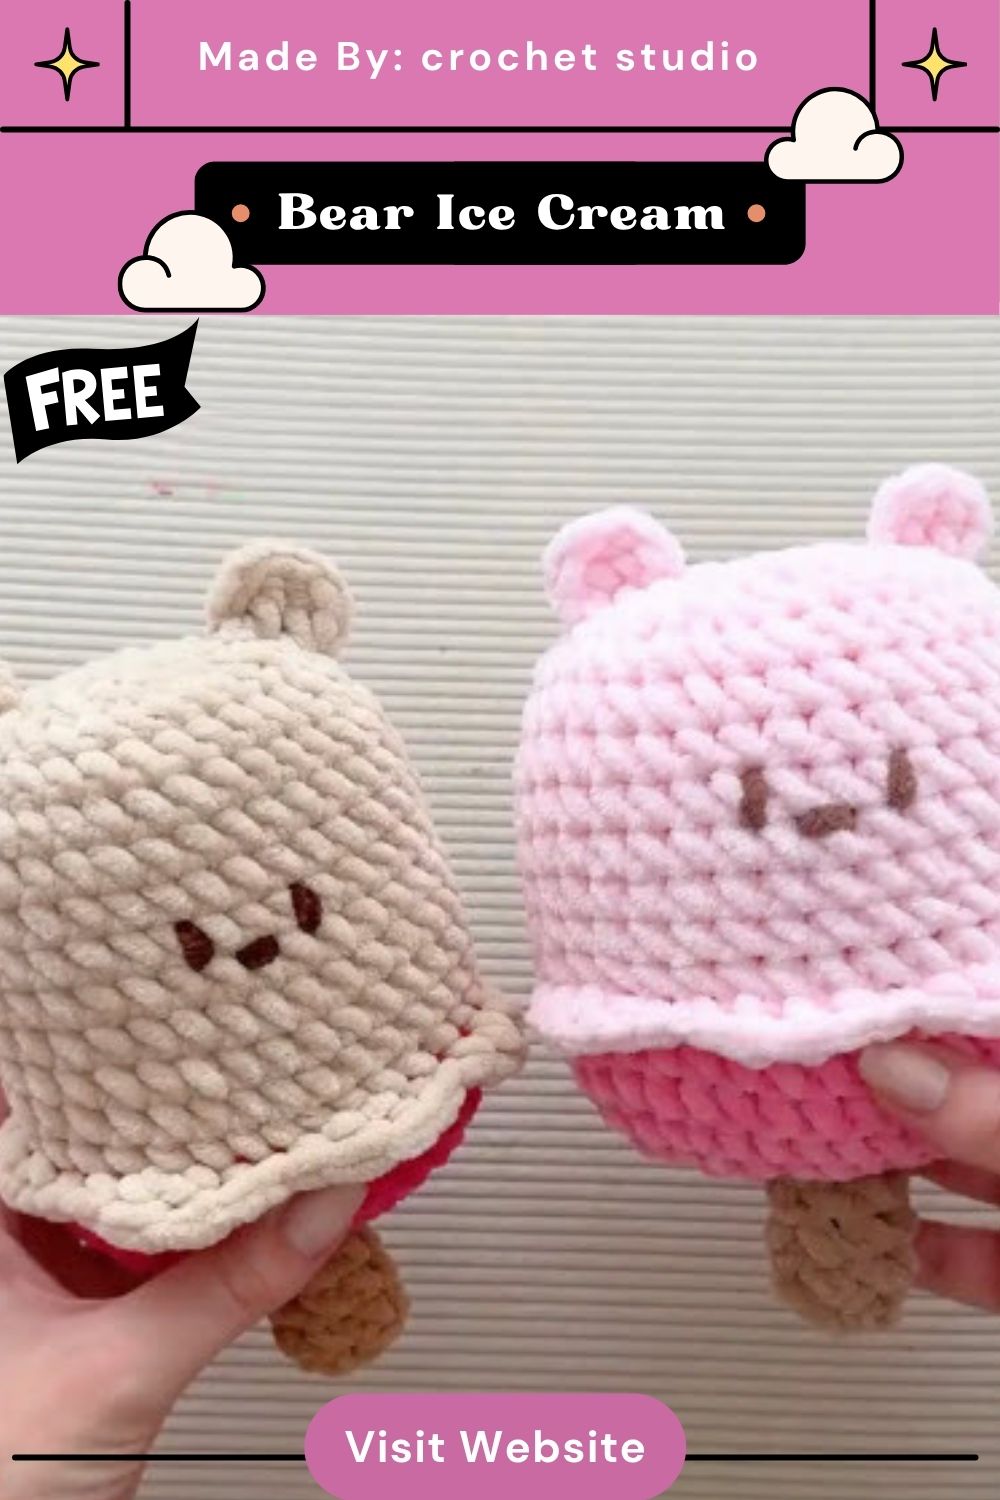
Velvety chenille yarn brings the Crochet Bear Ice Cream Amigurumi Pattern for Nursery Décor to life as a squishy pink treat. Soft loops, a scalloped white ruffle, and tiny round ears make a sweet shelf friend. Best of all, the steps stay gentle for new crocheters.
Beginners often worry that plush toys demand advanced skills. However, this bear ice cream amigurumi uses simple oval rounds, one color change, and light embroidery. Because the shape is forgiving, small tension slips blend into the plush surface. As a result, the finished piece works as a crochet nursery plush or cuddly chenille ice cream toy. Kids will love the squishy texture, and parents will appreciate the sturdy build.
What You’ll Need
Gather these supplies first. Then, keep everything within reach so rounds flow smoothly.
- Velvet chenille yarn (bulky range) in deep pink, pale pink, and white
- Metal hook in the size suggested on the yarn label
- Brown yarn for the embroidered accents
- Locking stitch marker and sharp scissors
- Blunt tapestry needle for sewing up and final touches
- Polyester fiberfill for the plush filling
Also, check that the two pinks contrast clearly, because the color line becomes a design feature.
Skills You’ll Use
Only a handful of basics power this project. First, practice a slipknot and a simple chain. Next, work stitches around a chain to form an oval. Then, change colors cleanly without leaving gaps. Finally, embroider with a tapestry needle. Because each skill repeats, confidence builds quickly.
Beginner Q&A
Can a different hook size work? Yes. However, a tighter fabric looks neater, so choose a smaller hook if stuffing shows through.
What if the count is off by one? Recount the round, then add or remove a single stitch in the next round.
Is chenille hard to see? Slightly, because loops hide the stitches. Therefore, feel each stitch with fingertips and use a bright marker.
Time Needed
Plan on one relaxed afternoon for the crocheted pieces. Meanwhile, embroidery and final touches take a shorter second session. Because chenille grows quickly, most beginners finish across two evenings. Still, pausing between steps causes no harm, since the piece holds its shape while resting.
Step-by-Step Process
Step 1: Start the foundation.
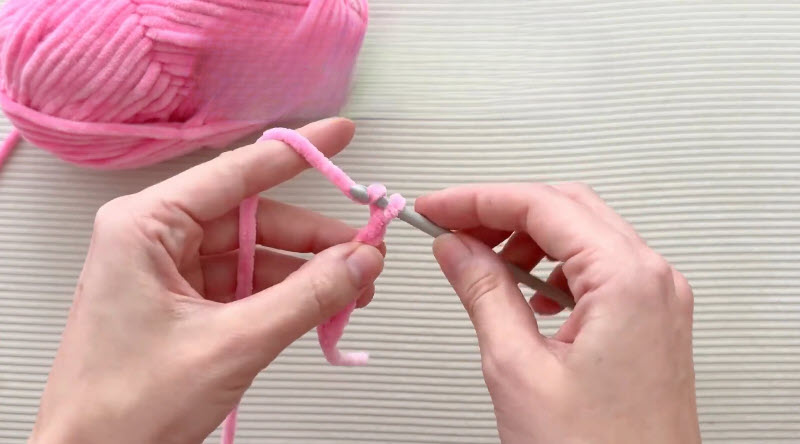
Begin with a slipknot on the metal hook and pull the loop snug. Next, chain a short foundation, holding the yarn tail between thumb and finger as the first photo shows.
Step 2: Work the first row.
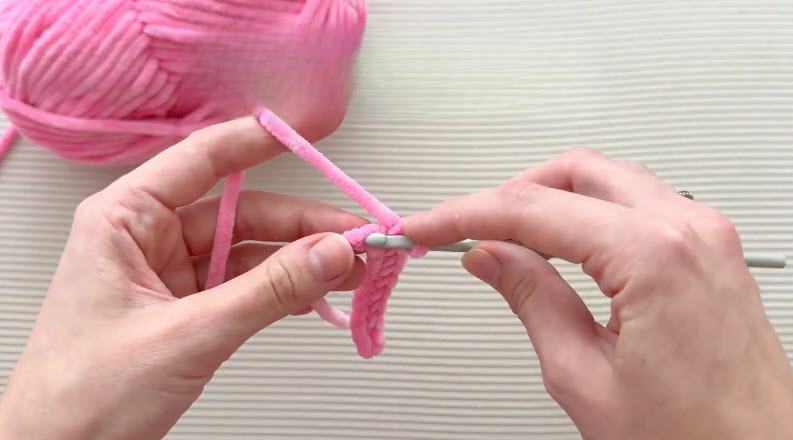
After that, insert the hook into the chain loops and stitch back along the foundation. A small, flat strip should form, similar to the second photo.
Stitch check: Lay the strip on a table. Then confirm it stays flat, with loops sitting evenly along the edge.
Step 3: Grow the oval.
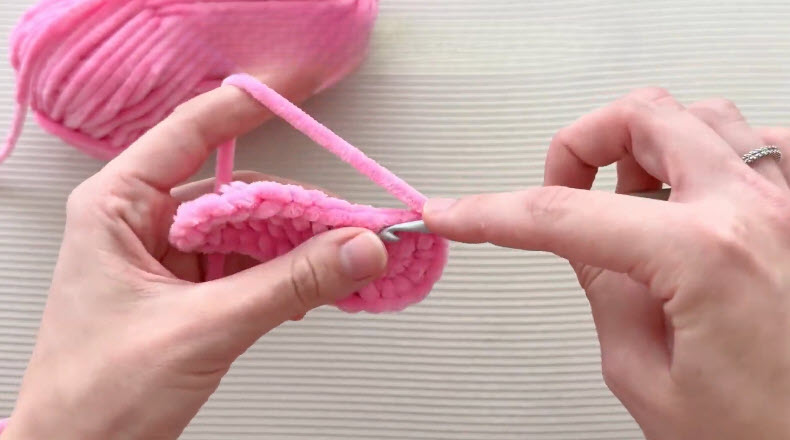
Continue stitching around the foundation in rounds so the strip widens. Meanwhile, keep both ends rounded and the piece flat, as the third photo displays.
Step 4: Cut the yarn.
Once the oval base looks wide enough, snip the working yarn from the ball. Leave the last loop on the hook until the new shade is ready, as in the fourth photo.
Count now: Compare the stitches along both long sides of the oval. Equal numbers mean the base is balanced.
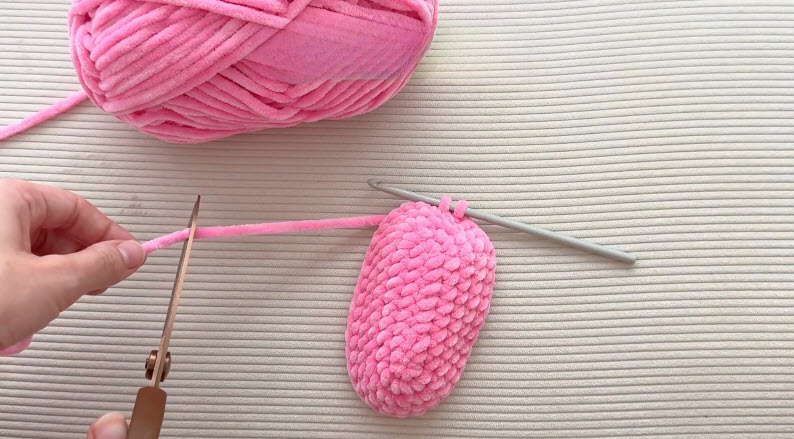
Step 5: Switch to pale pink. Next, join the lighter pink yarn and work around the edge of the oval. Continue in rounds so the sides rise upward into a soft bowl shape, as the fifth photo shows.
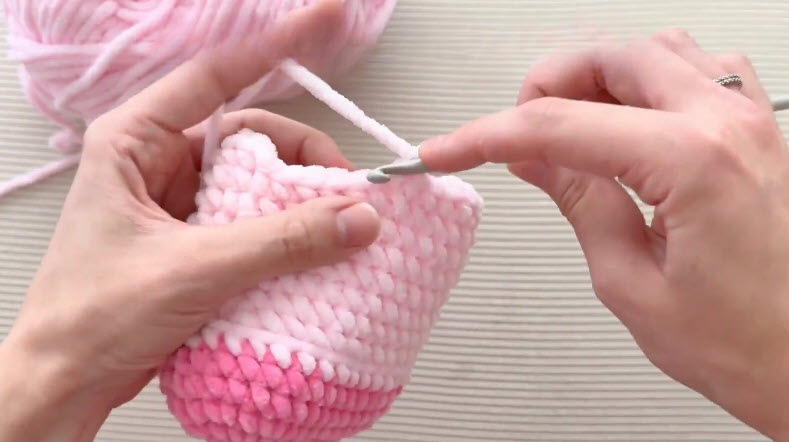
Step 6: Add the white ruffle. Keep working the pale pink rounds until the top rounds off. Then attach white yarn along the ridge where the two pinks meet, and stitch a scalloped edge, as the sixth photo displays.
Before moving on: Turn the body in both hands. Make sure the ruffle sits evenly and the color line looks straight.
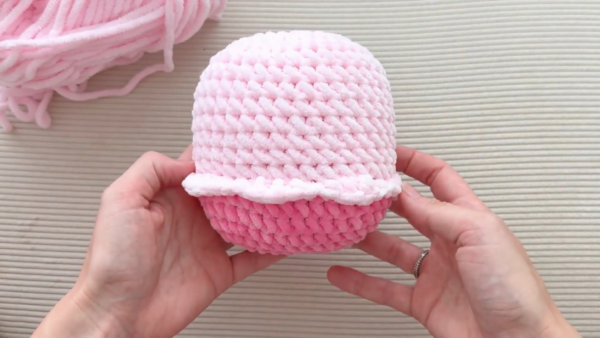
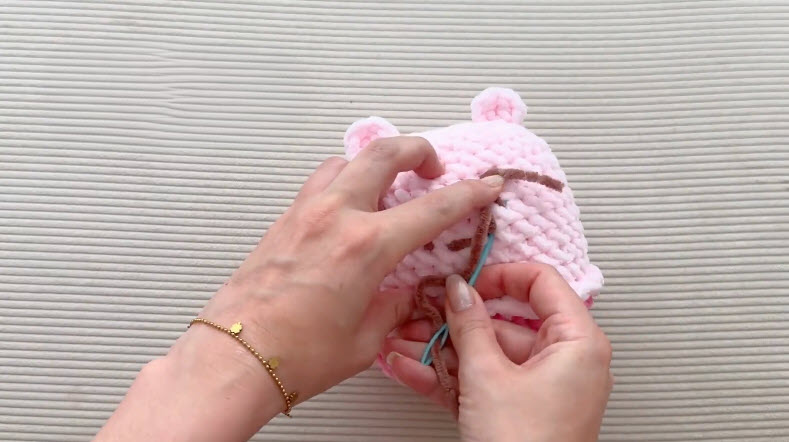
Step 7: Add ears and brown accents. Finally, position the small round ears at the top corners. Then thread a tapestry needle with brown yarn and embroider the accent lines across the front, as the seventh photo shows.
Where Beginners Usually Go Wrong
Pulling loops too tight. Chenille hides the hook’s entry point, so stitches often get squeezed.
Fix: Relax the grip, then slide the hook under both loops slowly.
Skipping the marker. Rounds blur together, and counts drift as a result.
Fix: Clip the marker into the first stitch and move it up each round.
Uneven ruffle spacing. Scallops bunch whenever gaps vary along the ridge.
Fix: Study one scallop’s spacing, then repeat the same gap all the way around.
Troubleshooting Extra
Even completed toys sometimes show quirks. For example, uneven tension can leave patchy rows. Therefore, tease the loops gently with fingertips and let the piece rest. Meanwhile, a lopsided oval usually means unequal sides in the base. Next time, compare both edges before changing color. Also, sagging ruffles need a few tacking stitches underneath. Finally, matted loops recover with a soft brush.
Washing and Care Basics
Gentle care keeps chenille looking plush. Always check the yarn label first. Then spot clean with a damp cloth and mild soap. If a full wash is necessary, use a mesh bag and cool water on a delicate cycle. Afterward, press out moisture with a towel instead of wringing. Next, dry flat away from direct heat. For storage, keep the toy in a breathable cotton bag, away from sticky surfaces.
Helpful Beginner Tips
Small habits make the finished plush look polished.
- First, work in bright daylight, because chenille hides stitch gaps.
- Also, stuff gradually before the top closes to avoid lumps.
- Next, weave yarn ends in twice, since slippery fibers loosen easily.
- Meanwhile, rest wrists every few rounds to keep tension even.
- Then, compare progress with each photo before moving forward.
Creative Projects You Can Make With This Pattern
Once the bear ice cream amigurumi base feels familiar, small changes open new ideas. For example, swap the pinks for mint and cream to shape a pastel nursery set. Likewise, a smaller cotton version can become a keychain charm. Additionally, a trio of colors can decorate a baby shower table. For more inspiration, browse beginner amigurumi patterns, easy chenille crochet projects, and nursery plush toy ideas.
Why Beginners Will Enjoy This Pattern
Progress shows quickly, which keeps motivation high. Because chenille is thick, rounds grow fast and mistakes stay small. In addition, each photo step builds one clear skill. As a result, the bear ice cream amigurumi feels achievable rather than intimidating.
Why It’s Popular Right Now
Soft, cheerful plush toys keep gaining attention in nursery decorating. Parents want handmade accents with gentle textures, and crocheters want quick, satisfying projects.
- Cozy texture: Chenille invites cuddles and photos alike.
- Sweet theme: Ice cream and bears appeal across all ages.
- Quick results: Thick yarn shortens the working time.
Bonus: Photo-Prop Styling Ideas
Nursery photos love soft props. First, place the plush on a pale knit blanket beside a small wooden shelf. Next, use window light from the side to highlight the velvet texture. Finally, keep backgrounds calm so the pinks stand out.
FAQ
Is this pattern suitable for absolute beginners?
Yes. The oval base, one color change, and light embroidery rely on basic skills only.
Which yarn works best?
Chenille velvet gives the plush look shown in the photos. Meanwhile, cotton works for a firmer, smaller version.
Can the toy go in a washing machine?
Follow the yarn label first. Generally, a mesh bag and gentle cycle protect the loops.
Conclusion
Every round completed adds skill for the next project. After the bear ice cream amigurumi, try new shapes, textures, or a second color change. Soon, larger plush characters will feel equally approachable.