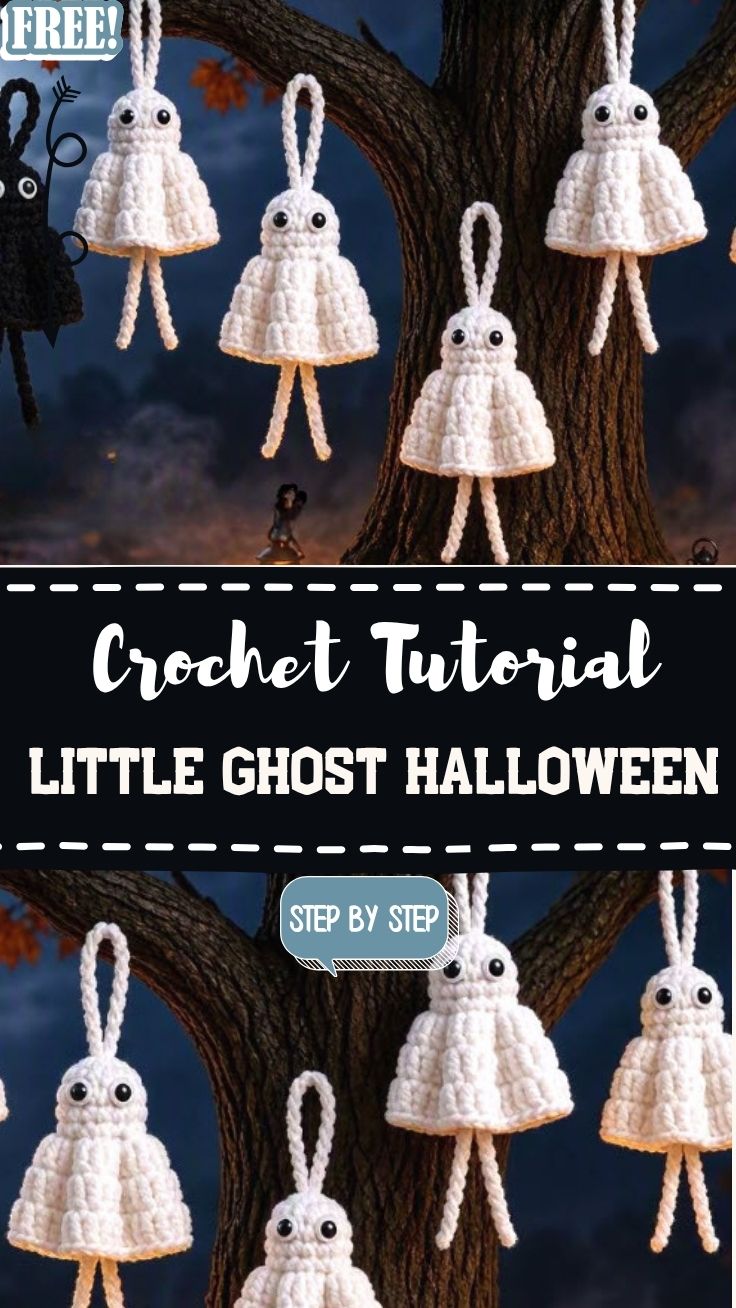
Spooky Crochet Little Ghost Halloween Pattern Toy
A grey afternoon left scraps of yarn scattered on the table, sparking the idea for a small project, with soft white cotton feeling like the perfect pick right away. Spooky Crochet Little Ghost Halloween Pattern Toy started as a simple plan to use up leftover yarn, and in just one hour, a tiny spooky friend sat ready in hand.
Building an amigurumi pattern from scratch for Halloween always feels satisfying, especially when it comes together this quickly. Perfect for a shelf, bag, or a small garland, the little project works beautifully as an adorable, soft ghost plushie for Halloween decor. Its whole purpose stays simple: a soft, handmade Halloween decoration that even beginners can finish in one sitting, without needing any special or expensive tools or hours of free time.
Why I Made This
Halloween decorations always feel expensive when store-bought, so I wanted something handmade and personal instead. A Crochet Little Ghost Halloween project felt manageable for an evening, and it gave me a chance to practice tight tension with white yarn. Since white shows every mistake, I figured it would sharpen my stitch consistency too. The purpose behind the piece was simple: create a soft, huggable decoration that could double as a keychain or garland piece later. Meanwhile, I liked that the shape stayed forgiving even if my rounds weren’t perfectly even. Once I finished the first one, I knew I’d be making several more before the season ended.
What You’ll Need
- Worsted weight white yarn (or plush yarn for a bigger ghost)
- 3.5mm crochet hook
- Stitch marker
- Polyester stuffing
- Small black safety eyes or embroidery thread
- Yarn needle for weaving ends
- Scissors
Because the project uses minimal supplies, it works well as a last-minute Halloween craft.
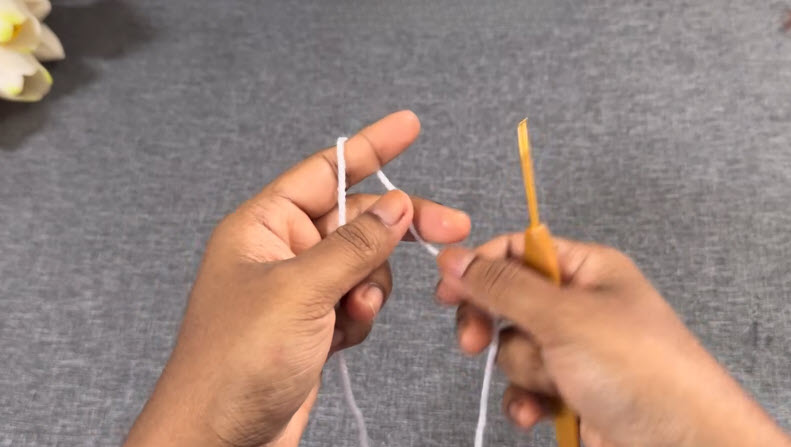
Step 1 – Making the Base Loop: Yarn wraps around two fingers to form the base loop, and the hook slides underneath to catch the working strand. Getting this first loop snug matters, since a loose start leaves gaps once the round closes fully.
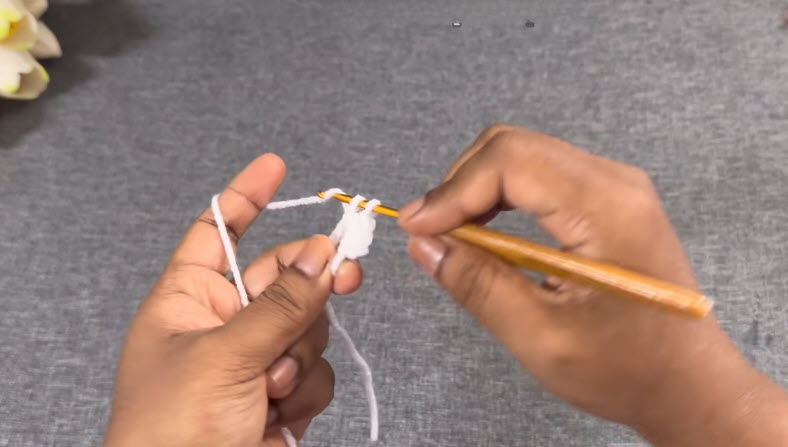
Step 2 – Working the First Round: The hook pulls through the ring repeatedly, forming the first six single crochets. Each loop closes carefully around the working yarn, and the stitches sit close together near the hook tip, marking the true beginning of the round.
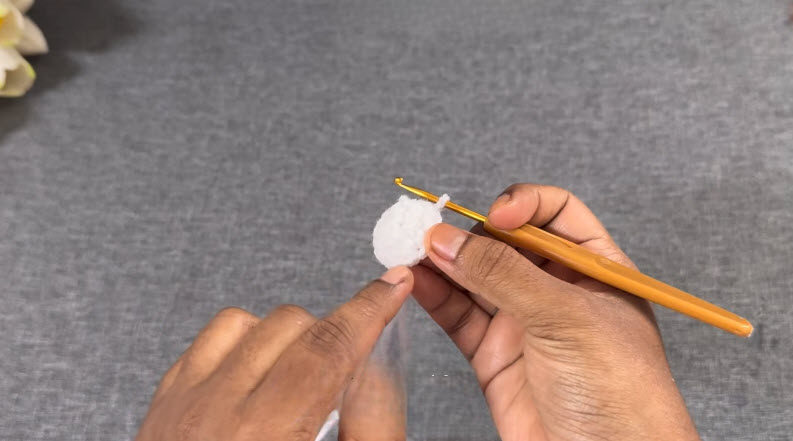
Step 3 – Shaping the Bobble: A small closed bobble takes shape as the tail end trails loosely below the hook. Rounds increase steadily here, widening the base into a soft dome, and the fabric stays tight enough that no stuffing shows through yet.
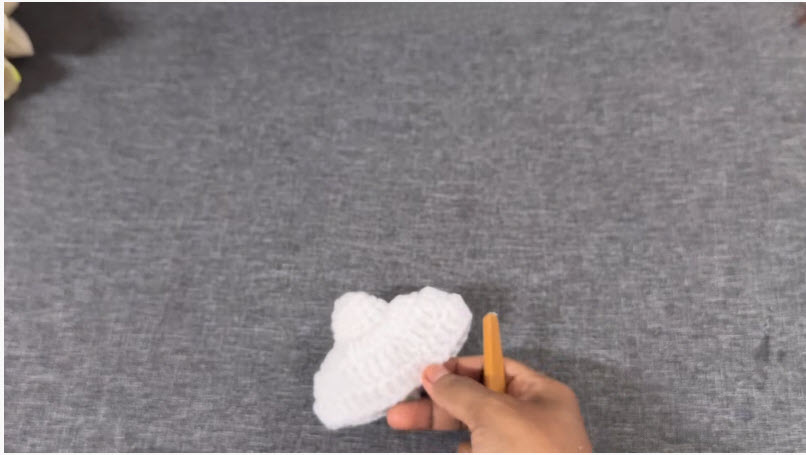
Step 4 – Forming the Body: The dome-shaped body now shows two rounded bumps near the top edge, resembling little arm-like flaps. The piece rests fully formed in hand, with the hook tucked beside it, ready for the next finishing round.
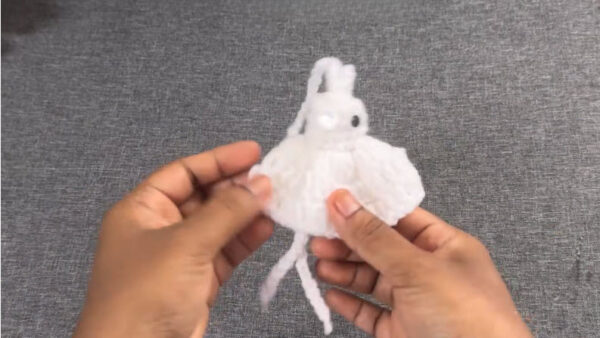
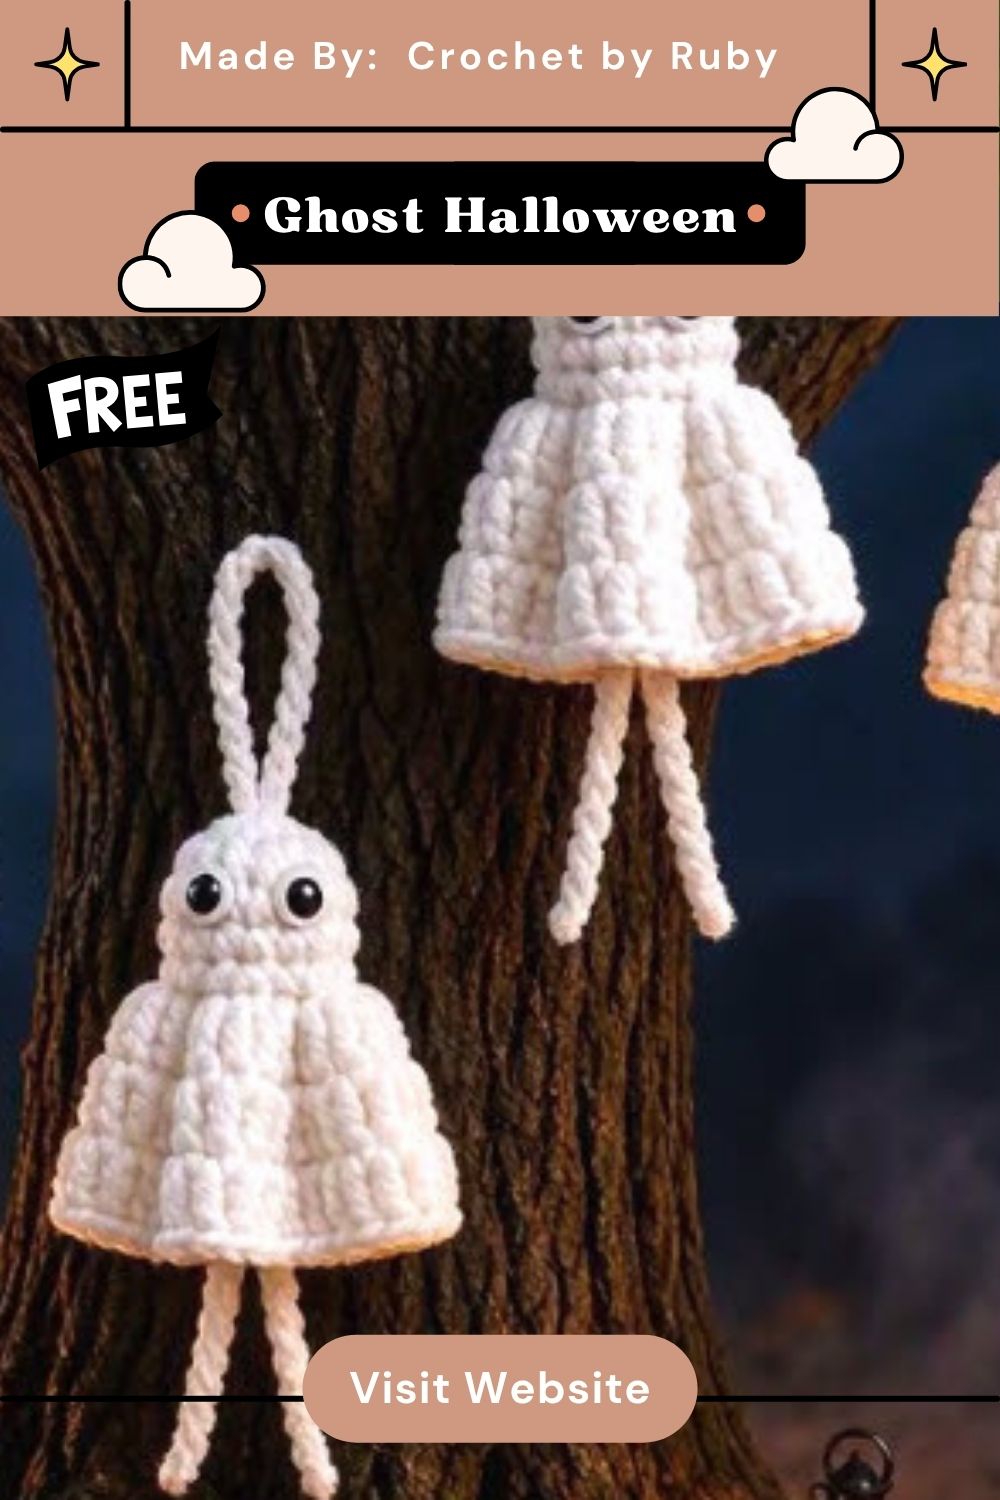
Step 5 – Final Details: The finished ghost sits in open palms, stuffed lightly, with small eyes attached and dangling arm-like strands underneath. A loose hanging loop sits at the top, completing the playful, slightly wobbly Halloween shape.
Weaving in the last ends took only a few minutes, and the Crochet Little Ghost Halloween toy was officially done.
Closing Thought
Looking back, the little project turned into one of my favorite quick makes this season. Something about a small, soft ghost sitting nearby just feels comforting, even with Halloween’s spookier themes involved. If you try the Crochet Little Ghost Halloween pattern yourself, I hope it brings the same small, satisfying joy it brought me.