Crochet a Mini Guitar Keychain Pattern for a Cute Gift
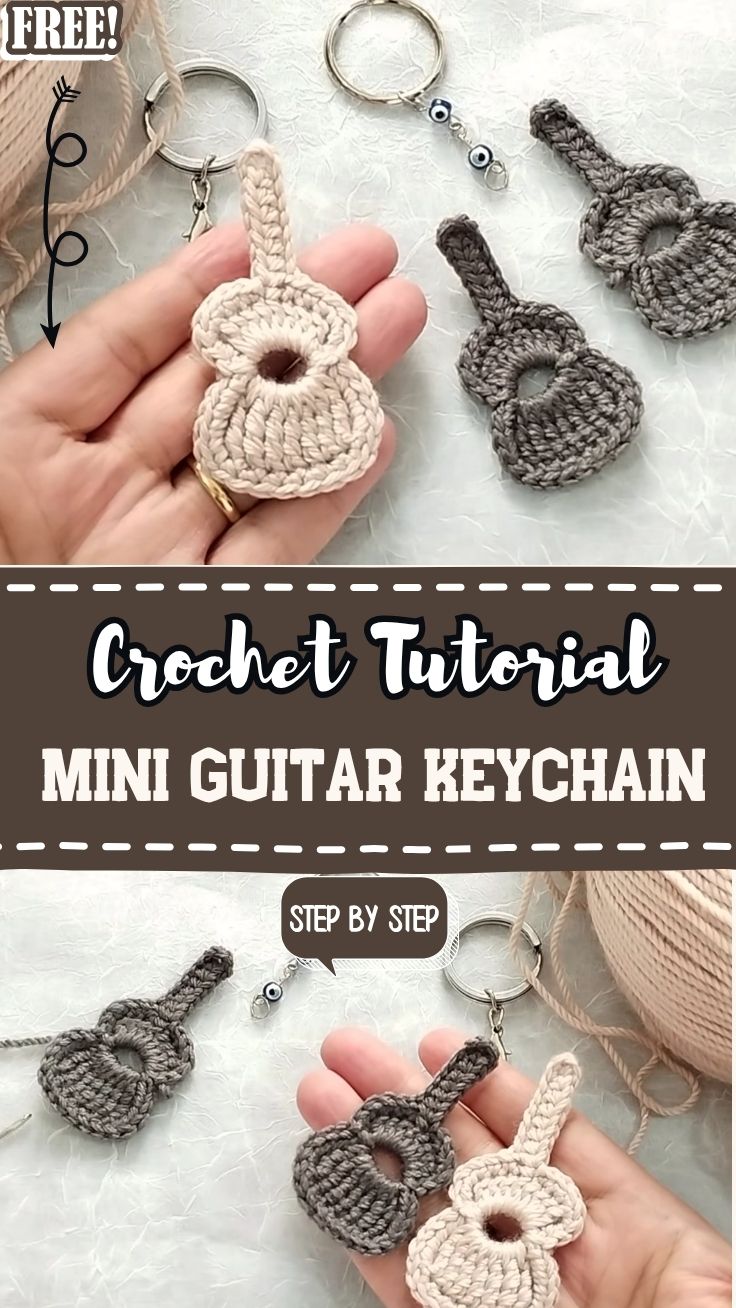
A tiny loop of yarn, a few tight rounds, and this Crochet Mini Guitar Keychain starts taking shape between your fingers small enough to sit in your palm, sturdy enough to clip onto keys or a backpack and go everywhere with you.
What makes this pattern worth making more than once is how much personality fits into such a small piece the scalloped body, the short straight neck, and a handful of finishing details that turn plain yarn into something instantly recognizable. Built to clip onto keys, hang off a bag zipper, or sit on a strap, it’s a quick, satisfying make with a genuinely useful everyday purpose once it’s off the hook.
A Tiny Guitar That Carries Big Love For Music
Music lovers deserve gifts that feel personal. A soft, handmade mini guitar keychain does exactly that. Inspired by classic acoustic guitars, this little charm turns simple yarn into a sweet, giftable accessory anyone will love carrying around.
Project Overview
What You Will Make
This mini guitar keychain is a compact amigurumi project. It uses basic crochet shapes joined together to form a tiny instrument. You will crochet a rounded body, a slim neck, and a small headstock. Then you’ll add details like strings and a sound hole.
Why This Design Works
The finished piece is soft and sturdy. It is small enough to clip onto bags, backpacks, or keys. This makes it a fun handmade gift for any occasion.
Skill Level
Beginner to Beginner-Intermediate
This pattern suits beginners who know basic stitches. Some comfort with shaping rounds helps. Nothing here is too tricky.
Materials and Supplies List
Gather your supplies first. This makes the project smoother.
Yarn
- Worsted weight cotton or acrylic yarn in brown or tan (body and neck)
- A small amount of black or dark brown yarn (sound hole and strings)
- Optional gold or cream yarn for headstock details
Tools
- 3.0mm to 3.5mm crochet hook
- Yarn needle for sewing pieces together
- Small sharp scissors
- Stitch markers
Other Supplies
- Polyester fiberfill stuffing
- Small keychain ring or clasp
- Optional jump ring for attaching the ring
- Craft glue (optional, for small details)
Crochet Techniques Used
Know these techniques before you start.
- Magic ring – for a neat start to every round piece
- Single crochet (sc) – the main stitch used throughout
- Increase (inc) – widens the round to shape the body
- Decrease (dec) – narrows rounds to close pieces smoothly
- Sewing parts together – joins the body, neck, and headstock
Step-by-Step Guitar Keychain Pattern
Guitar Body Creation
The body is the heart of this little instrument. Take your time shaping it evenly.
- Start with a magic ring. Work 6 single crochets into it. Pull tight to close the ring.
- Round 2: Increase in every stitch. This gives you 12 stitches total.
- Round 3: Alternate one single crochet, one increase. End at 18 stitches.
- Round 4: Work even. Use one single crochet in each stitch around.
- Round 5: Increase every third stitch. This gives you 24 stitches at the widest point.
- Rounds 6–8: Work even in single crochet. This builds up body height.
- Decrease gradually over the next two rounds. This tapers the shape slightly, like a guitar’s waist.
- Stuff the body lightly as you go. Add more filling before closing the final round.
- Fasten off. Weave in the loose end neatly.
Keep your tension even. Loose stitches can let stuffing peek through later.
Pro Tip: Count your stitches after every round. One missed stitch can throw off the whole shape.
Guitar Neck Making
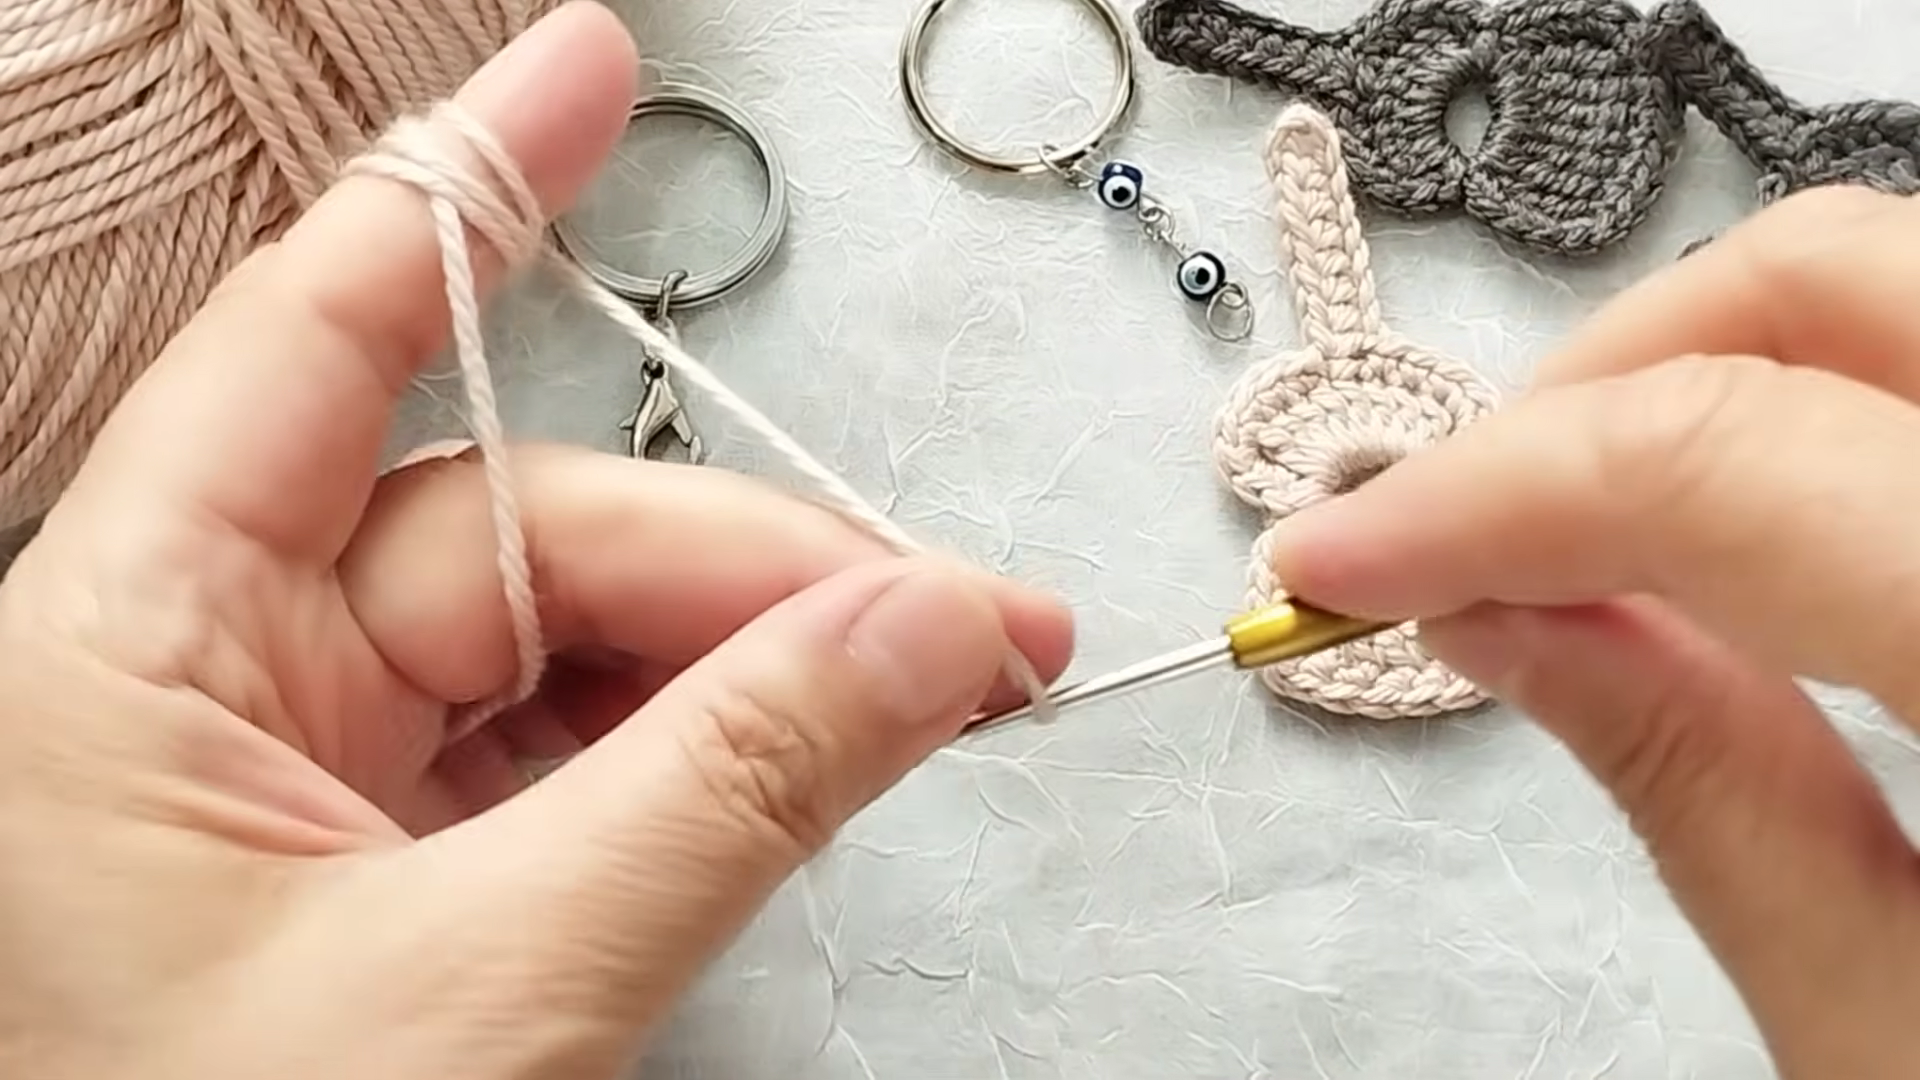
The neck connects the body to the headstock. It gives the keychain its guitar silhouette.
- Chain 10–12 stitches using brown or tan yarn. Adjust the length as you like.
- Single crochet into the second chain from the hook. Continue across the row.
- Work a few more rows in single crochet. This builds a narrow rectangular strip.
- Fold the strip lengthwise. Slip stitch or whip stitch the open edge to close it into a tube.
- Stuff the neck lightly. It should hold its shape without feeling stiff.
Headstock and Tuning Details
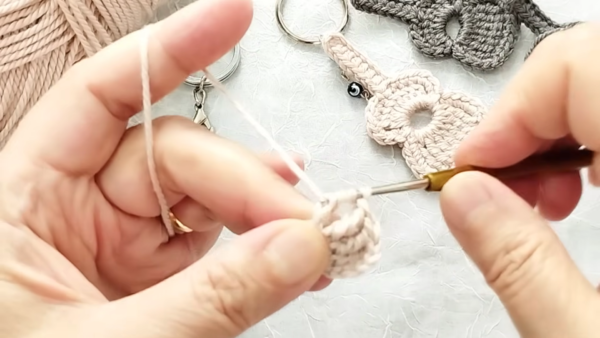
- Crochet a small flat rectangle. Use 6–8 single crochet stitches per row across 3–4 rows.
- Add tiny gold or cream yarn dots at the corners for tuning pegs. Embroider them or attach small knots.
- Sew the headstock to the top of the neck piece securely.
Sound Hole and String Details
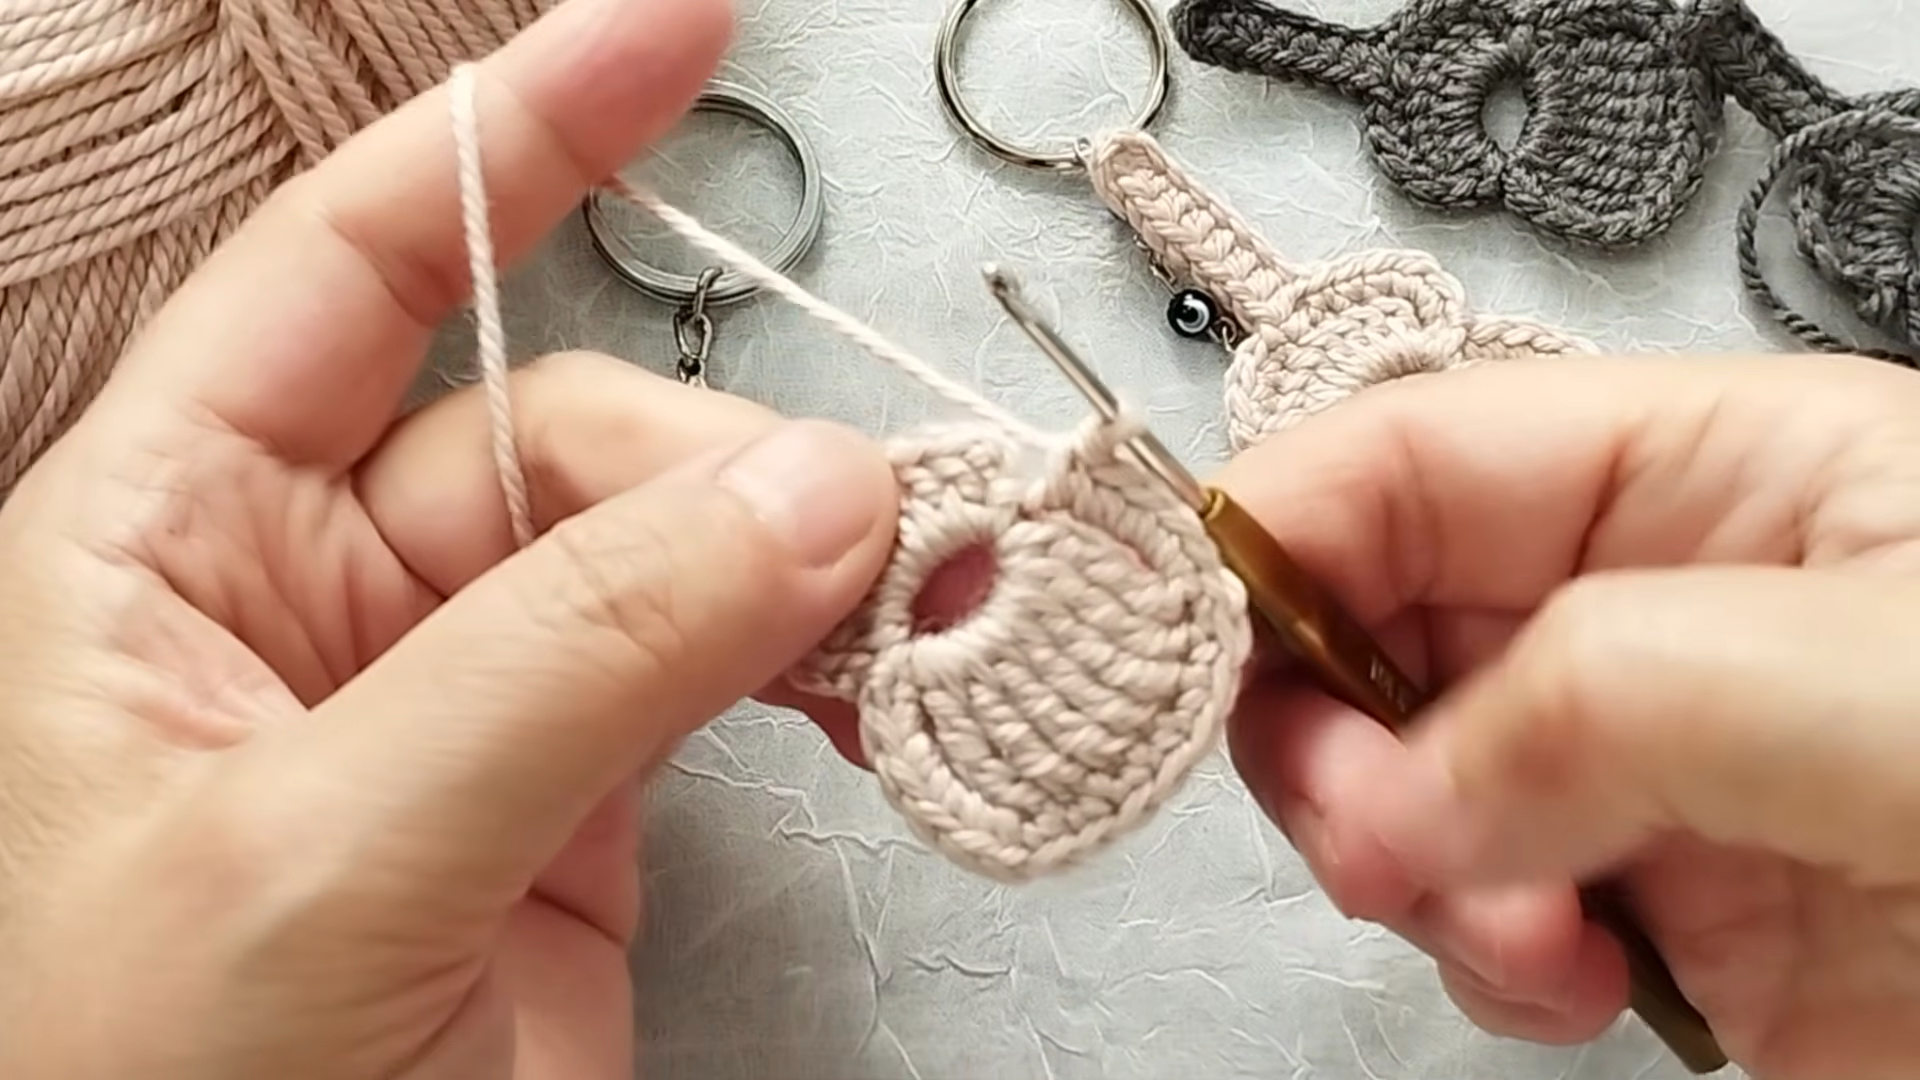
- Crochet a small flat disc in black or dark brown yarn. Use a magic ring and work 2–3 rounds until it is about one inch across.
- Center the disc on the guitar body. Sew it in place to form the sound hole.
- Stitch three or four straight lines from the sound hole to the base. These represent guitar strings.
- Add a few short stitches across the neck for frets. Space them evenly.
Assembly Process
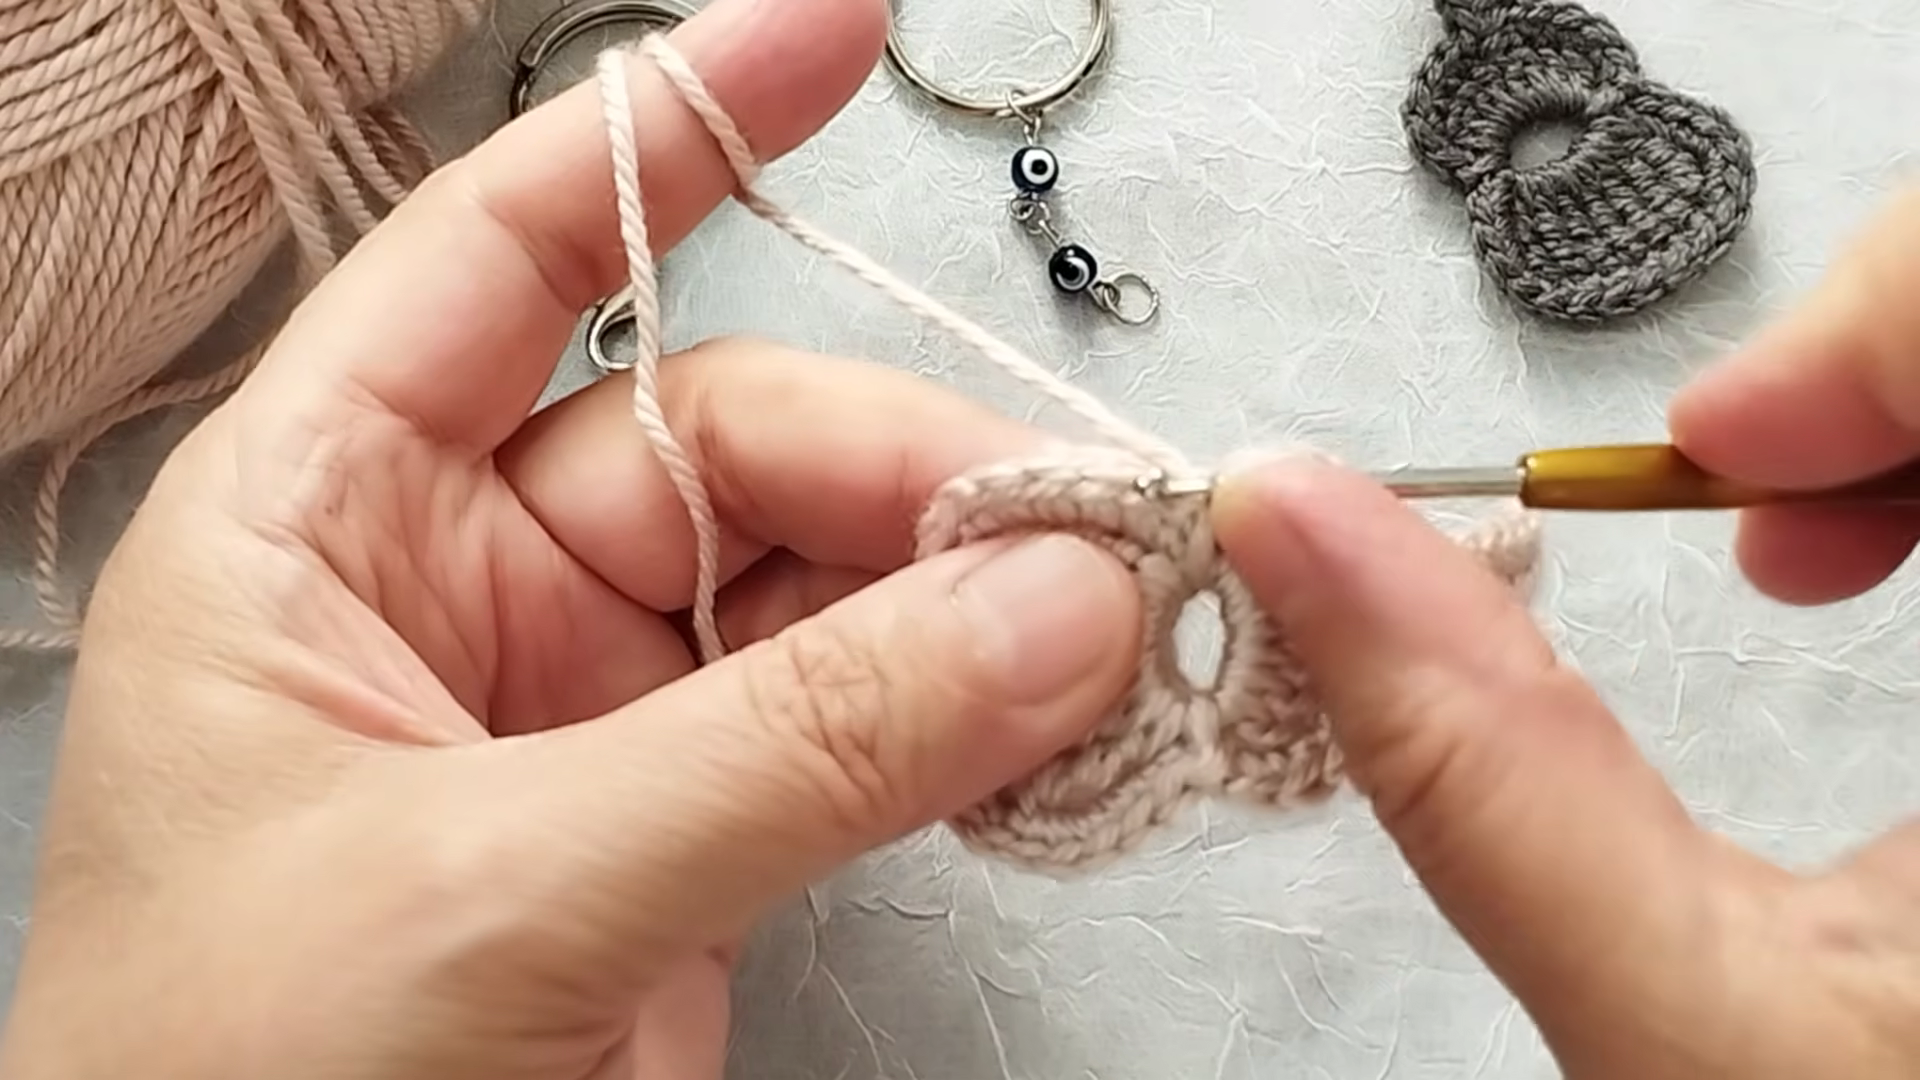
- Position the neck against the top edge of the body. Center it carefully.
- Pin the neck in place. Whipstitch around the seam to attach it firmly.
- Check that the neck sits straight before finishing. A crooked neck is easy to spot.
- Attach the headstock to the top of the neck if it isn’t sewn on yet.
Finishing Touches
- Weave in every loose yarn end. Pull each one through several stitches to secure it.
- Trim excess yarn close to the fabric. Avoid cutting into the stitches.
- Attach a small jump ring to the headstock. Slide your keychain ring through it.
- Shape the finished guitar gently. Fluff it so the stuffing sits evenly.
Helpful Beginner Tips
Small habits make a big difference on projects this size.
- Keep your stitches tight and close. This stops stuffing from showing through gaps.
- Use stitch markers on every round. This helps you track increase and decrease rounds.
- Stuff a little at a time. Press gently to avoid lumps or uneven shaping.
- Choose a hook one size smaller than the yarn label suggests. This gives firmer fabric.
Design Customization Ideas
Color and Detail Changes
Swap the classic brown yarn for bold colors like red, teal, or pastel pink. Add tiny felt or embroidered flowers, stars, or initials to the body for a personal touch.
Size Variations
Try an even smaller version using thread-weight yarn and a fine hook. This makes a delicate charm. You can also make a matching set in different colors for gifting to a group of friends.
Frequently Asked Questions
What is the best yarn for amigurumi projects?
Cotton yarn is popular for amigurumi. It holds its shape well and gives stitches a crisp look. Acrylic yarn works too. It is often more affordable, though slightly softer in texture.
How do I make my crochet plush firm and sturdy?
Firmness comes from two things: tight stitches and generous stuffing. A smaller hook tightens your fabric. Adding stuffing gradually and pressing it evenly prevents lumps.
How long does this guitar keychain take to make?
Most beginners finish this project in two to three hours. You can spread the work across a couple of sittings. Future guitars come together faster once you know the shaping.
Wrapping Up Your Mini Guitar Keychain
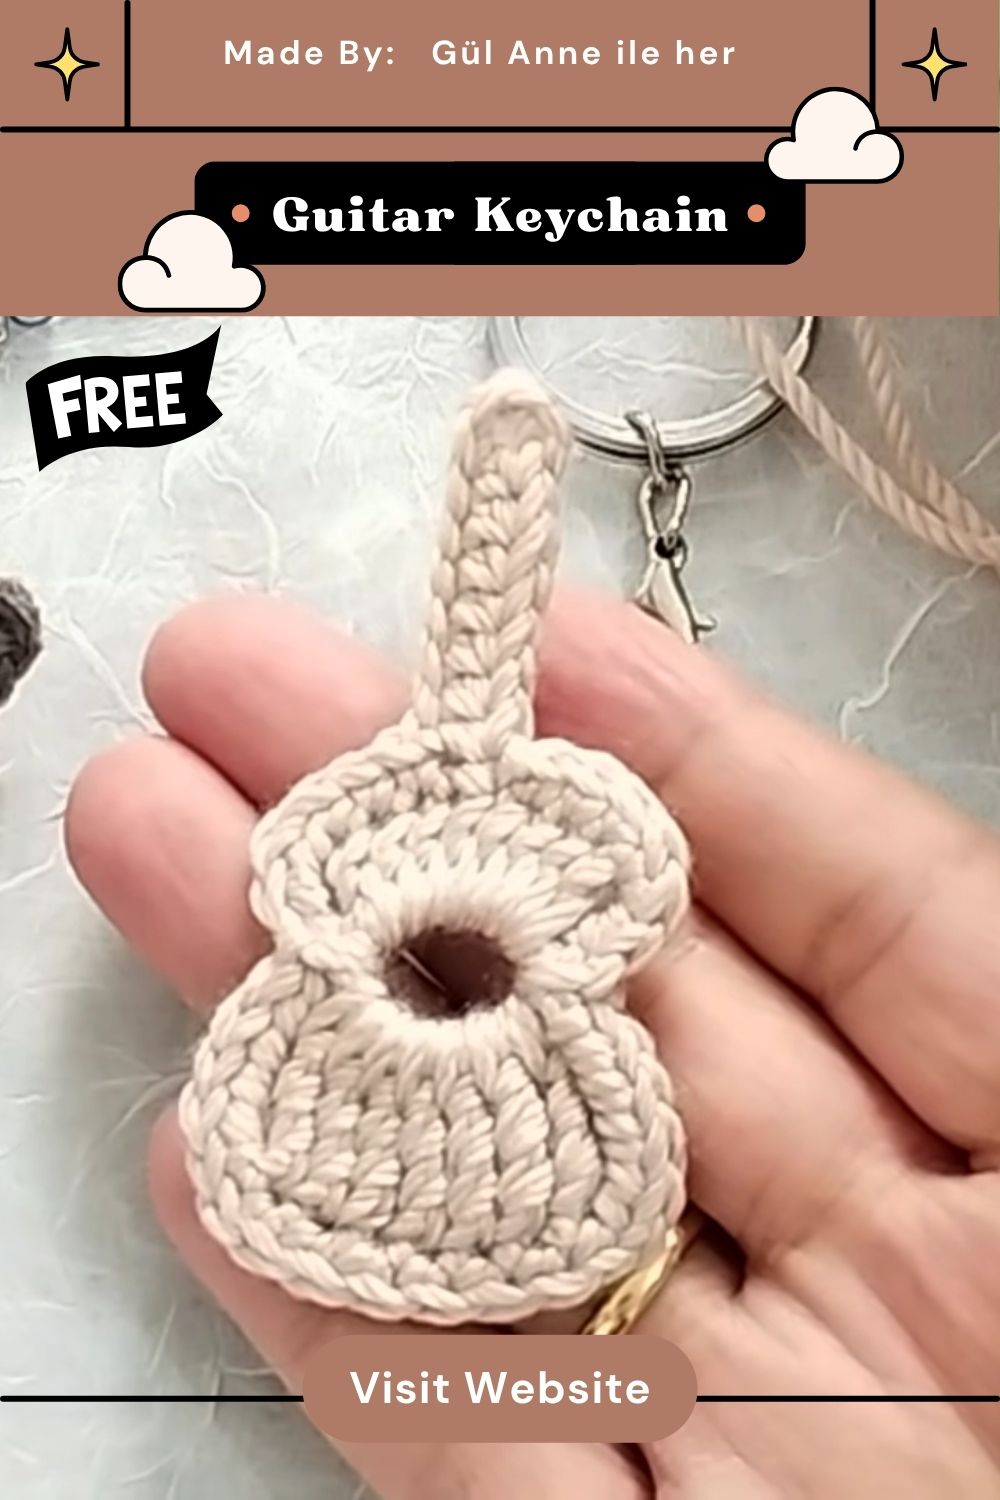
This mini guitar keychain shows how a handful of simple stitches can turn into something charming. Gift it to a musician friend or keep it for yourself. This little project brings warmth to something as everyday as a keyring.
Grab your hook and yarn. Give this pattern a try. Share your finished guitar charm with fellow crochet lovers for a little extra inspiration.