Free Crochet Christmas Bell Pattern with Holiday Motifs
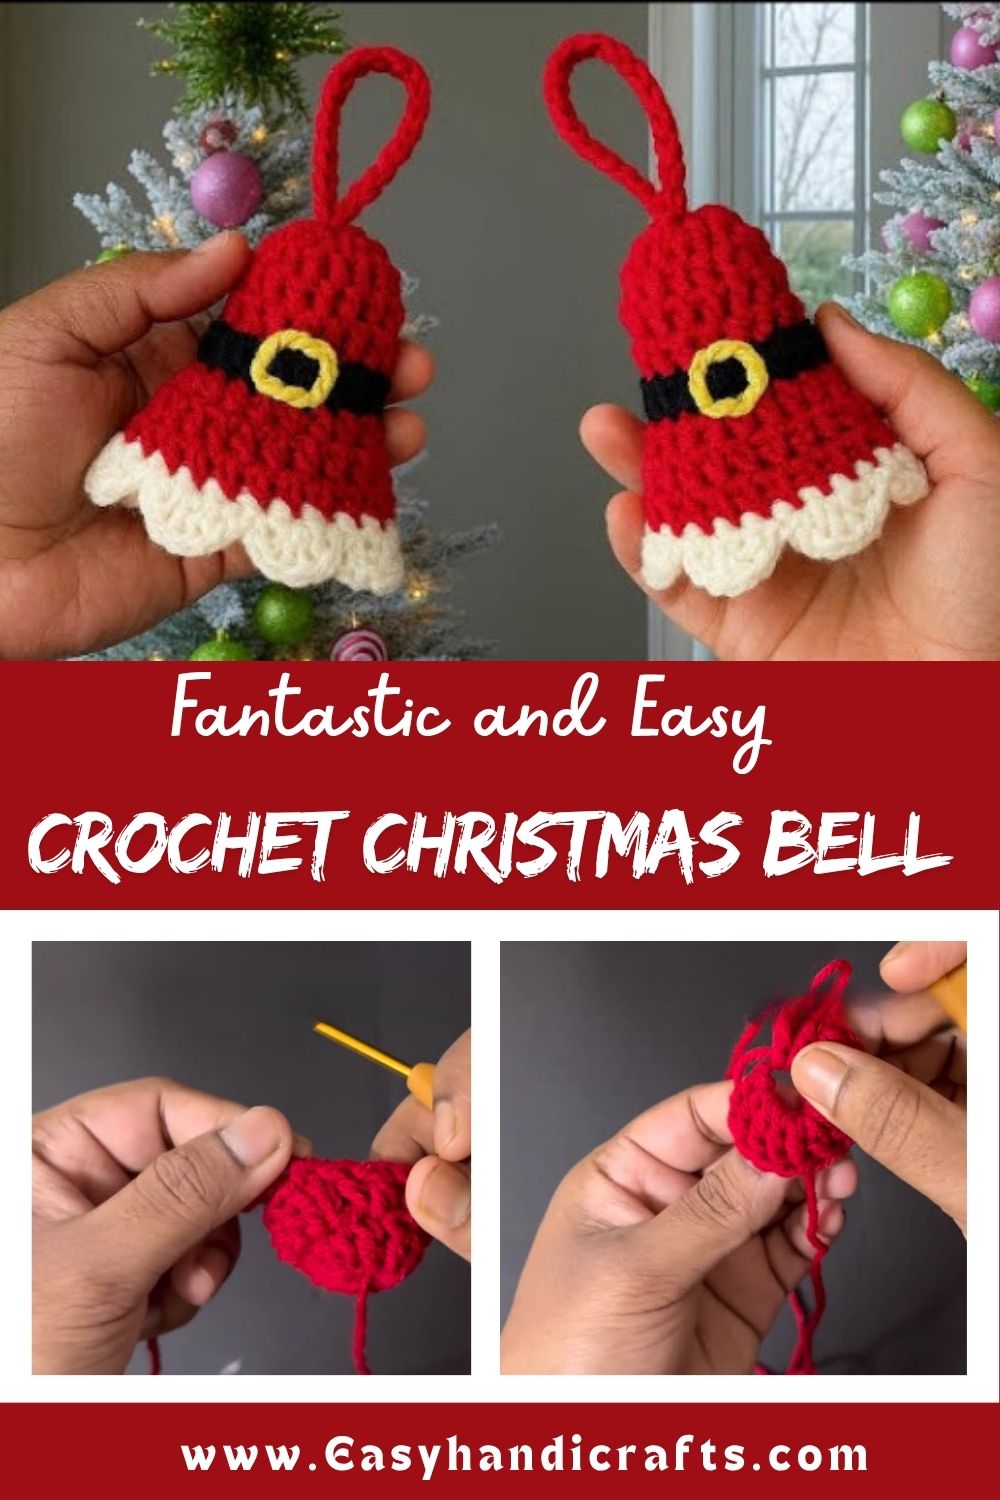
This Free Crochet Christmas Bell Pattern with Holiday Motifs works up quickly using simple rounds, festive colors, and one cheerful crochet Christmas bell shape that beginners can finish fast.
Rich red yarn forms the base of this ornament, while a bold black stripe and a soft white trim give it that classic holiday crochet ornament charm. Anyone building a handmade tree collection will enjoy how fast this little bell comes together, and the finished piece makes a wonderful Christmas amigurumi bell for gifting, decorating, or simply adding a festive touch around the house this season.
About This Free Crochet Christmas Bell
Rounded red walls taper gently at the top, giving this bell its recognizable silhouette without any complicated shaping. A single black stripe wraps around the middle section, breaking up the red with just enough contrast to catch the eye against a tree full of ornaments.
Skill requirements stay firmly in beginner territory here. Basic single crochet rounds carry almost the entire pattern, while the white trim and hanging loop add just enough variety to keep the project interesting without introducing anything technically demanding.
Project Details
- Skill Level: Beginner
- Finished Size: Approximately 2 to 2.5 inches tall
- Estimated Time Required: 1 to 1.5 hours
- Recommended Yarn Weight: DK or Worsted weight
- Crochet Hook Size: 2.5mm to 3.0mm
Materials Needed
- Red yarn (main bell color)
- Black yarn (accent stripe)
- White yarn (trim detail)
- Yellow or gold yarn/cord (for the hanging loop)
- Crochet hook (2.5mm–3.0mm)
- Fiberfill stuffing
- Tapestry needle
- Stitch markers
- Scissors
Crochet Stitches and Techniques
- Magic Ring (MR): Starts the tight center point at the top of the bell.
- Single Crochet (sc): Builds the entire body of the ornament.
- Increase (inc): Widens the rounds as the bell shape flares outward.
- Color Changes: Introduces the black stripe and white trim at the correct rounds.
- Fastening Off: Secures the yarn once each section is complete.
- Sewing Pieces Together: Attaches the hanging loop to the finished bell.
Only these techniques appear throughout the pattern, keeping the project quick and approachable even for someone crocheting their first holiday ornament.
Pattern Instructions
Starting the Bell Top
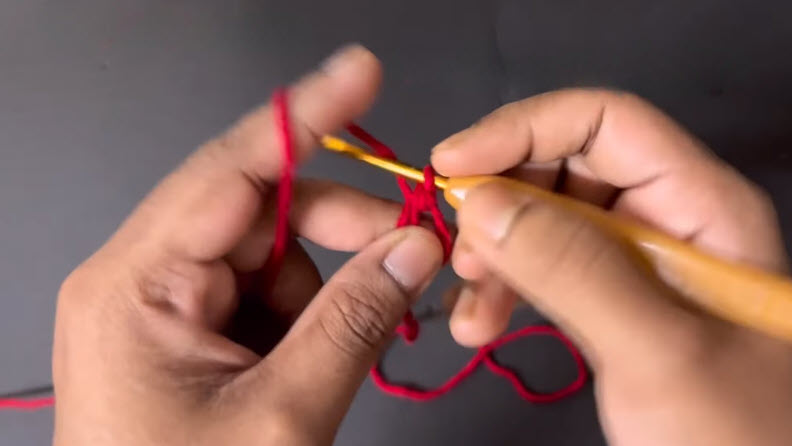
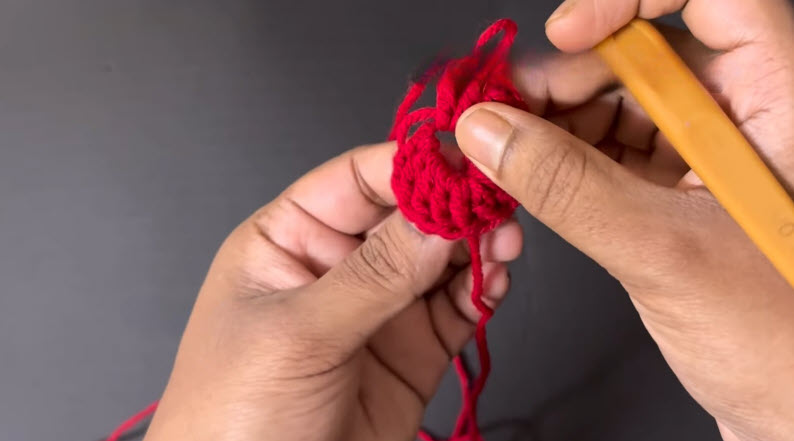
Form a magic ring with red yarn and work six single crochets into it, then pull the loop closed and mark the first stitch of the round. This tiny circle becomes the very top point of the bell, so keeping it snug matters more here than anywhere else in the pattern.
Shaping the Bell Body
Increase gradually over the next several rounds so the bell widens outward into its familiar flared shape. Work a couple of rounds even between increases to give the sides a smoother, more natural curve rather than a sharply stepped silhouette.
Adding the Black Stripe
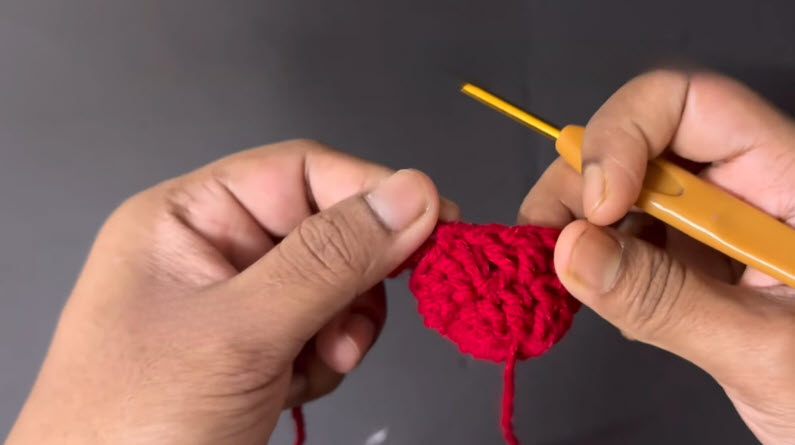
Switch to black yarn once the body reaches roughly the midpoint of its final height, working one or two rounds before returning to red. Carrying the red yarn loosely behind the black stitches keeps tension even and avoids puckering along the color-change round.
Continuing the Lower Body
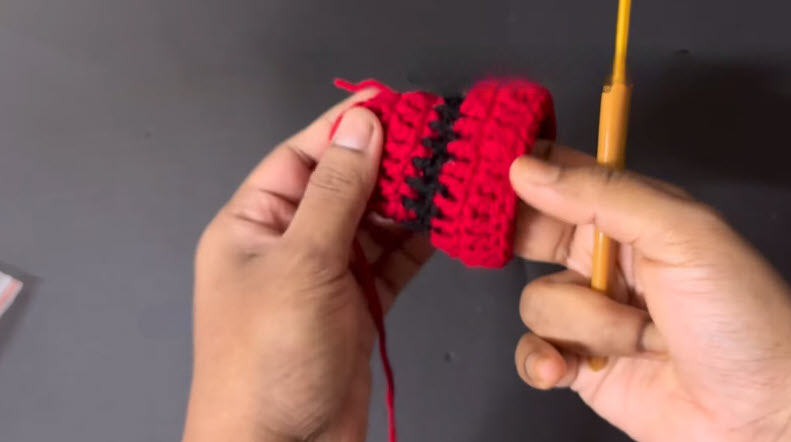
Return to red yarn and continue working even rounds until the bell reaches its full intended height. Add stuffing gradually through this section rather than waiting until the piece closes, since amigurumi shapes fill far more evenly when stuffed in stages.
Finishing the White Rim
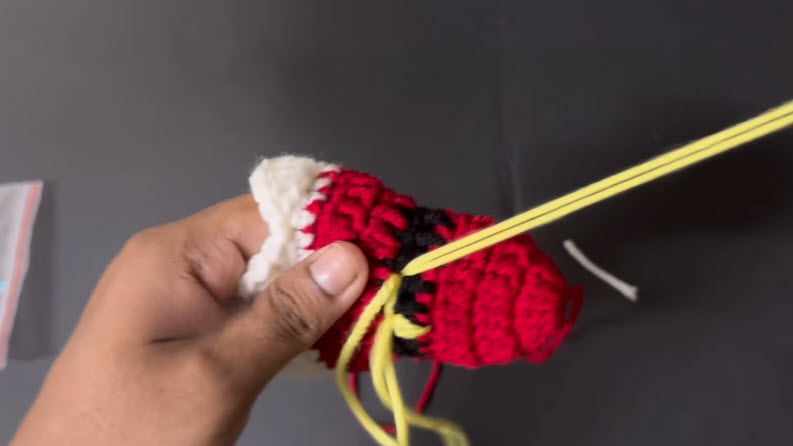
Switch to white yarn for the final round or two, working slightly looser stitches to create the soft, scalloped trim often seen along the bottom edge of a bell ornament. This contrast trim frames the piece nicely and signals where the open edge of the bell sits.
Attaching the Hanging Loop
Cut a length of yellow or gold yarn and thread it through the top point of the bell, tying it into a loop sized for hanging on a tree branch or ornament hook. Secure the knot firmly and trim any excess so the loop sits neatly without loose strands showing.
Final Assembly
Weave in every remaining tail using a tapestry needle, checking the black stripe and white trim rounds closely since color changes tend to hide loose ends less easily than solid-color sections. Give the finished bell a gentle shape check, pressing it lightly if any round looks uneven.
Tips for Success
- Keep the magic ring tight at the very start to avoid a visible gap at the bell’s top point.
- Count stitches after every increase round to keep the flare symmetrical.
- Carry unused yarn loosely across color changes to prevent puckering.
- Stuff in small amounts as you go rather than all at once near the end.
- Trim yarn tails close after weaving them in, especially along the white rim.
Personalization Ideas
Swapping red for green, gold, or deep blue instantly gives this bell a different holiday personality while keeping the same easy construction. Adding a small bow or tiny jingle bell to the hanging loop brings extra festive detail without much additional effort. A mini version using thinner yarn makes a sweet addition to a gift tag, while a jumbo bell crocheted with bulky yarn becomes a fun standalone door or wall decoration.
Common Mistakes to Avoid
Rushing the increase rounds sometimes causes the bell shape to flare unevenly, so counting stitches carefully after each increase round helps catch mistakes before they compound. Pulling the black stripe too tightly can pucker the fabric right at the color change, so keeping consistent tension through that round deserves a little extra attention. Skipping gradual stuffing often leaves lumpy or uneven fill once the bell closes, so adding small amounts throughout the project produces a much smoother finished shape.
Frequently Asked Questions
What yarn works best for this ornament?
DK or worsted weight acrylic yarn holds its shape nicely for a small ornament like this, and it also resists fading well when displayed near holiday lights.
Can I skip the black stripe entirely?
Certainly. A solid red bell looks lovely on its own, so the stripe remains a purely optional design detail.
How do I keep the hanging loop from slipping loose?
Tying a secure double knot and weaving the ends back into the stitches nearby keeps the loop firmly anchored to the bell.
Is this pattern suitable for a first amigurumi project?
Yes, the simple round shaping and minimal color changes make this an excellent starting point for beginners.
Can I make a whole set in different colors?
Absolutely. Batching several bells in coordinating holiday colors makes a lovely matching ornament set for one tree.
How much yarn do I need for one bell?
Only a small amount of each color is needed, since the finished ornament measures just a couple of inches tall.
Can this pattern be turned into a keychain instead of an ornament?
Yes, replacing the hanging loop with a keyring clasp turns this same pattern into a festive keychain gift.