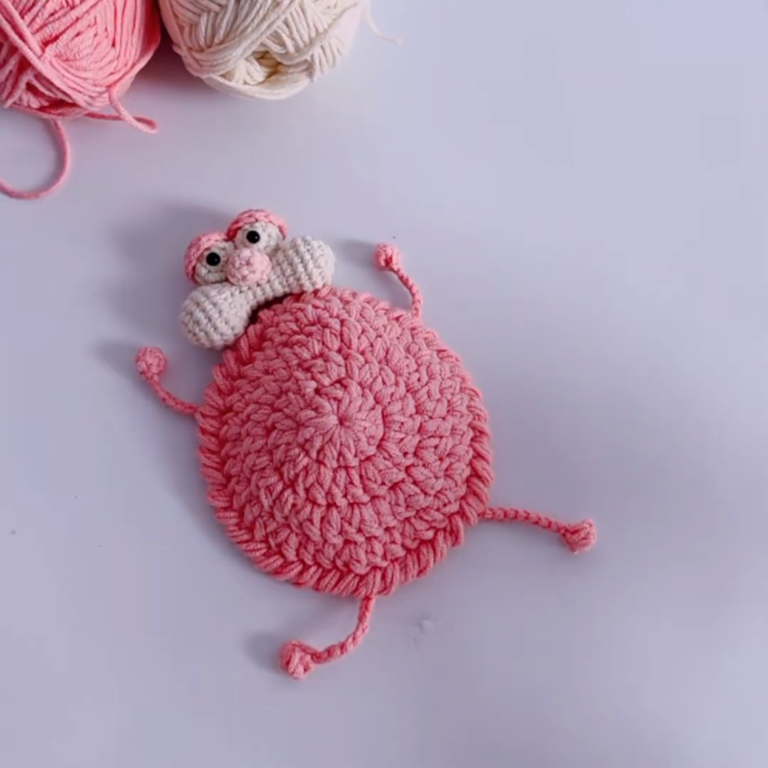
Crochet Fish Beach Bag Pattern with Ocean-Inspired Design
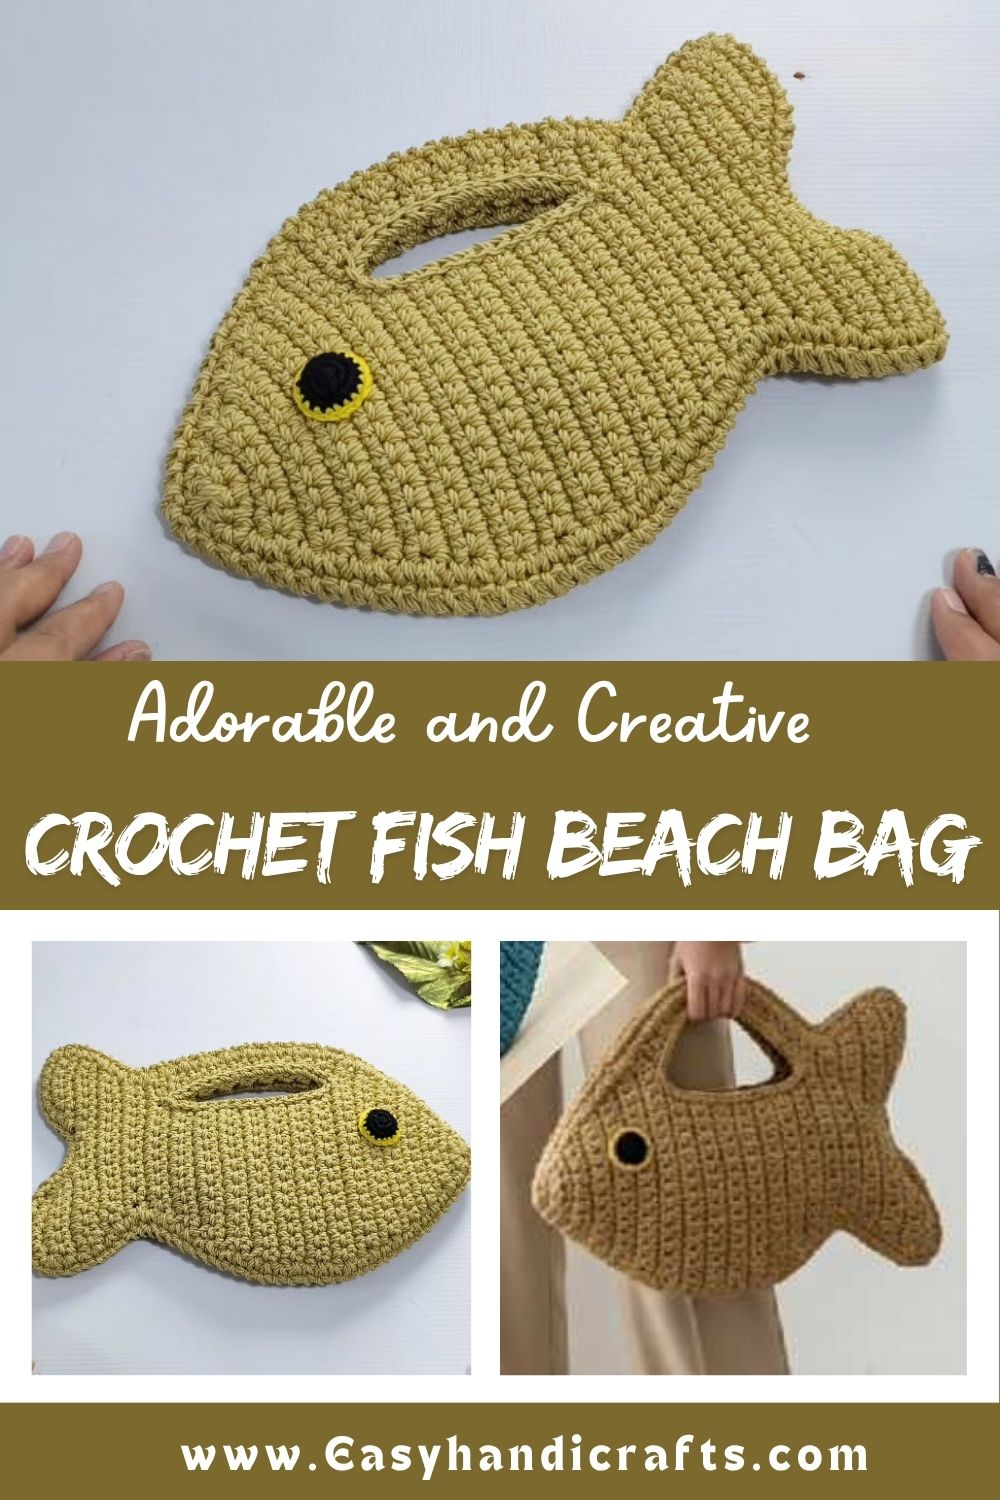
What Makes This Crochet Project Special
This fish beach bag design takes that trend and turns it into something practical. Instead of a plain tote, you get a bag with personality: little fish appliques, a breezy net-style body, and color choices that mimic sea glass, coral, or deep ocean blue.
Crocheters love this pattern because:
- It works up fast using basic stitches, so it’s friendly for a wide range of skill levels.
- The fish motifs can be swapped for starfish, shells, or jellyfish if you want variety.
- It’s a genuinely useful bag, not just a decorative piece perfect for the pool, market runs, or actual beach days.
- The finished look feels handmade and special, unlike anything you’d find at a big-box store.
If you’ve been searching for an easy crochet project that still feels impressive once it’s done, this is it.
Skill Level
This crochet fish beach bag pattern sits comfortably in the beginner to intermediate range. Someone brand new to crochet who already knows the basics chain stitch, single crochet, and how to join rounds can absolutely tackle this. The fish appliques add a small layer of shaping, which is where a touch of intermediate confidence helps. But nothing here requires advanced techniques, so don’t let the fun design intimidate you.
Materials and Supplies You’ll Need
Before diving into the stitches, let’s talk about what’s going into your project bag. A little prep now saves a lot of backtracking later.
Yarn:
- A sturdy cotton or cotton-blend yarn (worsted weight, category 4) works best for beach bags since it holds shape and handles sand, sun, and water without stretching out.
- Main color for the bag body: think sandy beige, seafoam, or ocean blue.
- Small amounts of contrasting yarn in orange, yellow, white, and black for the fish appliques.
Hook size:
- A 4.5mm to 5mm (US G/7 to H/8) crochet hook is the sweet spot for cotton yarn at this weight. Adjust slightly if your tension runs tight or loose.
Extra tools:
- Yarn needle for weaving in ends and sewing on appliques
- Stitch markers to track rounds
- Scissors
- Optional: fabric lining if you want extra durability for beach sand and wet swimsuits
Having everything laid out before you start means fewer interruptions once you’re in a rhythm.
Crochet Stitches and Abbreviations Used
Here’s a quick cheat sheet of everything you’ll use in this pattern:
- ch – chain stitch
- sc – single crochet
- hdc – half double crochet
- dc – double crochet
- sl st – slip stitch
- st(s) – stitch(es)
- rep – repeat
- mr – magic ring
- inc – increase (2 sc in one stitch)
- dec – decrease (single crochet two stitches together)
Keep this list handy; you’ll refer back to it more than once, especially during the fish applique section.
Step-by-Step Crochet Instructions
Step 1: Foundation of the Bag Body
Start with a chain long enough to match your desired bag width (roughly 40-46 chains for an average tote). Work a row of single crochet across, turning at the end of each row. Continue in sc rows until the piece reaches your desired bag height, usually around 14-16 inches.
Step 2: Shaping the Sides
Fold your rectangle in half and single crochet the side seams together, or work in the round from the start if you prefer a seamless bag. Either method gets you a sturdy pouch shape ready for straps and embellishments.
Step 3: Adding the Straps
Chain a length suitable for your preferred strap drop, then work sc rows back and forth until the strap reaches the width you like. Make two straps and attach them securely to the top edges of the bag with a yarn needle.
Step 4: Crocheting the Fish Appliques
Using your contrast yarn, start with a magic ring and work small increases to form a rounded fish body. Shape a simple triangle tail using dc and hdc combinations, then add a tiny black stitch for the eye. Repeat to make as many fish as you’d like scattered across the bag.
Step 5: Assembling Everything
Pin your fish appliques onto the bag front in a pleasing layout before sewing. Use a yarn needle and matching thread to stitch them securely in place, weaving in all loose ends as you go.
Step 6: Final Touches
Add a border round of sc around the top opening for a clean, finished edge. Weave in any remaining ends and give the whole bag a light steam block to even out the stitches.
Helpful Beginner Tips
- Always check your gauge before starting; cotton yarn behaves differently than acrylic, and tension affects the final bag size.
- Use stitch markers at the start of every round so you never lose your place.
- Keep your fish appliques small and simple at first; you can always size up once you’re comfortable with the shaping.
- Block your finished pieces before sewing them together for a neater final look.
- Don’t rush the strap attachment; a wobbly strap is the most common weak point on handmade bags.
Common Mistakes and How to Fix Them
Mistake: Bag comes out too loose or floppy.
Solution: Switch to a smaller hook size or double up your yarn strands for extra structure.
Mistake: Fish appliques look lopsided.
Solution: Count your stitches carefully during increase rounds, and use a stitch marker to track where each round begins.
Mistake: Straps stretch out with weight.
Solution: Work straps in a tighter stitch like sc instead of a looser stitch, or reinforce with an extra row.
Mistake: Edges curl instead of lying flat.
Solution: Add a border round of sc or hdc around all raw edges to stabilize the shape.
Pattern Customization Ideas
One of the best parts of this crochet pattern is how easily it adapts to your own style:
- Swap the fish for starfish, seashells, or little jellyfish appliques for a different ocean theme.
- Add fringe along the bottom edge for a boho beach look.
- Use a solid neutral bag with just one or two bold fish for a minimalist take.
- Line the inside with fabric for a sturdier, more polished finish.
- Add a drawstring closure at the top for a more secure bag.
Size and Color Suggestions
For an everyday beach tote, aim for a finished size around 14 inches wide by 16 inches tall — roomy enough for towels and essentials without feeling bulky. For a smaller market or pool bag, scale down to about 10 by 12 inches.
Color-wise, this pattern shines with ocean-inspired palettes:
- Sandy beige body with coral and turquoise fish
- Deep navy body with bright yellow and orange fish for contrast
- All-white bag with pastel fish in mint, blush, and sky blue
- Sea glass green body with metallic thread accents for a shimmer effect
FAQ Section
Is this crochet pattern good for beginners?
Yes, the bag body itself uses only basic stitches. The fish appliques add a small challenge, making it a great next-step project after mastering the fundamentals.
What yarn works best for a beach bag?
Cotton or cotton-blend yarn is ideal since it’s durable, washable, and holds its shape well in sun and sand.
Can I make this bag without the fish appliques?
Absolutely. The base bag pattern works as a simple, clean tote on its own if you’d rather skip the embellishments.
How long does this Crochet Fish Beach Bag project take to finish?
Most crocheters finish the bag body in a few hours, with the appliques adding another hour or two depending on how many you add.
Can I use acrylic yarn instead of cotton?
You can, but cotton is recommended for beach bags since it handles moisture and holds shape better over time.
Conclusion
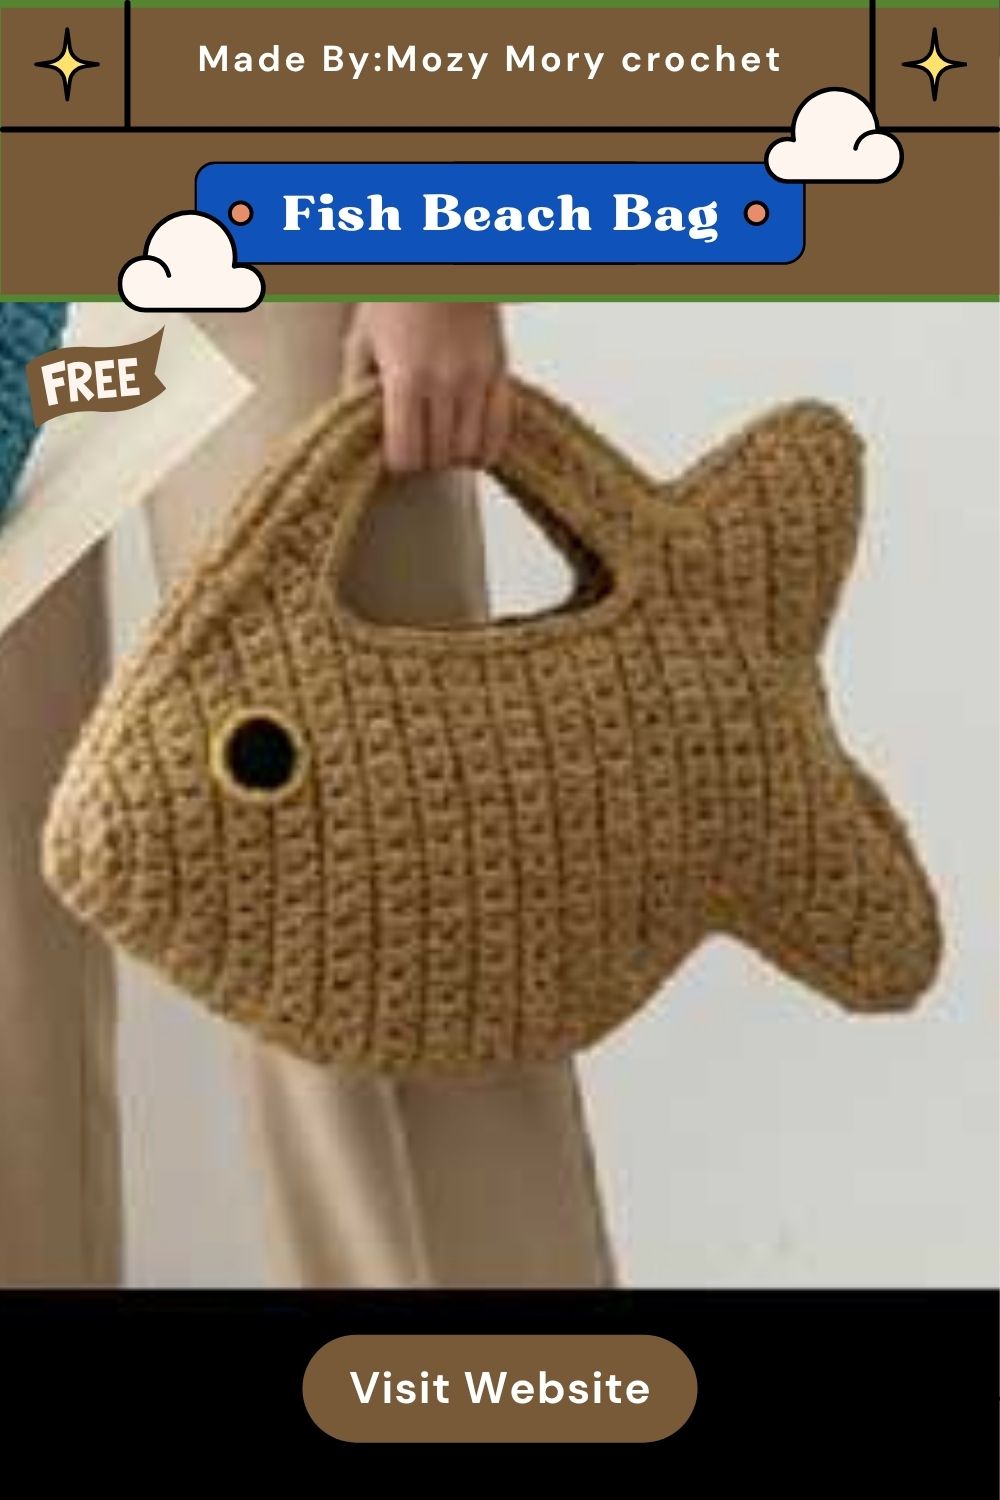
This crochet fish beach bag pattern is proof that a handmade project can be both playful and genuinely useful. Whether you stick to the classic fish design or swap in your own ocean-themed creatures, you’ll end up with a bag that turns heads on every beach trip. Grab your hook, pick your favorite ocean colors, and let this easy crochet project become your new summer favorite.