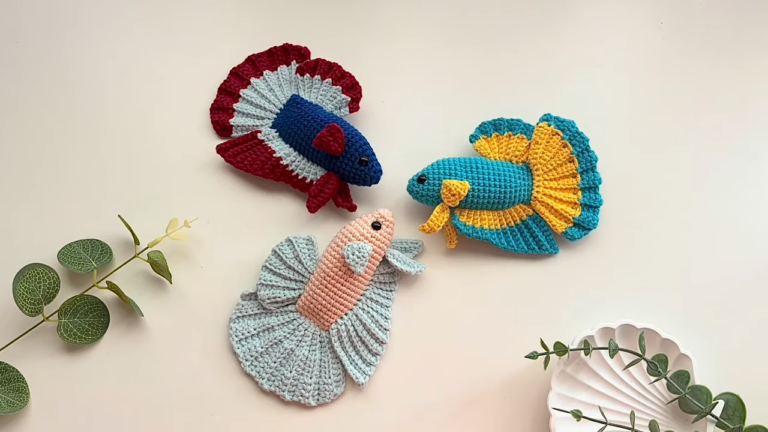
Crochet Tropical Fish Amigurumi Pattern for Marine Life Lovers
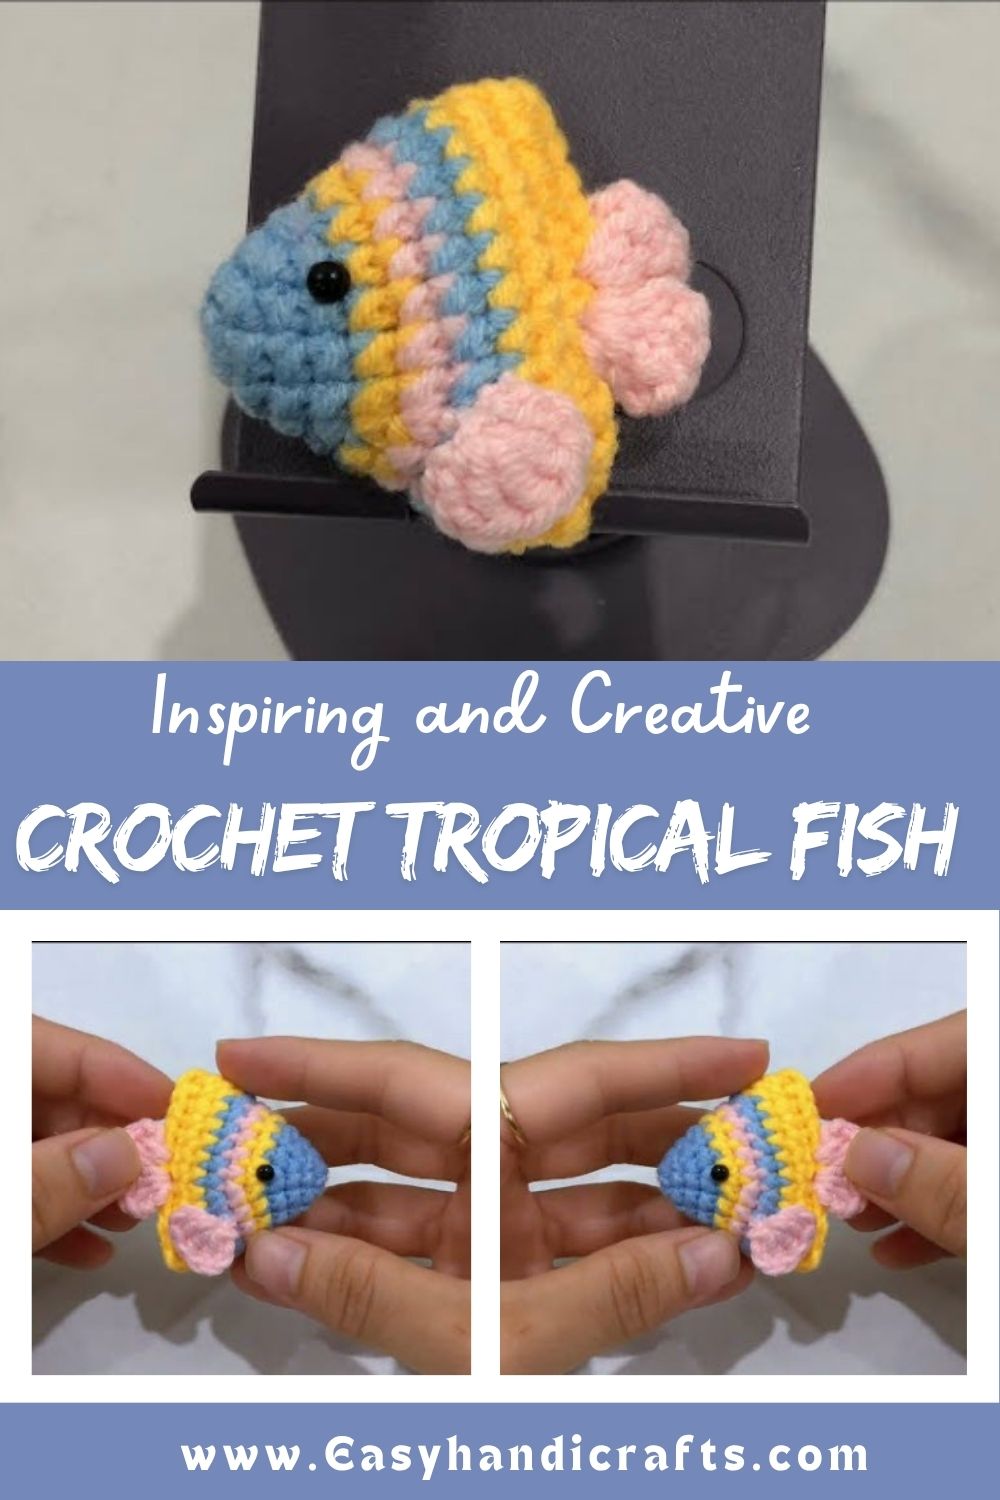
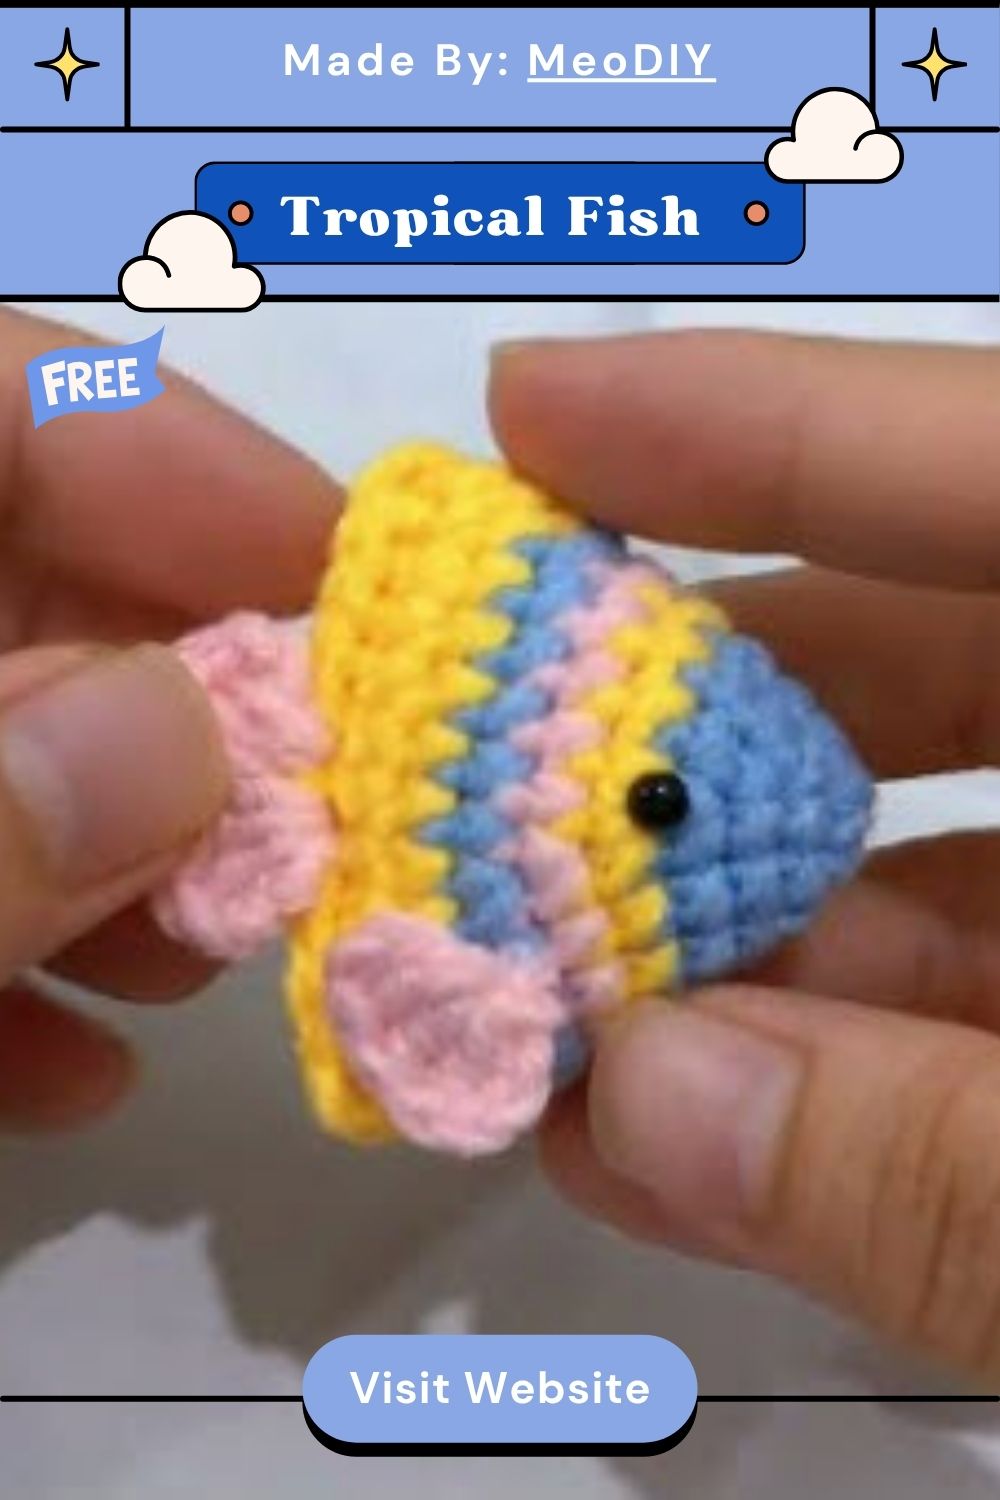
Capturing the beauty of the ocean and the colorful underwater world in yarn, this crochet tropical fish amigurumi makes for a charming project. Inspired by the vibrant colors of tropical reef fish, this little fish instantly grabs attention with its distinctive style and lovely details. It’s a special pick for ocean lovers, amigurumi enthusiasts, kids’ room decor, shelf decor, and cute handmade gifts. With an easy pattern and creative color combinations, it adds a beautiful ocean-inspired touch to your crochet collection.
Creating this tropical fish amigurumi is a beautiful ocean-inspired journey, working a chubby body in spiral crochet stitches. Paired with colorful fins, safety eyes, and soft filling, this little reef-inspired fish becomes a charming handmade piece perfect for keychains, jewelry, or shelf decor.
Built on basic stitches like magic ring, increases, and decreases, this project is great for confident beginners. Quick, easy, and full of colorful ocean vibes, this pattern makes a delightful choice for gift-making, home decor, or trying out your amigurumi skills.
Skill Level
This is a beginner-friendly crochet pattern. Real talk if you already know single crochet, magic ring, and basic shaping, this fish is an easy weekend project. No tricky colorwork or complicated stitch counts here, just simple rounds worked one after another until your little reef friend takes shape.
Materials and Supplies List
Gather these supplies before you start your easy crochet project:
Yarn
- Worsted weight (4) yarn in bright tropical colors — orange, yellow, blue, or teal work beautifully
- One or two accent colors for stripes, fins, and tail
Hook
- 3.5mm or 3.75mm crochet hook (adjust to match your yarn weight and desired tension)
Safety Eyes
- 6mm or 8mm safety eyes, one pair
Stuffing
- Polyester fiberfill or any amigurumi-safe stuffing
Tools
- Yarn needle for sewing pieces together
- Scissors
- Stitch markers (a scrap of yarn or a locking marker both work)
Optional Accessories
- Keychain ring and jump ring, if you want a wearable finished piece
- Small ribbon or bead for extra decoration
Crochet Techniques Used
This pattern relies on a handful of simple, repeatable techniques:
- Magic ring — the standard start for amigurumi rounds
- Single crochet (sc) — the main stitch used throughout the body and fins
- Increase (inc) — two single crochets in one stitch, used to widen the body
- Decrease (dec) — invisible decrease, used to close the body and narrow the tail
- Sewing parts together — attaching fins, tail, and any accessories once pieces are complete
Step-by-Step Pattern Instructions
Head and Body Creation
Since a fish amigurumi is worked as one continuous piece, the head and body flow together into a single rounded shape.
- Start with a magic ring, 6 sc into the ring (6 stitches)
- Round 2: Increase in every stitch (12 stitches)
- Round 3: sc, inc repeat around (18 stitches)
- Round 4: sc 2, inc repeat around (24 stitches)
- Round 5: sc 3, inc repeat around (30 stitches)
- Rounds 6–10: sc even, no increases (30 stitches each round) — this builds the rounded body
- Round 11: sc 3, dec repeat around (24 stitches)
- Round 12: sc 2, dec repeat around (18 stitches)
- Stuff the body firmly before closing further
- Round 13: sc, dec repeat around (12 stitches)
- Round 14: dec around, then fasten off and close the gap
Low-key, this shaping method is the same one used for most amigurumi animals, so once you learn it, you can reuse it for future ocean-themed makes.
Fins and Tail
Fins and tail give the fish its playful, swimming look.
- Side fins (make 2): Magic ring, 4 sc into ring, work 2 rows flat back and forth in single crochet, fasten off leaving a long tail for sewing
- Top fin: Chain 6, sc into 2nd chain from hook and across, fasten off
- Tail fin: Magic ring, 6 sc into ring, increase every round for 2 rounds to create a fan shape, then fasten off
Feel free to make the tail slightly larger for a more dramatic, flowing look.
Facial Details
The face is what brings personality to your little reef buddy.
- Insert safety eyes between rounds 6 and 7 of the body, spaced evenly apart
- Embroider a small curved smile below the eyes using a contrasting yarn color
- Add tiny stitched details like cheek blushes with a light pink yarn for extra cuteness, if desired
Assembly Process
Assembly is where all your pieces finally come together.
- Pin the side fins onto the middle section of the body, one on each side
- Position the top fin along the back, slightly behind the head
- Attach the tail fin firmly to the narrow end of the body
- Sew each piece using small, tight whip stitches so nothing wiggles loose
Finishing Touches
- Weave in all loose ends securely
- Fluff the stuffing gently through the fabric to smooth any lumps
- Attach a keychain ring at the top of the head if you’re making this as a bag charm or gift accessory
- Give your fish a final shape check, adjusting stuffing as needed
Helpful Beginner Tips
A few small habits make a big difference in amigurumi projects:
- Keep stitches tight. Amigurumi needs firm, closed stitches so stuffing doesn’t peek through. Go down a hook size if your stitches look loose.
- Use stitch markers. Since amigurumi is worked in a spiral (not joined rounds), a stitch marker helps you track where each round begins.
- Stuff a little at a time. Add small amounts of stuffing as you go, rather than cramming it all in at the end, for a smoother, firmer shape.
- Check tension often. Hold your work up to the light if you can see through the stitches, tighten up before continuing.
Design Customization Ideas
For real, this pattern is easy to make your own:
- Different colors — try clownfish orange and white, angelfish blue and yellow, or an all-rainbow palette
- Cute accessories — add tiny bows, bead eyes, or a felt seaweed accent for extra charm
- Mini size variations — use a smaller hook and thinner yarn for a tiny, pocket-sized fish, perfect for keychains or ornaments
Frequently Asked Questions
What is the best yarn for amigurumi?
Worsted weight acrylic or cotton-blend yarn works best for amigurumi because it holds its shape well and comes in a wide range of bright colors, ideal for tropical fish designs.
How do I make my crochet plush firm?
Keep your stitches tight, use a hook size slightly smaller than recommended for the yarn, and stuff firmly in small amounts as you crochet each section.
How long does this project take?
Most crocheters finish this tropical fish amigurumi in about 2 to 4 hours, depending on experience level and how much detail is added to the fins and face.
Conclusion
This little tropical fish amigurumi is proof that ocean-inspired crochet doesn’t need to be complicated to be beautiful. Grab your hook, pick your favorite reef colors, and start stitching your own marine life buddy today your craft basket (and any marine life lover in your circle) will thank you.