Crochet Baby Penguin Amigurumi Pattern for Amazing Looks
Crochet baby penguin amigurumi brings together adorable proportions and playful black-and-white contrast in one irresistible little project. A round belly, tiny flippers, and a soft rocking base give this design instant charm, especially for anyone drawn to winter-themed or Antarctic animal crafts. Moreover, this pattern works beautifully as a nursery decoration, a baby shower gift, or a fun addition to a growing amigurumi animal collection. Even better, beginners can complete the entire project within a couple of relaxed evenings.
Baby penguin amigurumi has become a favorite among animal-themed crochet fans, largely because the rounded belly shape and simple color-blocking create a striking result without demanding complicated stitchwork. Essentially, the design relies on a plump body worked mostly in white and black yarn, with a rounded head that flows directly into the body for that classic chubby penguin look. Meanwhile, small flippers, a tiny orange beak, and stubby feet add just enough detail to bring real personality to the piece.
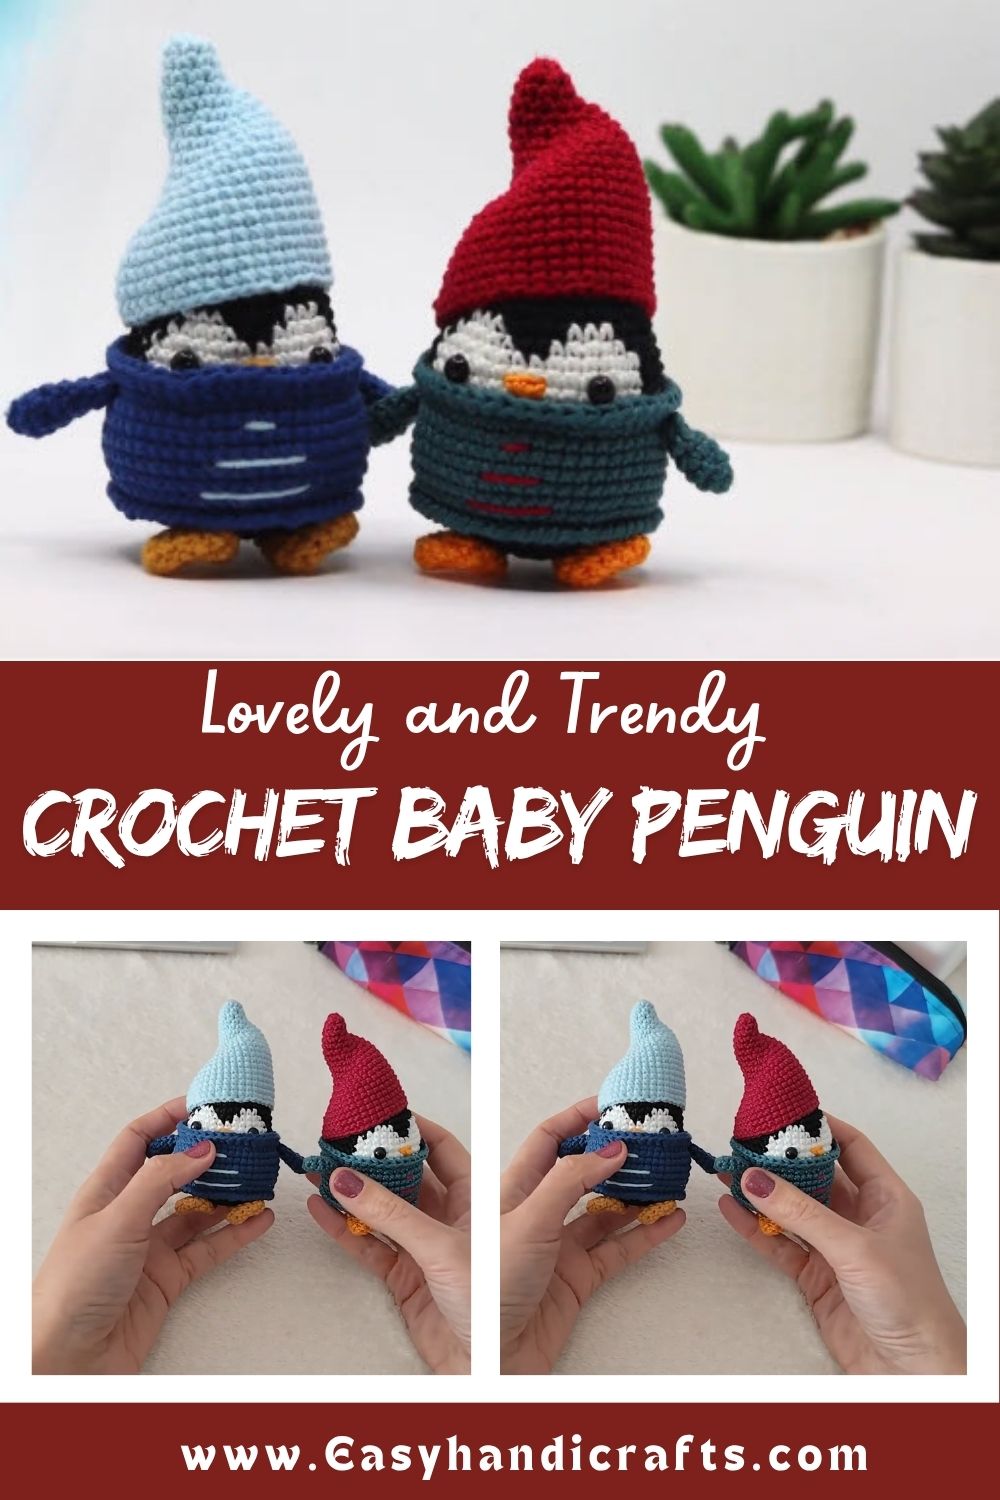
Consequently, crafters who enjoy winter, Christmas, or Antarctic-themed projects tend to gravitate toward this particular pattern throughout the colder months. Since the finished penguin sits upright on its own, it also works wonderfully as a shelf decoration, and the compact size makes it an easy, low-yarn project for gifting season.
Project Details
- Skill Level: Beginner to Intermediate
- Finished Size: Approximately 5–6 inches tall
- Estimated Time Required: 2.5–3.5 hours
- Recommended Yarn Weight: Worsted weight (Category 4)
- Crochet Hook Size: 3.5mm (E/4) or 4mm (G/6)
Materials Needed
- Worsted weight yarn in black or navy (main body color)
- Worsted weight yarn in white or cream (belly and face patch)
- Small amount of orange yarn (beak and feet)
- Black safety eyes, 6mm (or embroidery floss for baby-safe versions)
- Fiberfill stuffing
- Tapestry needle
- Stitch markers
- Scissors
- Optional: small scarf or hat accessory for extra charm
Crochet Stitches and Techniques
Only a handful of core techniques come together for this project, so even less-experienced crocheters can follow along with confidence.
- Magic Ring: Starts the head, body, and beak pieces neatly.
- Single Crochet: Forms the primary stitch used across the entire penguin.
- Increase: Rounds out the body into its plump, belly-forward shape.
- Invisible Decrease: Smooths the shaping at the top of the head and the base of the feet.
- Color Changes: Separates the white belly patch cleanly from the black body.
- Slip Stitch: Finishes edges on the flippers and feet neatly.
- Fastening Off: Secures every completed section before assembly.
- Sewing Pieces Together: Attaches the head, flippers, beak, and feet to the main body.
Pattern Instructions
Creating the Body
To begin, start with a magic ring in black yarn and work six single crochets into it, then pull the loop closed snugly. From there, increase evenly across several rounds so the body widens gradually into a rounded, egg-like shape, since rushing the increases creates a lopsided silhouette. Partway through, switch briefly to white yarn to form the belly patch, keeping the color change centered so the pattern looks balanced from the front.
Shaping the Head
Next, continue directly from the body in black yarn, decreasing slightly to create a gentle neckline before increasing again to form the rounded head shape. As the head narrows toward the top, decrease gradually and stuff firmly along the way, since a curved shape becomes far harder to stuff evenly once fully closed. Toward the final rounds, insert the safety eyes before closing the top completely.
Making the Beak and Face Patch
For the beak, work a tiny triangular shape in orange yarn using just a few rows of single crochet, then fold it slightly and sew it onto the center of the face. Meanwhile, a small oval patch of white yarn, sewn just above the beak, extends the belly color upward and gives the classic baby penguin facial marking. Afterward, embroider a light blush or small highlight near the eyes for extra sweetness, if desired.
Crafting the Flippers
To create the flippers, work a small flat oval shape in black yarn using single crochet, increasing slightly at the rounded end before fastening off. Since the flippers stay purely decorative, keep them thin rather than stuffed, so they drape naturally against the body once attached. Position both flippers evenly along the sides of the body before sewing them into place.
Shaping the Feet
For the feet, work two small orange pieces using a magic ring, increasing briefly before flattening the shape slightly with a few extra stitches along one edge to mimic webbed toes. Because the feet support the entire finished piece, keep them wide and stable rather than narrow or pointed. Afterward, sew both feet securely to the underside of the body, spacing them evenly for balance.
Joining All Pieces
Once every piece is ready, sew the head onto the top of the body first, checking that it sits centered and upright before fully securing the stitches. After that, attach the flippers along the upper sides, followed by the beak and face patch, then finish with the feet along the base. Because the feet determine how well the penguin balances, test the standing position before committing to the final stitches.
Final Assembly
To finish, weave in any remaining yarn tails along the inside seams so nothing shows from the outside. Then, gently fluff and shape the body by hand, checking under good lighting for any lopsided stuffing before calling the project complete.
Tips for Success
- Counting stitches after every round keeps the rounded body shape symmetrical.
- Centering the belly patch carefully prevents the color-blocking from looking off-balance.
- Stuffing firmly but gradually, rather than all at once, produces a smoother, plumper body.
- Testing the standing balance before sewing the feet in place saves time on later adjustments.
- Weaving yarn tails through several stitches, rather than simply knotting them, keeps ends secure long-term.
Personalization Ideas
- Swapping the classic black-and-white palette for pastel colors creates a softer, baby-shower-friendly version.
- Adding a tiny knitted scarf or hat instantly turns the pattern into a festive winter decoration.
- Using a slightly larger hook and bulkier yarn produces a jumbo, huggable version perfect for nursery decor.
- For a playful twist, embroidering rosy cheeks or heart-shaped eyes gives the penguin extra personality.
- Attaching a small keyring loop transforms the finished piece into a cute bag charm or zipper pull.
Common Mistakes to Avoid
Rushing the increase rounds on the body often produces an uneven, lopsided shape, so slowing down and counting stitches carefully matters more than working quickly. Similarly, positioning the belly patch off-center can throw off the entire finished look, so double-checking placement before sewing saves frustration later. Overstuffing the head before it fully closes also risks distorting the shape, so adding stuffing gradually alongside the shaping produces better results. Lastly, skipping the balance test on the feet often leads to a penguin that tips over, so a quick check before final stitching prevents that entirely.
Frequently Asked Questions
Can beginners really finish this pattern successfully?
Absolutely the stitch count stays manageable throughout, and the techniques rely mainly on basic single crochet, increases, and decreases.
Does the penguin stand upright on its own without extra support? Yes, as long as the feet stay wide and evenly spaced, most finished penguins balance well without any additional base.
What yarn weight works best for a plump, rounded body?
Worsted weight with a snug hook size keeps the stitches tight enough to hold the stuffing in without gaps showing through.
How much yarn does one baby penguin typically require?
Roughly 30–40 grams across both colors covers the entire project comfortably.
Can safety eyes be swapped for embroidered ones?
Yes, and doing so makes the toy safer for very young children who might otherwise pull at plastic pieces.
Does the belly patch need to be crocheted separately?
Working the color change directly into the body rounds gives the cleanest result, though a separately sewn-on patch also works well for beginners.
What’s the best way to store or display finished Crochet Baby Penguin Amigurumi?
Keeping pieces upright on a shelf away from direct sunlight prevents both fading and flattening over time.
Conclusion
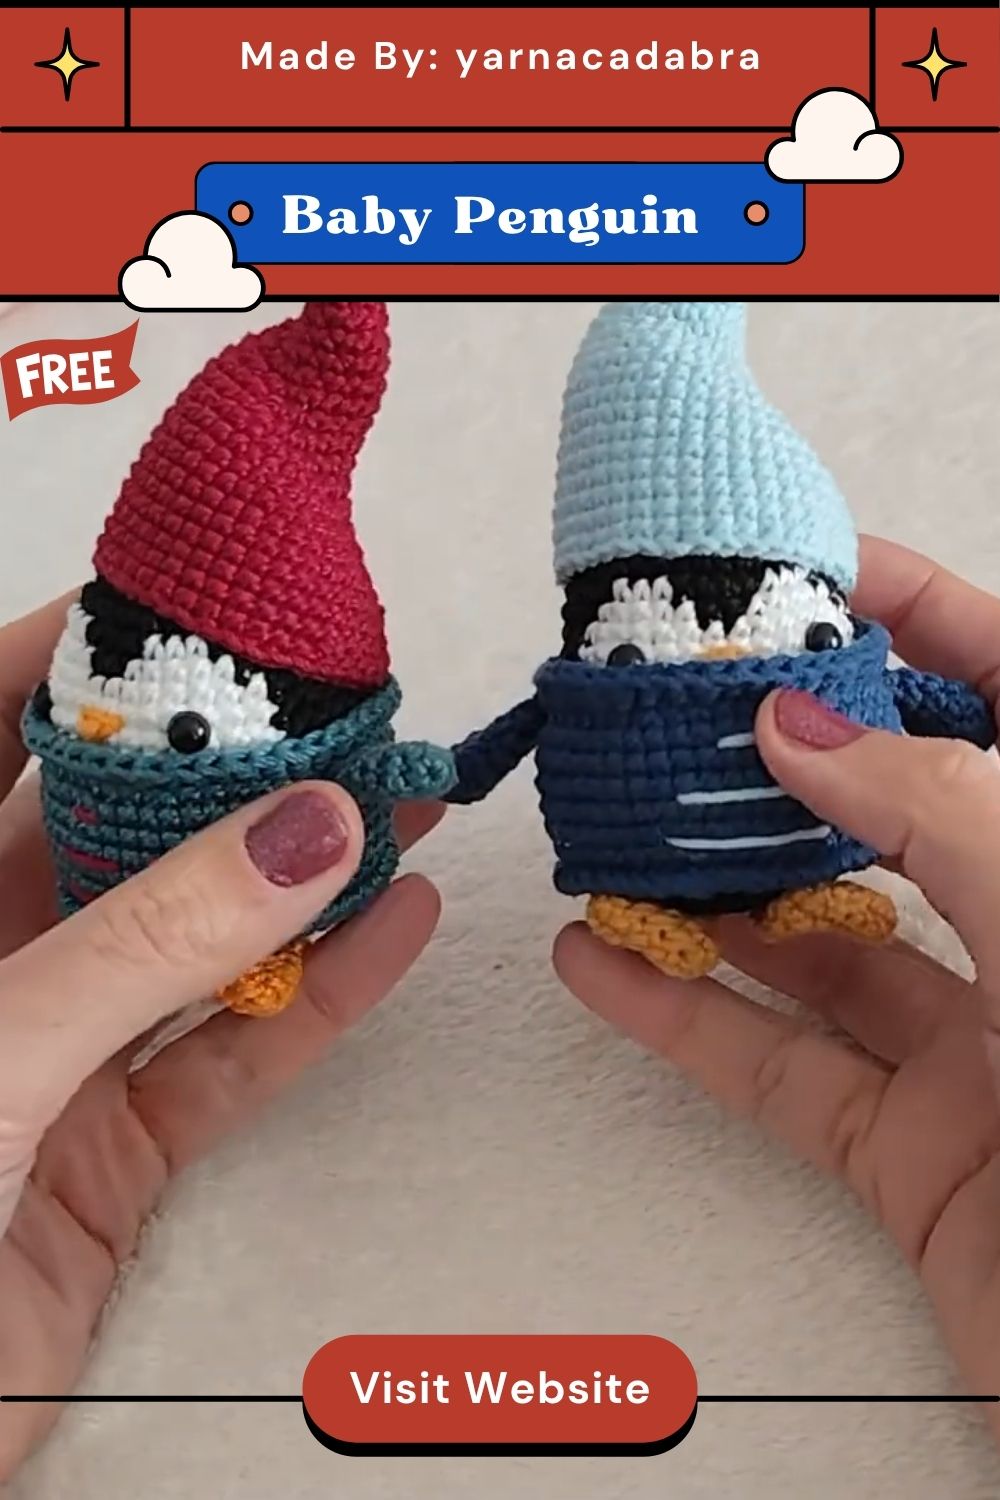
Crochet baby penguin amigurumi proves that a simple color palette can still produce a wonderfully expressive, charming project. Along the way, practicing color changes, rounded shaping, and balance-focused assembly builds confidence for tackling more detailed animal amigurumi down the road. Additionally, sharing a finished penguin with fellow crafters, whether through an online photo or a handmade gift, adds another layer of joy to a project that’s already fun from start to finish. So grab some black and white yarn a whole waddle of baby penguins might be just a few evenings away.