Handmade Crochet Gnome Bookmark Pattern for Book Lovers
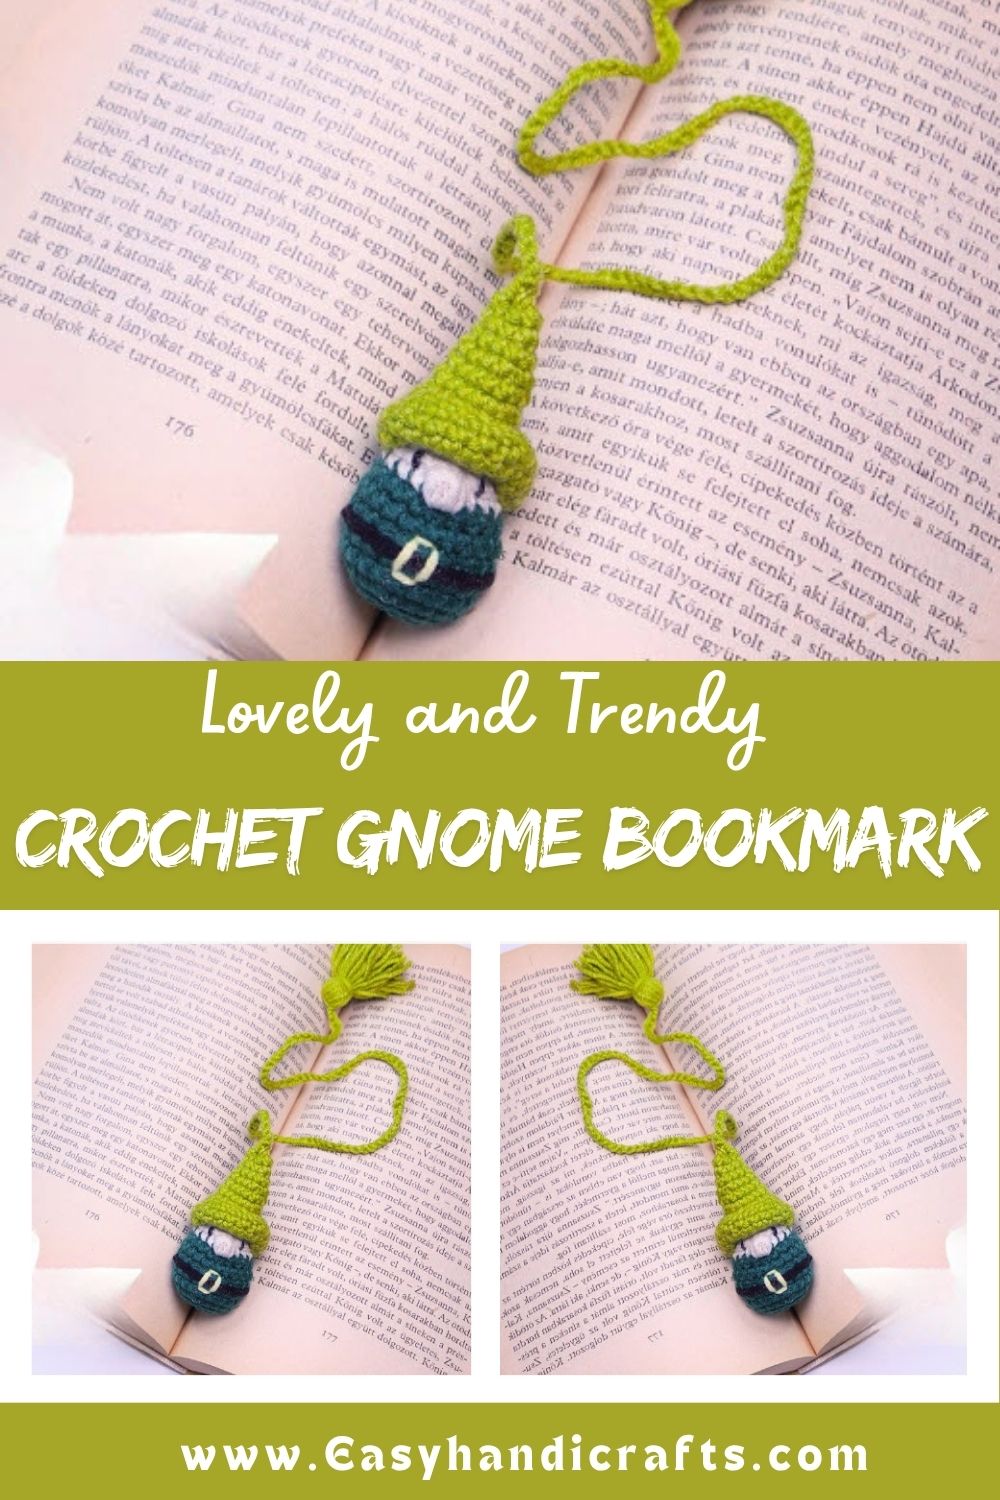
Loved in the crochet world for their distinctive charm and fairy-tale beauty, gnomes bring a sense of warmth and joy wherever they go, thanks to their tiny beards, cute style, and folklore-inspired feel. This Crochet Gnome Bookmark Pattern collection offers a beautiful blend of reading and handmade art, making it a special choice for book lovers, crochet enthusiasts, and gift-makers alike. With its easy design and charming details, this tiny project adds a beautiful personal touch to your favorite book.
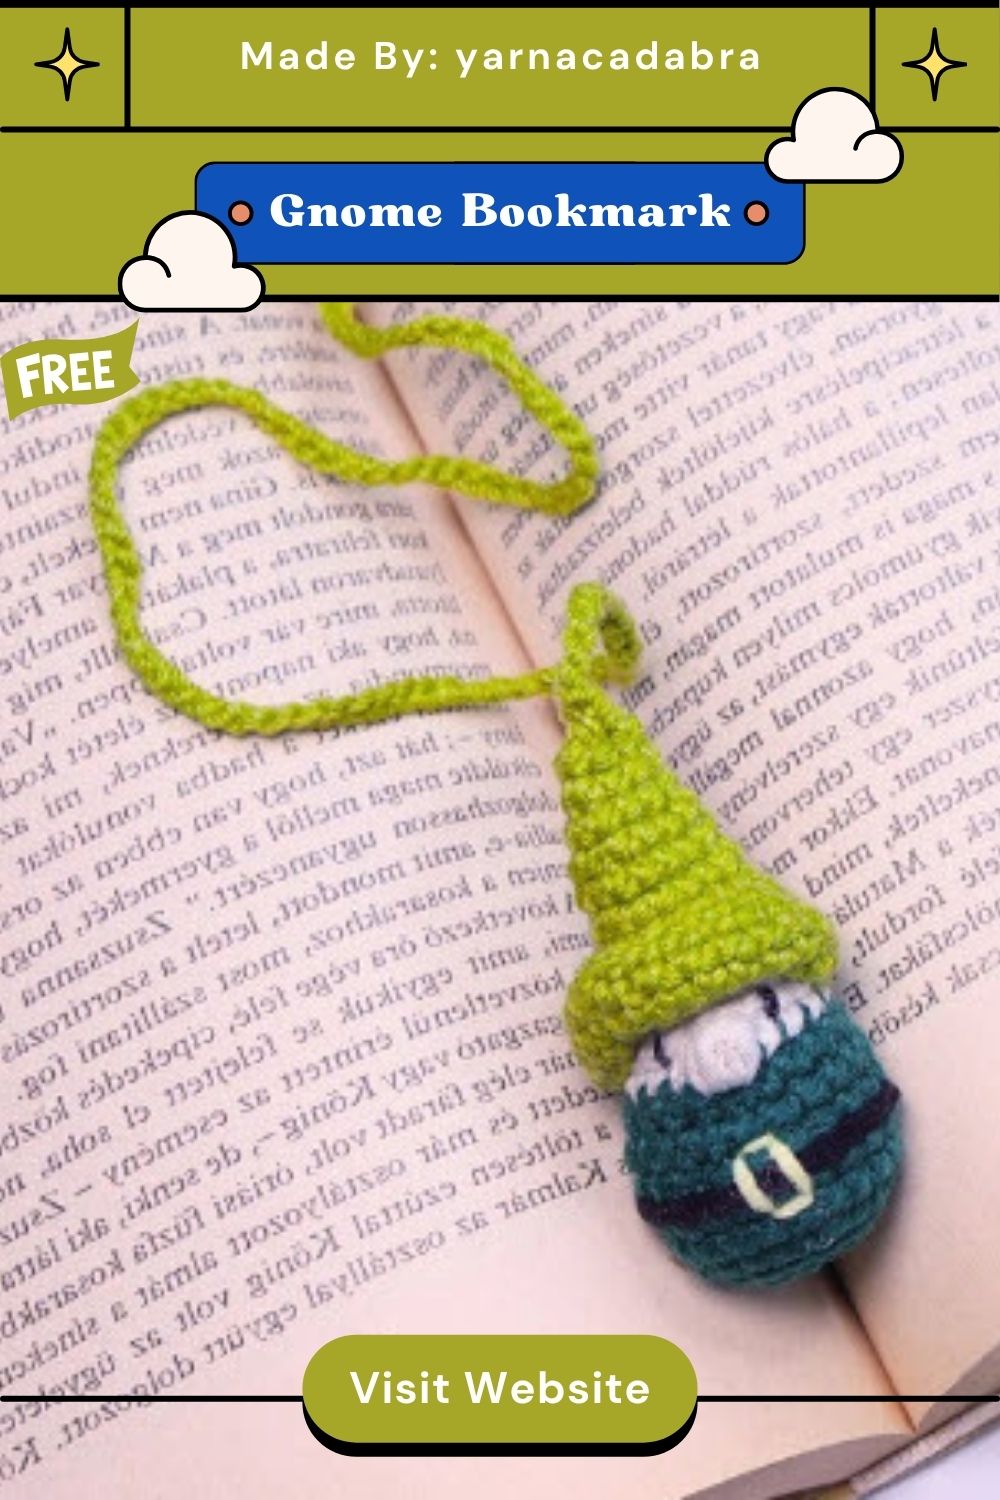
Book lovers deserve accessories as charming as the stories they read, and that’s exactly what this crochet gnome bookmark delivers. Made with simple stitches and cozy yarn, this little gnome clips onto pages and adds personality to any reading nook or gift basket.
This project works up quickly using basic amigurumi techniques, making it ideal for anyone wanting a fast, satisfying make. The gnome’s pointy hat, tiny beard, and soft body come together with minimal yarn and just a few hours of stitching time.
Skill Level
Beginner-friendly. This pattern uses only single crochet, magic rings, and simple increases and decreases, so new crocheters can complete it confidently while more experienced makers enjoy a relaxing, quick project between bigger works.
Materials and Supplies List
Gathering the right supplies before starting makes the whole process smoother and more enjoyable.
Yarn Colors
- Skin tone yarn (peach, beige, or light pink) for the face
- Bright color for the hat (red, mustard, or forest green work beautifully)
- Neutral color for the beard (white, cream, or light gray)
- Optional accent yarn for a scarf or tiny details
Tools and Extras
- Crochet hook size 2.5mm to 3.5mm (matched to your yarn weight)
- Safety eyes, size 6mm to 8mm, or small black beads
- Polyester fiberfill stuffing
- Yarn needle for sewing pieces together
- Sharp scissors
- Stitch markers for tracking rounds
- Optional ribbon, bell, or small charm for extra decoration
- Optional bookmark ribbon or cord to attach the gnome shape
Crochet Techniques Used
This pattern relies on a handful of core amigurumi skills, all beginner accessible.
- Magic ring: starts each piece with a tight, gap-free center
- Single crochet (sc): builds the main fabric of the hat, face, and beard
- Increase (inc): widens rounds for shaping the head and hat base
- Decrease (dec): narrows rounds to close off pieces neatly
- Sewing technique: joins the hat, beard, and face securely using a whip stitch
Step-by-Step Crochet Pattern Instructions
Follow each section in order, and don’t rush the stuffing stage since firm shaping makes the biggest difference in the final look.
Step 1: Creating the Head
Start with a magic ring and work 6 single crochet stitches into it. Increase evenly over the next two rounds until you reach around 18 to 24 stitches, depending on desired size. Work several rounds without increasing to build height, then begin decreasing gradually while adding stuffing along the way. Close the final opening with a few stitches pulled tight.
Step 2: Making the Body or Base Shape
Since this is a bookmark design, the body often stays short and rounded rather than long, forming a small teardrop or dome shape that attaches directly beneath the head. Crochet a magic ring, increase for two rounds, work one plain round, then decrease and stuff lightly before closing.
Step 3: Ears, Accessories, and Tail Details
Traditional gnomes skip visible ears since the hat and beard cover most of the face, but small details bring personality:
- A tiny pom-pom for the hat tip
- A small crocheted heart or leaf accessory
- A miniature scarf made from a short chain and single crochet row
- A tiny tail or charm if turning this into a seasonal ornament-style bookmark
Step 4: Facial Details
Attach safety eyes between the hat and beard placement, leaving enough space for the nose area. A small pink or peach pom-pom, or a single round bobble stitch, creates a sweet rounded nose. Keep facial features minimal, since gnome designs traditionally hide most of the face behind the beard and hat brim.
Step 5: Assembly Process
Sew the beard piece onto the lower half of the head, curving it slightly outward for dimension. Position the hat directly above the beard, overlapping slightly to hide any visible gaps. Secure everything with a whip stitch using matching yarn colors, checking placement before finishing each seam.
Step 6: Finishing Touches
Weave in all loose ends carefully, then attach your chosen bookmark method:
- Sew a ribbon loop through the top of the hat
- Attach a keychain-style clip beneath the body for hanging on a bag or book edge
- Add a small bell or charm for extra character
Trim any stray fibers and fluff the beard gently with a slicker brush or your fingers for texture.
Helpful Beginner Tips
A few small habits make a noticeable difference in your finished amigurumi pieces.
Keep Stitches Tight
Loose stitches allow stuffing to peek through, so use a hook one size smaller than recommended for your yarn weight when working amigurumi pieces.
Use Stitch Markers
Since amigurumi works in continuous spiral rounds rather than joined rounds, a stitch marker placed at the start of each round prevents confusion and miscounted stitches.
Stuff as You Go
Add stuffing gradually while working the final rounds rather than waiting until the piece closes completely. This creates even, firm shaping without lumps or thin spots.
Design Customization Ideas
This pattern welcomes plenty of personal touches, so feel free to experiment.
Different Colors
Swap traditional red and white for pastel spring shades, autumn tones, or bold winter holiday colors depending on the season or occasion.
Cute Accessories
- Tiny glasses made from wire or embroidery thread
- Seasonal hats like pumpkins, snowflakes, or flowers
- Little books or coffee cups tucked into crocheted hands
Mini Size Variations
Using thread-weight yarn and a smaller hook creates an adorable miniature version, perfect for planner clips or delicate jewelry-style bookmarks.
Frequently Asked Questions
What is the best yarn for a crochet gnome bookmark pattern like this gnome?
Cotton or acrylic worsted-weight yarn works wonderfully since both hold shape well and give clean, defined stitches for small amigurumi pieces.
How do I make my crochet plush firm and well-shaped?
Use a smaller hook than the yarn label suggests, keep tension consistent, and stuff pieces firmly while working the final rounds instead of after closing them.
How long does this bookmark project take to complete?
Most crocheters finish this gnome bookmark within two to four hours, making it a great weekend project or last-minute handmade gift idea.
Conclusion
This crochet gnome bookmark pattern proves that small projects can bring big joy, especially for book lovers who appreciate handmade charm. Grab your hook, pick a cheerful color palette, and start stitching your own tiny reading companion today. Once finished, this pattern makes a wonderful gift for fellow readers or a delightful addition to your own bookshelf collection.