Free Crochet Baby Hippo Amigurumi Pattern with Simple Instructions
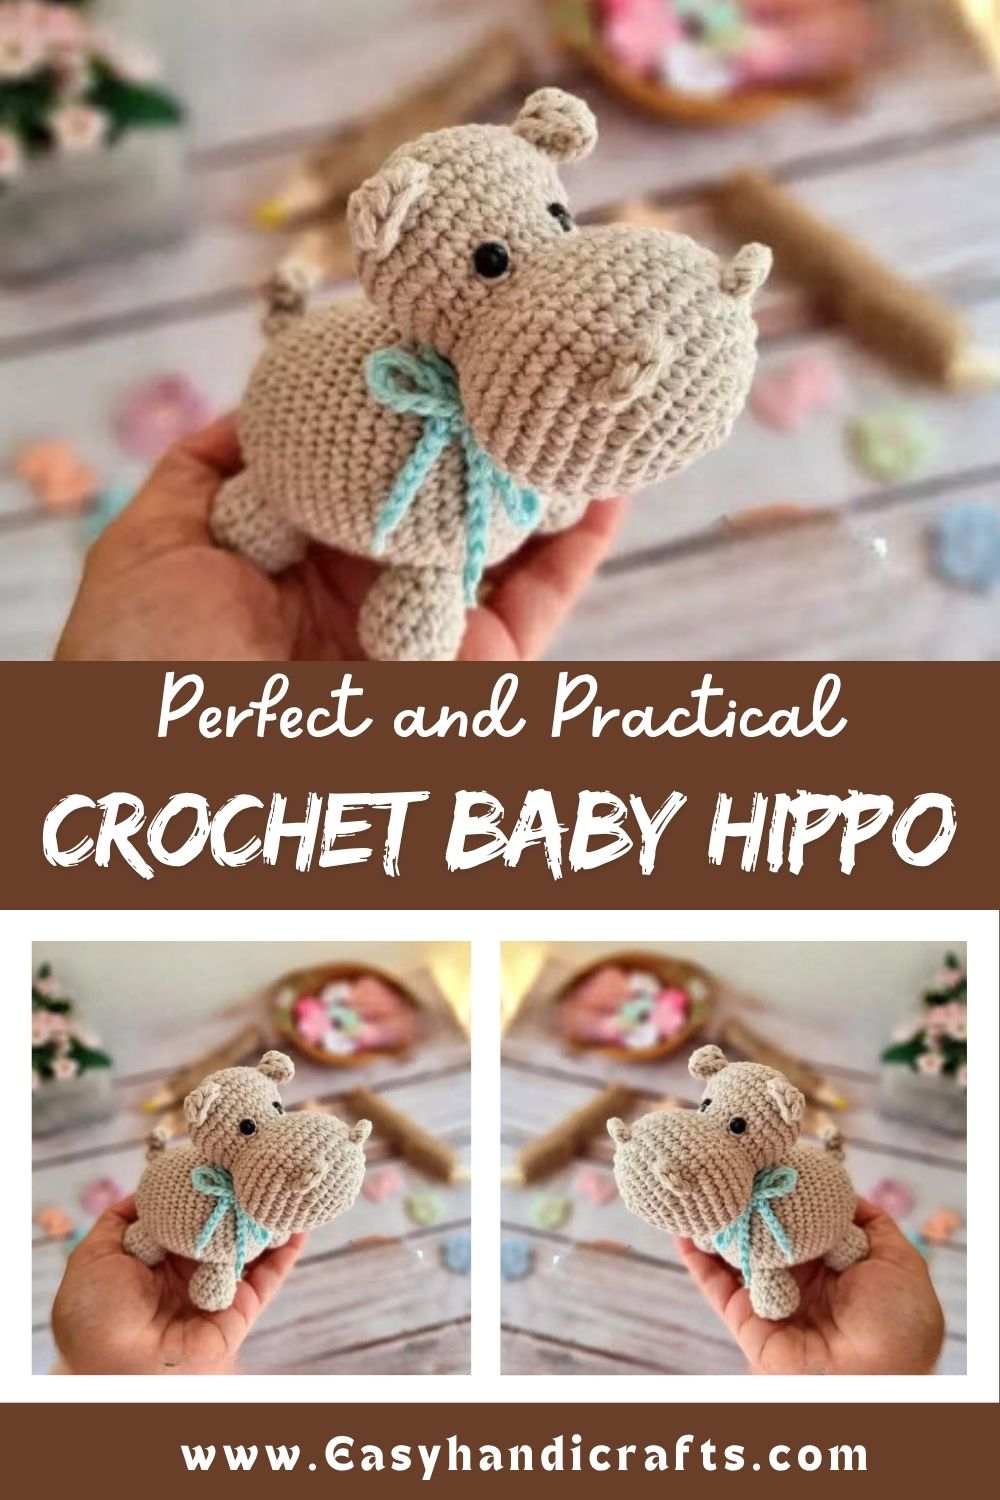
Among cute amigurumi characters, this little Crochet Baby Hippo Amigurumi instantly grabs everyone’s attention. Grab your hook and yarn, then bring this round, standing hippo to life- perfect for nursery decor, brightening up a shelf, or gifting someone special a handmade present.
Crochet Hippo Amigurumi projects bring charm to any handmade collection. Soft rounds build the head, trunk, and body, while stumpy legs give this little guy his signature waddle. Beginners and experienced stitchers alike will enjoy the process.
Overview
Genuine handmade toys carry warmth that store-bought ones simply can’t match. Elrincón’s original design forms the foundation of this piece, reimagined here with clear, beginner-friendly wording. Expect a sturdy little hippo with a rounded trunk, tiny ears, stitched nostrils, four stumpy legs, and an optional rattle tucked inside for extra play value.
Skill Level
Intermediate crocheters will move through this Crochet Baby Hippo Amigurumi pattern comfortably, though confident beginners can manage it too. Basic single crochet, increases, and decreases carry most of the work. Shaping the trunk and assembling separate pieces require a bit of patience, but nothing overly technical stands in the way.
Materials You’ll Need
Gathering supplies before starting keeps the process smooth. Here’s what to have on hand:
- Semi-thick cotton yarn (8/6 weight), any color you prefer
- Crochet hook, size 2.5mm or 2.75mm
- Safety eyes, 6mm, black
- Polyester fiberfill for stuffing
- A rattle insert (optional, for a playful squeaker effect)
- Tapestry needle with a pointed tip
- Stitch markers
- Scissors
- Straight pins
Abbreviations Used in This Pattern
Familiarizing yourself with these terms first prevents confusion later:
- ch – chain
- mr – magic ring
- (…)x – repeat the stitches in parentheses the number of times listed
- R – round
- (…) – total stitch count at the end of the round
- Rw – row
- sl st – slip stitch
- sc – single crochet
- hdc – half double crochet
- BLO – back loop only
- inc – increase
- dec – decrease
pattern Instructions
Crocheting the Head and Trunk
Everything begins at the tip of the trunk, working outward toward the head.
Round 1: 6 sc in a magic ring (6)
Round 2: 6 inc (12)
Round 3: (1 inc, 1 sc) x6 (18)
Round 4: (1 inc, 2 sc) x6 (24)
Round 5: (1 inc, 3 sc) x6 (30)
Round 6: (1 inc, 4 sc) x6 (36)
Rounds 7–10: 36 sc, worked even (36) – 4 rounds
Round 11: (1 dec, 4 sc) x6 (30)
Round 12: (1 dec, 3 sc) x6 (24)
Round 13: (1 dec, 2 sc) x6 (18)
Round 14: 18 sc, worked even (18)
Round 15: (1 inc, 2 sc) x6 (24)
Round 16: (1 inc, 3 sc) x6 (30)
Rounds 17–20: 30 sc, worked even (30) – 4 rounds
Place the safety eyes on Round 16, leaving 3 to 4 stitches of space between them. Pack the trunk firmly with fiberfill before continuing.
Round 21: (1 dec, 3 sc) x6 (24)
Round 22: (1 dec, 2 sc) x6 (18)
Round 23: (1 dec, 1 sc) x6 (12)
Fasten off with a slip stitch, leaving a long tail for sewing. Finish stuffing the head tightly before closing.
A quick note: instead of the standard closure, you can also work Round 24 as 6 dec, then close with a slip stitch. Many crocheters prefer sewing the opening closed with 12 sc for a neater finish, as shown in reference photos. Pressing the safety eyes slightly inward gives the hippo a gentler, more expressive look if desired.
Shaping the Ears
Work two matching pieces for this section.
Begin with 2 chains in a magic ring, counting the first 2 chains as your first hdc, then add 7 more hdc for a total of 8 hdc. Close with a slip stitch, pull the magic ring tight, and cut the yarn, leaving enough length for sewing later.
Making the Nostrils
Two identical pieces are needed here as well.
Row 1: Chain 4
Row 2: Starting from the second chain from the hook, work 2 sc and 1 sl st.
Tie a secure double knot using both yarn ends, then trim the working thread, leaving a small tail. Keep the starting thread uncut for now, since it will be hidden during assembly.
Crocheting the Stumpy Legs
Four identical pieces make up the legs.
Round 1: 6 sc in a magic ring (6)
Round 2: 6 inc (12)
Round 3: 12 sc in BLO only (12)
Rounds 4–5: 12 sc, worked even (12) – 2 rounds
Round 6: (1 dec, 4 sc) x2 (10)
Close with a slip stitch and cut the yarn, leaving a tail for sewing. Stuff each leg with fiberfill as you attach it to the body.
Building the Body
The body follows a similar increase-and-decrease pattern to the head.
Round 1: 6 sc in a magic ring (6)
Round 2: 6 inc (12)
Round 3: (1 inc, 1 sc) x6 (18)
Round 4: (1 inc, 2 sc) x6 (24)
Round 5: (1 inc, 3 sc) x6 (30)
Round 6: (1 inc, 4 sc) x6 (36)
Rounds 7–17: 36 sc, worked even (36) – 11 rounds
Round 18: (1 dec, 4 sc) x6 (30)
Round 19: (1 dec, 3 sc) x6 (24)
Round 20: (1 dec, 2 sc) x6 (18)
Add a small amount of stuffing here, tucking in the rattle insert if you’re using one.
Round 21: (1 dec, 1 sc) x6 (12)
Fasten off with a slip stitch, leaving a long thread for sewing. Complete the stuffing firmly, then close the body opening.
Assembling Your Hippo
Putting the pieces together transforms flat parts into a finished toy.
- Attach the ears roughly 4 rounds above the eyes, spacing them about 6 stitches apart.
- Sew the nostrils onto Round 6 (counting from the magic ring), spacing them 4 to 5 stitches apart. Use your tapestry needle to tuck any leftover threads inside the trunk.
- Sew the head onto the body using the long thread left from the body piece. Reinforce the stitching around the head especially, since this keeps the trunk balanced and prevents it from tipping forward.
- Stuff each leg, then pin them in place to keep the hippo level and standing on all four. This step takes the most patience, though it’s far from the trickiest part of the pattern.
Adding the Tail
A small curled tail finishes the look. Insert your hook into Round 5 from the body’s starting magic ring, then chain 7. Turn back along the chain, working 2 sc into each stitch, and finish with a slip stitch. Tie off with a secure double knot, trim the yarn, and hide the ends inside the body using your tapestry needle.
Customization and Variations
Small changes let you personalize every hippo you make.
- Swap in pastel shades for a nursery-friendly palette, or bold colors for a playful statement piece.
- Embroider a tiny smile for extra personality.
- Skip the rattle insert entirely for a simpler, quieter toy.
- Add a small bow or bandana around the neck for gifting occasions.
Common Mistakes to Avoid
A few small missteps tend to trip up crocheters working this pattern.
- Skipping stitch counts at the end of each round often leads to uneven shaping later. Counting after every round saves time overall.
- Under-stuffing the trunk can leave it looking floppy instead of firm and rounded.
- Placing the eyes too close together changes the hippo’s expression more than expected, so measuring the gap carefully matters.
- Rushing the leg attachment step often results in a wobbly, uneven stance.
Finishing Tips
A little extra care during the final steps elevates the whole project.
- Steam-block the finished hippo lightly to smooth out any uneven stitches.
- Trim yarn tails close after weaving them in, keeping the surface tidy.
- Double-check that the legs are even before setting the piece down to display.
Gifting Ideas
This hippo makes a sweet handmade gift for several occasions.
- Baby showers and gender reveals, especially with the rattle feature included.
- Birthday presents for toddlers who love plush animals
- Nursery decor paired with matching amigurumi sets
- Handmade craft fair inventory, since hippos stand out from typical bear or bunny designs
FAQs
Can beginners make this Crochet Baby Hippo Amigurumi?
Yes, though some comfort with increases, decreases, and basic assembly helps the process go smoothly.
What yarn weight works best?
Semi-thick 8/6 weight cotton yarn pairs well with a 2.5mm or 2.75mm hook for tight, even stitches.
Is the rattle insert necessary?
Not at all. Leaving it out simply creates a quieter, softer toy without otherwise changing the pattern.
How do I keep the hippo standing upright?
Pin the legs in place before sewing, checking balance from multiple angles until the stance looks even.
Can I use a different eye size?
Slightly larger or smaller safety eyes work fine, though 6mm gives the most proportional look for this size hippo.
How long does this project usually take?
Most crocheters finish within a weekend, depending on their experience and how much time they spend on stuffing and assembly.
Conclusion
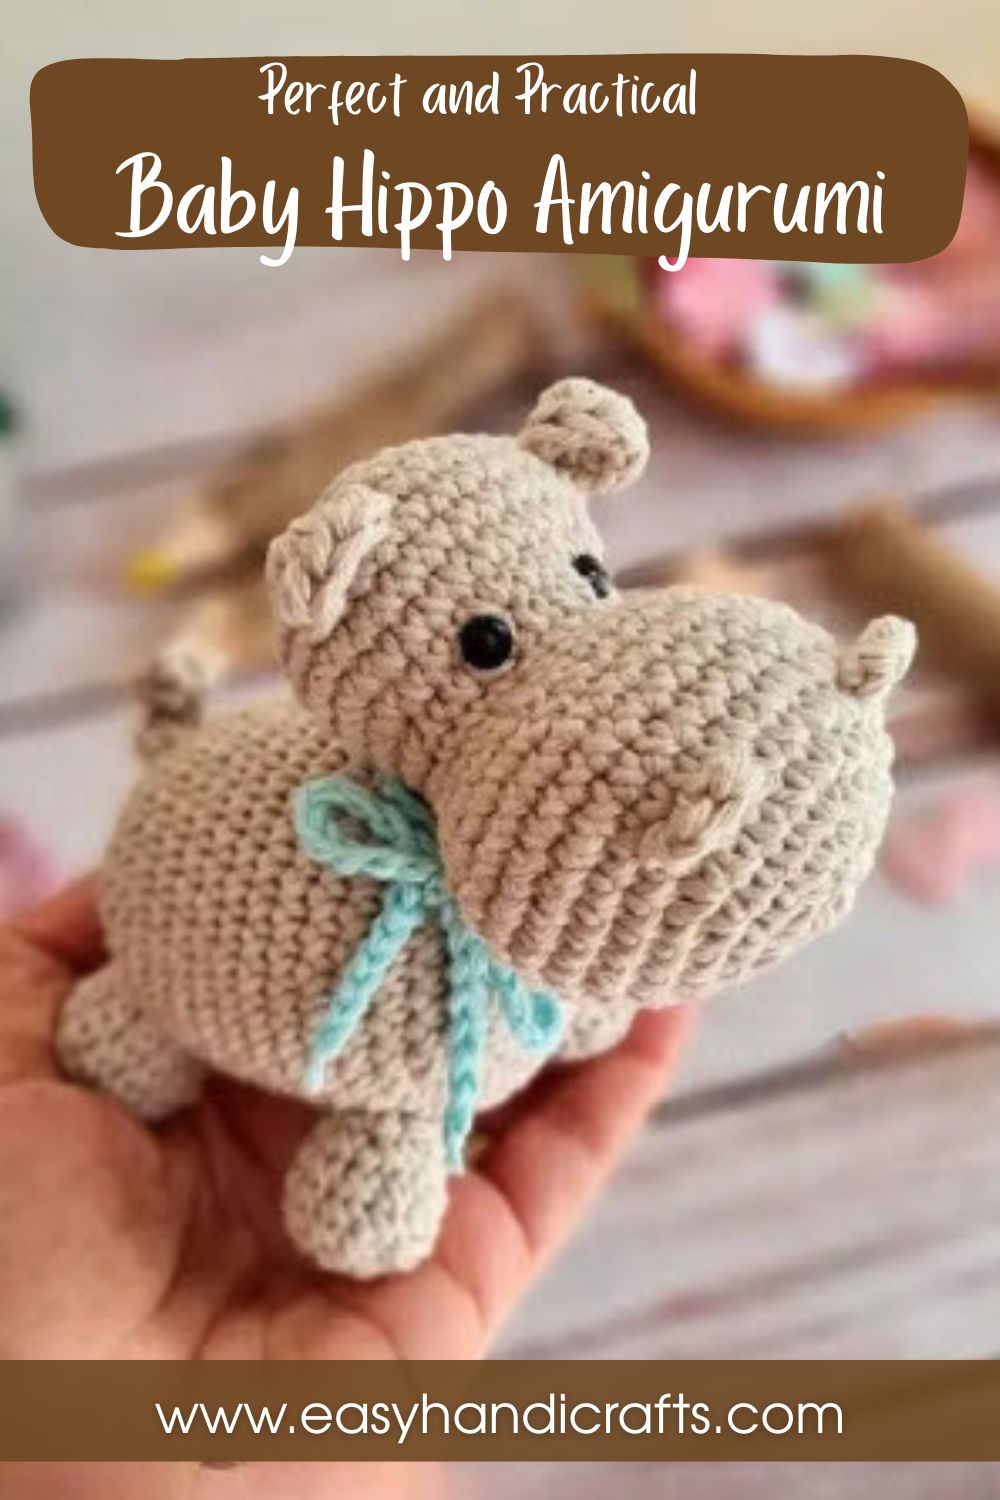
Crafting this Crochet Baby Hippo Amigurumi rewards patience with a genuinely charming result. Each piece, from the curled trunk to the stumpy legs, comes together into a toy that feels both sturdy and full of personality. Whether it’s destined for a nursery shelf, a baby shower gift, or a craft fair table, this pattern offers plenty of room for personal touches along the way. Once the final stitch is tied off, you’ll have a handmade companion built to last for years of cuddles.