Fabulous Crochet Sleepy Goose Amigurumi Pattern Toy
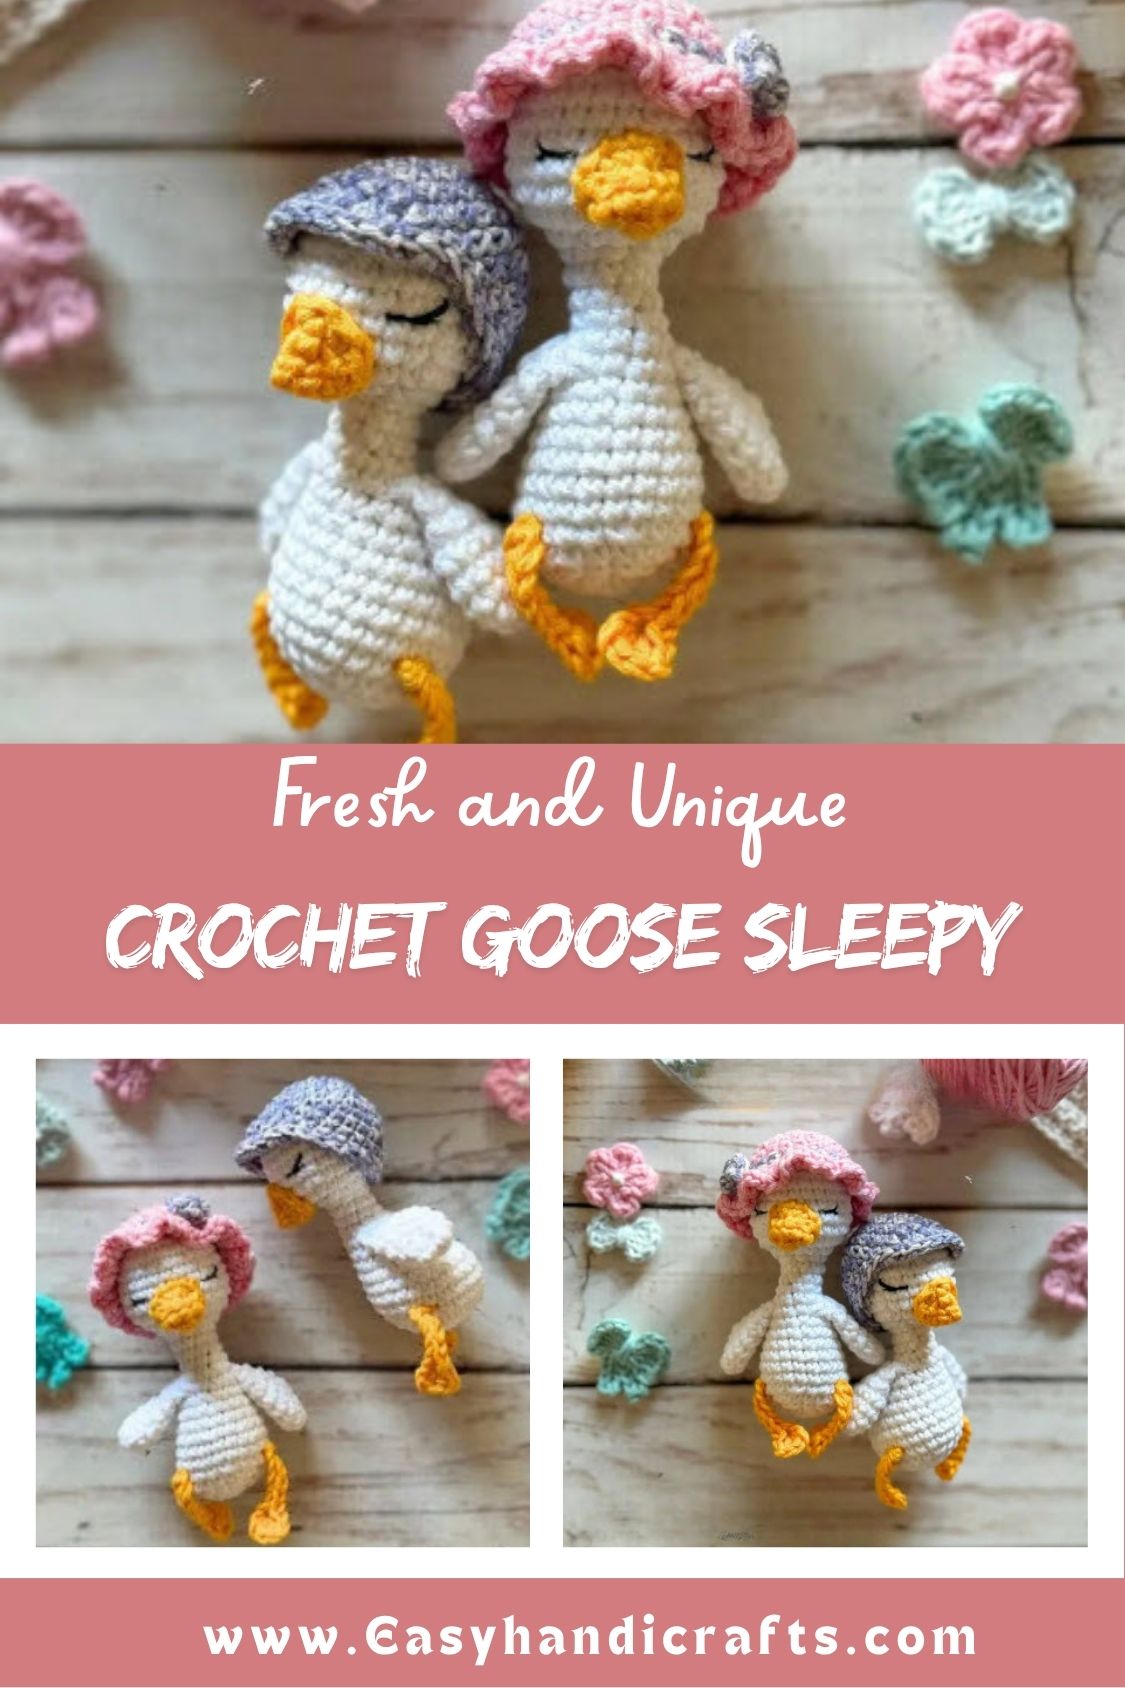
Crochet goose toys bring instant charm to any nursery shelf, and this Crochet Sleepy Goose version adds extra sweetness. Soft cotton yarn, gentle rounds, and a tiny knitted cap turn a simple amigurumi project into a lasting handmade keepsake worth making.
Amigurumi geese rarely get the spotlight compared to bears or bunnies, yet round bodies and tiny beaks make them satisfying to stitch. This pattern builds a plush goose from the tail up, working body and head in one continuous piece before adding wings, legs, and an embroidered beak. Two caps, styled as a capeline and a baseball cap, let crafters personalize the finished toy for a boy or a girl.
Skill Level
This pattern suits confident beginners comfortable with magic rings, increases, and decreases. Basic spiral crochet, simple color changes, and light embroidery cover the remaining skills needed for this project.
Pattern Overview
- Body and head worked as one continuous piece, stuffed in two stages for a firm neck and rounded head.
- Two small wings crocheted flat, flattened, and joined with single crochet along the edge.
- A pair of simple corn-shaped legs made from a short chain and folded stitches.
- A small beak worked in the round, left unstuffed for a soft, flexible shape.
- Eyes embroidered directly onto the head, or safety eyes used as a quicker alternative.
- Two optional cap styles, a capeline and a baseball cap, finished with a decorative flower or a curved brim.
Special Techniques
- Working in a continuous spiral without joining rounds, using a stitch marker to track the start of each round.
- Increasing and decreasing evenly across a round to shape the body, head, and wings smoothly.
- Flattening a small piece and single crocheting through both layers together to close the wings neatly.
- Crocheting in the back loop only for one round on the capeline to create a defined brim edge.
- Changing yarn colors mid pattern without leaving visible jog lines at the color change point.
- Embroidering satin stitch eyes through the same two stitches on both sides for a symmetrical, sleepy expression.
Materials
Gather these supplies before starting, all easy to find at any craft supply shop.
- Cotton yarn, DK weight or 8/6, in white and golden yellow (or colors of your choice)
- Hook sized to match your chosen yarn
- Black thin yarn for embroidering the eyes (or size 6 safety eyes as an alternative)
- Polyfiber stuffing
- Scissors
- Sewing needle
- Pins
- Stitch markers, a clip, or a scrap thread to mark the beginning of each round
Abbreviations
r – Round | mr – Magic Ring | sl st – Slip Stitch | sc – Single Crochet | hdc – Half Double Crochet | inc – Increase | dec – Decrease | (…)x – Repeat instructions in parentheses the number of times shown after the x | […] – Total stitch count at the end of the round
Instructions
Body and Head
Worked in a continuous spiral. Begin with the body:
- r1: 6 sc in a mr [6]
- r2: 6 inc [12]
- r3: (1 sc, 1 inc) x6 [18]
- r4: (2 sc, 1 inc) x6 [24]
- r5–r8: 24 sc [24] (4 rounds)
- r9: 8 sc, 4 dec, 8 sc [20]
- r10: 8 sc, 2 dec, 8 sc [18]
- r11: 6 sc, 3 dec, 6 sc [15]
- r12: 5 sc, 3 dec, 4 sc [12]
- r13: 3 sc, 3 dec, 3 sc [9]
- r14–r16: 9 sc (neck) [9] (3 rounds)
Make 6 extra sc so the following rounds begin at the back of the body. Stuff the body firmly at this point.
Continue with the head:
- r17: 9 inc [18]
- r18: (2 sc, 1 inc) x6 [24]
- r19: (5 sc, 1 inc) x4 [28]
Stuff the neck firmly.
- r20: 28 sc [28]
- r21: (5 sc, 1 dec) x4 [24]
- r22–r24: 24 sc [24] (3 rounds)
- r25: (2 sc, 1 dec) x6 [18]
- r26: (1 sc, 1 dec) x6 [12]
Stuff the head firmly.
- r27: (1 sc, 1 dec) x4 [8]
Close with 1 sl st, leaving a small tail. Close the head opening with a sewing needle.
Wings (make 2)
Worked in a continuous spiral.
- r1: 4 sc in a mr [4]
- r2: 4 inc [8]
- r3: 2 inc, 6 sc [10]
- r4–r5: 10 sc [10] (2 rounds)
- r6: 2 dec, 6 sc [8]
- r7: 2 dec, 4 sc [6]
Make 1 extra sc.
- r8: Flatten both sides of the piece and join the opposite stitches with sc (2 stitches total).
Wings are left unstuffed.
Legs (make 2)
Chain 7. In the 2nd chain from the hook, work 2 hdc, then chain 2 and close with 1 sl st to form the foot’s toes. Continue with 5 sc through the remaining chains. Cut the yarn, leaving a tail for sewing, and knot the starting thread.
Beak
Worked in a continuous spiral.
- r1: 4 sc in a mr [4]
- r2: 4 inc [8]
- r3: 2 sl st, 4 sc, 2 sc [8]
Cut the yarn leaving a tail for sewing. The beak is left unstuffed.
Caps
Use the same yarn weight as the goose, with a hook 0.25 mm to 0.50 mm larger for a slightly looser cap fabric.
Capeline (for her)
Worked in a continuous spiral in Color A.
- r1: 6 sc in a mr [6]
- r2: 6 inc [12]
- r3: (1 sc, 1 inc) x6 [18]
- r4: (2 sc, 1 inc) x6 [24]
- r5–r6: 24 sc [24]
Change to Color B.
- r7–r10: 24 sc [24] (4 rounds)
Change back to Color A.
- r11: 24 sc [24]
- r12: Working through the back loop only, sc and chain 1 in each stitch of the previous round. Close with 1 sl st and fasten off.
Flower
- r1: 6 sc in a mr [6]
- r2: 6 sc [6]
Cut the yarn leaving a tail, pass it through the center of the magic ring, and sew the flower onto the capeline in the position of your choice.
Baseball Cap
Worked in a continuous spiral, following r1–r4 exactly as the capeline above, then continue:
- r5–r8: 24 sc [24] (4 rounds)
- r9: Mark the first stitch, then work 10 sc and turn.
- r10: 1 dec (skipping the first sc), 9 sc, turn [9]
- r11: 1 dec (skipping the first sc), 8 sc [8]
Without cutting the yarn, continue crocheting sc all the way around the outer edge of the cap to form the brim, keeping the stitches relaxed rather than tight. Fasten off with a sewing needle once the round is complete.
Common Mistakes
- Understuffing the neck area, which makes the head wobble instead of sitting upright.
- Forgetting the extra stitches after the body and head shaping rounds, which shifts the round start out of alignment.
- Sewing the wings too far forward, so they sit flat instead of tilting slightly backward.
- Placing the eyes too close together or too high, which changes the sleepy expression the pattern is designed for.
- Pulling the beak’s closing stitches too tight, which flattens its soft, rounded shape.
- Skipping stitch markers, which makes it easy to lose track of the round count on longer sections.
Assembly
- Sew the beak between rounds 18 and 21, placing the slip stitches on the lower edge and the single crochet section on top; add one small stitch on each side to shape the nostrils.
- Embroider the eyes between rounds 20 and 21, catching two single crochet stitches on each side for a balanced, sleepy look.
- Sew the wings between rounds 13 and 14 with the decrease rows facing up, angling them slightly backward so they sit naturally.
- Attach the legs between rounds 4 and 5 using the leftover thread, then weave in the starting thread so the join stays neat.
- For the caps, sew the flower onto the capeline through the center of its magic ring, positioning it wherever looks best on the finished cap.
Important Remarks
- Safety eyes size 6 can replace embroidered eyes for a faster finish, though embroidery keeps the sleepy-eyed look softer and more toy-safe for very young children.
- Use a hook one size smaller than usual for the body and head, so stitches stay tight enough to hold the stuffing without gaps showing through.
- The caps are optional; the goose looks equally charming without one for crafters short on time.
- Wash finished toys by hand only, since machine washing can distort the shape of the stuffed head and body over time.
Conclusion
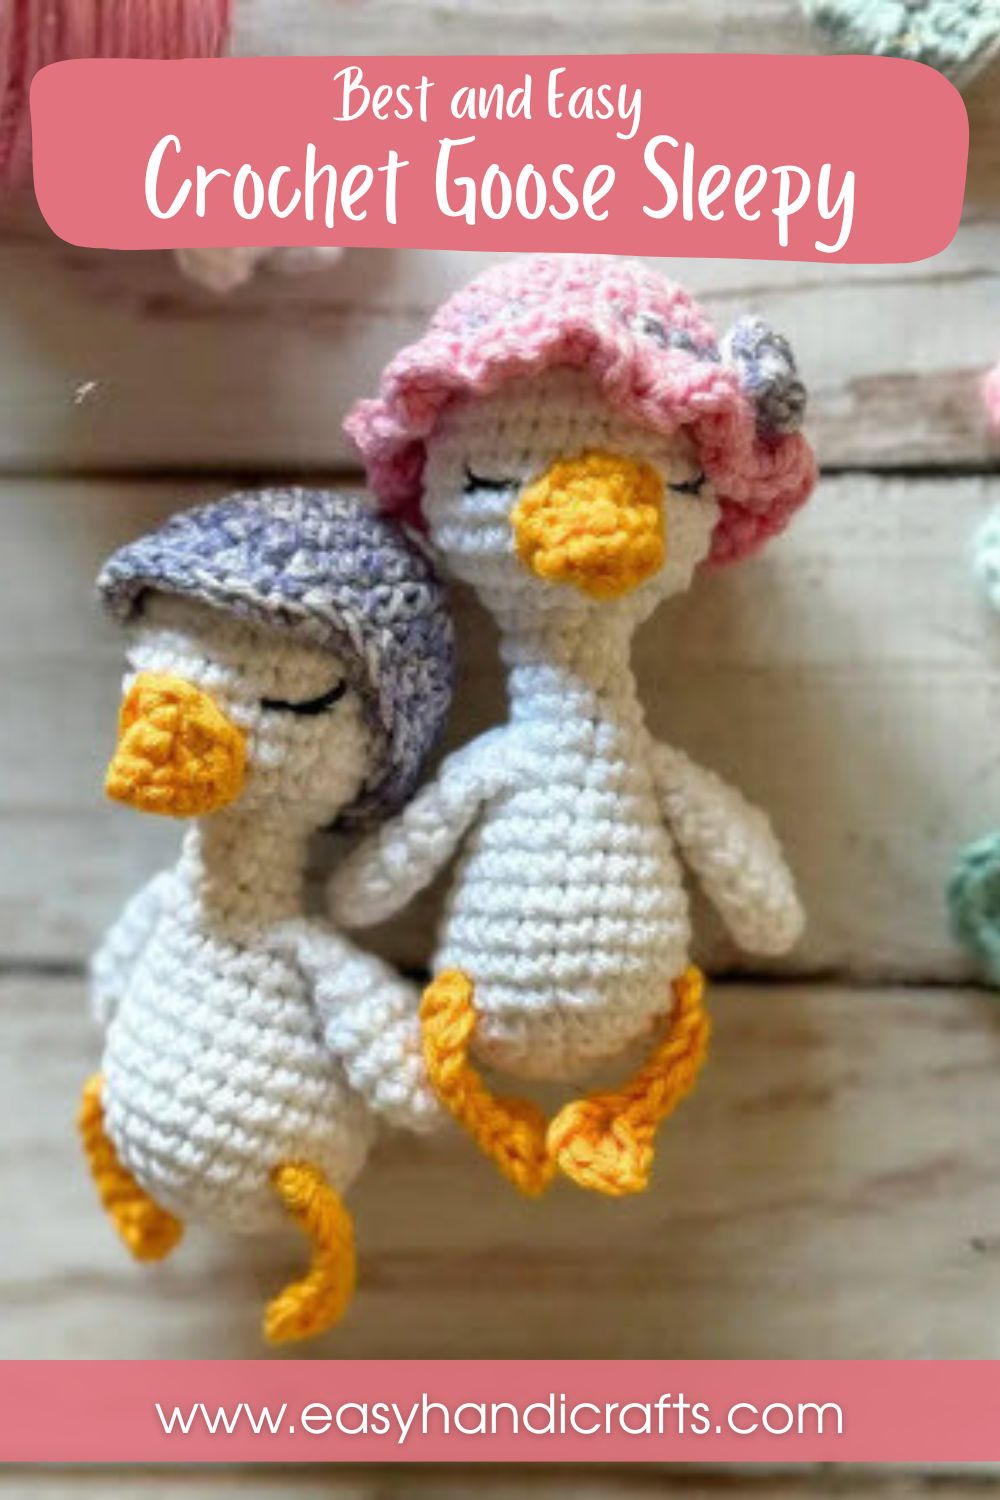
This Crochet Sleepy Goose proves that a simple color palette and a handful of familiar stitches can still produce a toy full of personality. Whether finished plain or topped with one of the two caps, it makes a sweet gift for a baby shower, a nursery shelf accent, or a first amigurumi project for someone new to crochet. Save this pattern and share a finished photo once the last stitch is tied off.