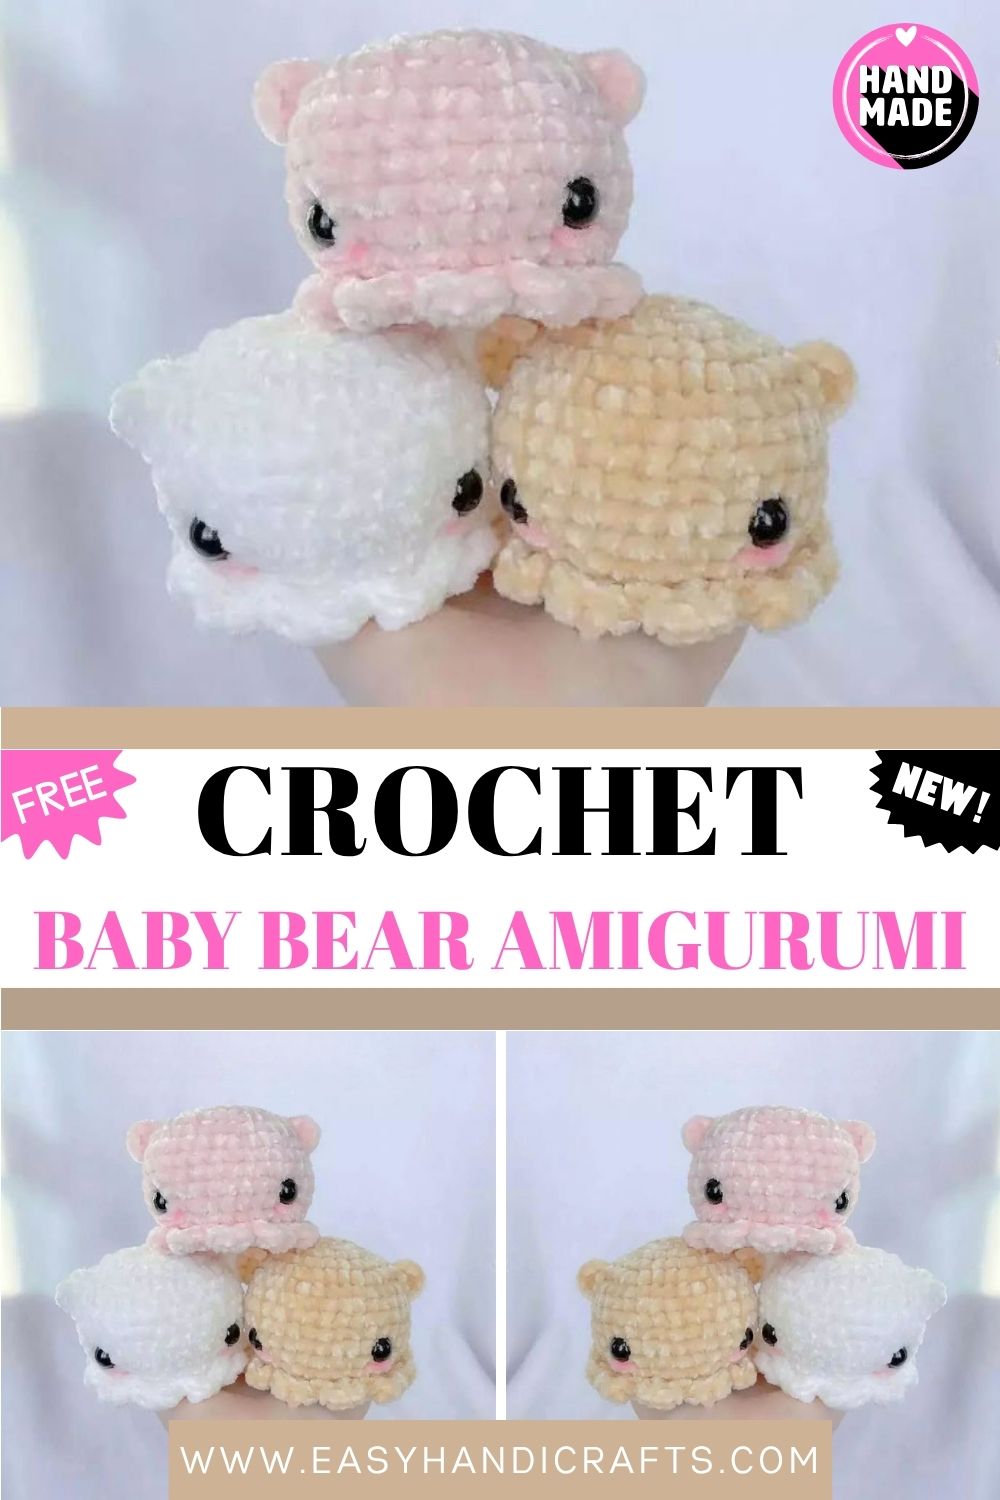
Perfect Crochet Baby Bear Amigurumi Pattern for Fun Vibes
Soft, squishy, and impossibly cute this Crochet Baby Bear Amigurumi is the kind of make that puts an instant smile on your face. Grab your velvet yarn, settle in somewhere cozy, and let’s stitch up a tiny friend together.
Honestly, there’s nothing quite like turning a humble ball of yarn into a chubby Crochet Baby Bear Amigurumi that fits right in your palm. This baby bear amigurumi works up fast, uses simple stitches, and gives you all the fun vibes without the stress. Whether it’s your first plush or your tenth, you’ll love this one.
Skill Level
This pattern sits comfortably at the advanced-beginner level. If you can work a magic circle, single crochet, and basic increases and decreases, you’re more than ready to make this adorable baby bear today.
Pattern Overview
Before you dive in, here’s a quick snapshot of what this project is all about:
- What you’re making: A small, round-bodied baby bear plushie with cute little ears and a soft velvet finish.
- Construction style: Worked from the top down in continuous rounds, so no fiddly joining between each row.
- Time needed: Most makers finish this in one or two relaxed sittings it’s a great weekend project.
- Pieces involved: A main body, a small bottom piece to close it up, and two tiny ears sewn on at the end.
- Finished look: Compact, huggable, and full of character perfect as a keychain charm, desk buddy, or handmade gift.
- Terminology: Written in US crochet terms throughout.
Materials and Supplies
Gather these up before you start so you don’t have to stop mid-stitch:
- Bernat Velvet yarn (in your chosen bear color)
- 4 mm crochet hook
- Yarn needle (for sewing and weaving in ends)
- Stitch marker (to track the start of each round)
- Poly-fil / stuffing
- 10 mm safety eyes
Velvet yarn gives that gorgeous plush softness, but feel free to swap in any worsted-weight yarn you love. Just remember a hook change may slightly change the final size.
Stitches and Abbreviations
This pattern uses these standard US terms:
- MC — magic circle
- SC — single crochet
- INC — increase
- DEC — decrease
- SLST — slip stitch
- FLO — front loop only
- DC — double crochet
- HDC — half double crochet
Important Pattern Notes
A few things worth reading before your hook hits the yarn:
- This pattern is written in US terminology.
- All pieces are worked in continuous rounds don’t join unless told to.
- You can absolutely use a different yarn or hook size depending on your preference; your bear will simply turn out a touch bigger or smaller.
- Please do not copy, change, redistribute, or sell this pattern as your own.
- You are allowed to sell the finished product made from this pattern.
- If you use this pattern, please credit the original creator of the design.
Special Techniques
This little bear looks more advanced than it really is, and that’s mostly down to one fun trick: the front loop only (FLO) round.
When you work into the front loops of a stitch, you leave the back loops exposed. That gives you a clean, raised ridge and later, those leftover back loops become a built-in guide for sewing parts together neatly. It’s a small detail, but it makes your finished bear look so much more polished and professional.
The other technique worth slowing down for is the magic circle. A magic circle lets you start your rounds with a tight, closeable center so there’s no ugly hole at the top of the head. Pull it snug before you move on, and your stuffing will never peek through. If you’re new to it, watch a quick demo first, then practice once or twice on scrap yarn. Trust me, once it clicks, you’ll use it in every amigurumi you ever make.
Step-by-Step Pattern Instructions
Keep your stitch marker in the first stitch of each round so you never lose your place.
Body
- R1: SC 7 in MC (7)
- R2: INC in every st (14)
- R3: (1 SC, 1 INC) x7 (21)
- R4: (2 SC, 1 INC) x7 (28)
- R5: (3 SC, 1 INC) x7 (35)
- R6–11: SC in every stitch (35)
- R12: (3 SC, 1 DEC) x7 (28)
- R13: (2 SC, 1 DEC) x7 (21)
- R14 (FLO): In the same stitch — HDC, DC, DC, HDC; in the next stitch — SLST. Repeat x11.
Place the 2 safety eyes on Row 10, about 8 stitches apart, before you stuff and close.
Bottom Piece
- R1: SC 7 in MC (7)
- R2: INC in every st (14)
- R3: (1 SC, 1 INC) x7 (21)
Ears (make 2)
- R1: 5 SC in MC (5)
Assembly
This is where your little pile of pieces becomes a real bear. Take your time here:
- Stuff the body first. Before you sew anything, firmly stuff the body with poly-fil so it holds a nice round shape.
- Sew on the bottom piece. Using your yarn needle and matching yarn, sew the bottom piece over the open hole at the base of the body to close it up.
- Use the exposed loops as a guide. Since the FLO round only used the front loops, you’ll see a line of “exposed” back-loop stitches near that detail. Crochet Baby Bear Amigurumi or sew into those for a clean, even join.
- Attach the ears. With your yarn needle and matching yarn, sew the two ears in place between rows 5 and 7 on the head, leaving a little space between them.
- Add blush (optional). Using a yarn needle and pink yarn, sew two small stitches of blush just underneath each eye for that sweet, rosy-cheeked look.
And just like that — you’ve got a finished baby bear ready for cuddles.
Common Mistakes and How to Fix Them
Even experienced makers slip up, so here are the usual culprits and easy fixes:
- Loose stitches with gaps: If you can see stuffing through your stitches, your tension is too loose. Drop down a hook size or pull each loop a little snugger.
- Losing your place in continuous rounds: Skipping the stitch marker is the number one cause of wonky counts. Move it up at the start of every single round.
- Lopsided eyes: Always dry-place the safety eyes and step back to check before clicking the backs on. Once those backs are on, they’re permanent.
- Under-stuffing: A floppy bear usually means too little filling. Stuff firmly but not so hard that the stitches stretch and show gaps.
- Counting the magic circle wrong: Make sure you have the full stitch count in Round 1 before pulling the circle closed, or every round after will be off.
- Sewing ears unevenly: Pin them in place first and look at your bear straight-on before you commit to stitching.
Important Remarks
A few final reminders to keep your bear-making smooth and stress-free:
- Read the whole pattern once before you start so nothing surprises you halfway through.
- Velvet yarn can be slippery work a touch slower and the stitches will behave.
- Weave in your ends as you go instead of leaving them all for the end; future you will be grateful.
- Customize freely. Swap colors, add a tiny scarf, or turn your bear into a keychain by adding a ring.
- Respect the designer. Sell your finished bears all you like, but please don’t resell or repost the pattern itself, and always credit the original creator.
Conclusion
And there you have it your very own Crochet Baby Bear Amigurumi, full of charm and fun vibes. The best part about a small project like this is how quickly it rewards you; in just an afternoon, you go from a single ball of velvet yarn to a soft little friend you’ll want to make again and again.
Don’t worry if your first one looks a tiny bit wobbly that’s the handmade magic, and every bear has its own personality. So grab your hook, give it a try, and have fun with it.