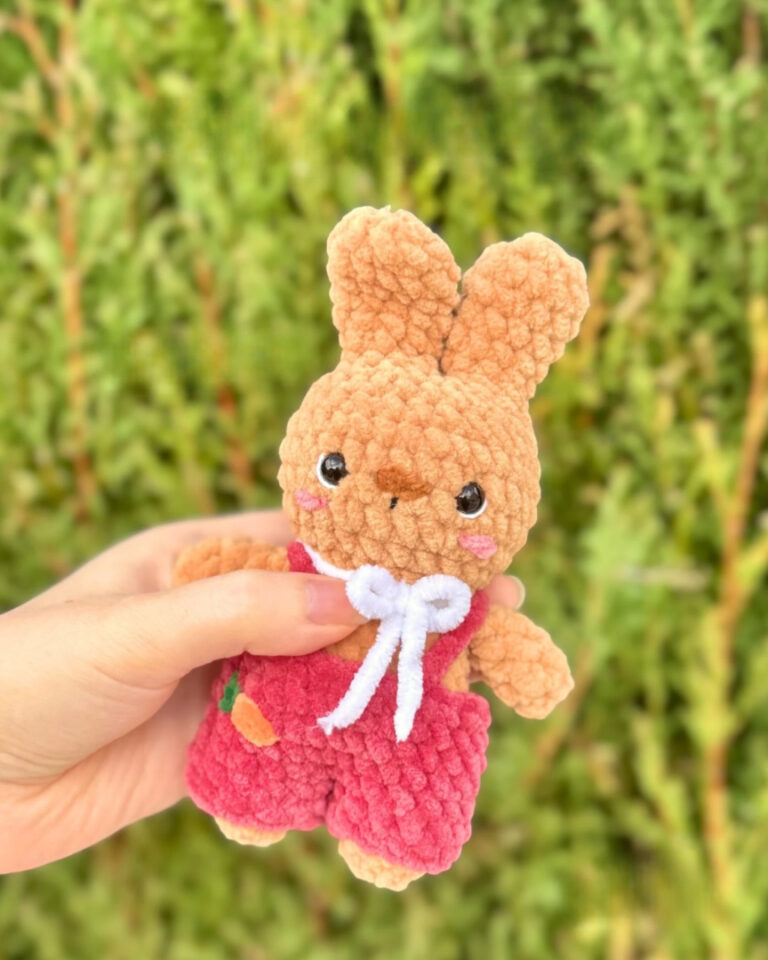
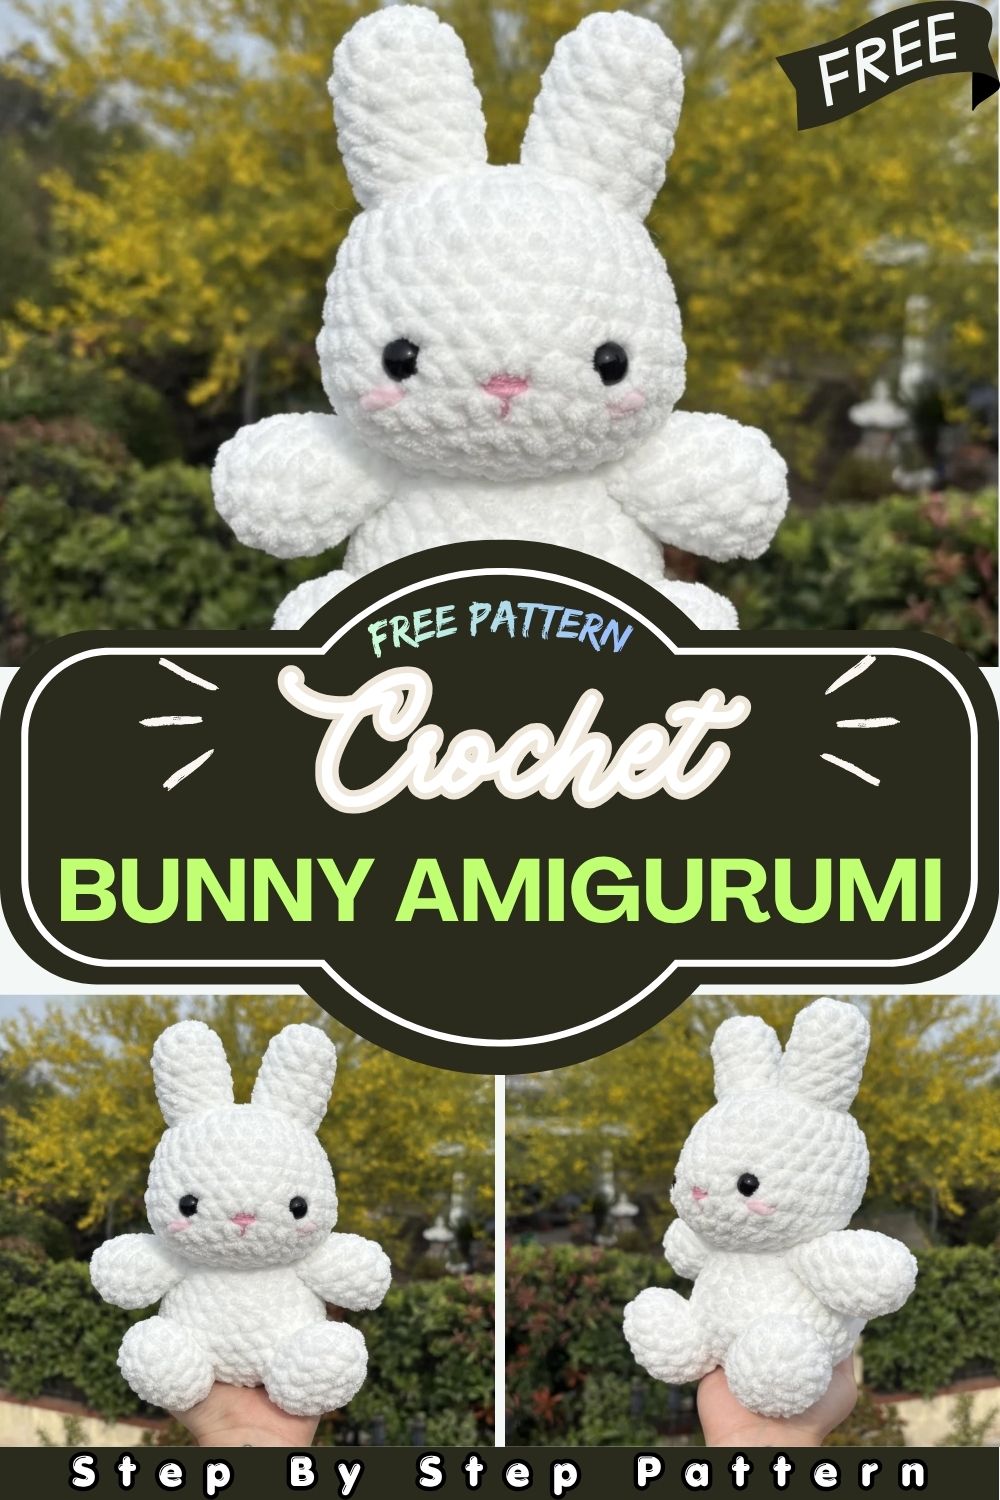
Handmade Crochet Bunny | Soft Amigurumi Stuffed Toy

This is a simple and cute crochet plushie pattern made step by step using easy stitches. It is beginner-friendly and fun to make, resulting in a soft handmade toy.

Crocheted entirely by hand using ultra-soft chenille yarn, this amigurumi bunny features a chubby body, long floppy ears, tiny round arms, and the most adorable little pink nose you’ve ever seen. Every stitch is placed with intention. Every detail is made with love. This is not a mass-produced toy. This is a one-of-a-kind handmade treasure, the kind that gets passed down, kept forever, and photographed a hundred times.

Handmade Crochet Bunny Soft Amigurumi Stuffed Toy
Made By:kayascrochet

 MATERIALS

  • Any size yarn in white and pink (example: Bernat Blanket, Sweet Snuggles Lite)
  • Smaller pink yarn for the nose (example: “I Love This Yarn”)
  • Crochet hook (example: 5.5 mm)
  • Fiberfill stuffing
  • Safety eyes (example: 12 mm)
  • Scissors
  • Stitch marker
  • Sewing/darning needle

ABBREVIATIONS

  • MR = Magic Ring
  • Rd(s) = Round(s)
  • Ch = Chain
  • Sc = Single crochet
  • Inc = Increase
  • Dec = Decrease
  • FO = Fasten off

HEAD

The head is worked from top to bottom, so Rd 1 is the top of the head.

Rd 1: 8 sc in MR (8)
Rd 2: 8 inc (16)
Rd 3: (sc, inc) × 8 (24)
Rd 4: (3 sc, inc) × 6 (30)
Rd 5–8: sc around (30) — 4 rounds

Rd 9: 8 sc, 5 inc, 4 sc, 5 inc, 8 sc (40)
Rd 10: sc around (40)
Rd 11: (2 sc, dec) × 10 (30)
Rd 12: (3 sc, dec) × 6 (24)

Face Placement

Insert safety eyes between Rd 9–10, about 6 stitches apart.
Make sure the increases from Rd 9 face forward as they form the cheeks.

Stuffing

Stuff the head firmly.

Rd 13: (2 sc, dec) × 6 (18)
Rd 14: (sc, dec) × 6 (12)
Rd 15: 6 Dec (6)

Finishing

Fasten off (FO) and sew the hole closed. Weave in all ends neatly.

Details

  • Embroider blush under the eyes between Rd 10–11
  • Embroider the nose between Rd 10–11 using smaller pink yarn

EARS (MAKE 2)

Rd 1: 10 sc in MR (10)
Rd 2–7: sc around (10) 6 rounds

Finishing

Stuff lightly, fasten off (FO), and leave a long tail for sewing.

Placement

Sew ears on Rd 2–4 of the top of the head.

BODY

Rd 1: 8 sc in MR (8)
Rd 2: 8 inc (16)
Rd 3: (sc, inc) × 8 (24)
Rd 4: (3 sc, inc) × 6 (30)
Rd 5–8: sc around (30) 4 rounds

Rd 9: (4 sc, dec) × 5 (25)
Rd 10: sc around (25)
Rd 11: (3 sc, dec) × 5 (20)
Rd 12: sc around (20)

Finishing Body

Stuff firmly, then fasten off (FO) and leave a long tail for sewing.

Sew the body directly beneath the head.

ARMS (MAKE 2)

Rd 1: 8 sc in MR (8)
Rd 2: (sc, inc) × 4 (12)
Rd 3–5: sc around (12) — 3 rounds

Rd 6: (4 sc, dec) × 2 (10)
Rd 7: (3 sc, dec) × 2 (8)

Finishing Arms

Stuff lightly, leaving some space at the top.

Fold the arm in half and work 4 sc across both layers (see reference photo).

Fasten off (FO) and leave a long tail for sewing.

Placement

Sew arms directly beneath the head on both sides of the body.

Similar Post

Leave a Reply

Your email address will not be published. Required fields are marked *