Free Mini Crochet Chick Buddy Amigurumi Pattern
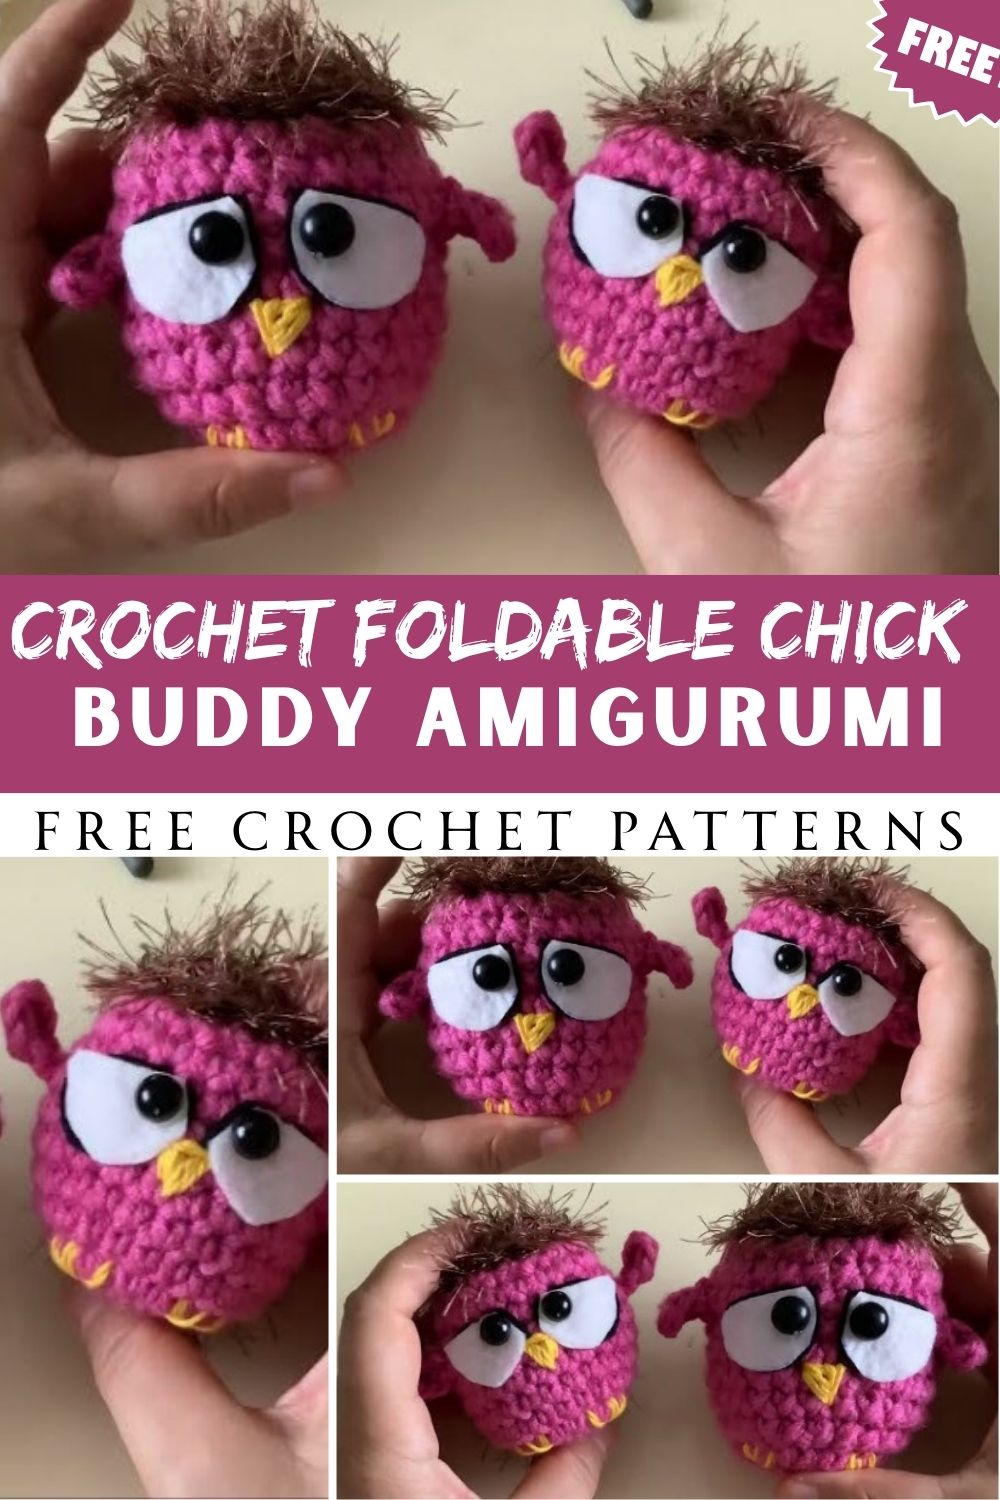
Flattening down easily into a folded shape, this small Crochet Chick Buddy Amigurumi carries its own distinct charm. Cheerful, portable, and utterly adorable, its foldable design sets it apart from typical amigurumi toys. Built with simple crochet techniques and easy shaping, it’s a short yet delightful project that grows more charming with every stitch.
This foldable little Crochet Chick stands apart completely from typical amigurumi designs with its unique build and charming look. Its soft body flattens down easily with a gentle press, and unlike traditional amigurumi toys, this clever construction makes it even more distinctive. Bright yellow yarn, a tiny orange beak, and stitched innocent eyes give this chick its adorable look, while Easter decor, spring decorations, baby nursery styling, farm animal lovers, and handmade gift enthusiasts will all find this an excellent crochet project too.
Beginners often worry that “foldable” means complicated shaping, but the opposite is true here. The stitch count stays low throughout, and the technique relies on basic single crochet combined with strategic increases and decreases. Anyone who has completed a simple amigurumi ball or basic stuffed toy will find this project approachable, and even first-time amigurumi crocheters can succeed with a little patience.
Project Details
- Skill Level: Beginner to Beginner-Intermediate
- Finished Size: Approximately 3–4 inches tall (7–10 cm)
- Estimated Time Required: 1.5–2 hours
- Recommended Yarn Weight: DK or Worsted Weight (Category 3-4) cotton or acrylic
- Crochet Hook Size: 3.0mm–3.5mm (adjust based on yarn weight for a tight, stuffing-friendly fabric)
Materials Needed
- Yellow yarn (main body color)
- Small amount of orange yarn (beak and feet)
- Black yarn or safety eyes (4- 5 mm) for the face
- Fiberfill stuffing
- Tapestry needle for sewing and weaving ends
- Stitch marker to track rounds
- Scissors
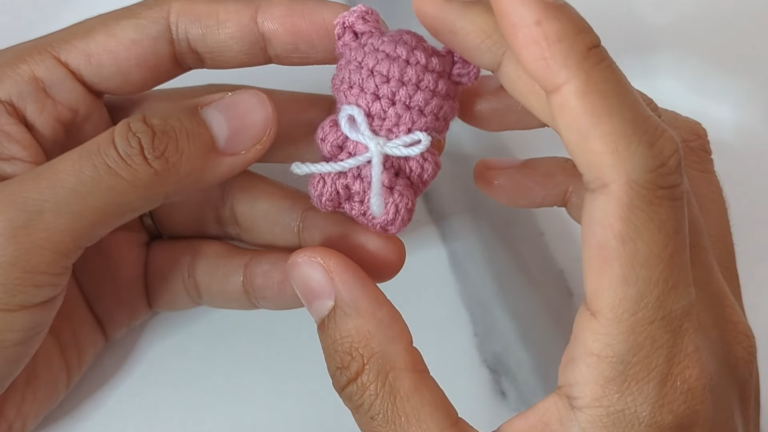
- Optional: small ribbon or bow for personalization
Crochet Stitches & Techniques
Getting comfortable with these core techniques makes the whole project run smoothly:
- Magic Ring – starts each piece with a tight, gap-free center
- Chain Stitch (ch) – used for foundation rows on smaller details
- Slip Stitch (sl st) – joins rounds and closes gaps neatly
- Single Crochet (sc) – the primary stitch used throughout the body
- Increase (inc) – two single crochets worked into the same stitch, shaping the rounded body
- Invisible Decrease (invdec) – keeps decrease rounds smooth and nearly seamless
- Fastening Off – securing the last loop before weaving in ends
- Sewing Pieces Together – attaching the beak, feet, and any add-ons to the main body
Only these techniques are needed, so nobody has to worry about advanced stitch combinations slowing down progress.
Pattern Instructions
Creating the Main Body
Begin with a magic ring and work six single crochets into it to form the foundation circle. From there, increase gradually round by round adding six stitches per increase round until the body reaches its widest point, generally around round five or six. This gradual widening creates the plump, rounded belly that gives the chick its signature shape.
Work several rounds even (without increasing) once the widest point is reached, since this middle section is what allows the toy to fold flat later. Keeping tension consistent here matters more than almost any other part of the project, because uneven stitches will show once the piece is compressed.
Shaping the Head
Continue directly from the body without fastening off, gradually decreasing stitches to narrow the shape into a rounded head. Space decrease stitches evenly around each round rather than clustering them together, since bunched decreases create a lopsided, pointed top instead of the desired soft dome.
Stuff firmly as the decreasing rounds progress, adding small amounts of fiberfill continuously rather than waiting until the very end. Chicks stuffed only at the finish tend to develop lumps, while gradual stuffing produces that smooth, huggable feel amigurumi collectors love.
Making the Wings
Small wing pieces are worked flat using a short row of single crochet, starting with a chain foundation of about four to five stitches. Two or three rows worked back and forth is typically enough, and no stuffing is needed since these lie flat against the body. Once both wings are complete, set them aside for the assembly stage.
Crafting the Beak and Feet
A tiny triangular beak comes together quickly using orange yarn and just a few rounds of single crochet, decreasing rapidly to create its pointed shape. Feet follow a similar approach — small flat ovals with a slight point suggest little webbed toes without needing complex shaping.
Facial Features
Safety eyes offer the most secure, professional-looking finish, though embroidered eyes work beautifully for anyone making this for a baby or young child where safety eyes might pose a risk. Position the eyes roughly one-third of the way down the head, spaced evenly apart, for that classic wide-eyed baby chick expression. A few small straight stitches in orange or pink below the eyes can suggest rosy cheeks for extra sweetness.
Joining All Pieces
Pin the wings to either side of the body before sewing, checking they sit symmetrically when viewed from the front. Attach the beak centered on the face, slightly below the eye line, and secure the feet to the bottom of the body so the chick can stand upright when not folded flat.
Final Assembly
Weave in any remaining loose ends securely, tucking them deep into the stuffing so nothing works its way loose over time. Give the finished chick a gentle test squeeze to confirm the fold-flat action works smoothly, adjusting stuffing density if the middle section feels too stiff or too loose.
Tips for Success
- Count stitches at the end of every round, especially through increase and decrease sections
- Use a stitch marker consistently, moving it up each round so you never lose track of where a round begins
- Stuff gradually rather than all at once for the smoothest possible shape
- Keep tension slightly tighter than usual, since amigurumi with visible gaps let stuffing peek through
- Block small pieces like wings and feet flat before sewing for a cleaner, crisper finish
- Hide yarn ends by threading them through several stitches in different directions rather than just pulling tight
Personalization Ideas
Swapping the yellow base for pastel pink, blue, or lavender turns this pattern into a completely different seasonal character in minutes. A tiny felt or crocheted bowtie instantly transforms the plain chick into a dapper little gift. Consider adding a small keychain clasp to the top of the head for anyone wanting a bag charm instead of a shelf-sitting toy.
Holiday versions work wonderfully too — try orange and black for Halloween, or red and green for a festive winter twist. Making a jumbo version with bulky yarn and a larger hook creates a satisfying throw pillow-sized buddy, while a thread-weight miniature makes an adorable ornament for a spring-themed tree.
Common Mistakes to Avoid
Skipping the stitch marker is one of the most common beginner slip-ups, since amigurumi worked in continuous rounds has no natural stopping point to reference. Losing track by even one stitch throws off the entire shape, so pause and recount whenever something feels off rather than pushing forward and hoping for the best.
Rushing the stuffing stage causes lumpy, uneven results more often than any other mistake. Small amounts added steadily beat cramming a large handful in at the final round. Loose tension is another frequent issue; amigurumi generally needs a hook one size smaller than what the yarn label recommends, since gaps between stitches let fiberfill show through the fabric.
Frequently Asked Questions
Can I use any yarn weight for this Crochet Chick Buddy Amigurumi pattern?
>DK or worsted weight works best for beginners, though the pattern can be adapted for thread-weight or bulky yarn by adjusting hook size accordingly.
Do I need safety eyes, or can I embroider the face instead?
Both options work well. Embroidered features are safer for very young children, while safety eyes create a more polished, toy-store finish.
How long does this project actually take to finish?
Most crocheters complete the full chick, including assembly, within two hours once familiar with the basic stitches involved.
Why won’t my chick fold flat like it’s supposed to?
>Overstuffing the middle body section is usually the culprit; keep that area slightly less dense than the rounded top and bottom.
Is this Crochet Chick Buddy Amigurumi pattern suitable for complete beginners?
Yes, as long as basic single crochet, increasing, and decreasing feel comfortable, this project is very achievable for newer crocheters.
Can I make this without safety eyes if I’m giving it to a baby?
Absolutely, embroidered eyes using black yarn are a safer alternative for anyone under three years old.
What’s the best way to store extra stuffing so it doesn’t shed?
>Keep fiberfill in a sealed bag or container between uses, and stuff in small pinches to avoid overloading any single round.
Conclusion
The Foldable Crochet Chick Buddy Amigurumi is a small project with plenty of charm. It works up quickly and makes a fun addition to any crochet collection. Grab your yarn and enjoy a relaxing evening of stitching. Watch this little chick come to life one round at a time. When you’re finished, share a photo of your creation. Seeing different color choices and personal touches is one of the best parts of the amigurumi community.