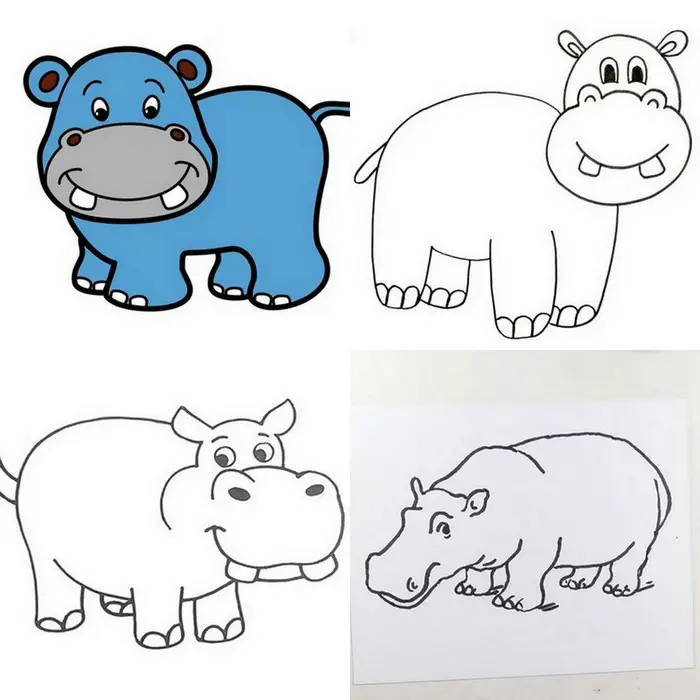
Free Leaf Candle Holder For New Beginners
This Free Leaf Candle Holder For New Beginners is a simple yet enchanting way to bring the soft glow of candlelight into any room. It can be used as a delicate nightstand light, a cozy table centerpiece, or a charming gift. To make it, start by cleaning a smooth glass jar and gathering thin real or faux leaves. Brush a layer of Mod Podge glue on the outside of the jar, press leaves gently onto the surface, and seal them with another coat. Once dried (about 2 hours, though full drying can take up to 1 hour per coat), add a decorative ribbon or twine at the rim. Finally, place a tealight, mini fairy lights, or small candle inside to enjoy the warm, filtered illumination through the leaf patterns.
Creating a candle holder like this takes roughly 10 minutes of active work and about an hour or two for drying. Necessary materials include: a clear glass jar, leaves, Mod Podge (or white glue), a soft brush (or sponge brush/tissue), and optional twine or ribbon for a rustic ring. For beginners, try design variations such as mixing leaf types, layering bits of tissue paper for a stained‑glass effect, or using painted glass paints instead of leaves. Sizes can vary too—a pint jar gives a subtle glow, while a larger jar offers more dramatic light. With just a few inexpensive items and a little time, this project offers a lovely way to explore creativity and enjoy handmade warmth.
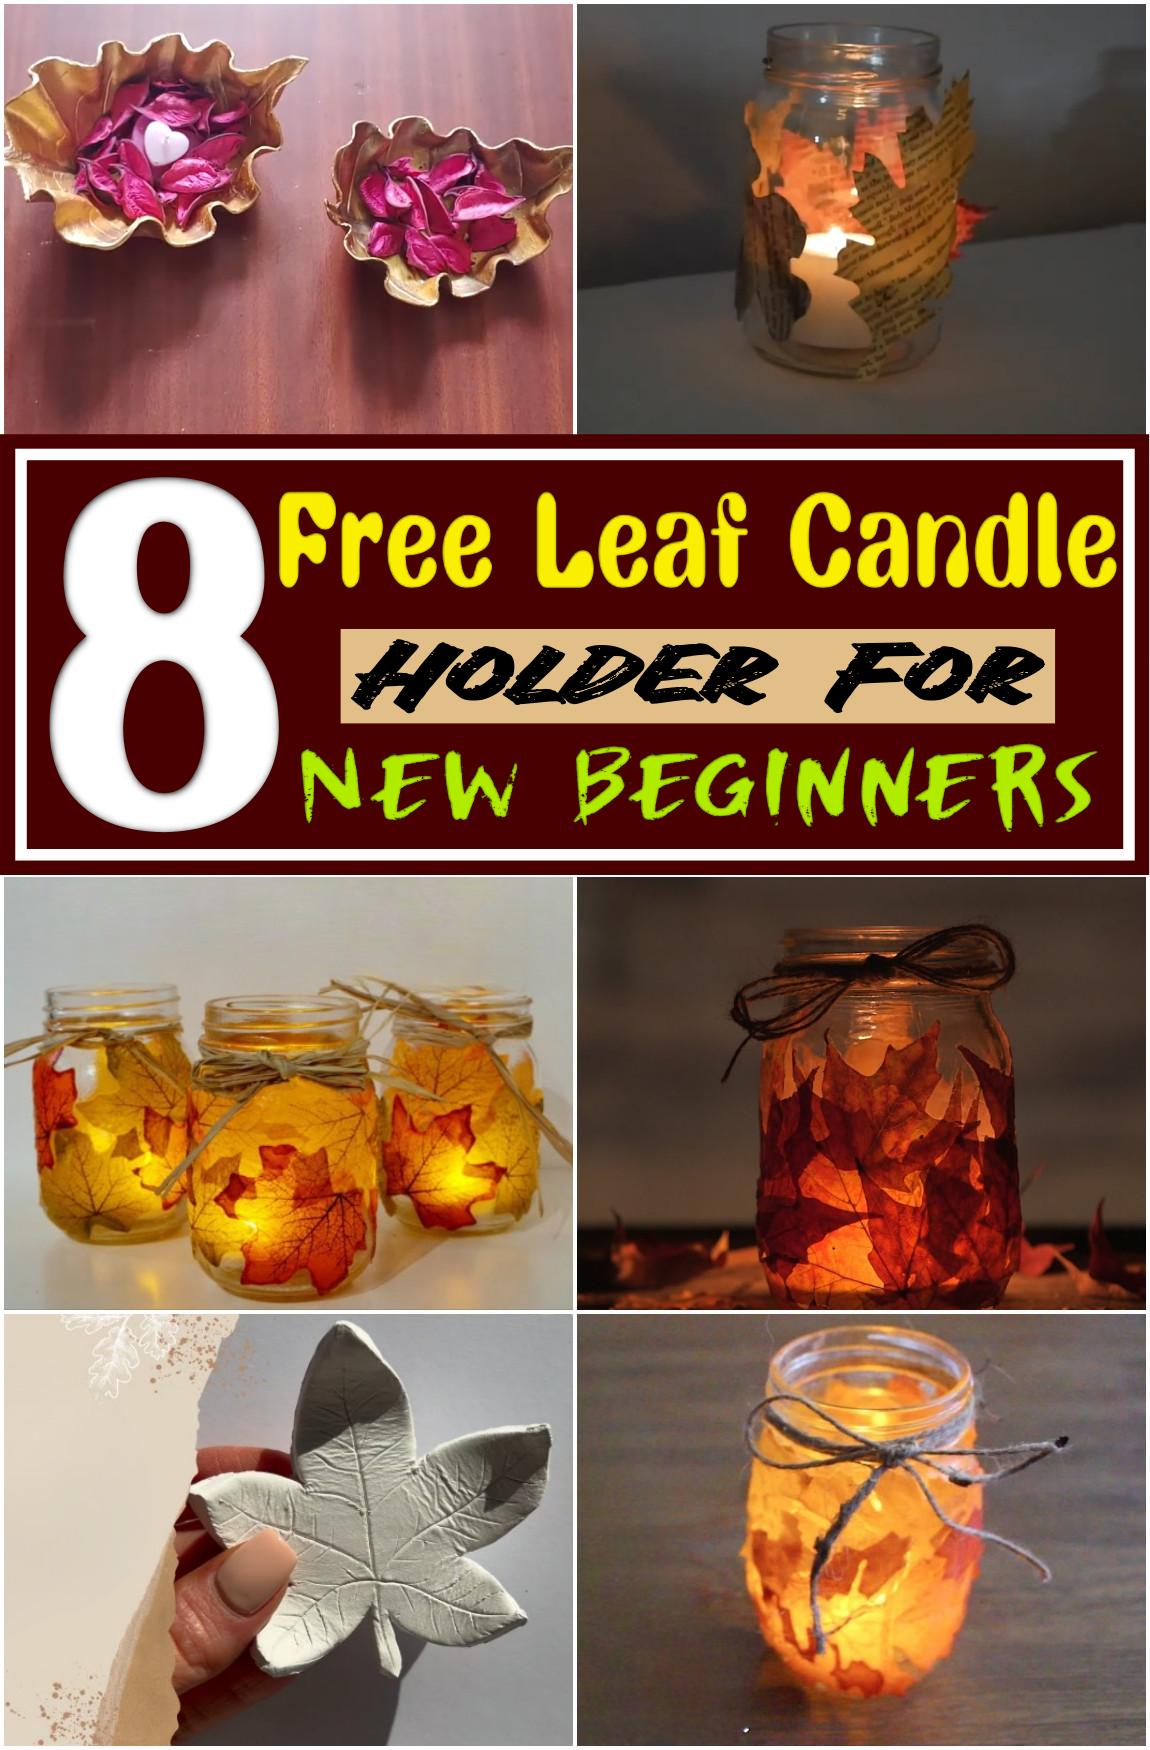
DIY Fall Leaves Mason Jar Candle Holder
Start by gathering small, colorful fall leaves. Apply a thin layer of decoupage glue onto a clean mason jar, gently press a leaf in place, then repeat until the jar is mostly decorated—leaving gaps so candlelight shines through. Once the leaves are set, cover the jar with small pieces of white tissue paper, brushing another coat of glue over the top. Allow it to dry completely before adding a tea light or battery‑operated candle.
Materials:
- Fallen autumn leaves (real or thin faux)
- Mason jar (any size)
- Decoupage glue or Mod Podge
- White tissue paper
- Small brush or sponge
- Tea light or LED candle
Different Design Ideas:
Try mixing leaf sizes or layering thin grasses for texture. Use a variety of jar shapes and group them in different heights for a charming fall centerpiece. Tie raffia or twine around the jar neck for a rustic accent, or personalize with faux fabric leaves in autumn shades for a longer‑lasting look.
Precautions:
Ensure leaves and glue stay only on the jar’s exterior—avoid glue inside to prevent melting or uneven burning. Let the glue dry fully before lighting a real candle, and never leave a burning candle unattended.
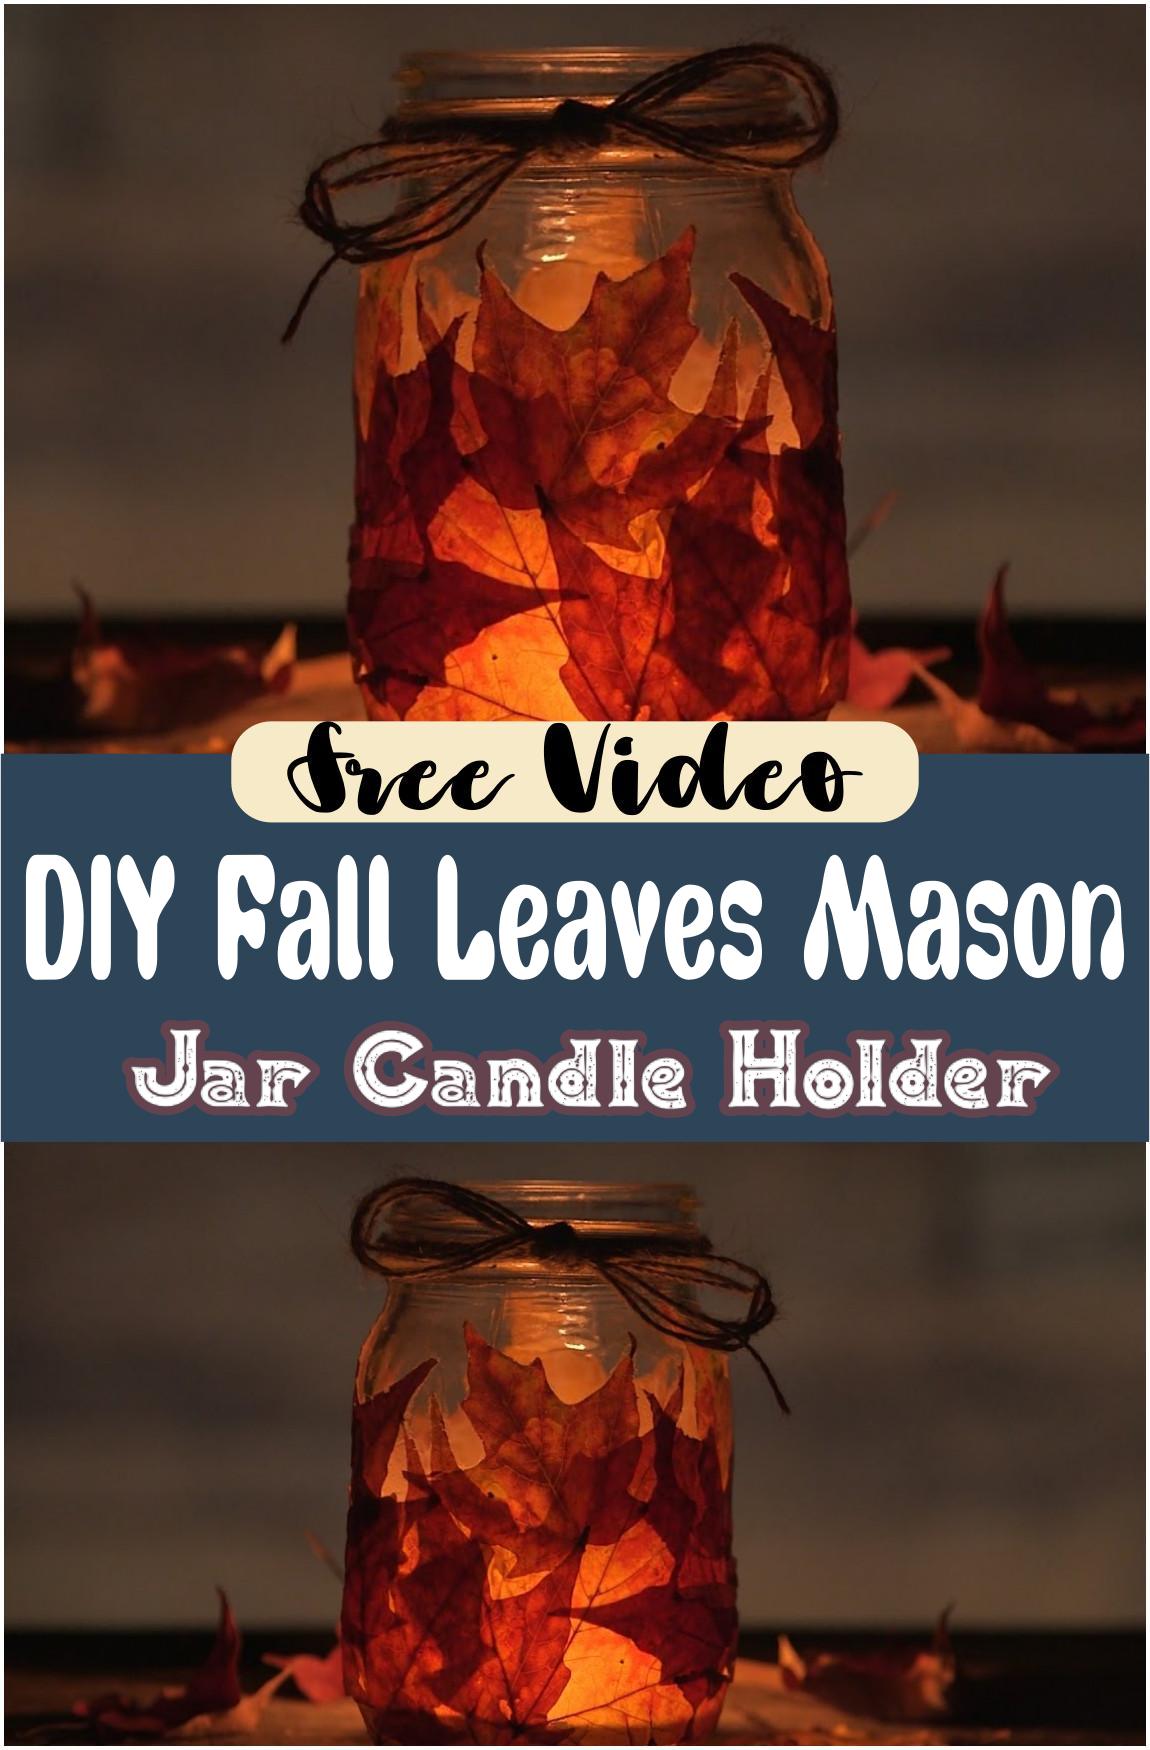
Autumn Leaf Mason Jar Candle Holder
Materials:
• Mason jar (wide-mouth works best)
• Fall-colored leaves (real or thin faux ones)
• Matte decoupage glue
• Flat brush or sponge applicator
• Optional: twine, ribbon, or small embellishments for finishing
Different Design Ideas:
• Leave space between leaves for a stained-glass effect with light showing through.
• Tie twine or ribbon around the neck for a rustic accent.
• Try mixing in tissue paper or thin fabric scraps beneath or between leaves for added texture.
• Group jars of varying sizes to create an autumn-themed table display.
Precautions:
• Ensure leaves lie flat and smooth before sealing to avoid peeling later.
• Clean the jar thoroughly with soap, water, and rubbing alcohol to ensure good adhesion.
• If using a real candle, keep all glue and leaves on the outside to reduce fire risk—battery‑powered lights are a safer choice.
• Allow each layer to dry completely before adding more glue or embellishments for a neat finish.
This simple, creative project transforms an ordinary glass jar into a warm autumn accent. Clear instructions and minimal steps make it easy for beginners to follow and customize.
Fall Candle Holder DIY Tutorial
Begin by cleaning a clear glass jar and letting it dry fully. Lightly apply adhesive (such as Mod Podge or double‑sided tape) around the jar’s surface. Stick natural items—like dried leaves, small pinecones, acorns, or wheat stalks—gently pressing them so they adhere snugly. Finish with a ribbon, twine, or a simple bow tied around the neck of the jar for a polished look. Once dry, place a tealight or flameless candle inside for a warm, autumnal glow.
Materials:
• A straight‑sided glass jar (mason, pasta sauce, etc.)
• Adhesive: Mod Podge, white glue, or double‑sided tape
• Natural decorations: fall leaves (real or faux), wheat stems, acorns, pinecones
• Ribbon or twine for accent
• Candle: tealight or battery‑operated
Different Design Ideas:
• Leaf‑wrapped: Press colorful autumn leaves onto the jar for a classic fall vibe.
• Wheat‑banded: Align wheat stalks around the jar for a rustic, farmhouse style.
• Acorn & pinecone mix: Create texture by combining small pinecones and acorns.
• Layered ribbons: Add burlap, lace, or satin ribbons for extra visual interest.
Precautions:
• Use flameless candles if adding dry materials near the flame to ensure safety.
• Allow plenty of drying time before lighting—adhesive needs to set fully.
• Choose jars with straight walls to make sticking items easier.
• Supervise real flames and never leave a burning candle unattended—keep the arrangement stable.
This simple autumn jar transforms into a cozy candle holder with minimal effort. It’s beginner‑friendly, flexible in style, and safely designed for seasonal ambiance.
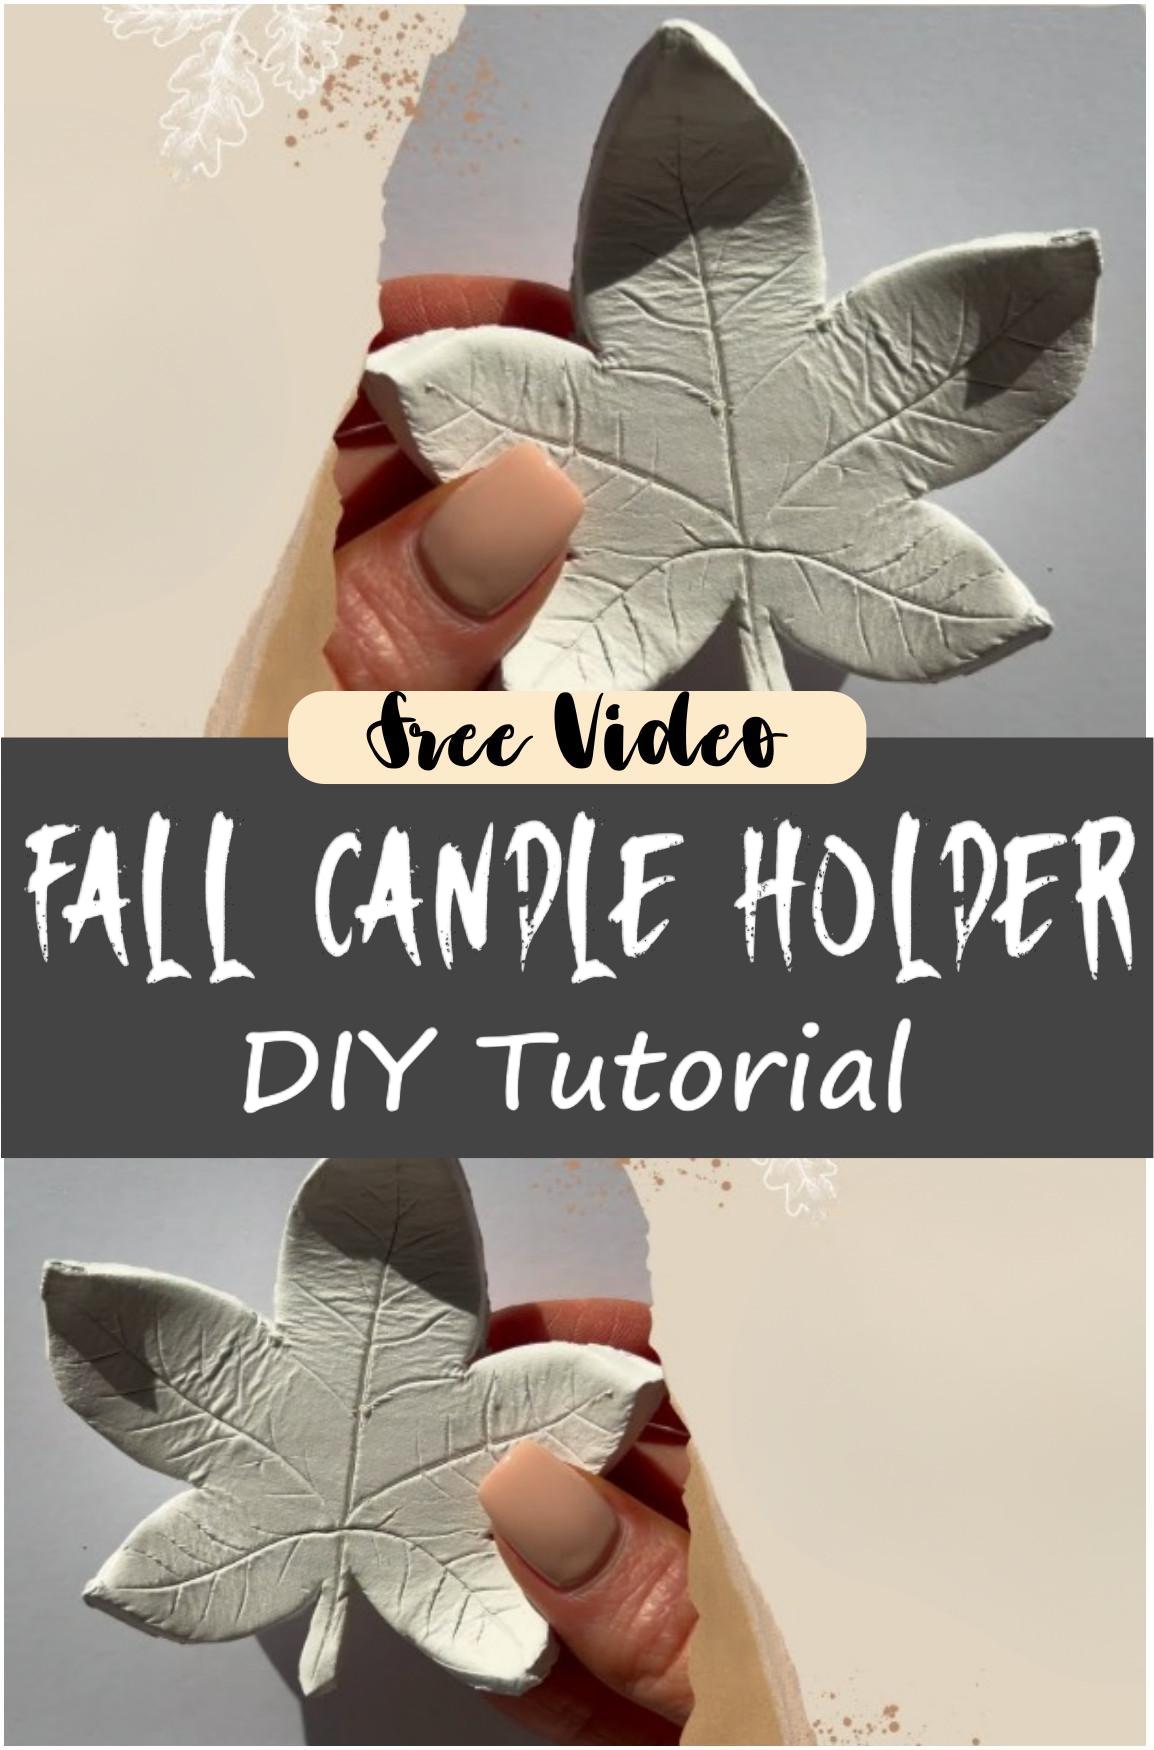
Clay Leaf DIY Candle Holder
Start by picking a fresh leaf with clear veins. Press the leaf gently into a ball of air‑dry clay until its texture shows. Carefully lift the leaf, flip the clay so the leaf imprint faces outward, then shape it into a shallow dish. Let it dry completely before adding a tealight or small candle.
Materials:
- A fresh, sturdy leaf (like maple, oak, or fiddlehead)
- Air‑dry clay
- A rolling pin or smooth bottle (optional)
- A small dish or bowl to mold the clay
- Tealight or votive candle
Different Design Ideas:
- Pick leaves in autumn hues for a seasonal theme
- Paint the clay rim with metallic or soft pastel tones
- Add decorative beads or tiny pressed flowers around the edge
- Make sets of varying sizes and leaf shapes for a mixed centerpiece
Precautions:
- Ensure the clay is fully dried (24–48 hours) before use
- Don’t use melted wax inside the clay directly; place a glass tealight holder instead
- Keep the candle dish away from drafts or flammable materials
- Always place the holder on a heat‑safe surface
This simple project brings nature’s beauty indoors and gives creative freedom through different leaf types, colors, and sizes—all while being safe and beginner‑friendly.
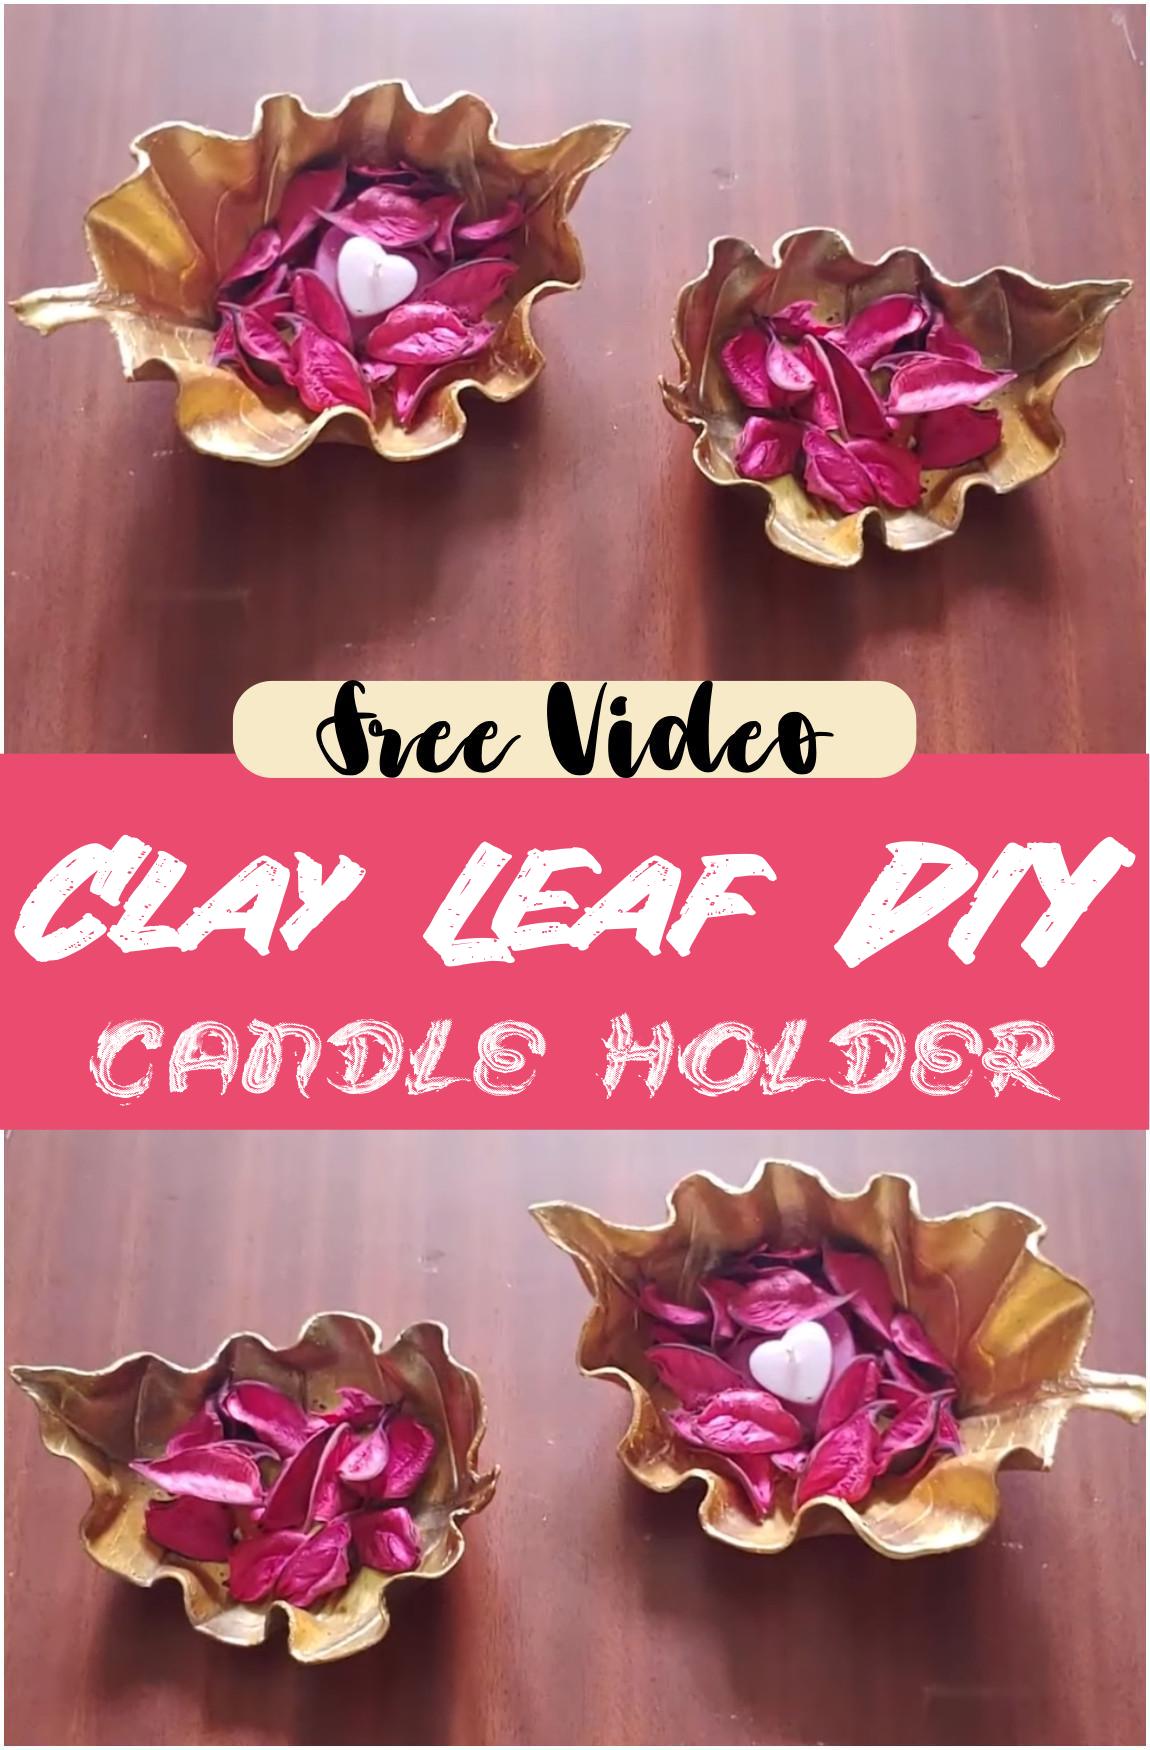
DIY Leaf Votive Candle Holder
Begin by selecting a clean, smooth glass jar. Brush a thin layer of clear-drying glue (like Mod Podge) onto one side, press a dried or faux leaf gently into place, then seal with another layer of glue on top. Continue applying leaves around the jar, slightly overlapping to create a mosaic effect. Let the holder dry completely before adding a candle inside—battery-operated ones are safest.
Materials:
- A small glass jar or votive holder
- Dried or slim fake leaves
- Clear adhesive (like matte Mod Podge)
- A soft brush for glue
- Optional ribbon or twine for decoration
Different Design Ideas:
- Mix leaf types or colors (maple, oak, birch) for a layered look.
- Add metallic accents: lightly paint leaf edges with gold or copper before gluing.
- Wrap a ribbon, raffia, or twine around the jar’s rim to accent the leaf pattern and hide glue seams.
Precautions:
- Ensure leaves are flat and thin so they adhere well and don’t create gaps.
- Let glue dry fully between layers to avoid soggy, peeling sections.
- Use battery-operated candles inside to prevent fire hazards and protect the leaves.
- Place the finished piece on a heat-resistant surface—some adhesives can soften near heat.
This simple guide offers a friendly, beginner-friendly path to crafting a cozy leaf votive holder. With easy steps, affordable materials, and safe design tips, the result is a charming autumn accent anyone can create.
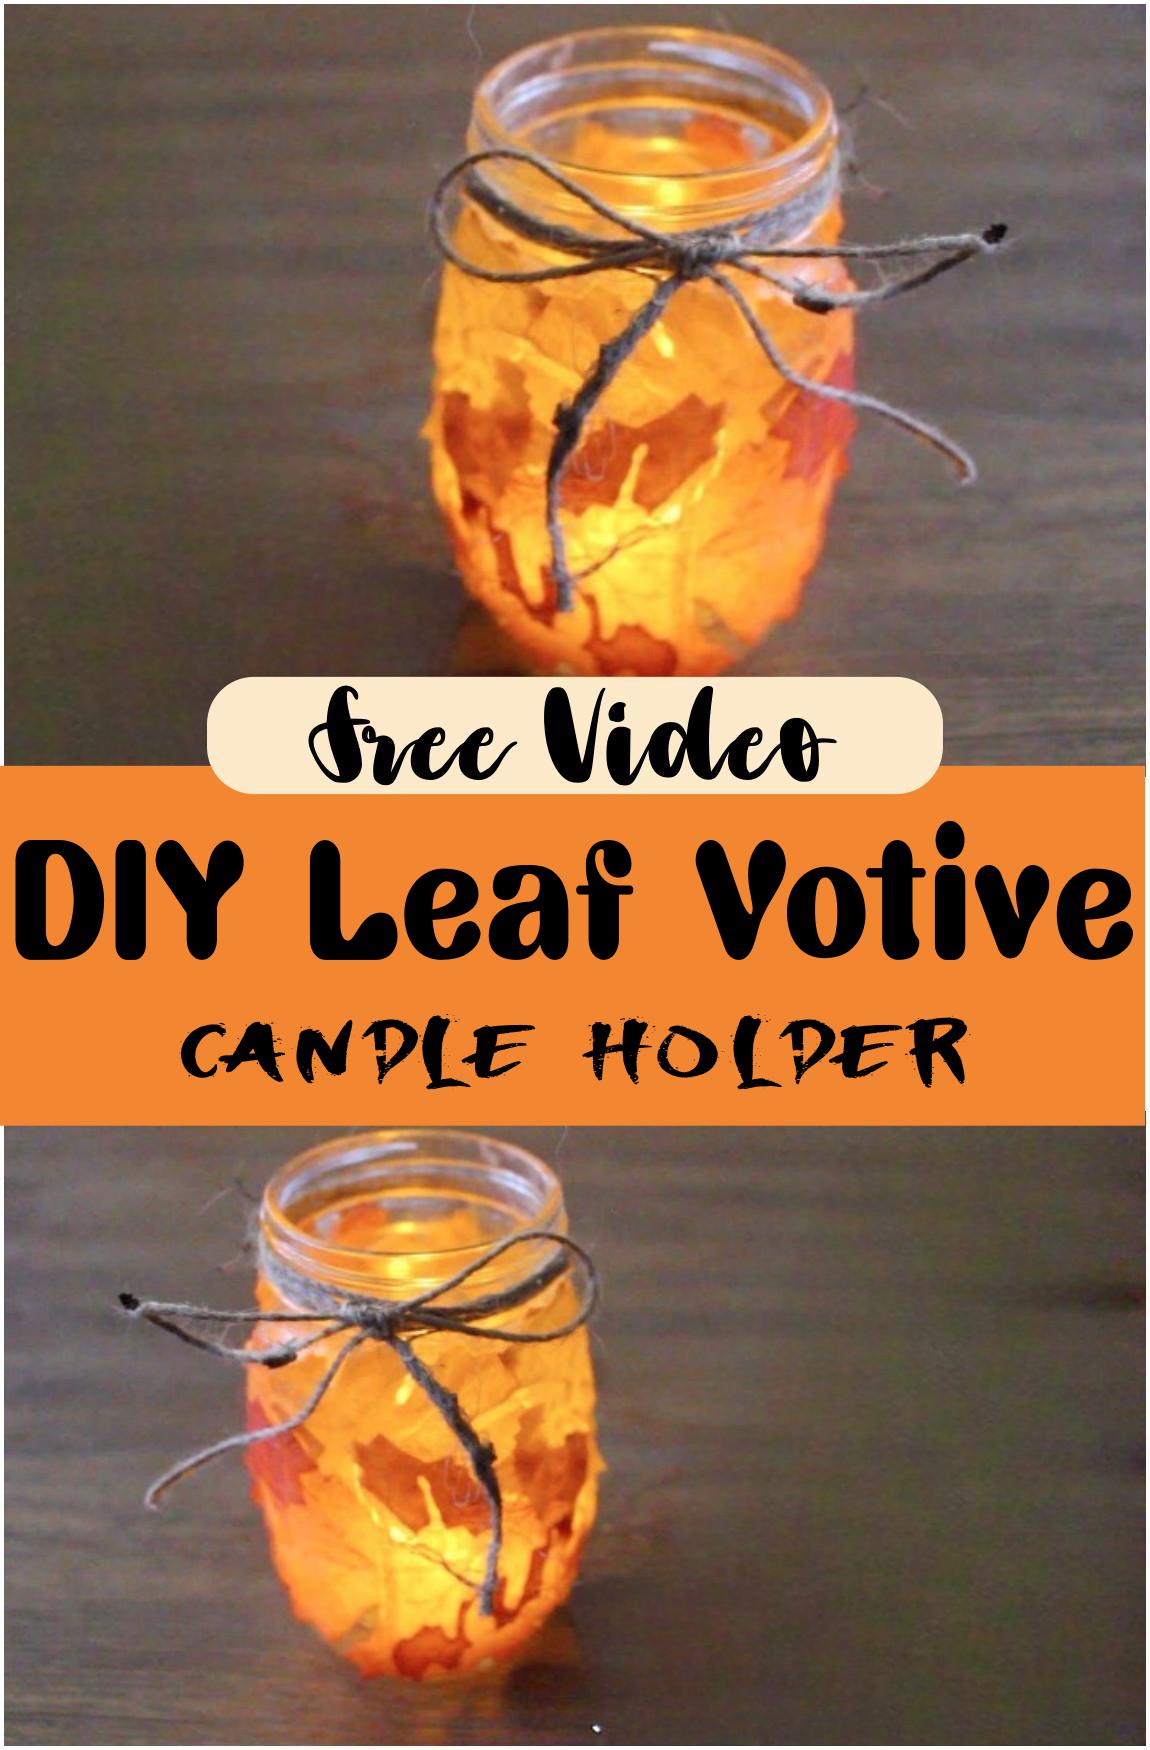
Fall Leaf Candle Holder Tutorial
Begin by choosing a clear glass container and gathering autumn leaves—real or faux. Brush a thin layer of adhesive like Mod Podge around a small section of the glass. Press leaf shapes firmly onto the sticky area, then apply another adhesive coat to seal the edges. Repeat this in small sections until the desired coverage is reached. Finally, allow the adhesive to dry fully before using the holder.
Materials:
- A clean, clear glass jar or container
- Fall‑themed leaves (real or artificial)
- Clear-drying adhesive (e.g., Mod Podge)
- A soft paintbrush for smoothing
- A flameless candle or tealight
Different Design Ideas:
- Layer leaves of various shades for an ombré autumn gradient
- Trim leaf edges to create a lace‑like pattern against the glass
- Sprinkle tiny faux leaves or glitter between layers for a whimsical glow
- Tie a ribbon or twine around the top to add texture and a finishing touch
Precautions:
- Use battery‑operated candles only—keep flame away from leaves
- Apply adhesive in thin, even layers to prevent bubbling
- Allow ample drying time (about 30 minutes per coat) to secure edges
- Clean hands between sections to avoid transferring dust or oils
This guide walks through a simple, beginner‑friendly method to create a warming autumn accent. The step‑by‑step approach is clear and logical, with plenty of room for creative flair—perfect for adding seasonal charm to any space.
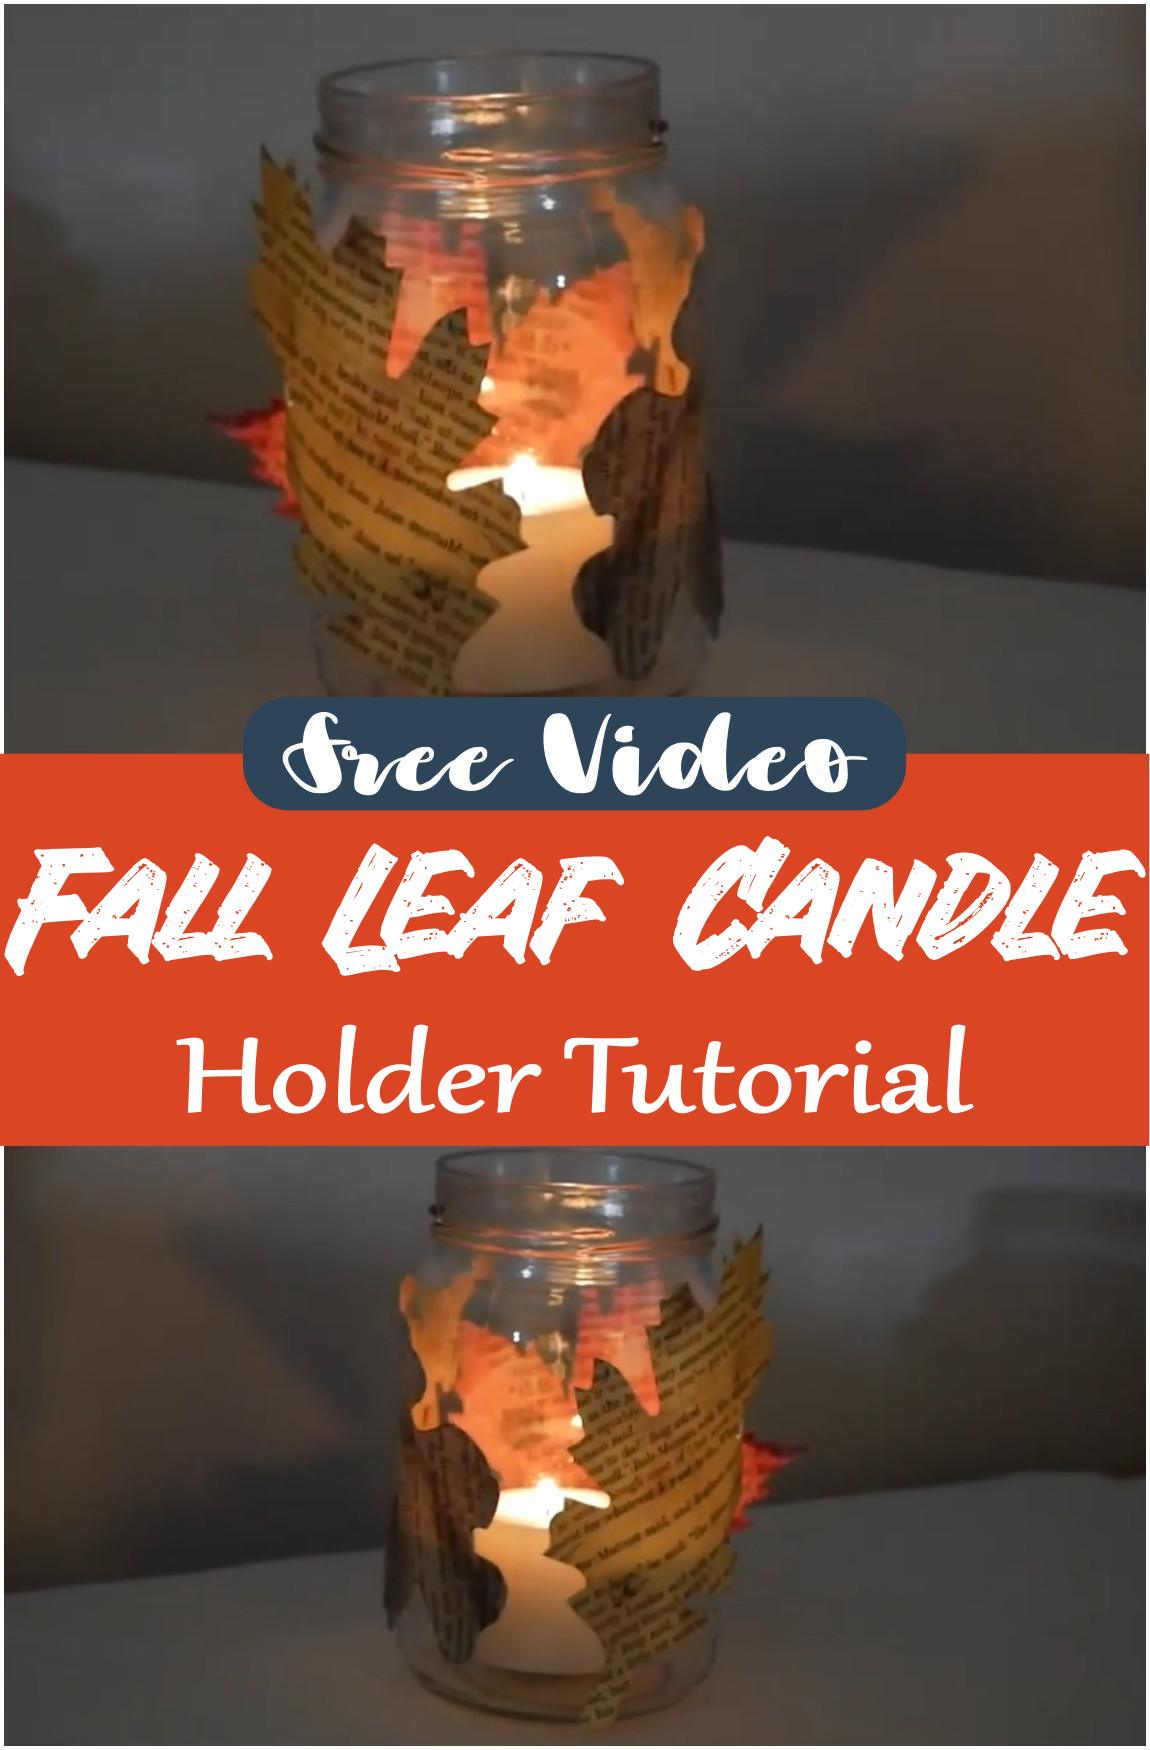
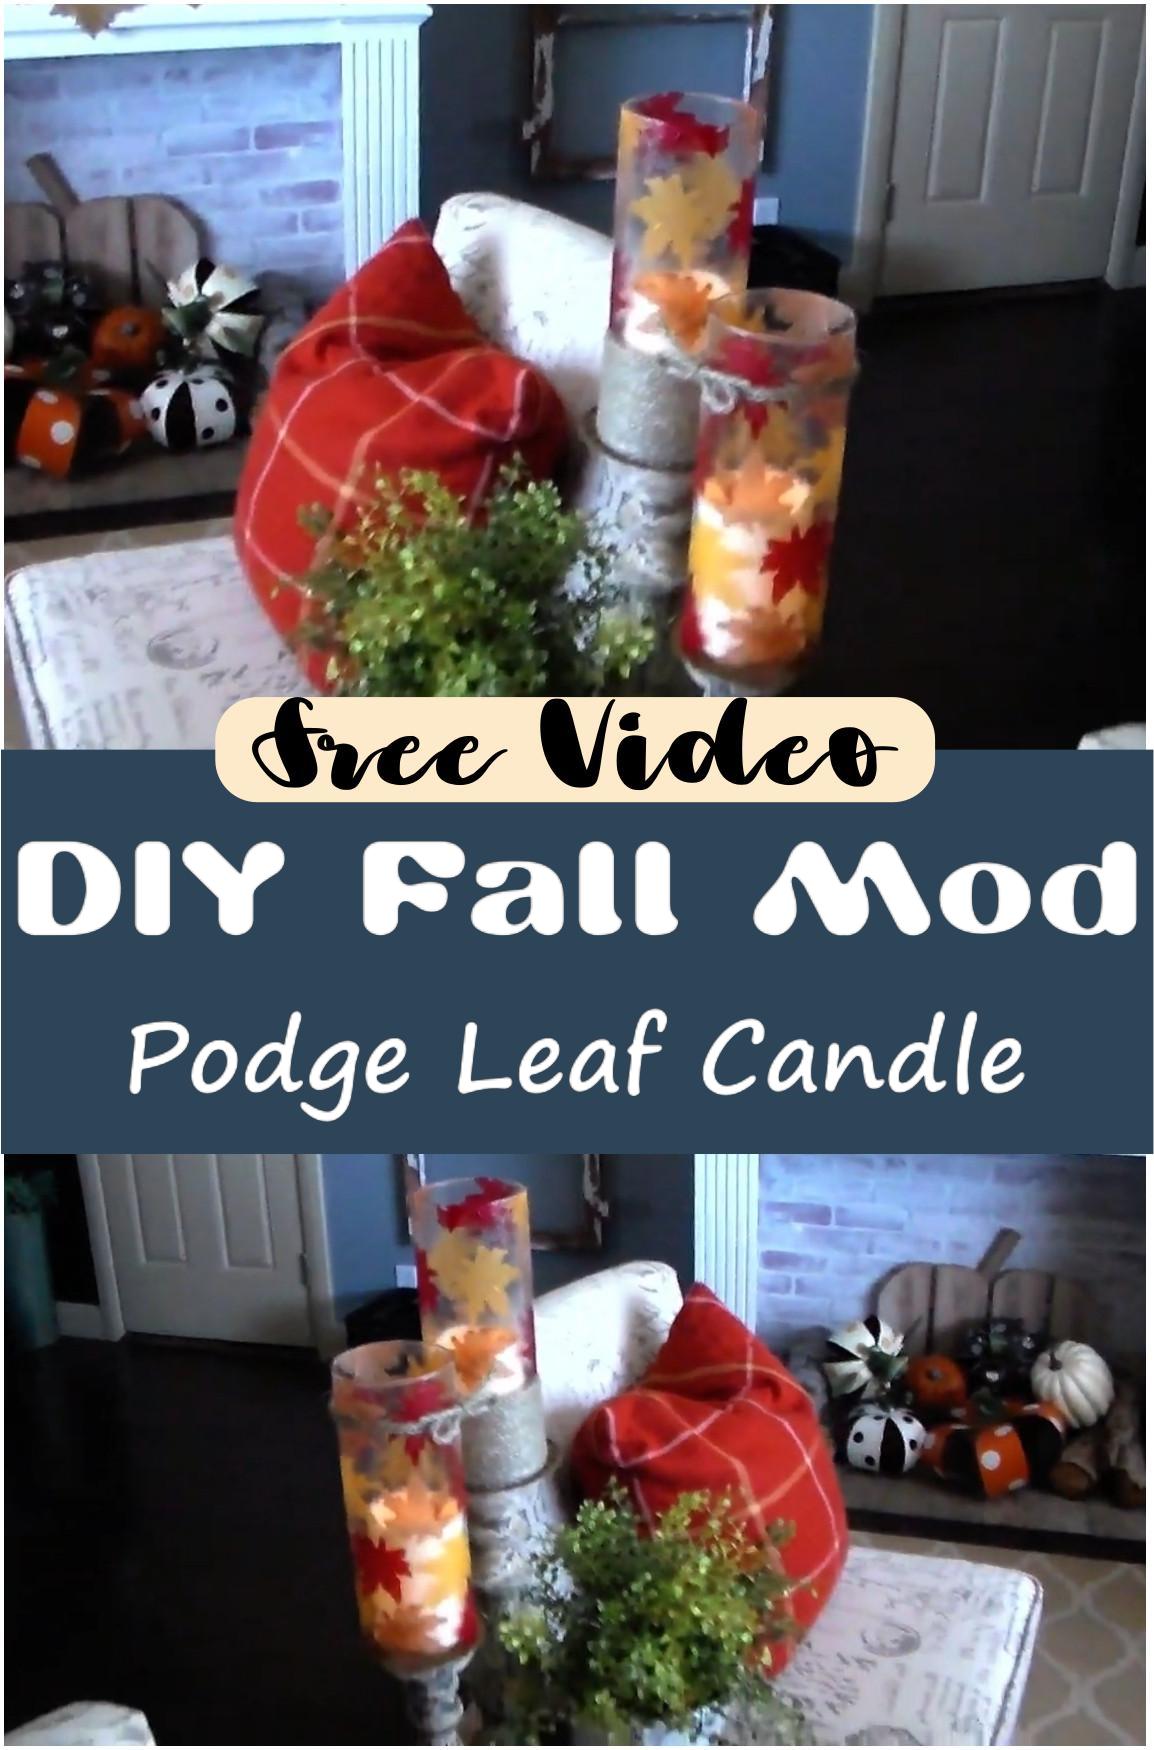
DIY Fall Mod Podge Leaf Candle
Begin with a clean, smooth glass jar and pour a small amount of Mod Podge into a bowl. Use a sponge brush to spread a layer inside the jar and carefully press a leaf onto the glue. Brush more Mod Podge over the leaf to seal it. Repeat this process, overlapping leaves slightly and varying directions for a layered autumn look. Let it dry completely—at least two hours.
Materials:
- Smooth glass jar or container
- Real pressed or thin faux leaves
- Matte Mod Podge
- Sponge or foam brush
- Optional: twine, raffia or ribbon for decoration
Different Design Ideas:
- Instead of natural leaves, use printed paper designs like sheet music or floral patterns.
- Try a mix of pressed dried leaves for a rustic, textured finish.
- Add battery-operated fairy lights or tea lights inside for a charming glow.
Precautions:
- Ensure leaves are dry and flat before use to prevent bubbling.
- Allow full drying time between layers to avoid slipping.
- If including twine or raffia, keep it away from direct flame—use battery candles for safety.
This step-by-step guide uses simple language and clear structure, making the DIY fall leaf candle approachable for beginners. Perfect for seasonal decor, centerpieces, or handmade gifts—with a warm, autumnal vibe!
DIY Leaf Candle Holder With Clay
You’ll need air‑dry clay, a real leaf with good vein texture, a roller or smooth tool, and a small cylindrical form (like a shot glass) to shape the holder.
Different Design Ideas:
Try using leaves of different shapes—maple leaves for a classic look, ferns for a delicate style. Add a pop of color with acrylic paint or metallic accents like gold or copper. Vary the size by using larger leaves for tealight candles or smaller ones for slender votives.
Precautions:
Ensure the clay is fully dry before lighting a candle to prevent cracking. Use a glass or metal insert inside to protect the clay from heat and wax. Never leave a burning candle unattended, and place the holder on a heatproof surface.
This simple, beginner‑friendly guide offers creative charm and structure for anyone wanting to craft a beautiful, leaf‑shaped candle holder with clay.