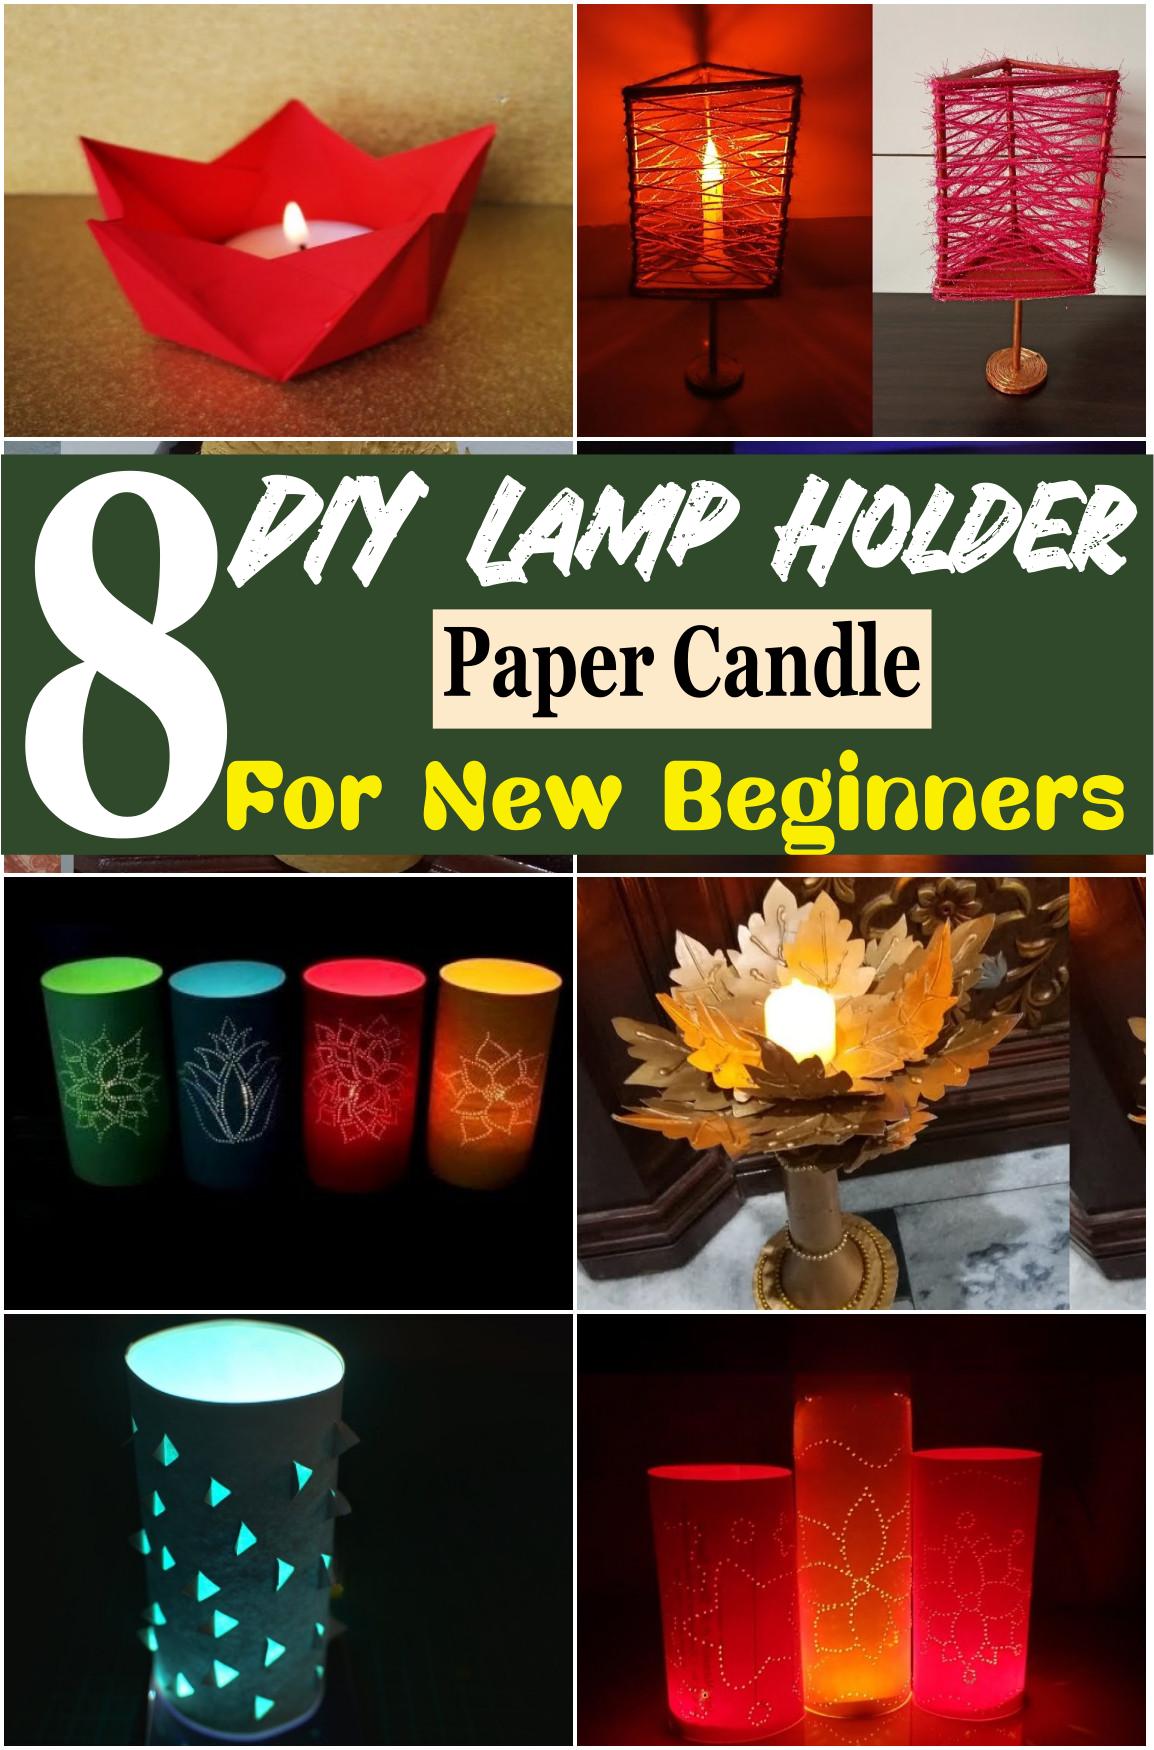
DIY Lamp Holder Paper Candle For New Beginners
This DIY Lamp Holder Paper Candle For New Beginners offers a charming glow perfect for cozy evenings or festive décor. It can brighten a desk, a dinner table, or a windowsill with soft light. To make this elegant candle holder, start by gathering simple materials: sturdy cardstock or colored paper, translucent vellum or tracing paper, glue, scissors, and a safe battery-operated tea light. The process is easy: cut and fold the cardstock into a box shape, line the inside with vellum for gentle diffusion, and secure edges with glue. Placing a tea light inside creates a warm, lantern-like glow without real flames. The entire project takes about 20 to 30 minutes—making it perfect for a relaxing afternoon activity.
This paper candle holder can be customized in countless ways. Experiment with different paper colors, patterned cardstock, or vellum with printed designs. Variations include adding cut‑out shapes like stars or hearts to let light peek through, or wrapping string or washi tape around the edges. Beginners can even try layering papers to create ombré effects. Whether used as a night‑light, party decoration, or desk accessory, this simple DIY lamp holder combines creativity and function in a fun, beginner‑friendly way.
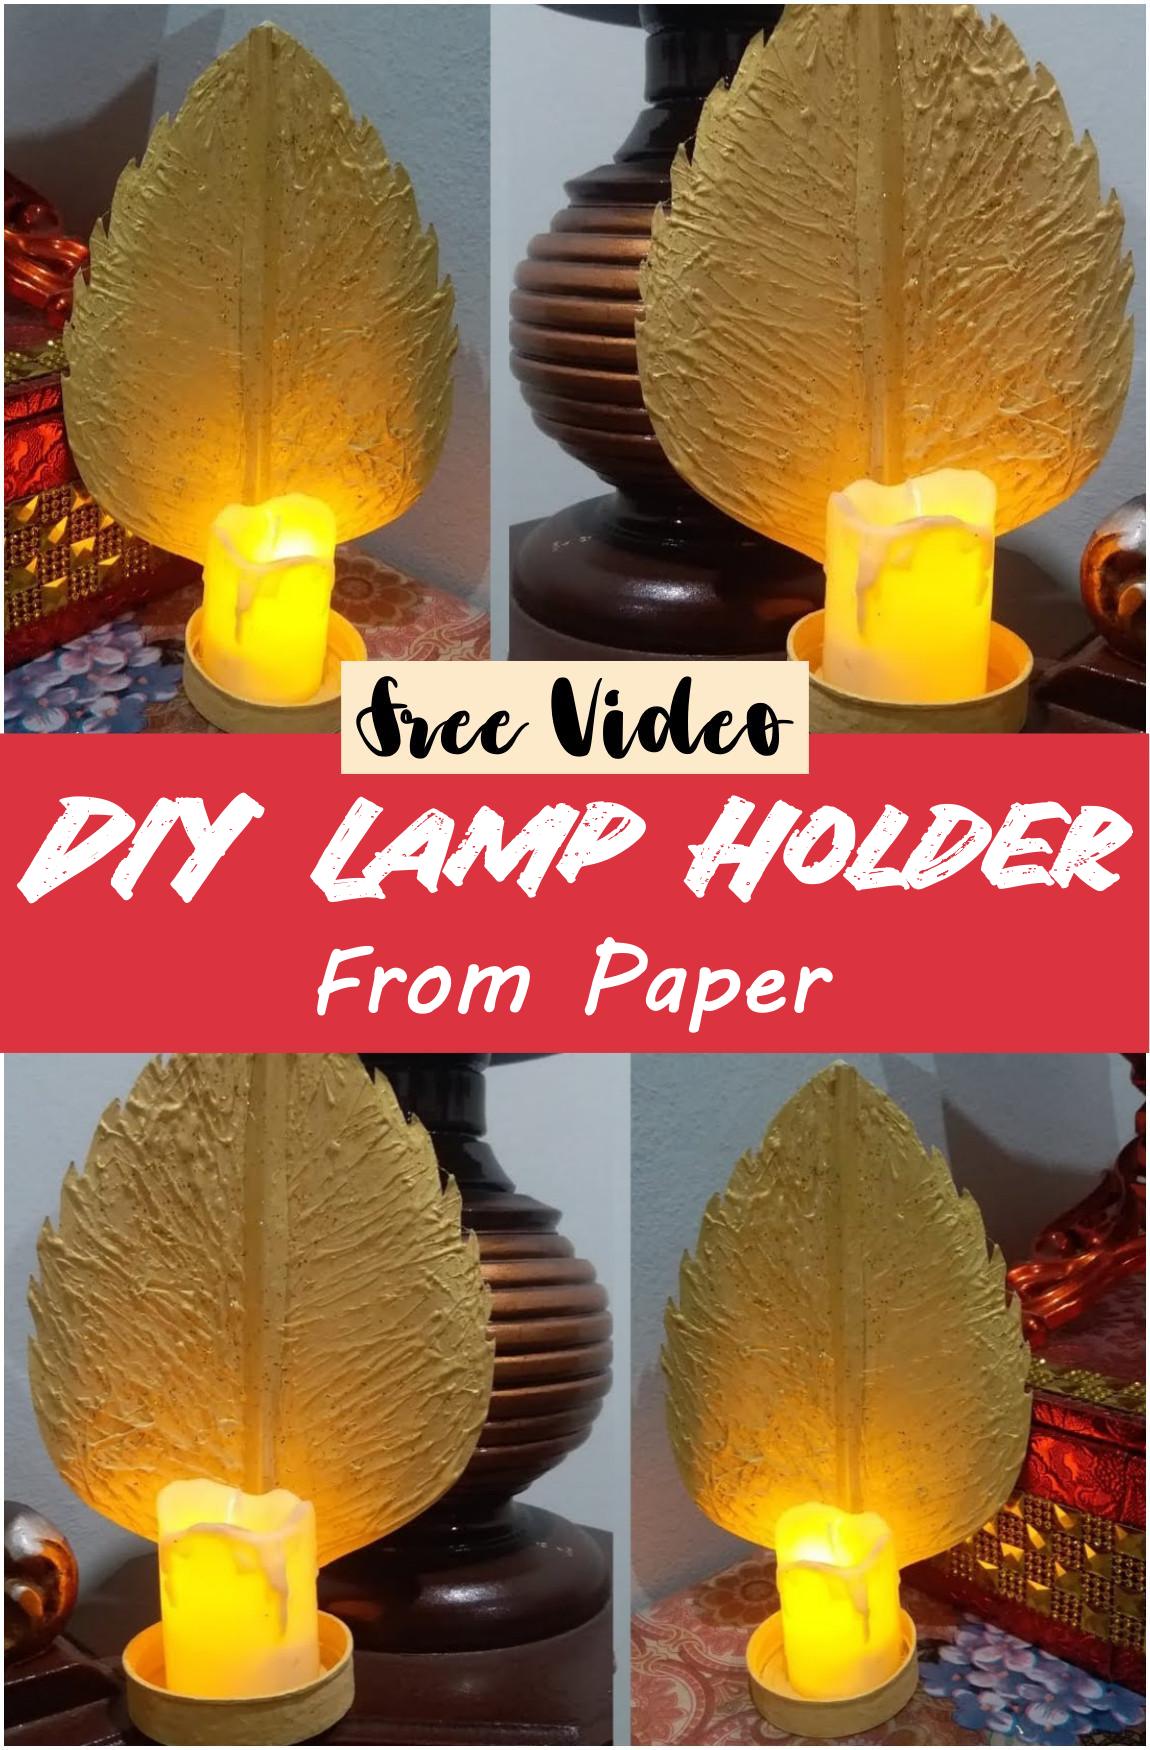
DIY Lamp Holder From Paper
Start by folding and shaping sturdy paper into the lamp holder’s body—either by rolling sheets into tubes or creating accordion-style pleats. Secure the shape with glue or tape. Next, gently insert a candle or LED light base, ensuring it sits stably inside. Once the light source is placed, adjust the paper’s form to create even spacing and a balanced look. Finally, let any adhesive dry completely before turning the lamp on.
Materials:
- Thick craft or cardstock paper
- Non–toxic glue or double‑sided tape
- Small candle or LED tea light
- Optional: ruler and pencil for measuring and marking
Different Design Ideas:
- Geometric tube lamp: Roll paper into several cylinders of varying heights for a modern tiered effect.
- Pleated lantern style: Fold paper into evenly spaced pleats for a soft, glowing pattern.
- Cut‑out motif lamp: Create decorative patterns (like stars or leaves) on the paper surface so light filters through in shapes.
- Color‑block version: Use layers of colored paper wrapped in rings to add contrast and visual interest.
Precautions:
- Use LED tea lights or battery‑powered bulbs instead of open flames to avoid fire hazards.
- Ensure paper is positioned safely away from any hot parts of the light source.
- Work on a flat, clean surface—measure and press gently to avoid tearing.
- Let adhesives dry fully before lighting; unplug or remove light source before making adjustments.
This beginner‑friendly guide highlights a step‑by‑step path—from rolling or folding paper to glowing lamp—using simple tools and creative flair. Perfect for adding a handmade touch to any space!
https://www.youtube.com/watch?v=M9OsOhTEjzg
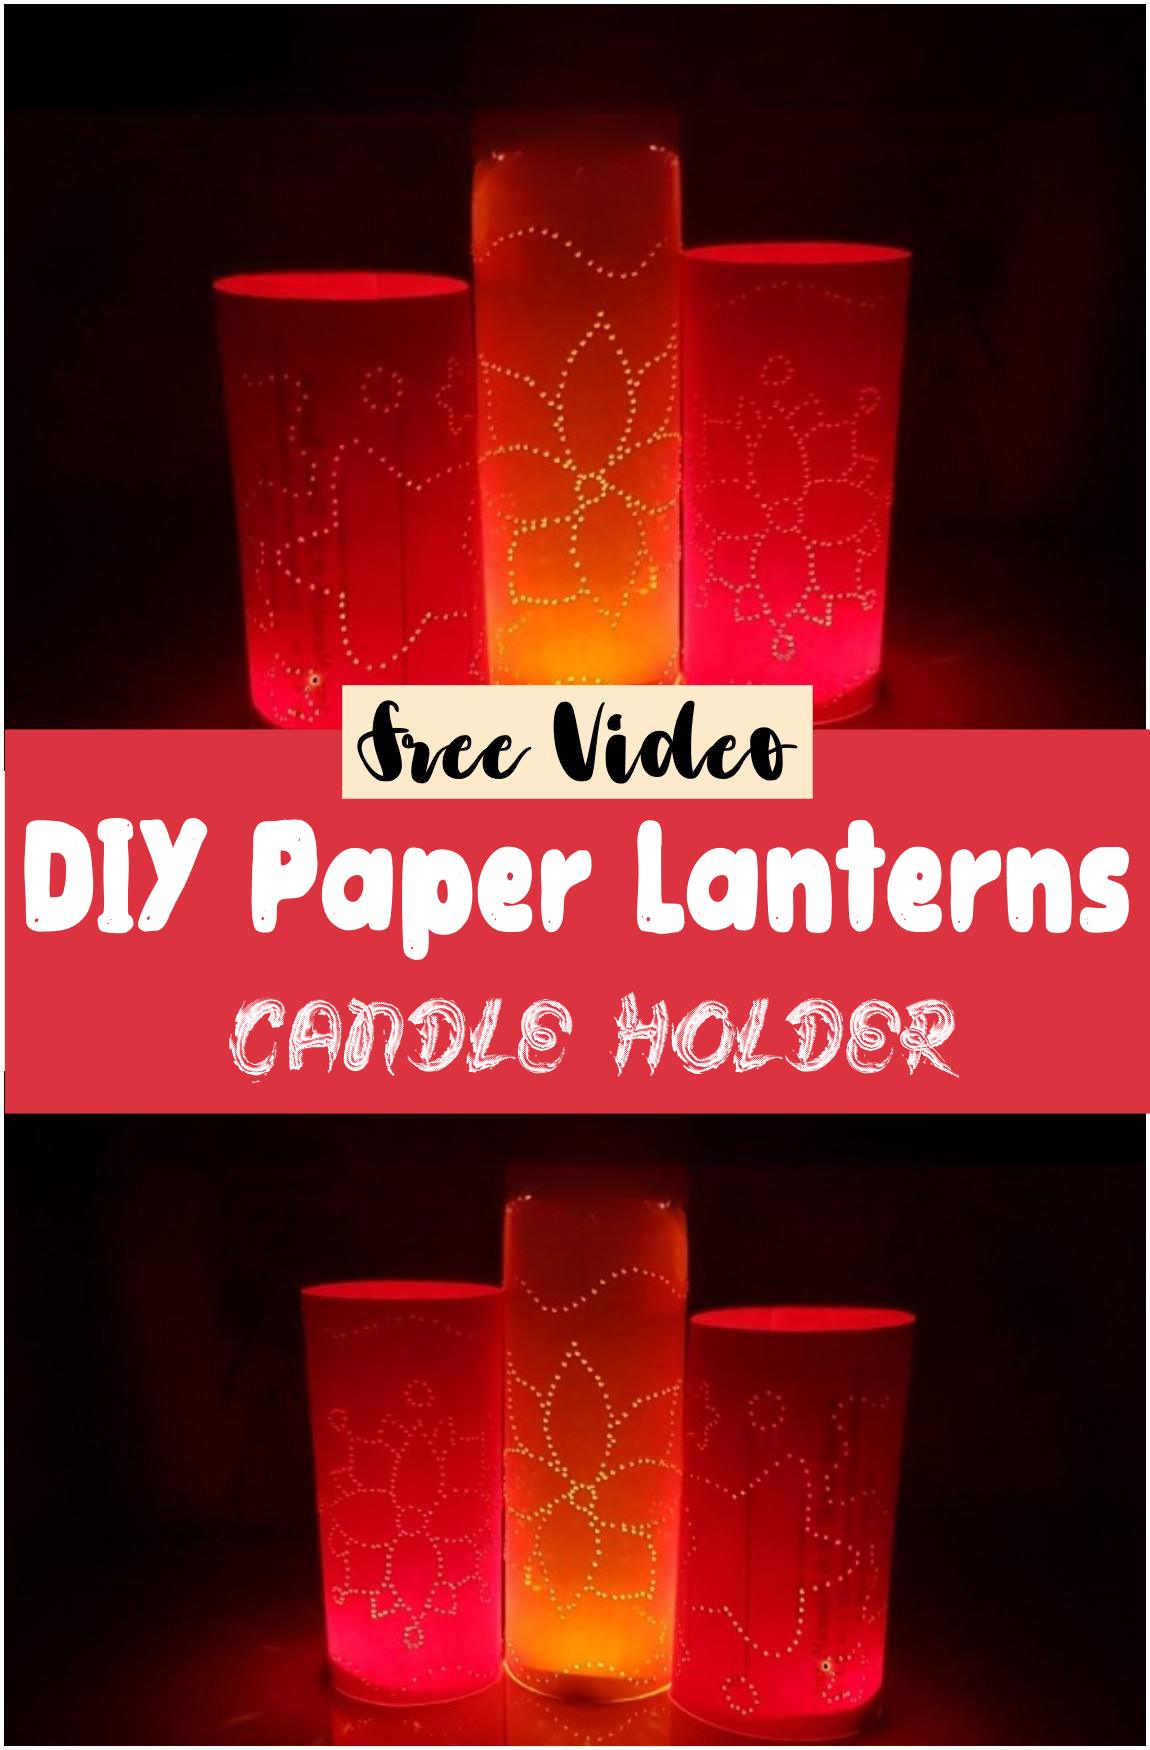
DIY Paper Lanterns Candle Holder
Begin by cutting a rectangular piece of sturdy paper into even strips, then gently curl and glue each strip into a round lantern shape. Attach the top and bottom rings, and secure a small glass candle holder inside to create a safe base. Once the structure is firm, place a tea light or flameless candle in the center, and your lantern is ready to glow.
Materials: Use leftover cardboard like from wedding invitations or thick cardstock. You’ll also need scissors or a craft knife, clear-drying glue, a small glass holder, and a candle or LED tealight.
Different Design Ideas: Roll paper strips to form spiral lanterns, or weave them for a lattice pattern. For added decoration, use colored or textured paper, add punched-out shapes, or layer vellum to diffuse light softly.
Precautions: Ensure the paper is firmly glued and allow enough drying time to keep the shape stable. Use flameless candles to avoid fire hazards, or keep real candles well away from paper and monitor them closely when lit.
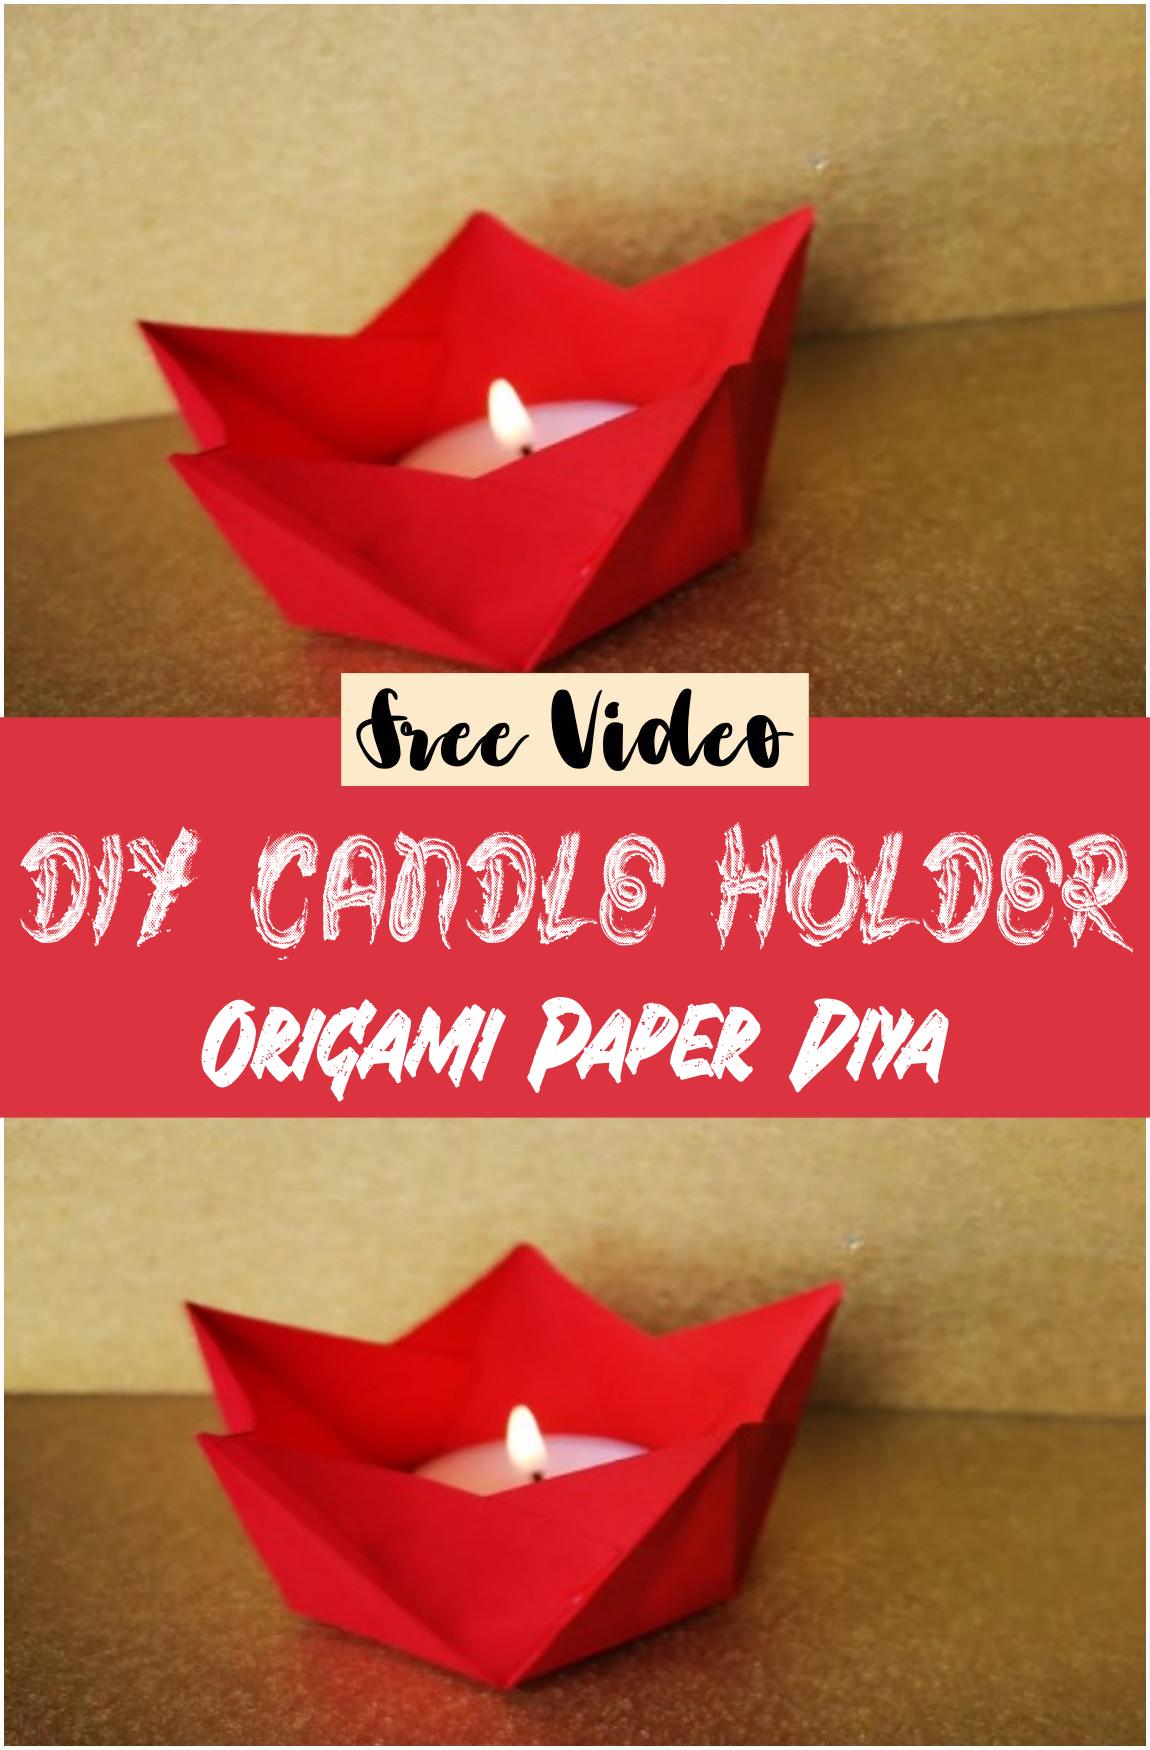
DIY Candle Holder Origami Paper Diya
To make a beautiful origami paper diya, begin by folding a square sheet of paper diagonally and into halves to form creases. Fold the edges neatly to shape a base, then lift and secure the corners to create a bowl-like holder. Gently shape the petals to form an elegant diya design, perfect for holding a small tealight candle.
Materials:
- Square origami or colored paper
- Glue (optional for extra strength)
- Small tealight candle (battery-operated for safety)
- Ruler (for precision)
Different Design Ideas:
Try using metallic or glitter paper for a festive look. Mix and match colors for a layered flower diya effect. Add tiny beads or stickers for extra decoration. Larger paper can create deeper holders, while smaller sheets work well for table accents.
Precautions:
Always use flameless candles to avoid fire risk. Keep away from children or pets when lit. Ensure folds are sharp and even for better balance. Avoid placing near flammable materials.
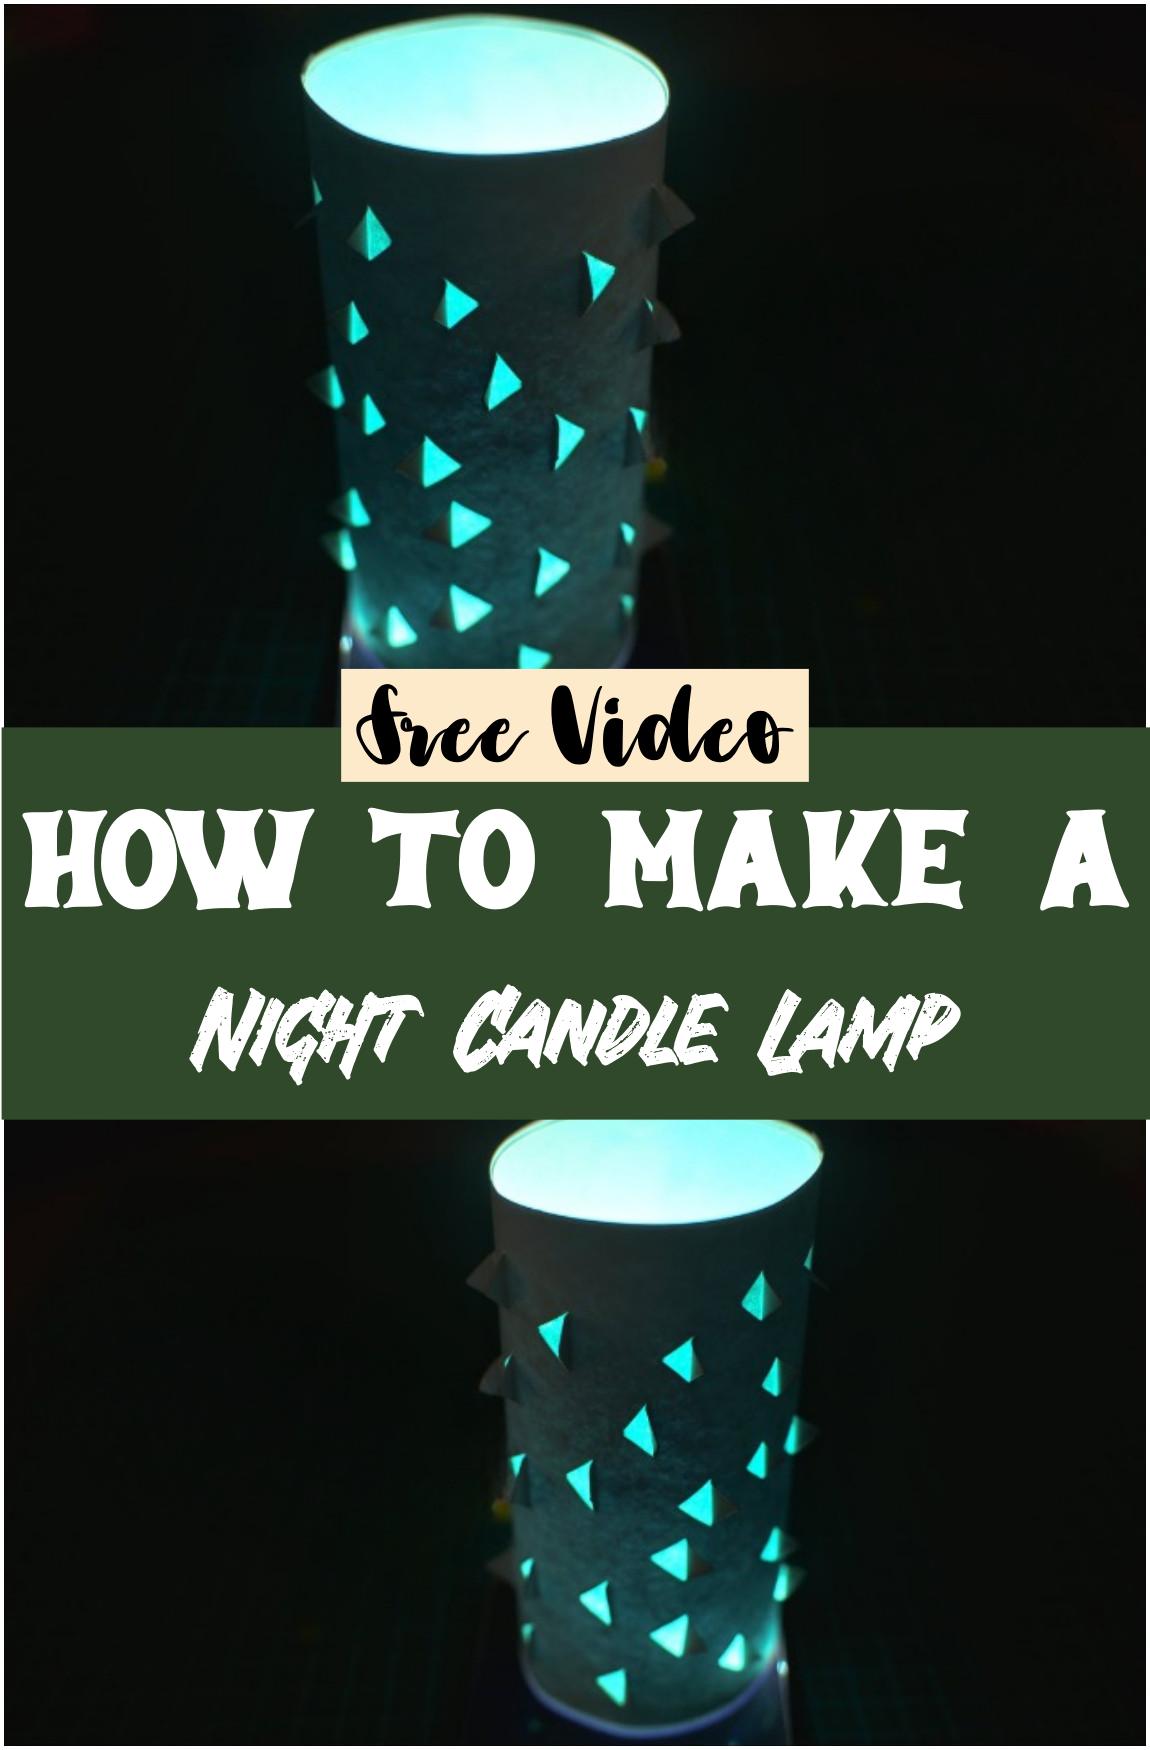
How To Make A Night Candle Lamp
Start by cutting out shapes from sturdy paper to form the lamp’s shade. Fold and glue the paper into a cylinder or cube shape with openings for light to shine through. Fit a small glass or clear plastic container inside to hold the candle and protect the paper. Light a tea‑light or LED candle and place it within the container, then set the shade on top—allowing the warm glow to filter through the design.
Materials:
• Strong paper or cardstock (plain, patterned, or colored)
• Glue or adhesive suitable for paper
• Small heat‑resistant container (glass or plastic)
• Tea‑light or LED candle
Different Design Ideas:
- Geometric cutouts – triangles, circles, or stars to create patterned light effects.
- Layered paper – stack different colors for a stained‑glass effect.
- Floral or lace‑style edges – trim the tops and sides for a soft, decorative touch.
Precautions:
• Always place a heat‑resistant barrier between candle and paper.
• Use LED candles to avoid flame risk.
• Keep lamp away from flammable items and never leave it unattended.
This approach makes a nighttime candle lamp charming, safe, and beginner‑friendly—plus it invites personalization through cut‑out patterns, colors, and shapes to match any mood or décor.
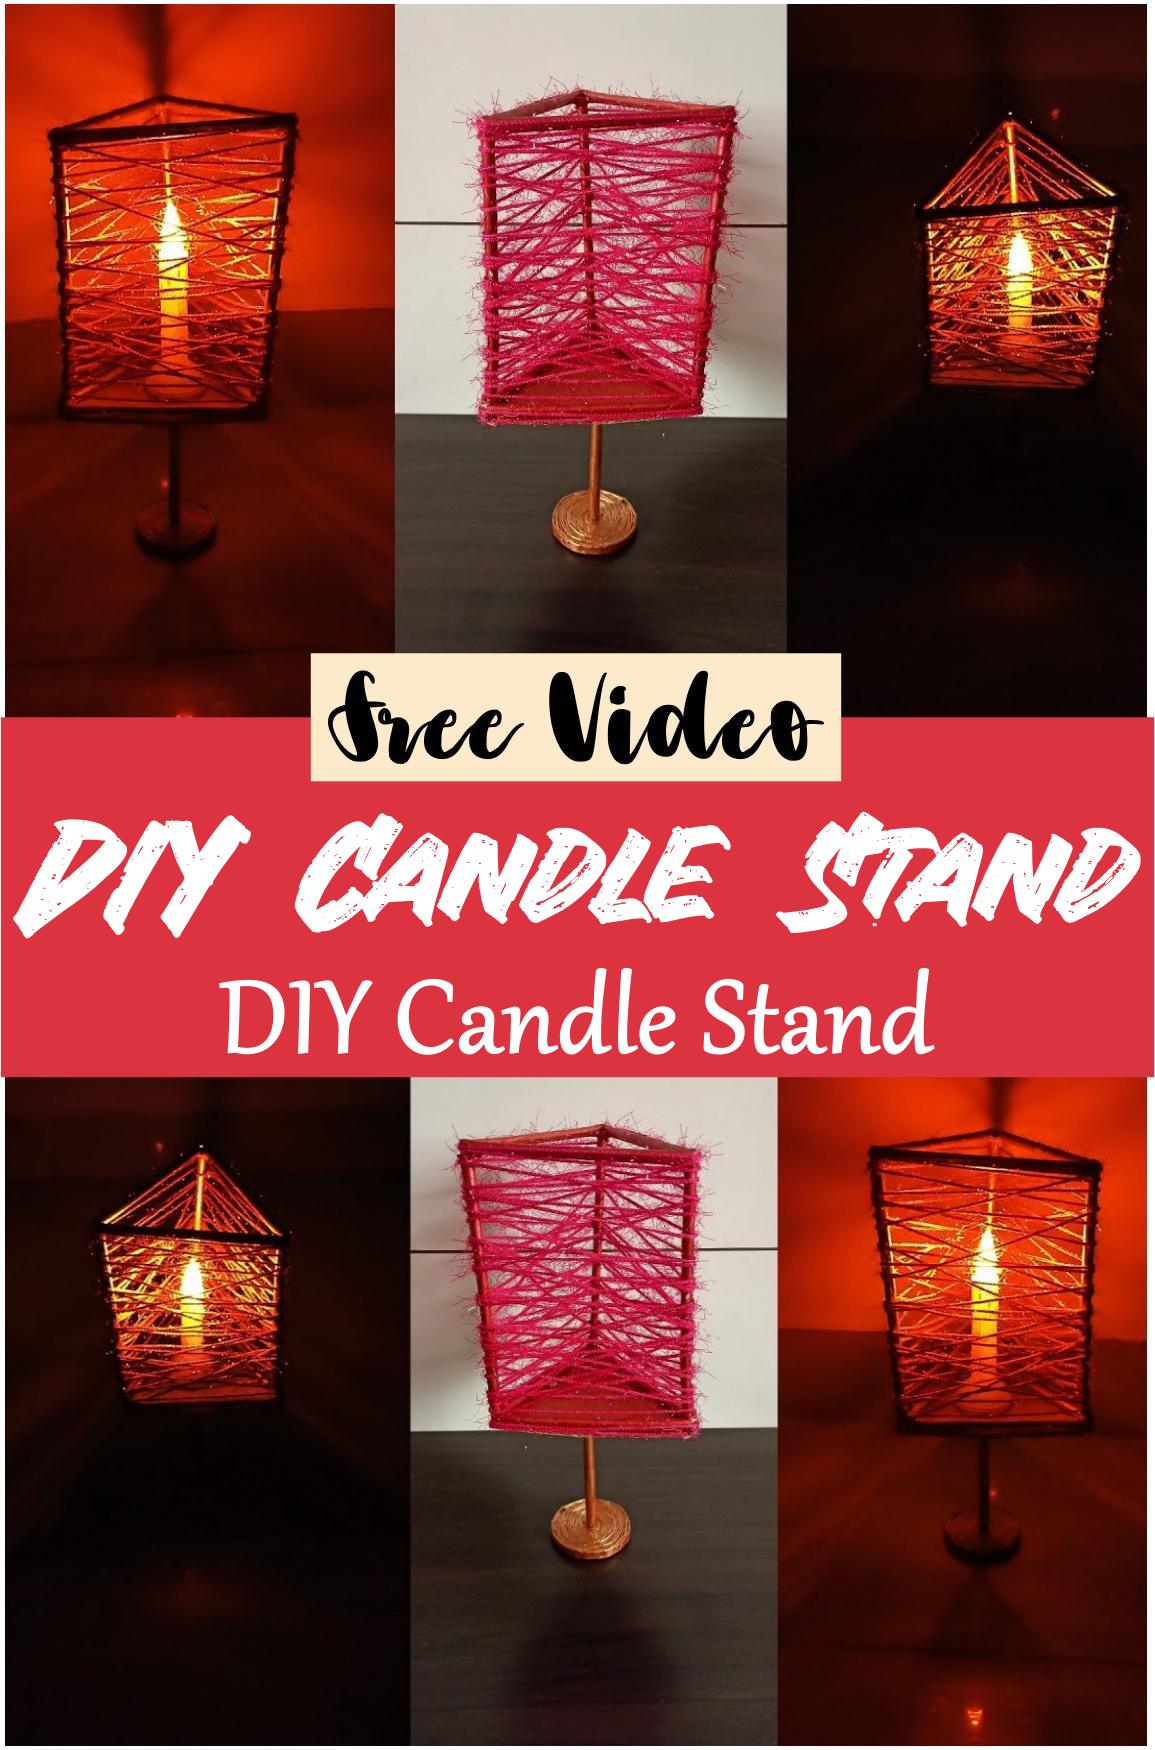
DIY Candle Stand Make Lamp
Begin by rolling old newspaper pages into tight tubes and securing them with glue. Arrange these tubes in a circular or tiered pattern to form the base of the stand. Once the structure feels sturdy, place a small dish or metal cup on top to hold the candle safely. Apply glue over the surface, let it dry, and then paint or varnish the stand for a polished finish.
Materials:
- Old newspapers (rolled into tubes)
- White glue or glue stick
- A small metal dish or cup for the candle
- Paint or sealant of choice
- Scissors and a cloth for cleanup
Different Design Ideas:
Experiment with tube arrangements—stack them vertically like pillars or weave them in a spiral for a modern look. Color combinations can match seasonal themes, such as gold and red for festive occasions or pastels for a softer aesthetic. Embellishments like ribbons or beads can add a personal touch.
Precautions:
Ensure the candle dish is heat-resistant and positioned securely. Use thick glue layers to prevent wobbling. Always place the lamp on a fire-safe surface and never leave a burning candle unattended.
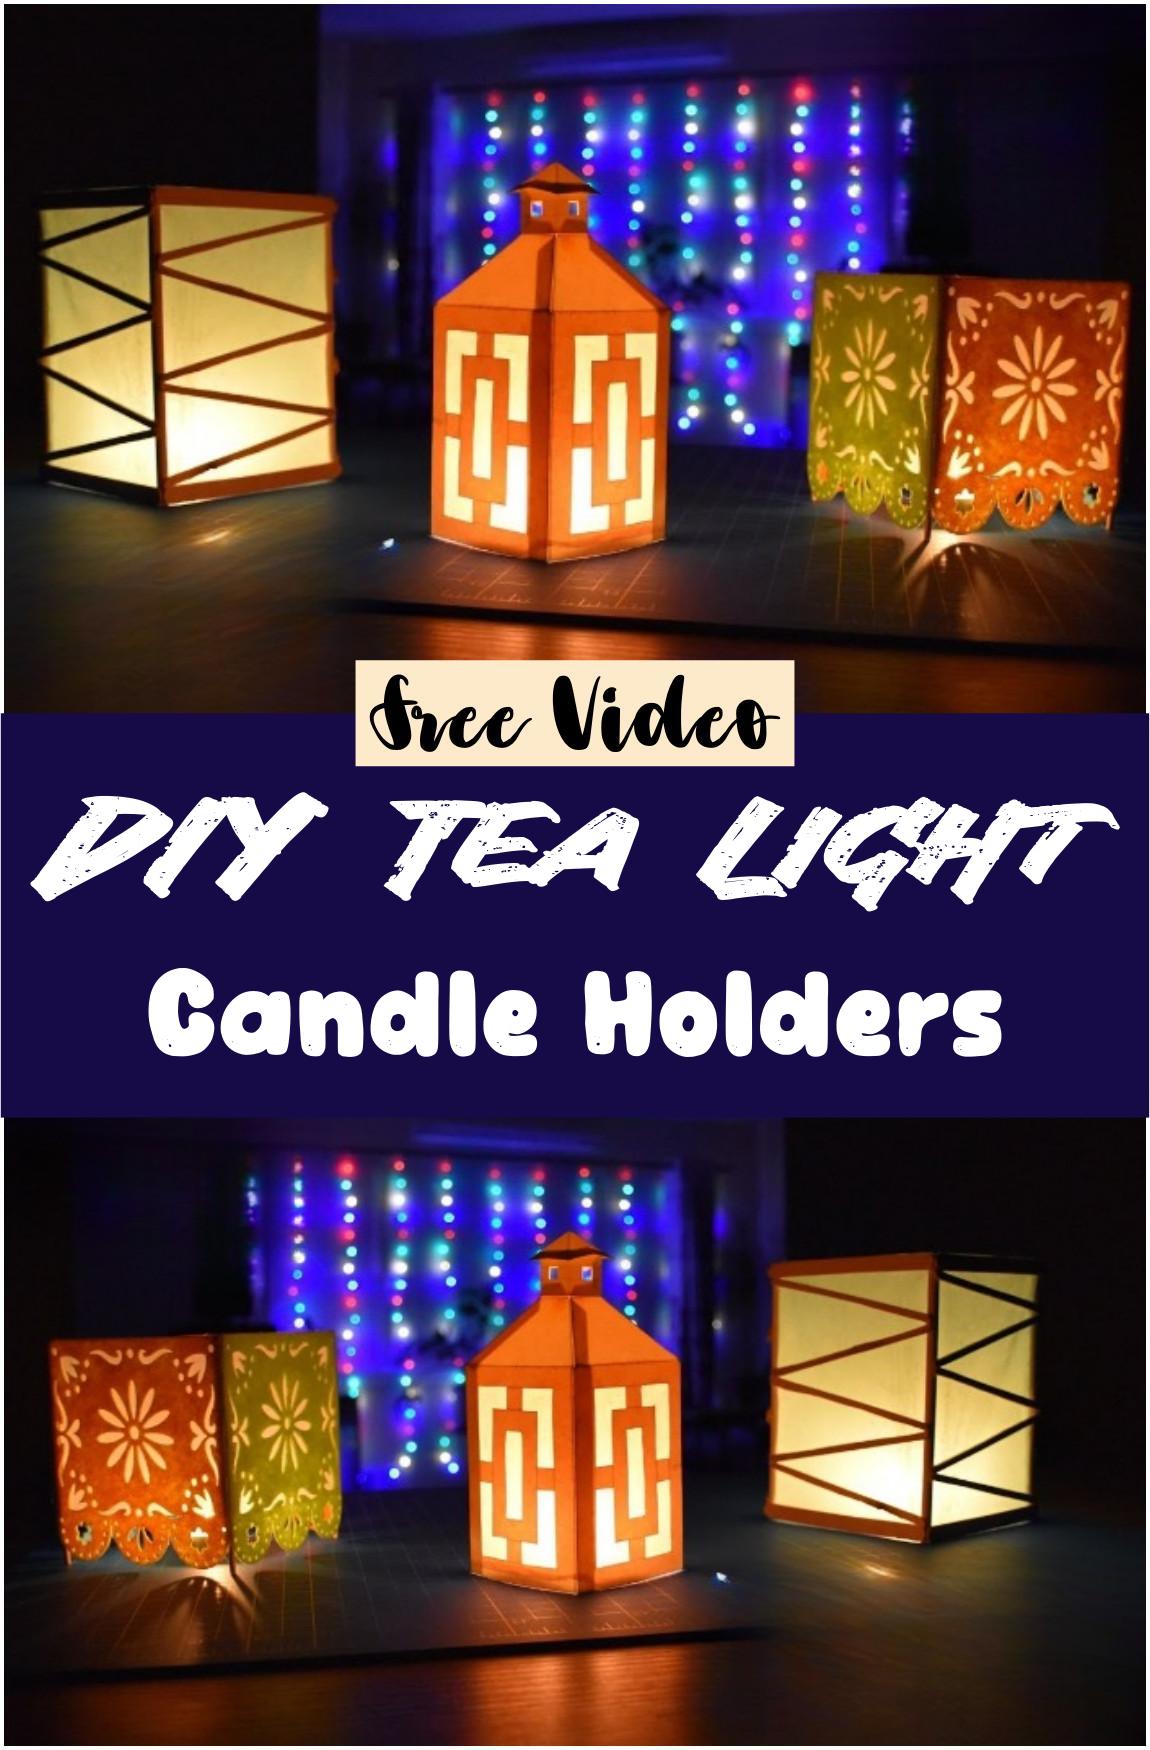
DIY Tea Light Candle Holders
Start by choosing a clean base like a glass jar, tin can, or small bowl. Decorate it using glue and decorative elements, then place the tea light inside once dry. Make sure all materials are firmly attached and the holder stands evenly.
Materials:
Use items like glass jars, paints, glue, lace, twine, glitter, beads, dried flowers, and small mirrors. A safe tea light or LED candle is also essential.
Different Design Ideas:
Try painting the holder in soft pastel shades, wrapping it with twine for a rustic look, or adding lace and gold beads for an elegant finish. Stick small mirrors or dried flowers around the rim for a natural or festive touch.
Precautions:
Always use heat-resistant materials and ensure there’s enough space around the flame. Avoid placing flammable decorations near the candle. For added safety, consider using battery-operated tea lights.
DIY tea light holders add a warm glow to any space and are a fun, easy way to brighten up home decor.
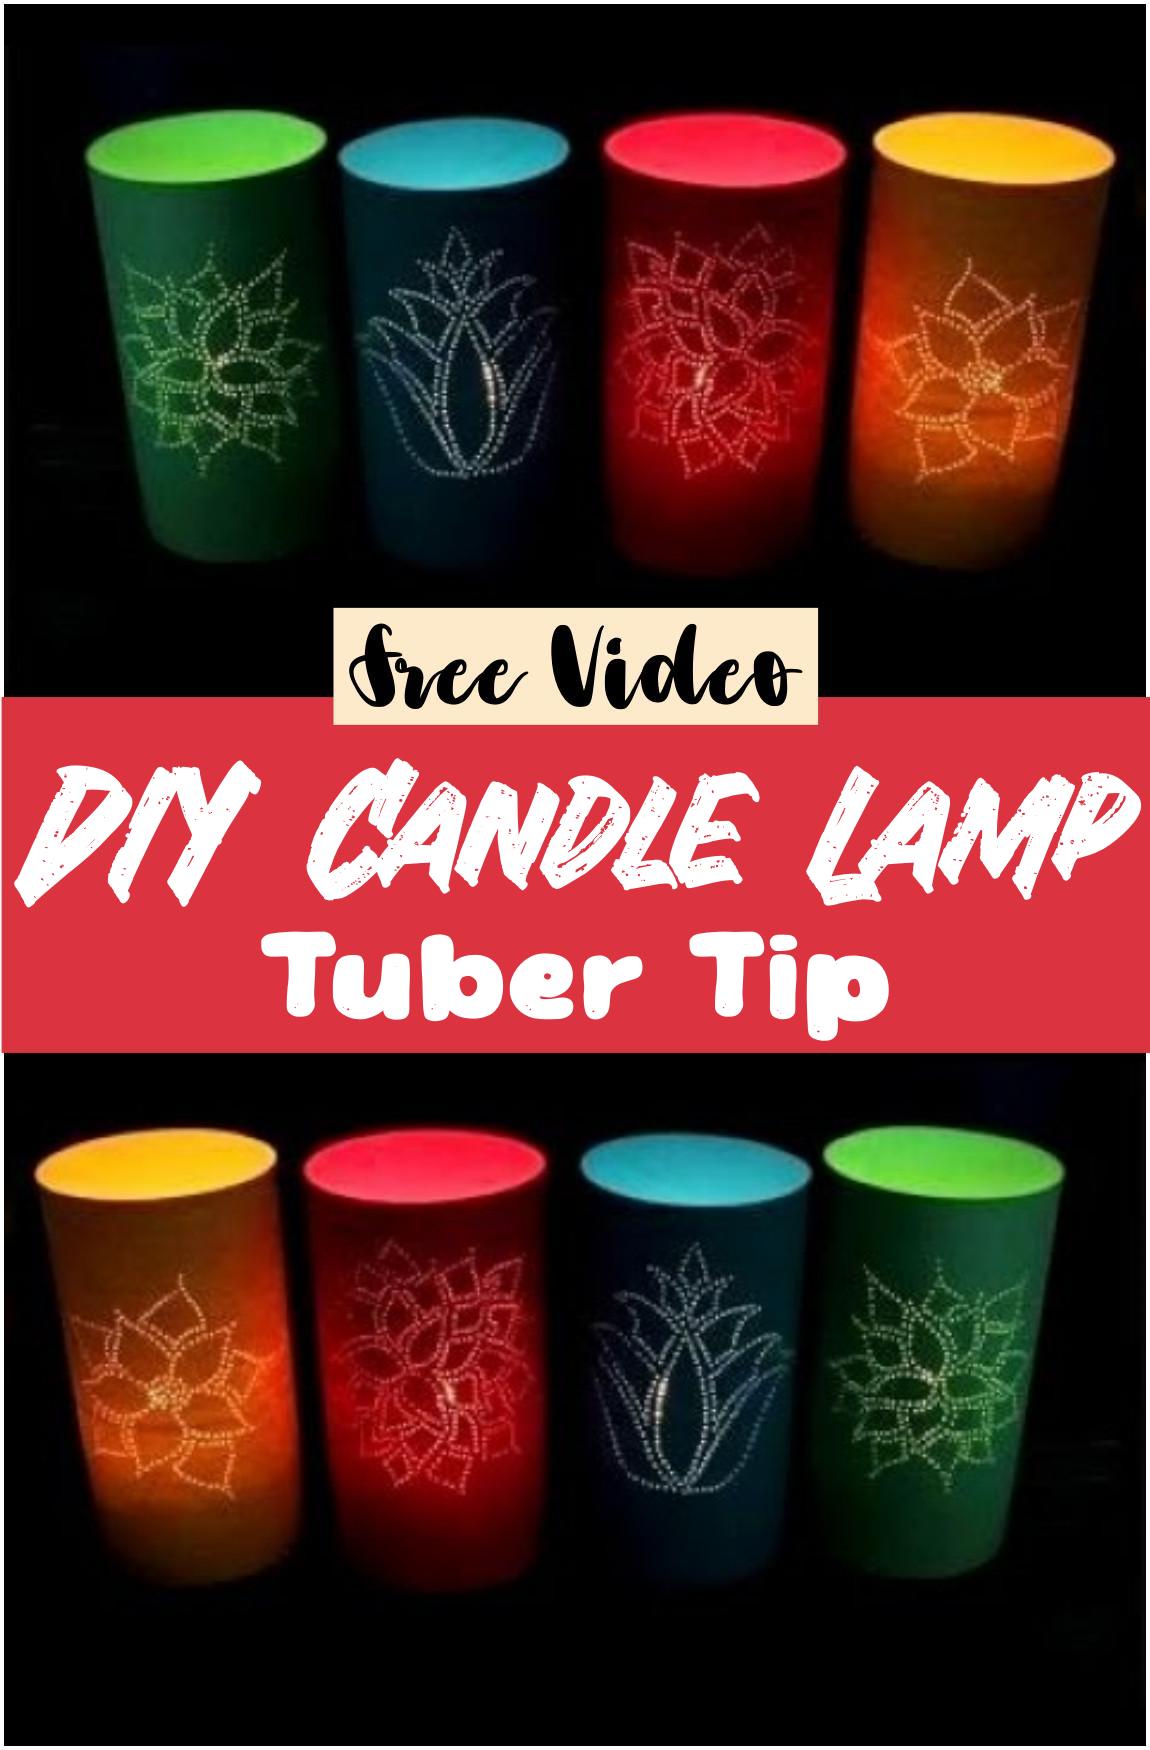
DIY Candle Lamp Tuber Tip
Start by cutting a clean plastic tube to your desired length. Line it with thin, flame‑resistant paper, then gently wrap a colorful layer around the outside. Insert a small LED tealight or candle at one end, secure with a simple base—like a bottle cap or cork—and light it. The tube softly diffuses the glow for a cozy lamp effect.
Materials:
- A clear plastic or acrylic tube
- Thin flame‑resistant paper (such as vellum or parchment)
- Decorative colored sheet or translucent wrapper
- Small LED tealight or real candle with heat protection
- Bottle cap, cork, or small plant pot for base
Different Design Ideas:
- Wrap the tube in patterned paper stripes or geometric shapes for a modern look.
- Layer multiple colored sheets to create gradient effects.
- Try punching small holes in the outer sheet to cast star or polka‑dot shadows.
Precautions:
- Use a real candle only with materials rated for heat.
- Keep flame distance from tube and never leave unattended.
- For real candles, ensure ventilation so heat can escape and prevent melting.
This simple tube lamp transforms everyday items into a warm, inviting glow. It’s beginner‑friendly and allows endless creativity—with peace of mind when safety comes first.
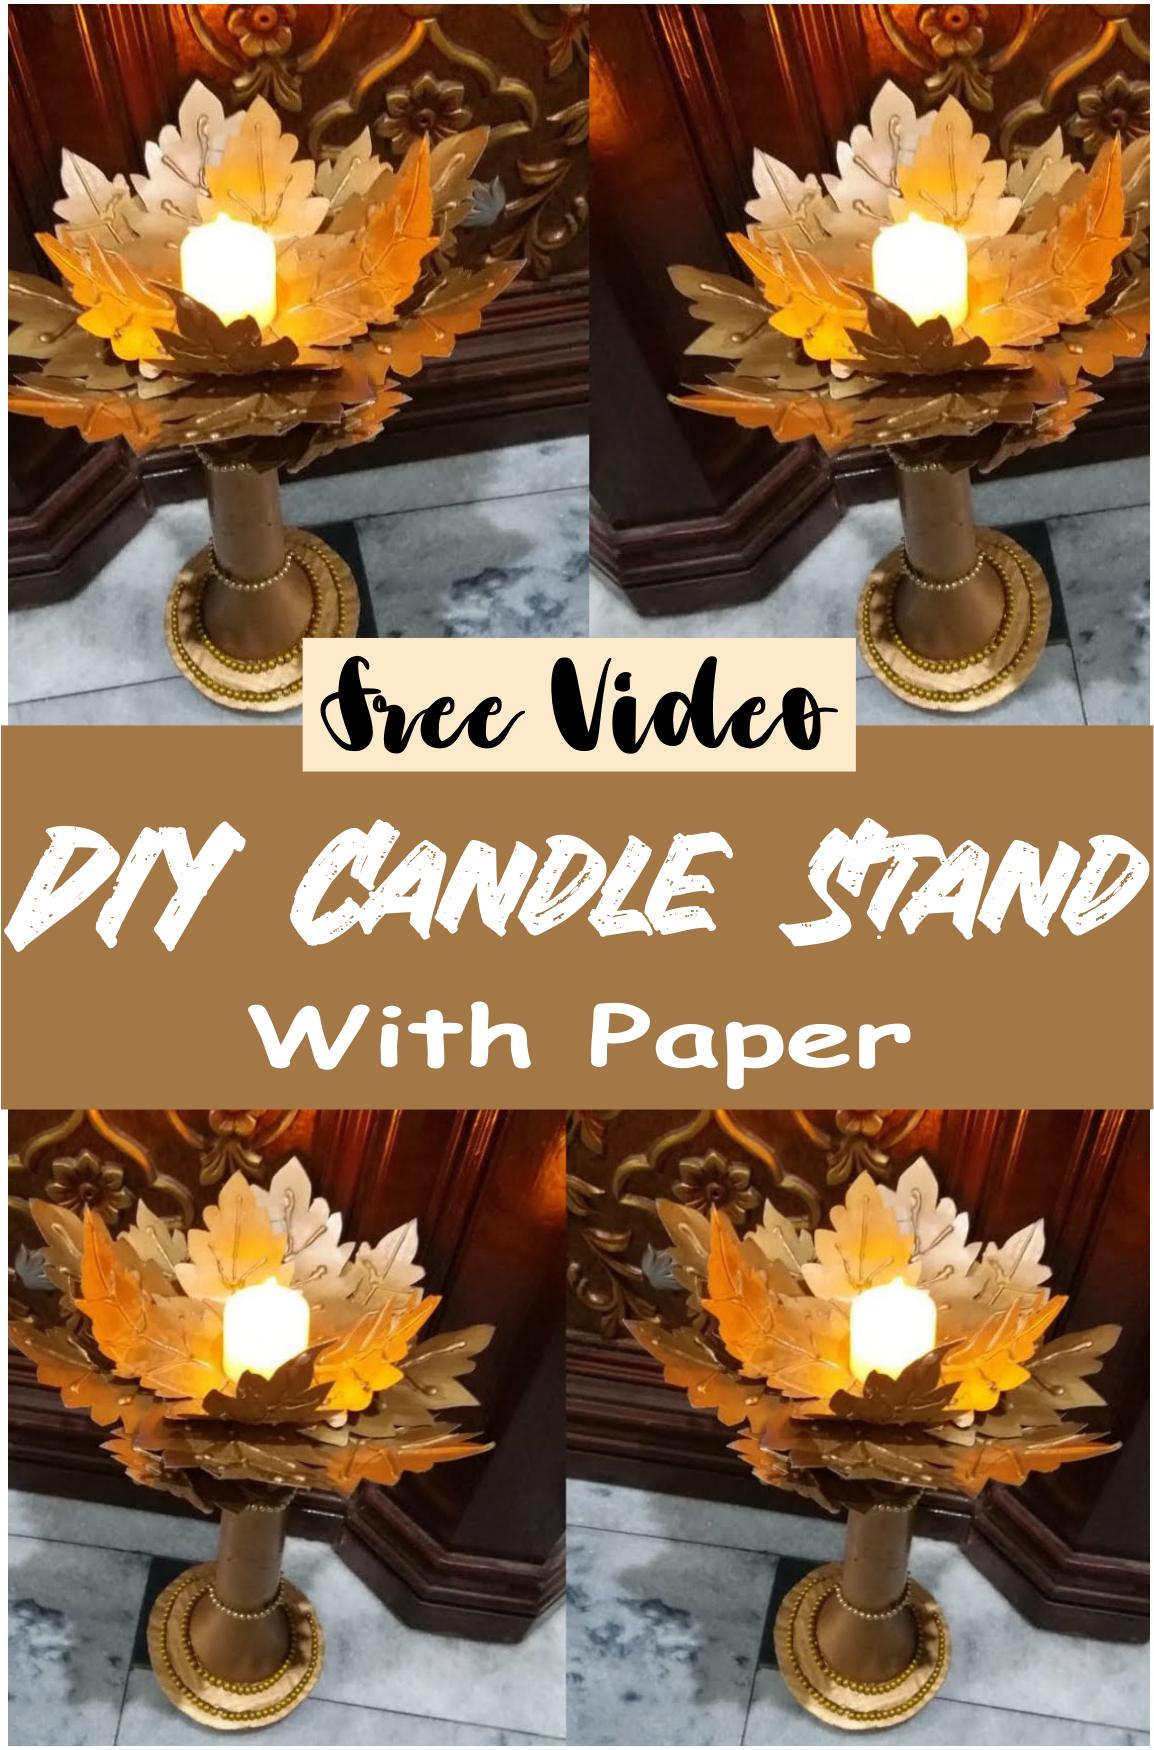
DIY Candle Stand With Paper
Create a beautiful DIY candle stand with paper using easy steps and simple materials. This fun project is perfect for beginners and adds a creative touch to any room.
Materials:
You’ll need colored paper, glue, scissors, a pencil, a ruler, and a small glass or LED candle. Choose paper with a sturdy texture for better results.
Procedure of Making:
Start by folding and cutting the paper into equal strips or shapes as shown in the design. Roll or bend them to form decorative patterns like spirals or petals. Attach each piece carefully using glue to build the base and sides. Allow the structure to dry completely before placing a candle inside.
Different Design Ideas:
Try using layered flower shapes, geometric patterns, or lantern-inspired styles. Add a pop of color with metallic or textured paper for a festive look. Mix and match colors to suit different occasions or home decor themes.
Precautions:
Always use LED candles instead of real flames to prevent fire risks. Make sure the stand is placed on a stable surface away from flammable items.
This DIY paper candle stand is a safe, eco-friendly, and stylish way to light up any space.
https://www.youtube.com/watch?v=PD7mfZhLtd8