Crochet Betta Fish Amigurumi Pattern with Flowing Fins
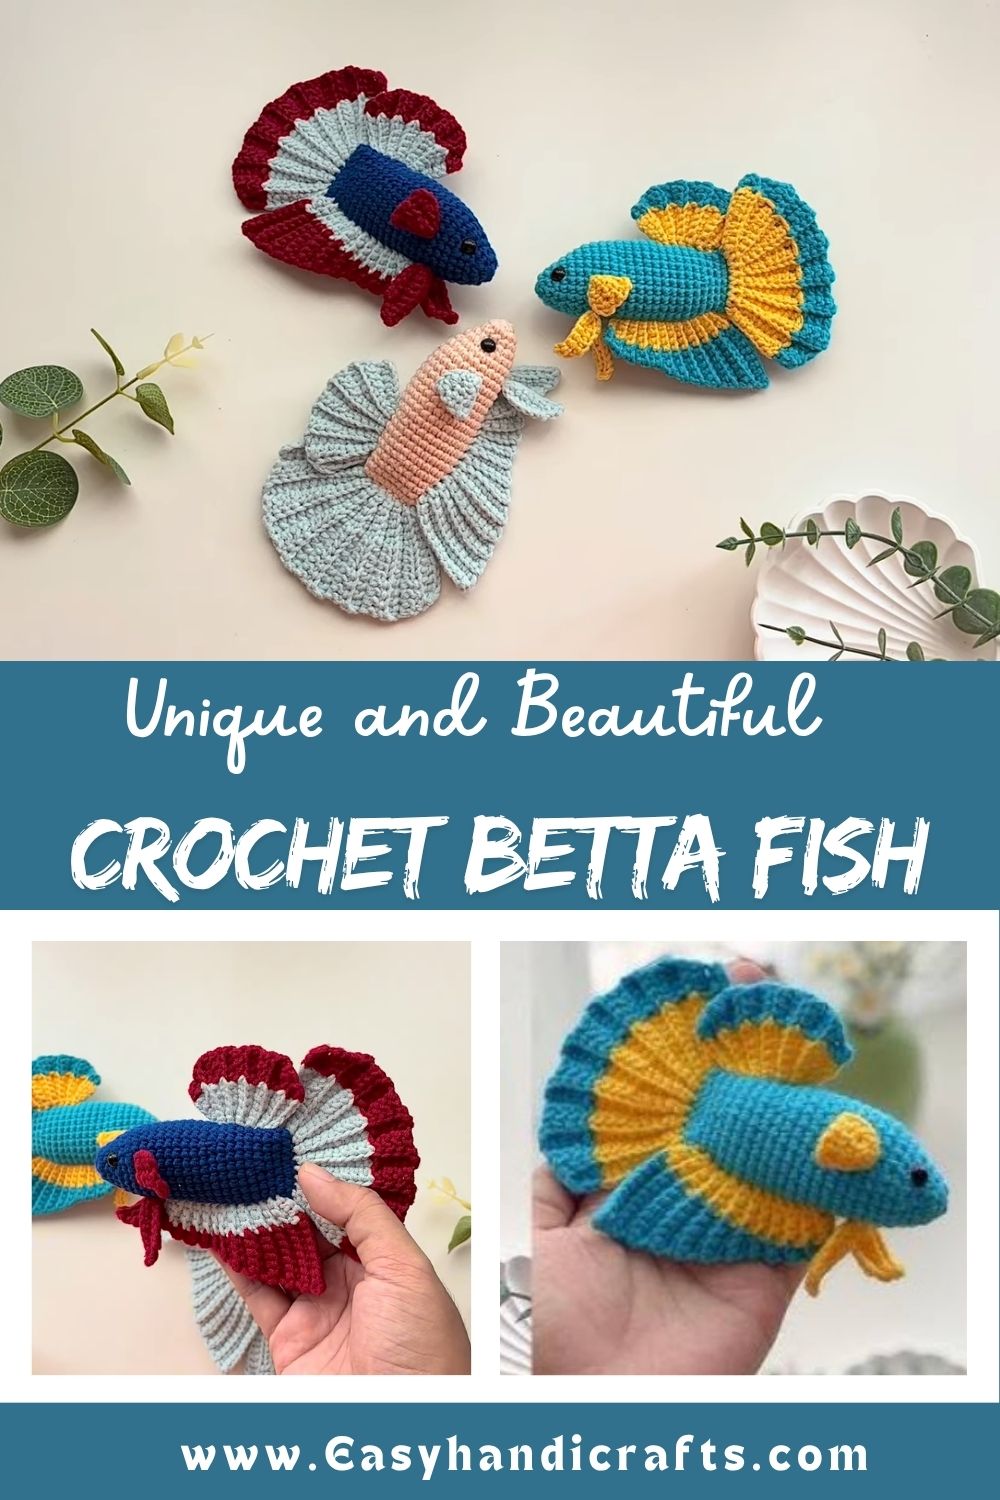
Shaping the body itself stays fairly approachable, relying mainly on rounds of single crochet with gradual increases and decreases. The ruffled fins introduce a slightly more advanced ripple stitch technique, though anyone with a bit of amigurumi experience should pick it up without much trouble.
Project Details
- Skill Level: Easy-Intermediate
- Finished Size: Approximately 5–6 inches including fins
- Estimated Time Required: 3–4 hours
- Recommended Yarn Weight: Worsted weight (Medium, #4)
- Crochet Hook Size: 3.0mm–3.5mm
Materials Needed
- Worsted weight yarn in deep blue for the body
- Contrast yarns in red, teal, and yellow for the fins
- Small safety eyes or black yarn for the face
- Crochet hook matching your yarn weight
- Fiberfill stuffing
- Tapestry needle
- Stitch marker
- Scissors
Crochet Stitches and Techniques
These techniques will guide you through the entire pattern:
- Magic Ring – starts the body with a tight, gap-free center
- Single Crochet (sc) – forms the main body shape throughout
- Increase (inc) – widens the body during the early rounds
- Invisible Decrease (inv dec) – tapers the body smoothly near the head and tail
- Ruffle Stitch – builds the wavy, layered texture of the fins
- Color Changes – blends multiple shades across the fins for a realistic gradient
- Slip Stitch (sl st) – joins rounds cleanly
- Fastening Off – secures each finished section
- Sewing Pieces Together – attaches fins and facial details to the body
Pattern Instructions
Step 1: Starting the Magic Ring
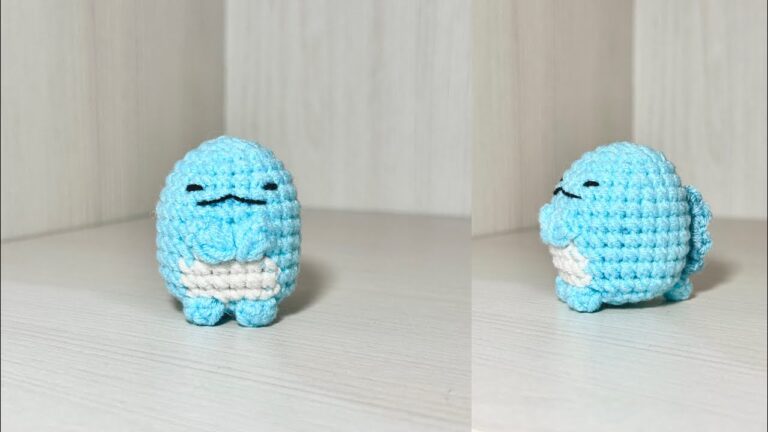
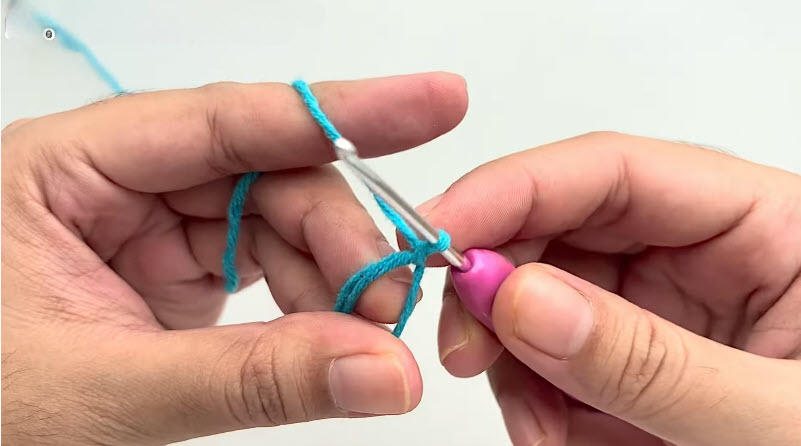
Teal yarn wrapped around the fingers forms the very first loop of the body, giving the fish a clean, closed starting point with no visible gap once the ring tightens.
Loop the yarn around two fingers, slide the hook beneath both strands, and pull through to catch your first stitch before beginning the opening round.
Step 2: Shaping the Body
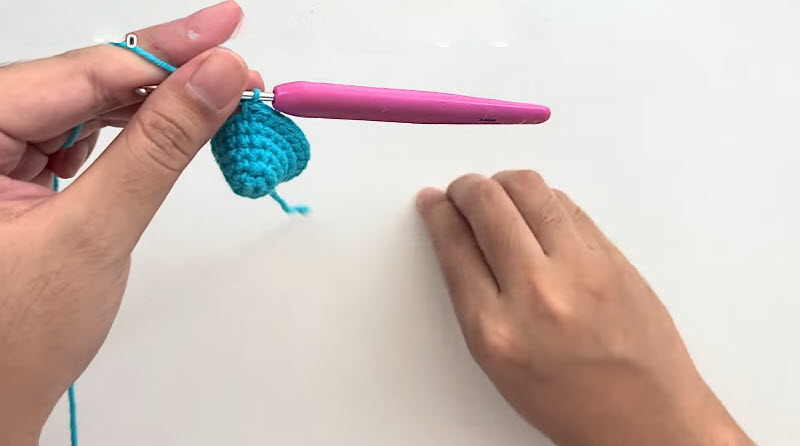
Rounds build outward from the starting ring, curving into the smooth, elongated shape that gives the betta fish its recognizable silhouette. The photo below shows the body still on the hook, growing steadily with each new round.
Increase evenly through the first several rounds, then work even rounds without increasing once the widest point of the body is reached.
Step 3: Completing and Stuffing the Body
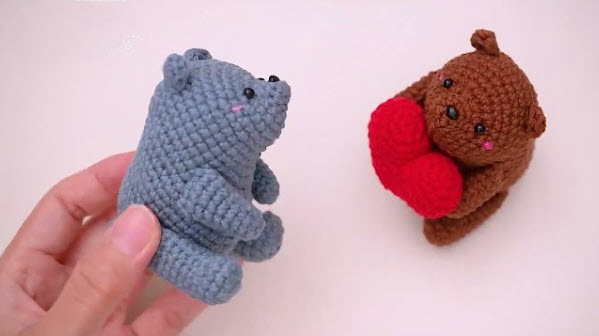
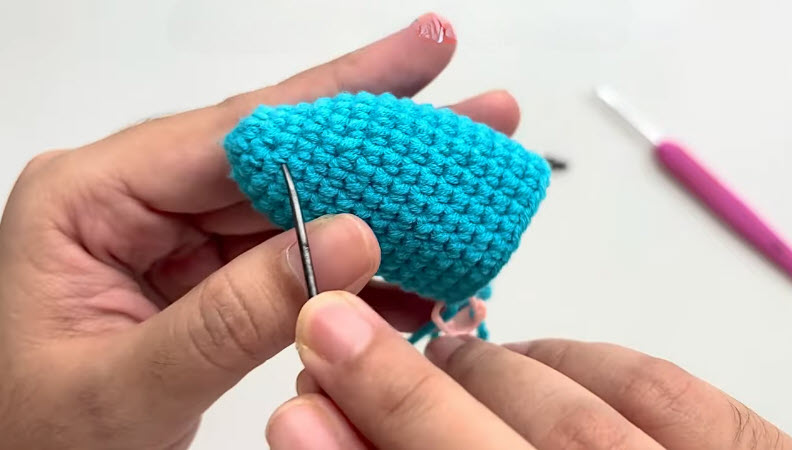
Fiberfill gets tucked inside little by little as the decrease rounds begin narrowing the body toward its tail end, keeping the shape firm without distorting the curve. The photo shows the smooth, fully textured body ready for the next stage.
Stuff gradually while decreasing evenly across each round, checking the shape from every angle until the body feels firm and evenly filled.
Step 4: Crocheting and Attaching the Fins
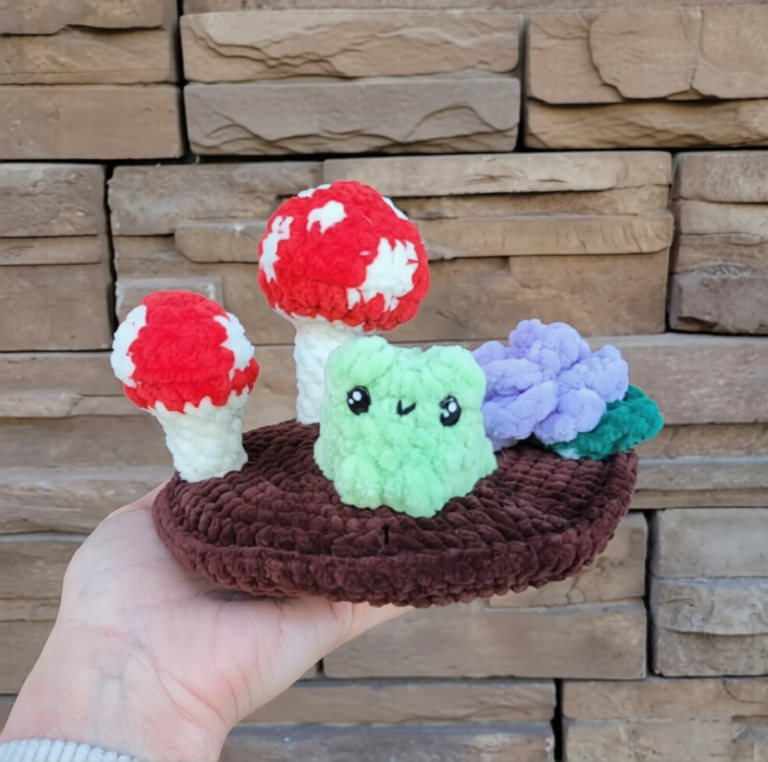
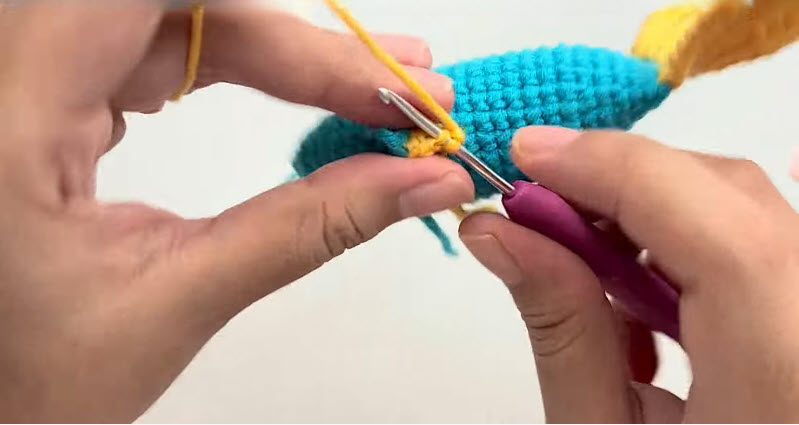
Bright contrast colors come together here to form the layered, ruffled fins, worked separately before being sewn along the sides and tail of the body. The photo captures this fin attached mid-stitch, blending blue, yellow, and additional shades into the finished silhouette.
Crochet each fin piece using the ruffle stitch technique in your chosen contrast colors, then position and sew them securely along the top, sides, and tail of the body.
Step 5: Finishing the Facial Details
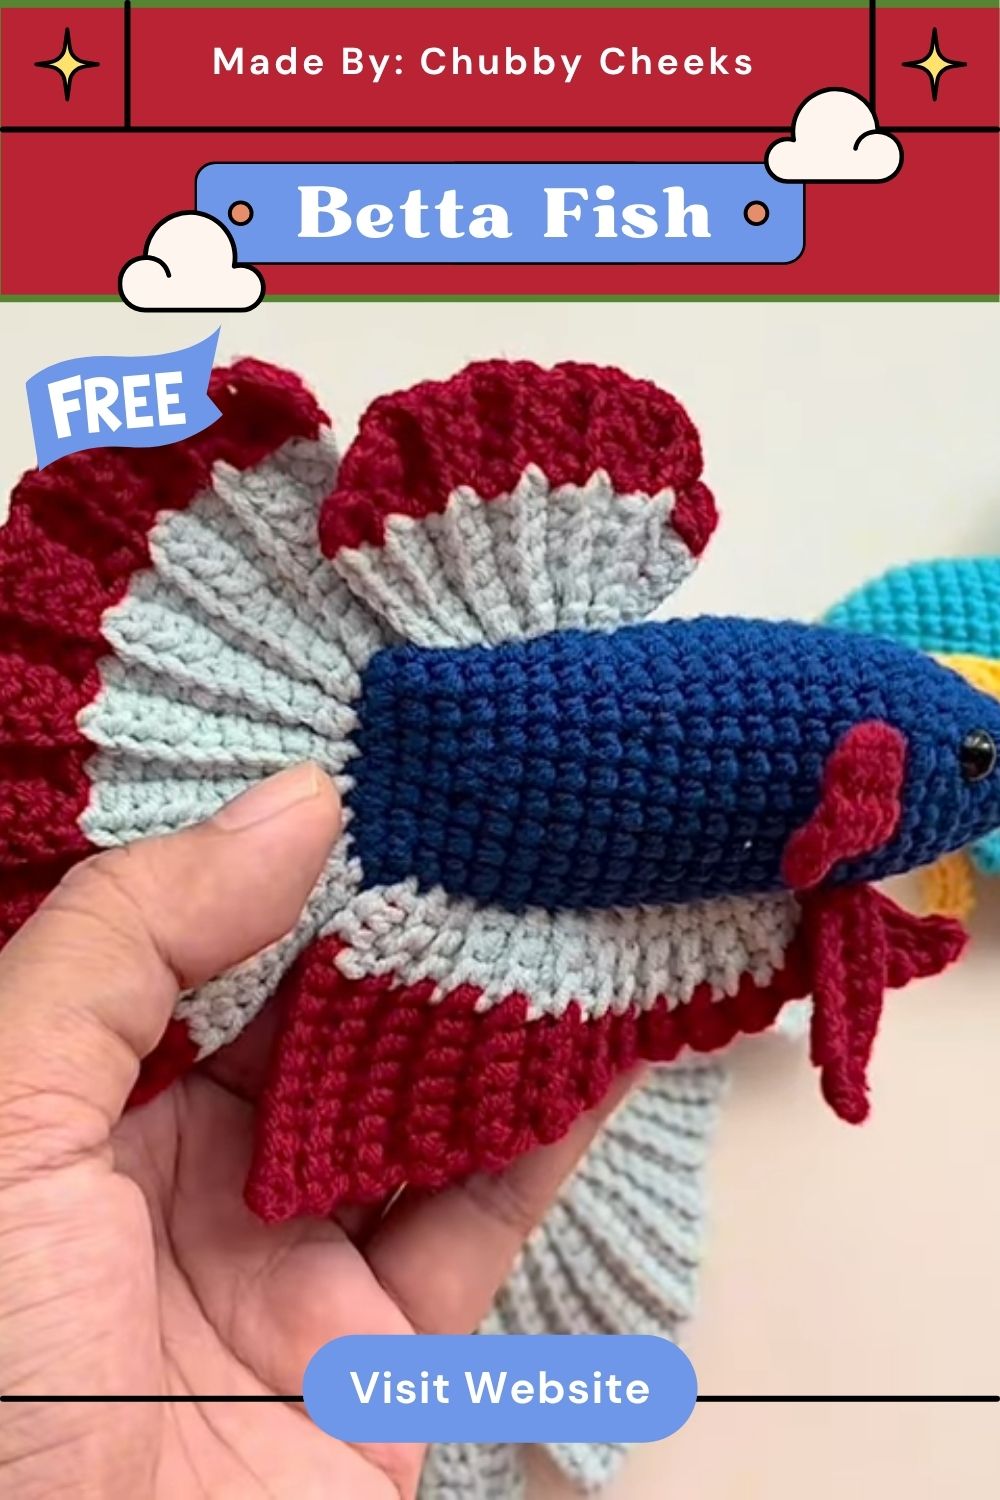
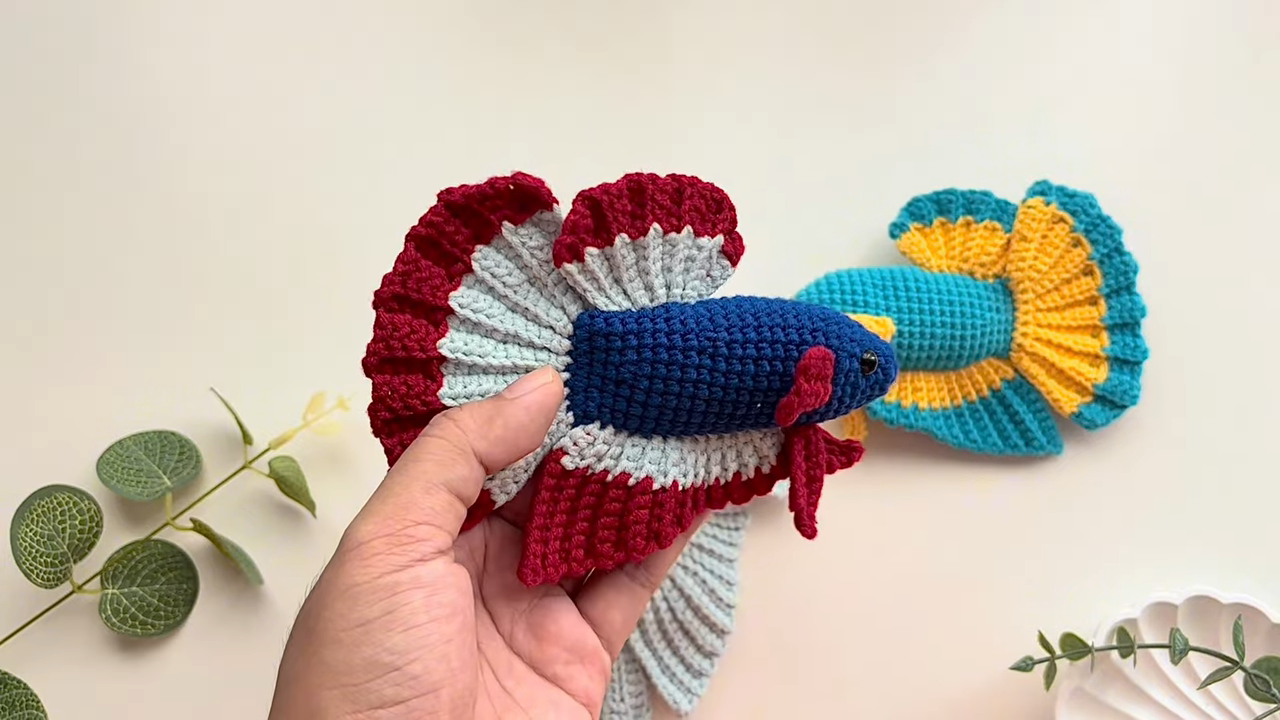
A finished betta fish, complete with vivid red and teal fins fanned out on display, comes together once safety eyes and any remaining details are added to the head. The final photo shows the completed fish held up, fins spread wide in full color.
Attach safety eyes near the front of the head, add a small embroidered mouth if desired, then give the fins a gentle fluff to help them hold their natural spread.
Joining All Pieces
Weave in every remaining yarn tail from the body and fins using a tapestry needle, running each through several nearby stitches to keep the surface tidy.
Final Assembly
Check that both side fins sit symmetrically and the tail fin fans out evenly, adjusting stuffing through any small gaps before closing them completely.
Tips for Success
- Keep tension even throughout the body rounds to maintain a smooth, symmetrical shape
- Stuff gradually in small amounts rather than all at once
- Use a stitch marker consistently to avoid losing track of rounds
- Block the fins lightly with steam if they need extra help holding their ruffled shape
- Pin fins in place before sewing to check symmetry
- Weave yarn ends through multiple directions for a secure, invisible finish
Personalization Ideas
- Try different color combinations to represent other popular betta varieties
- Add a small rock or plant base to display the fish as a shelf decoration
- Make a mini version using thinner yarn for a pendant or charm
- Crochet a matching pair in complementary colors for a display duo
- Turn the pattern into a mobile piece for a nursery with fishing-line hanging loops
- Experiment with ombre-style color blending across the fins for extra realism
Common Mistakes to Avoid
Rushing through the increase and decrease rounds often leads to a lumpy or lopsided body, so counting stitches carefully at the end of every round helps avoid this. Fins sewn on unevenly can throw off the whole silhouette, so pinning them symmetrically before stitching makes a noticeable difference in the final look. Overstuffing the body can cause the stitches to stretch and distort the smooth curve, so adding fiberfill gradually keeps the shape looking natural.
Frequently Asked Questions
How long does the Crochet Betta Fish Amigurumi typically take to finish?
Most crocheters finish the full project, including all fin attachments, within three to four hours.
What yarn colors work best for a realistic betta look?
Deep blue, vibrant red, and bright teal combinations tend to capture the look most authentically.
Is the ruffle stitch difficult for someone new to amigurumi?
It takes a little practice, but most crocheters pick up the rhythm within a few rows.
Can I skip the safety eyes and embroider them instead?
Yes, small black French knots work well as a safer alternative for younger crafters.
Does this Crochet Betta Fish Amigurumi pattern work well as a display piece rather than a toy?
Absolutely, the flowing fins make it especially popular as decorative shelf art.
How can I make the fins stand out more from the body?
Using a firmer stitch tension on the body and a looser one on the fins creates nice contrast.
What is the easiest way to keep the fins symmetrical?
Measuring and pinning both side fins before sewing ensures they match evenly.
Care and Display Tips
Keeping this colorful piece looking its best takes very little effort once it’s finished. Direct sunlight can fade bright fin colors over time, so a shelf away from strong window light helps the shades stay vivid longer. Dust settles easily into the ruffled texture, so a gentle shake or a soft brush every so often keeps the fins looking fresh.
Displaying the fish on a small stand, tucked among faux plants, or propped beside a real or artificial aquarium setup adds a fun decorative touch. Hand washing is safer than machine washing if the piece ever needs cleaning, since gentle cold water and air drying protect both the shape and the stuffing inside. Reshaping the fins slightly by hand after washing helps them settle back into their natural flowing spread.