Crochet Cat Inhaler Case Pattern with Red Collar
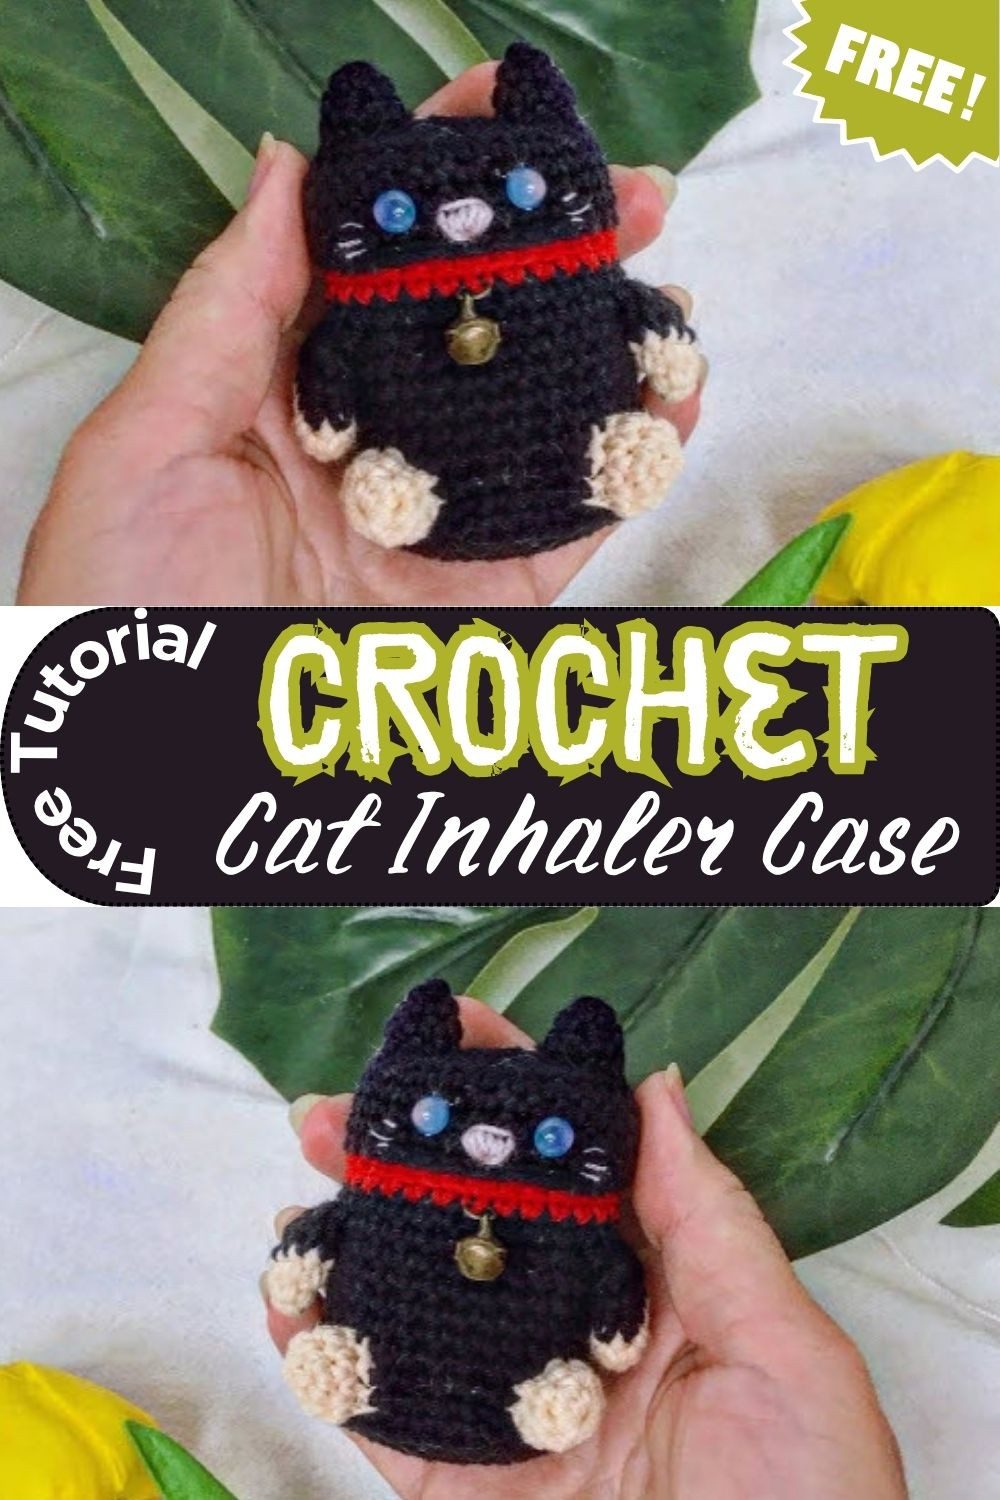
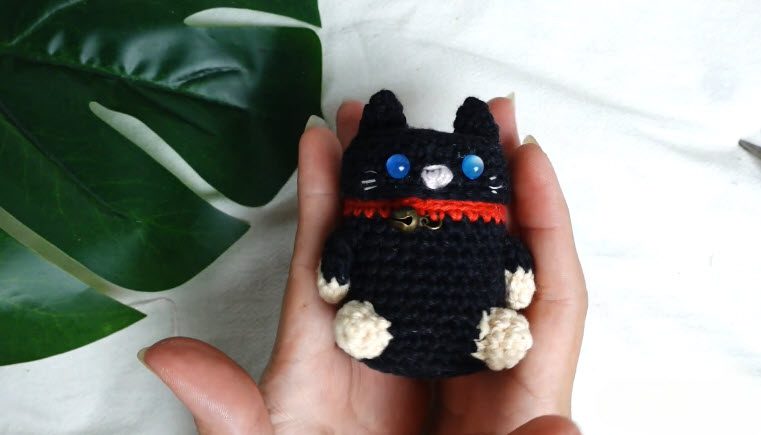
This crochet cat inhaler case pattern turns a plain herbal inhaler jar into a little black cat with a red collar and a tiny bell. Cream paws and a pink nose add plenty of charm, and the whole thing works as an amigurumi cat keychain too. Because every part is written out below, you can follow along from the first magic ring to the final stitch on the face.
Besides looking cute, the cover guards your jar from scratches and gives you a better grip in a pocket. Best of all, you only need a magic ring, single crochet, increases and decreases, so even a confident beginner can finish it in an afternoon.
Crochet Cat Inhaler Case Overview
This is a quick sleeve made for the small Thai herbal inhaler jars sold under names like Hong Thai or Yadom. These jars are usually about 2.5 cm wide and 4 to 5.5 cm tall, but brands differ a little, so always test your own jar. First, you work a flat base, and then you build straight upward. Next, a back-loop round gives the bottom a sharp edge, while a small decrease near the top lets the rim hug the jar. Because the stitches stay small and tight, the cover does not slide off.
Skill level: Beginner-friendly to advanced beginner. You only need a magic ring, single crochet, increases and decreases, plus a little sewing.
Finished size (estimated): about 3 cm across the body (around 4 cm with the arms) and 6 to 7 cm tall including the ears.
Pieces: one main body, two ears, two arms, a tail, a red collar, a bell, a hanging loop and an embroidered face.
Why Make a Crochet Cat Inhaler Case?
- First, it protects the jar from scratches.
- Also, it gives you a better grip when the jar is in a pocket or bag.
- Plus, it makes a sweet gift for anyone who loves herbal aromatherapy.
- Besides that, it works as a keychain or a bag-zipper charm.
- Finally, it is a great way to use up scrap yarn.
Time Needed for the Crochet Cat Inhaler Case
- Preparation: about 10 minutes
- Stitching: about 1 hour 15 minutes
- Assembly and face: about 40 minutes
Colors in the Photo Version
The cat in the photo is black with cream paws, a pink nose, a red collar with a small bell, and blue eyes. However, this pattern covers every one of those details. The collar and bell have their own steps, and the paw tips are built into the arms. Meanwhile, the eyes are embroidered, so you need no beads. If you love the look of bead eyes, there is an optional note about them in the face section.
Materials and Tools for the Crochet Cat Inhaler Case
- Crochet hook, 2.0 mm or 2.5 mm (a 2.0 mm hook gives a tighter, firmer cover, while 2.5 mm suits slightly thicker milk cotton)
- 4-ply milk cotton yarn in your main color (black, grey or white), cream, and red for the collar. Small leftovers are fine, well under 50 g in total.
- Black and pink embroidery thread
- One small jingle bell, 8 to 10 mm (or yellow yarn if you prefer a crocheted bell)
- One small split ring or keyring, if you plan to hang the cover
- Stitch markers
- Tapestry needle and scissors
- A small pinch of fiberfill, only if you want to shape the ears (optional)
- One small herbal inhaler jar to test the fit
Abbreviations and Pattern Notes
All terms are US terms.
MR – Magic Ring
ch – Chain
sc – Single Crochet
inc – Increase (2 sc in the same stitch)
dec – Decrease (invisible single crochet decrease)
sl st – Slip Stitch
BLO – Back Loop Only
FO – Fasten Off
st(s) – Stitch(es)
R – Round
Use your main color unless a step says otherwise, and count your stitches at the end of every round.
Magic Ring
First, wrap the yarn tail around your fingers to make a loop. Next, put the hook through the center, yarn over and pull up a loop. Chain 1 to lock it, then work the needed sc into the ring. Finally, pull the tail firmly to close the hole.
BLO for the Base Edge
Working only the back loop leaves a ridge. As a result, that ridge gives the bottom of the cover a crisp corner, so the walls stand straight instead of curving in.
Invisible Decrease
First, put the hook into the front loop only of the next two stitches. Then yarn over and pull through both front loops. After that, yarn over again and pull through the two loops left on the hook.
Continuous Rounds
Instead of joining your rounds, work in a spiral. Also, place a marker in the first stitch of each round, moving it up as you go.
Changing Colors
When you switch colors, finish the last step of the stitch before the change with the new yarn.
Crochet Cat Inhaler Case Pattern with Red Collar
Crochet Cat Inhaler Case Body (Base and Walls)
First, start with your main color and make a magic ring. Then work the base flat, adding stitches evenly each round.
- R1: MR, 6 sc. (6 sts)
- R2: [inc] x 6. (12 sts)
- R3: [1 sc, inc] x 6. (18 sts)
- R4: [2 sc, inc] x 6. (24 sts)
- R5: [3 sc, inc] x 6. (30 sts)
Base check: Lay the bottom of your jar on the circle. Ideally, the circle should be about as wide as the jar. If it looks clearly smaller, your stitches are too tight, so change to the next larger hook and start again.
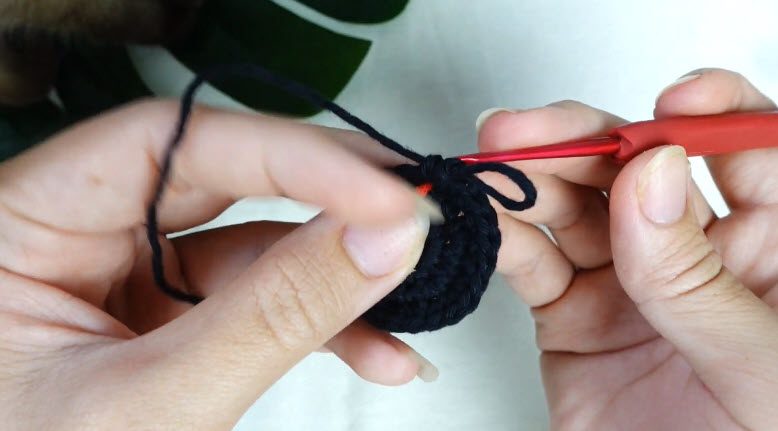
Now build the walls. First comes the back loop round, and then the sides go straight up.
- R6: BLO, sc in each st around. (30 sts)
- R7–R12: sc in each st around. (30 sts) (6 rounds)
- R13: [13 sc, dec] x 2. (28 sts)
- R14–R16: sc in each st around. (28 sts) (3 rounds)
- R17: sl st in each st around. (28 sts)
FO and weave in the end. Slide your jar in, base first, around R9 to check the fit. The cover should feel snug but not hard to push on. If it is loose, use a smaller hook next time. Because R17 is a slip stitch rim, it stays neat and does not flare out.
Also, keep the inside of the cover smooth, so weave all ends toward the outside. That way, nothing catches on the jar.
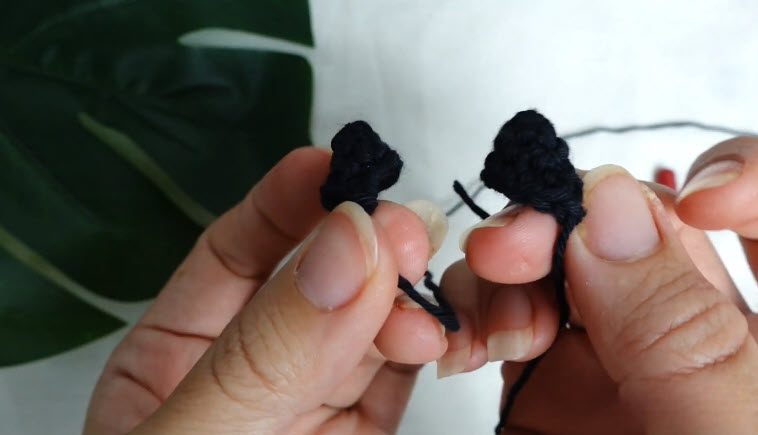
Ears for the Crochet Cat Inhaler Case (Make 2)
Make both ears the same way in your main color.
- R1: MR, 4 sc. (4 sts)
- R2: [1 sc, inc] x 2. (6 sts)
- R3: [2 sc, inc] x 2. (8 sts)
- R4: [3 sc, inc] x 2. (10 sts)
FO and leave a long tail for sewing. Then flatten the base of each ear so it is ready to sew on.
Arms with Cream Paw Tips (Make 2)
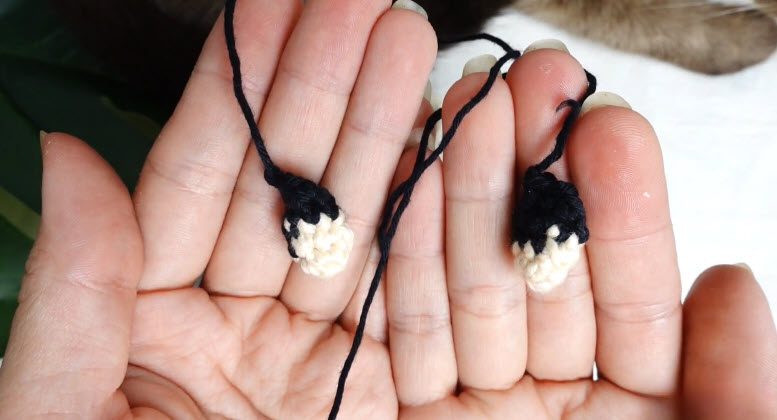
Each arm starts at the paw, so begin with cream and then switch to your main color after the second round.
- R1: With cream, MR, 5 sc. (5 sts)
- R2: sc in each st around. (5 sts)
- R3: Change to main color, sc in each st around. (5 sts)
- R4–R5: sc in each st around. (5 sts) (2 rounds)
FO and leave a long tail. Because the arms need no stuffing, just flatten the open end with your fingers. As a result, the arm lies neatly against the body.
Tail
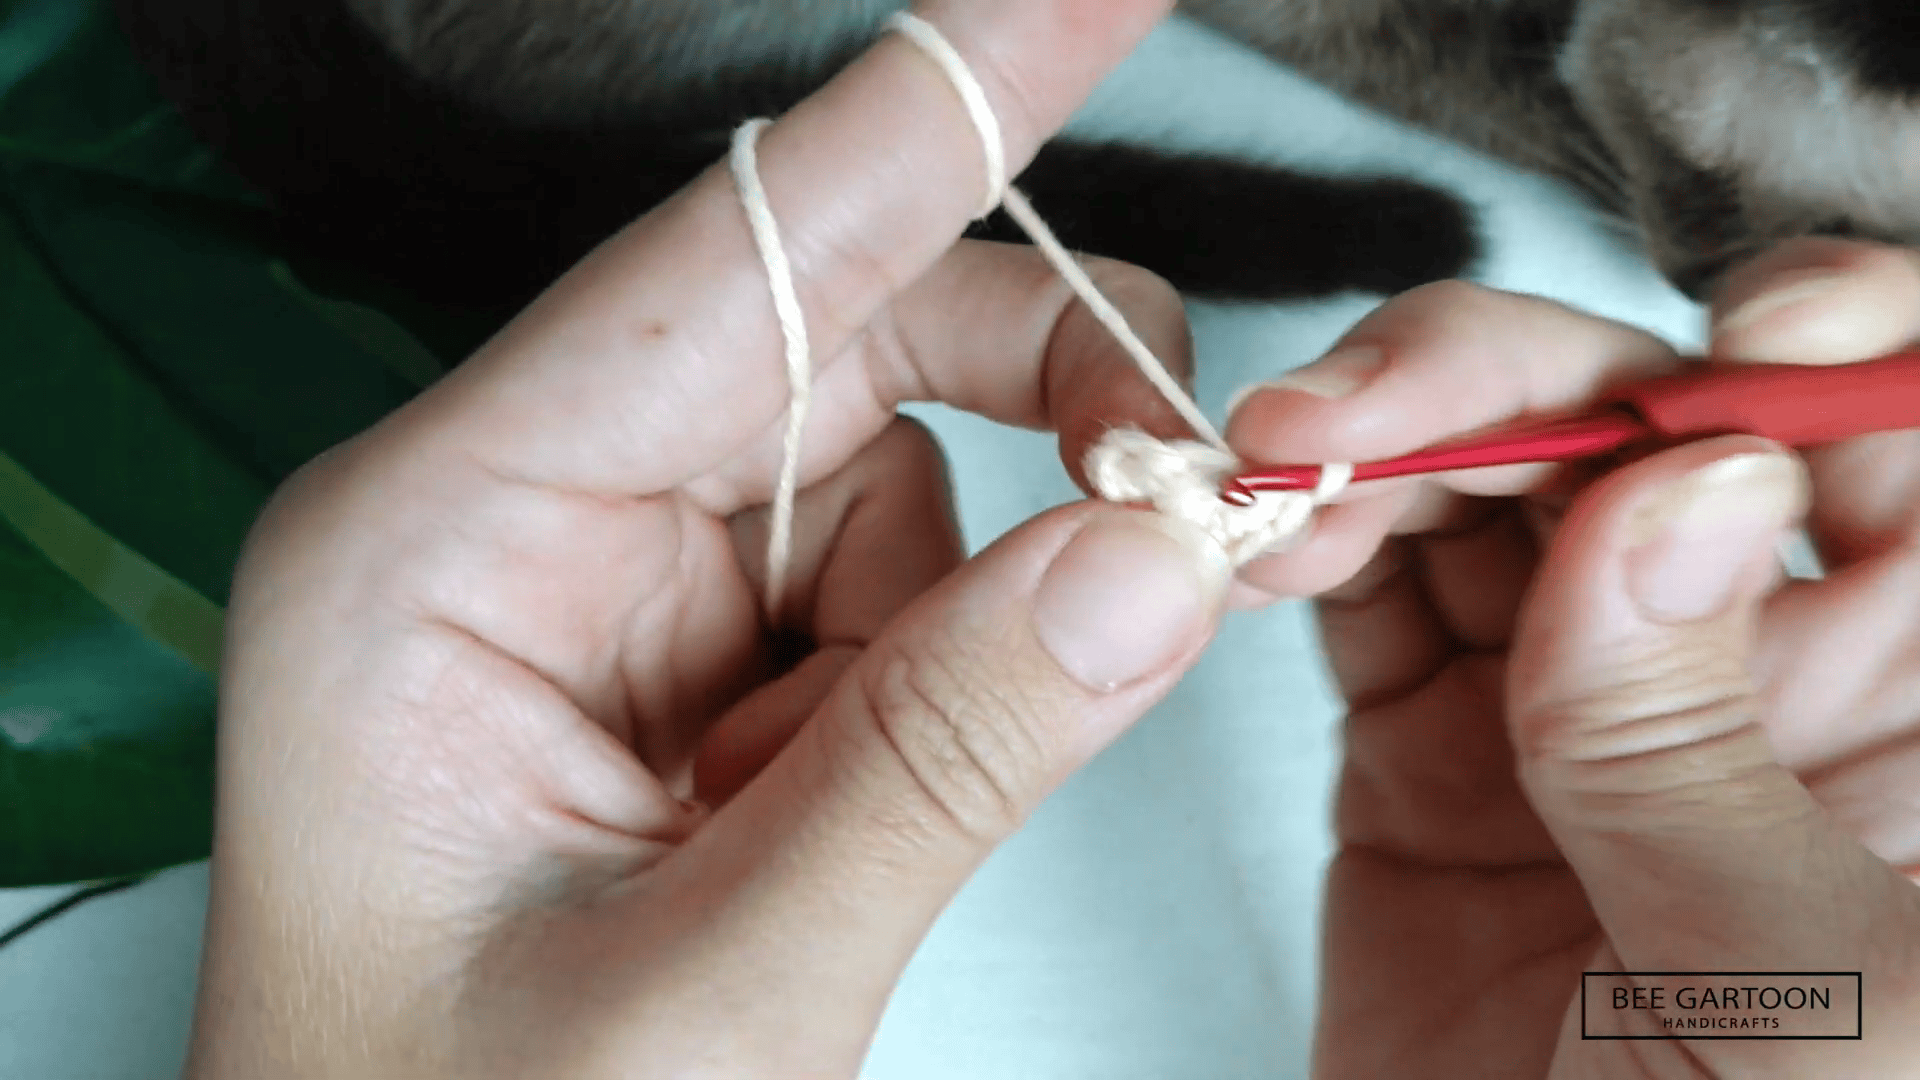
The tail is a thin little tube. For a matching look, use cream yarn like the paws, or choose your main color for a solid cat.
- R1: MR, 5 sc. (5 sts)
- R2–R9: sc in each st around. (5 sts) (8 rounds)
FO and leave a long tail for sewing. Do not stuff it. Instead, curl it gently into a soft “S” shape while you sew it on, and it will stay that way.
Red Collar
The collar is a flat strip that wraps around the body. Since it is sewn on, it does not tighten the cover.
- Row 1: With red, ch 31. Sc in the 2nd ch from the hook and in each ch across. (30 sts)
- Row 2: Ch 1, turn. Sc in each st across. (30 sts)
FO and leave a long tail for sewing.
Bell
The simplest option is a small metal jingle bell. Later, you will sew it to the middle of the collar during assembly.
Crocheted bell (for a safer, quieter option): With yellow yarn, work R1: MR, 5 sc. (5 sts). R2: [inc] x 5. (10 sts). R3: sc in each st around. (10 sts). R4: [dec] x 5. (5 sts). FO, then pull the tail through the last stitches to close it. After that, sew the bell to the collar with the same tail.
Keychain Loop
Because this loop is worked straight onto the rim at the back of the cover, it needs no sewing.
- Step 1: Find the rim stitch at the very back, opposite the front of the face. Join your main color there with a sl st.
- Step 2: Ch 14. Sl st into the rim stitch 2 stitches to the right of your join. This makes a loop.
- Step 3: Turn and work 16 sc around the chain loop, putting the hook into the open space of the loop rather than into each chain. This thickens the loop so it holds up to daily use.
- Step 4: Sl st into the first sc, FO and weave in the end firmly.
Next, thread your split ring through the loop. Then tug it a few times to check that it feels solid before you attach the cover to your keys.
Assembly and Finishing Your Crochet Cat Inhaler Case
Sew everything on with the jar taken out. First, pin each piece with a stitch marker, and then slide the jar in to check the look. Once you are happy, press the jar out again and stitch each part down firmly.
Step 1: Sew the Ears onto the Crochet Cat Inhaler Case
Pin both ears across the front half of the rim, around Rounds 15 to 17. Each ear covers about 5 stitches. Also, leave a gap of 4 stitches between the two ears at the front. To keep both sides even, count the stitches from the center front line to each ear. Then whip stitch around each ear base with the long tail until it feels firm.
Step 2: Attach the Arms
Place the open end of each arm at Round 6, about 4 stitches to the left and right of the center front line. The cream paw tip should hang down toward Round 4. Next, sew around the open end with the long tail, keeping the paw free. As a result, the arms sit just under the collar and leave around 7 stitches of space between them.
Step 3: Attach the Tail
Turn the cover around. Then sew the open end of the tail to the back center at Round 3, with the tip curling upward. Because the loop is at the rim, the tail sits well below it, on the opposite side of the cover from the face.
Step 4: Add the Collar and Bell
Wrap the red strip around the body at Rounds 7 and 8, just above the arms. Join the two short ends at the back with a few small stitches, then sew the long edges to the body with the collar tail. Keep the stitches loose, so the cover can still stretch over the jar. After that, sew the bell to the middle of the collar at the front, passing through its loop three or four times. Finally, tuck the knot under the collar.
Step 5: Embroider the Face
Work the face last, once the ears are on.
- Eyes: With black thread, make two short vertical stitches (or small French knots) at Rounds 12 and 13. Leave 5 stitches between the eyes, with the same number of stitches from the center line on each side.
- Nose: With pink thread, make a small sideways stitch, two stitches wide, on Round 11 at the exact center between the eyes.
- Mouth: With black thread, make one short stitch straight down from the nose, then two tiny stitches angled out on Round 10 to form a small “w”.
- Whiskers (optional): Make 3 long black stitches on each cheek, each about 3 stitches wide. Anchor them well so they do not pull loose.
- Bead eyes (optional): For the look in the photo, sew on two blue seed beads in place of the black stitches, using strong thread. Skip this if the cover is for a child.
Step 6: Final Check
First, weave in every loose end toward the outside. Then slide the jar in and tug lightly on the ears, arms, tail, collar, bell and loop. If any piece moves, add a few more stitches now, because loose parts only get worse with daily use.
Using the Cover Safely with Your Inhaler Jar
The cover is a craft accessory, not a medical product, so follow the instructions on your inhaler’s own package as well.
- Taking the jar out: First, hold the rim of the cover with one hand. Then, with your other thumb, press up on the base of the jar through the yarn and slide the jar out. Never yank the jar by its lid.
- Using the inhaler: Always take the jar completely out of the cover before you open it and breathe in. Never sniff the jar while it is still inside the crochet.
- Keep yarn away from the air openings: Close the lid firmly before you slide the jar back in. Also, make sure the rim of the cover and any loose fuzz stay clear of the lid, vents and any small openings, so no yarn fibers get drawn in when you use the inhaler.
- Putting it back: Slide the jar in base first until it sits at the bottom of the cover.
- Keychain use: Only hang the cover on your keys if it holds the jar snugly. A loose cover can let the jar fall out.
- Small parts: Real bells and beads can come loose, so keep this cover away from small children and pets, or use the crocheted bell and embroidered eyes instead.
Helpful Tips for a Neat Crochet Cat Inhaler Case
- Use smooth cotton yarn and a hook one size smaller than you normally would, so the stitches stay tight.
- Test the fit early, around Round 9.
- Embroider the face last, once the ears are on.
- Closed eyes look calm, while dot eyes look playful. Longer whiskers look bolder.
- Pull the first stitches of the magic ring extra tight, so the base does not stretch out of shape.
Common Crochet Cat Inhaler Case Mistakes to Avoid
- Losing count. Keep a stitch marker in the first stitch of every round.
- Skipping the back loop round. Otherwise, the base will look round and floppy.
- Placing the ears too far apart. The cat ends up looking surprised.
- Crocheting loosely. Otherwise, the cover will slide right off the jar.
- Sewing the collar too tight. It squeezes the body and makes the jar hard to remove.
Bonus: Ways to Use Your Crochet Cat Inhaler Case
- Pocket protector: Slip the jar inside so it stays scratch-free and easy to hold.
- Keychain charm: Clip the finished loop onto your keys.
- Bag-zipper charm: Hang it from a zipper pull for a small pop of color.
- Gift for aromatherapy fans: Make an extra one in a different color and give it away with a jar.
Bonus: Color Pairing Ideas for the Crochet Cat Inhaler Case
- Black body with a red collar look: The photo pairs black with cream paws, a pink nose and blue eyes.
- Grey body: Add a pink nose and black embroidered face details.
- White body: Keep the pink nose and black eyes for a clean, soft look.
- Soft orange body: Use a pink nose and black whiskers.
- Cream body: Use a pink nose for a gentle, warm cat.
Bonus: Care Tips for Your Cat Cover
- Take the jar out before you clean the cover, and never get the jar itself wet.
- First, hand wash the cover in cool water with a drop of mild soap. Then squeeze it gently, and never twist it.
- Next, press the water out with a clean towel and let the cover dry flat. Once it is fully dry inside, the jar can go back in.
- Remove a real bell before washing, since water can rust it. After the cover is dry, sew it back on.
- Later, if the cover gets fuzzy, trim the loose fibers with small scissors.
Frequently Asked Questions About the Crochet Cat Inhaler Case
What jar size does this crochet cat inhaler case fit?
It fits small Thai herbal inhaler jars, such as Hong Thai or Yadom, which are about 2.5 cm wide and 4 to 5.5 cm tall. Brands vary a little, so test the fit around Round 9.
Do I need to stuff the cat?
No, the body, arms and tail need no stuffing. However, the ears can take an optional small pinch of fiberfill.
Which hook should I use?
A 2.0 mm hook gives a tighter, firmer cover, while a 2.5 mm hook suits slightly thicker milk cotton. If your cover feels loose, go smaller on the next one.
Can I use the inhaler with the cover on?
No. Take the jar out of the cover first, so yarn fibers stay away from the lid and air openings. Then slide it back in once the lid is closed.
Why embroider the face instead of using plastic eyes?
Embroidery is also lighter and safer than plastic eyes, because it will not catch on a pocket or bag.
Can I make this as a children’s toy?
You can adapt it, but first skip the bell and beads, or use the crocheted bell, and secure every embroidered detail very tightly first.
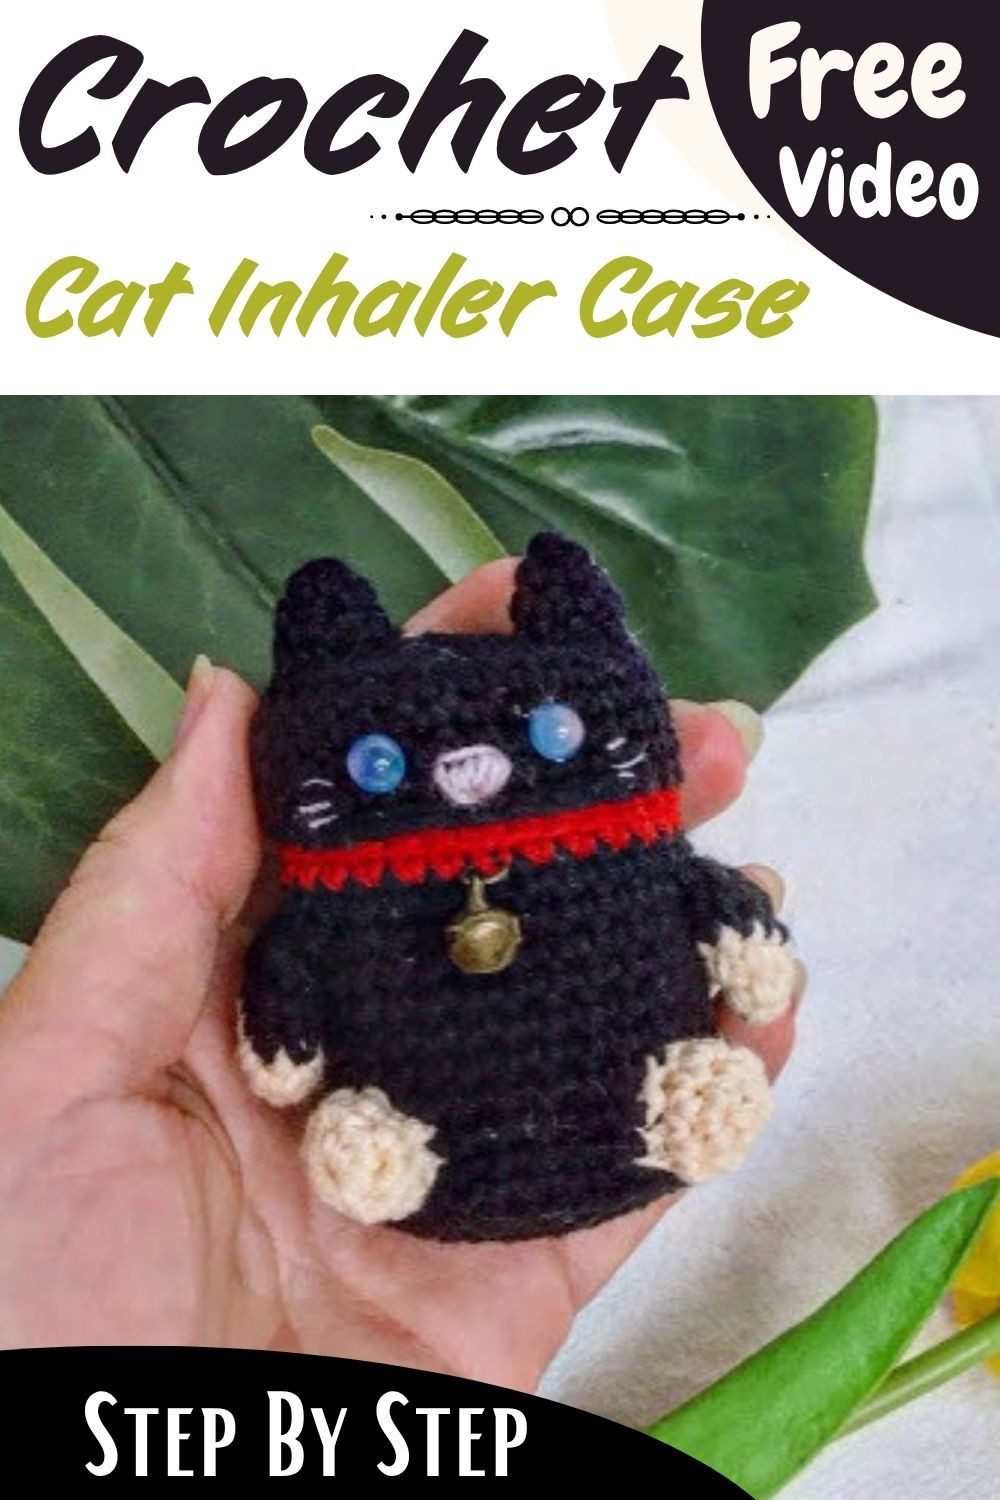
Your Little Black Cat Is Ready
So that’s all there is to it. It’s a small project, so you can sit down after lunch and have a cat on your keys by dinner. Just keep your stitches tight, try the jar on early, and save the face for last. Then, once you see those little paws and that red collar come together, you’ll probably want to make another one for a friend.