Crochet Chuy Piglet Amigurumi With Floppy Ears
Ever wondered how a tiny pig gets those perfectly floppy ears? This Crochet Chuy Piglet Amigurumi shows you exactly how, with simple steps that stay beginner friendly. Make one as a sweet gift or a bag charm. Full steps below.
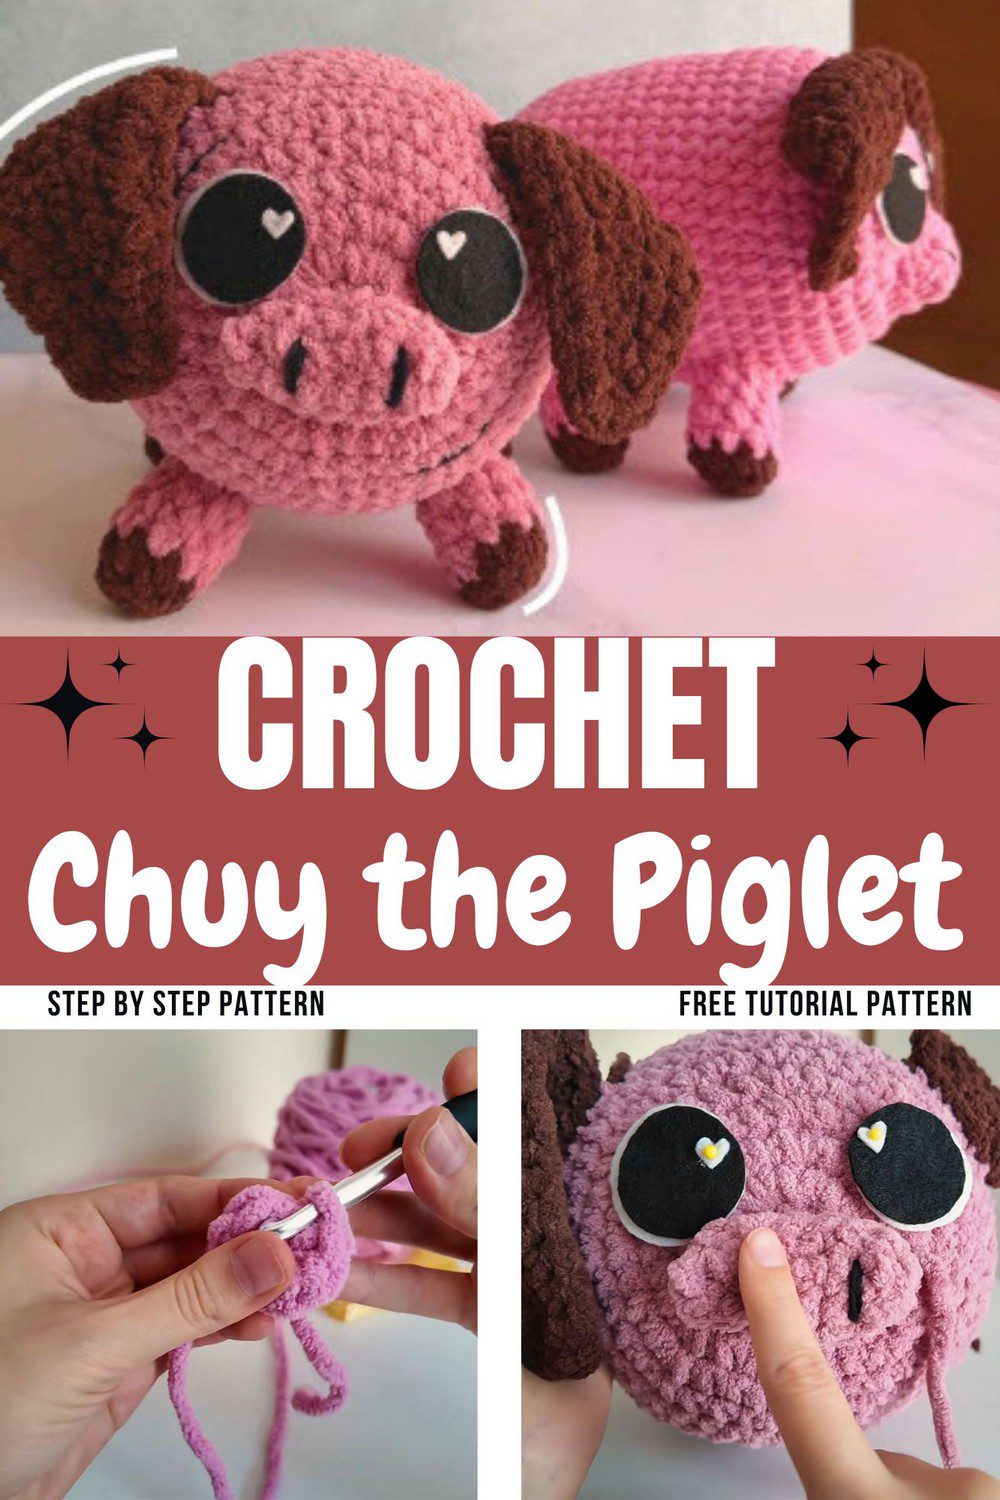
The Crochet Chuy Piglet Amigurumi is a small, round pig with soft floppy ears, a tiny pink snout and a curly tail that looks truly adorable on any shelf. This pattern suits beginners because it uses only basic stitches, simple shaping and a clear round by round flow. Use it as a keychain, a bag charm or a handmade gift for friends and kids, since the cute look makes everyone smile. Follow the steps below, and you will finish your own sweet little piglet in just a few relaxed hours.
Crochet Chuy Piglet Amigurumi Project Overview
Skill level: confident beginner
Finished size: about 6 in (15 cm) long, 5.5 in (14 cm) wide and 6 in (15 cm) tall, including the legs.
First, you will make a body, four legs, two ears, a snout and a curly tail. Then, the face is finished with felt eyes and embroidered details.
Materials You Need for This Piglet
Before you start, gather everything in this list, so the work stays smooth from the first stitch.
- Pink chenille yarn, about 6 mm thick: roughly 90 yd
- Brown chenille yarn, about 6 mm thick: roughly 25 yd
- 7 mm crochet hook
- Fiberfill: about 2 oz
- White felt: two circles, about 4 cm wide
- Black felt: two small circles for pupils, about 2 cm wide
- Black embroidery floss or yarn
- Stitch markers
- Yarn needle
- Scissors
- Fabric glue or hot glue
Stitch Abbreviations
- MR: magic ring
- ch: chain
- sc: single crochet
- inc: increase (2 sc in one stitch)
- dec: decrease
- sl st: slip stitch
- st(s): stitch(es)
- BLO: back loop only
- Rnd: round
- FO: fasten off
Special Stitches and Techniques
- Magic ring: Make a loop first, then work your first round into it. After that, pull the tail to close the center.
- Increase and decrease: For an increase, work 2 sc in one stitch. However, for a decrease, I recommend the invisible decrease (front loops only), because it leaves a smoother surface on bulky yarn.
- Back loop only: Insert your hook into the back loop of each stitch. This leaves a small ridge, so the hoof line looks neat.
- Working down both sides of a chain: After working along the top of the chain, rotate and stitch into the bottom loops.
- Color change: Pull the new color through on the last yarn-over of the final stitch in the round.
- Working with chenille: Go slowly and keep your tension relaxed. Also, use short pieces of yarn, since chenille sheds and thins when it is pulled too often.
Pattern Notes for Your Crochet Chuy Piglet Amigurumi
Gauge is not critical here. However, with the chenille and a 7 mm hook, expect about 11 sc and 12 rows to 4 in (10 cm). Also, a looser or tighter tension, or a different chenille brand, will make your piglet slightly bigger or smaller.
Before you begin, mark the first stitch of each round, because you will work in a spiral without joining unless the pattern says otherwise. Then, check your stitch count often, since bulky yarn hides mistakes.
- Body, legs, tail and snout are worked in the round.
- Ears are worked in rows, so they use a turning chain of 1 (not counted).
- Stuff the body firmly, but stuff the legs lightly.
- Leave long tails, so you can sew on the legs, ears and snout.
Crochet Chuy Piglet Amigurumi Pattern
Body of the Crochet Chuy Piglet Amigurumi (pink)
Rnd 1: MR, 8 sc (8)
Rnd 2: inc in each st (16)
Rnd 3: (1 sc, inc) x8 (24)
Rnd 4: (2 sc, inc) x8 (32)
Rnd 5: (3 sc, inc) x8 (40)
Rnd 6: (4 sc, inc) x8 (48)
Rnds 7-14: 1 sc in each st (48). That is 8 plain rounds, so add or remove a round for a taller or shorter piglet.
Rnd 15: (4 sc, dec) x8 (40)
Rnd 16: (3 sc, dec) x8 (32)
Rnd 17: (2 sc, dec) x8 (24)
Stuff firmly.
Rnd 18: (1 sc, dec) x8 (16)
Rnd 19: dec x8 (8)
FO, then thread the tail through the front loops of the last 8 sts, pull tight and weave in.
Legs (make 4)
Rnd 1: brown, MR, 9 sc (9)
Rnd 2: BLO, 1 sc in each st (9). Change to pink on the last st and FO brown.
Rnds 3-5: 1 sc in each st, both loops (9)
Stuff lightly. Then FO, leaving a long tail for sewing.
Floppy Ears for the Crochet Chuy Piglet Amigurumi (brown, make 2)
Row 1: ch 7, skip the first ch, 6 sc (6)
Rows 2-3: ch 1, turn, 6 sc (6)
Row 4: ch 1, turn, dec, 2 sc, dec (4)
Rows 5-7: ch 1, turn, 4 sc (4)
Row 8: ch 1, turn, dec x2 (2)
Rows 9-10: ch 1, turn, 2 sc (2)
Row 11: ch 1, turn, dec (1)
Border: ch 1 and sc evenly around all raw edges, about 30 sc. If needed, add an extra ch at the corners for a smooth curve. Then FO with a long tail.
Snout (brown)
Row 1: ch 8, skip the first ch, 6 sc across, 3 sc in the last ch, then 5 sc down the opposite side (14)
Row 2: 1 sc in each st, curving the snout slightly inward (14)
Sl st to join. Then FO with a long tail and embroider two nostril lines in black.
Tail (pink)
Ch 10, skip the first ch, 1 sl st in the next ch, then 2 sc in every remaining ch (16 sc). The tail will curl by itself. Finally, sl st to the body base, knot and weave in.
Assembling Your Crochet Chuy Piglet Amigurumi
- Eyes: First, glue the small black circles onto the white circles. Then place the eyes on the upper front of the head, about 3 to 3.5 cm apart.
- Snout: Next, sew the snout centered just below the eyes. Also add a little stuffing before closing it.
- Ears: After that, attach the ears 2 to 3 rows behind the eyes, angled down the sides of the head.
- Legs: Then sew the four legs symmetrically on the lower body.
- Tail: Finally, attach the tail on the back, centered between the back legs.
- Embroidery: Lastly, stitch a small smile and delicate eyebrows above the snout and between the eyes.
Customization Ideas
If you want a different look, try a blue or cream piglet, add a tiny bow, or make the ears shorter. Also, a smaller hook with thinner yarn will give you a mini version.
Troubleshooting Your Crochet Chuy Piglet Amigurumi
- Stitches hard to see: use a marker in every round, and count often.
- Yarn thins out: pull a fresh length from the skein instead of tugging.
- Gaps showing stuffing: use a smaller hook, or stitch tighter.
- Ears floppy and misshapen: work the border evenly, and sew along the full base.
Care Instructions
First, spot clean gently with a damp cloth and air dry. Also, avoid machine washing chenille. Because of the felt eyes and small parts, keep this piglet away from babies and toddlers.
Photo Prop and Display Ideas
Place your piglet in a basket with a blanket for a nursery shot. Then sit it on a bookshelf next to small plants, or tie a ribbon around its neck for a gift photo. Besides that, natural window light makes the pink look soft.
FAQs About the Crochet Chuy Piglet Amigurumi
Can I use regular yarn instead of chenille?
Yes, but the piglet will be smaller and less plush. So use a smaller hook to match.
Why does my body look lumpy?
Chenille hides uneven stuffing. So add fiberfill in small pieces, and shape as you go.
Can I use safety eyes?
Yes. Felt eyes are used here, but you can set safety eyes before stuffing.
How do I keep the tail curly?
Keep the 2 sc in every chain evenly tight. Then the curl forms on its own.
Conclusion: Okay, That’s Your Piglet
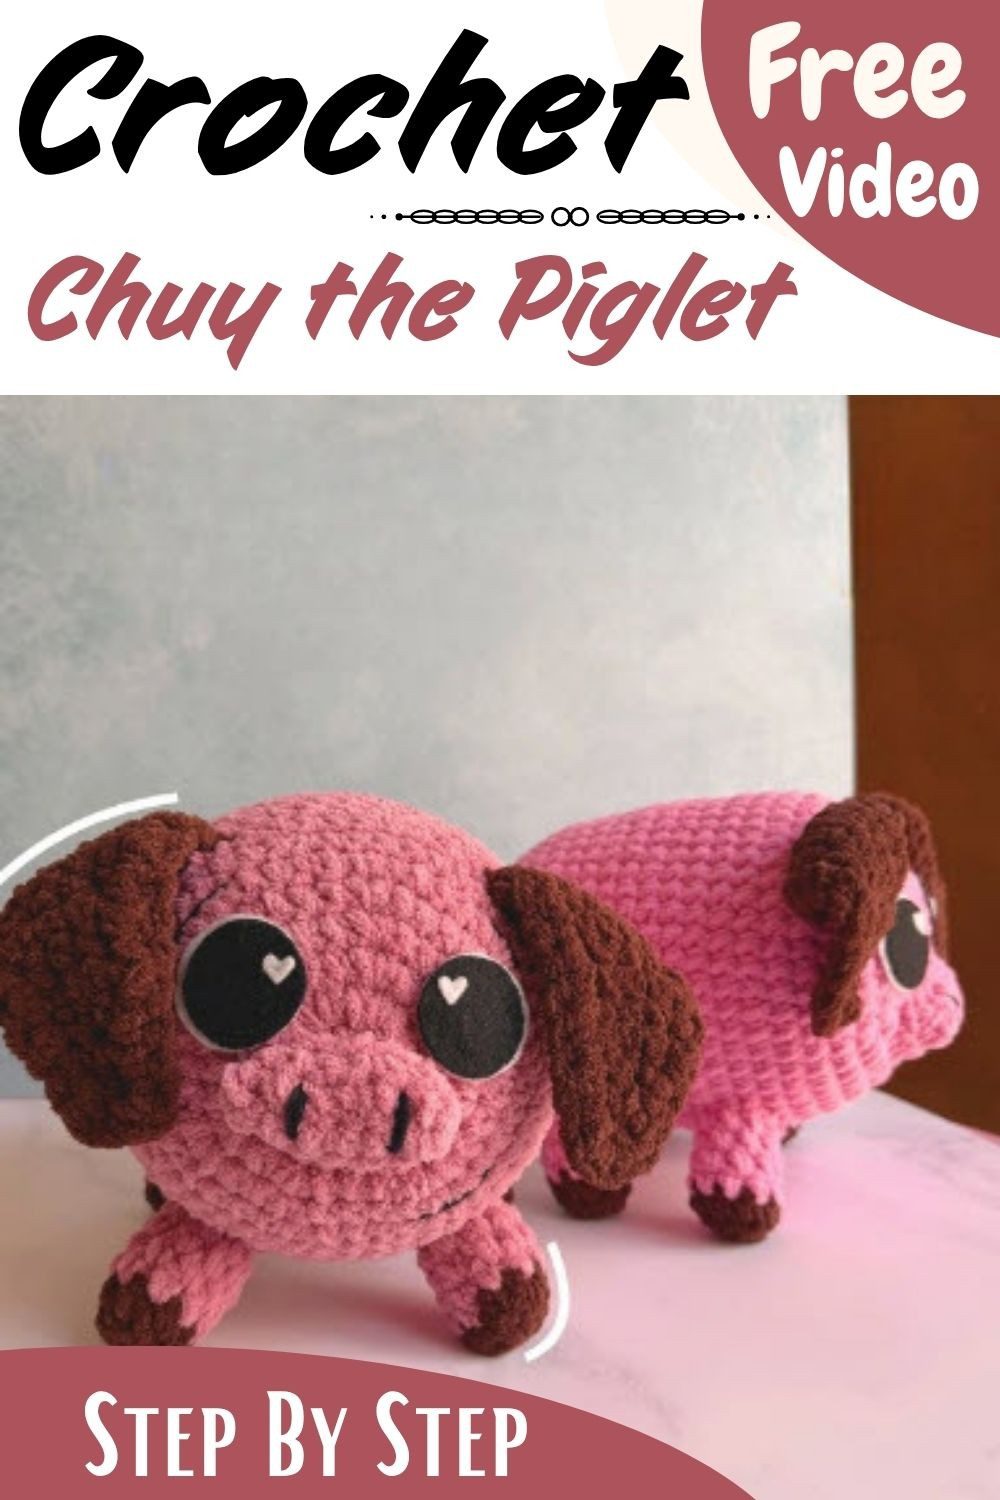
So that’s basically it. Make the body, add the legs, sew on the ears and snout, and stick the eyes on. Don’t stress if your Crochet Chuy Piglet Amigurumi comes out a bit different from mine, because that’s honestly part of the charm. Then give it a smile, pick a shelf, and enjoy it.