Crochet Flower Pouch Pattern With Wooden Beads
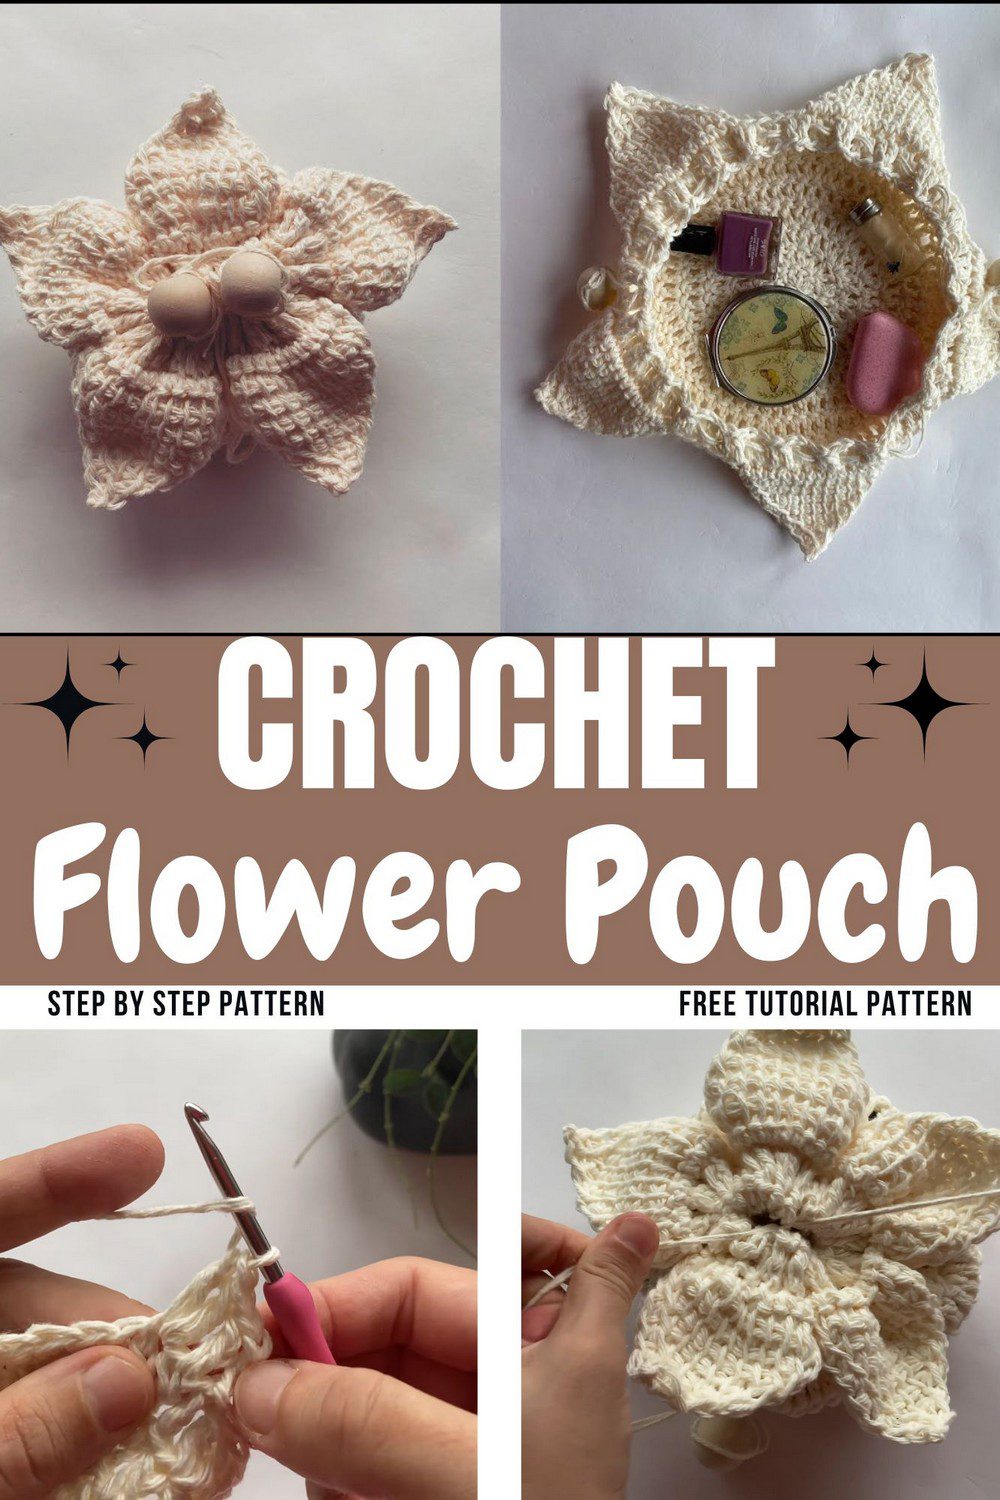
Looking for a cute place to keep a mirror and other small things? This crochet flower pouch has a flat round base and five soft petals that close like a real flower when you pull the string. Two wooden beads sit on that string for a sweet finishing touch, and the free pattern below comes with a video.
How the Crochet Flower Pouch Is Built
The pouch has two parts. First, the base is a circle worked in rounds with an evenly spaced increase in every round, so it lies flat. Then the petals are worked afterward from the front loops of the last base round, one at a time, and each is shaped by decreasing two stitches per row. In the end, the finished crochet flower pouch fans out its petals around the center, with a strand of yarn running through them.
Skill Level and Finished Size
Skill Level
The tutorial is labeled beginner, and the base supports that, since it uses only double crochet with a repeating increase. The Tunisian petals are the learning curve, though. They use a double-ended hook and a return pass after every row, which feels different from regular crochet but repeats the same way each time. Therefore, anyone who has never tried Tunisian simple stitch may want a small practice swatch before starting this crochet flower pouch.
Finished Size
After round 9, the circle measures about 10 inches (25 cm) across. Each petal is worked over 14 stitches of the base rim. Because a different yarn or hook changes these numbers, measure the circle before starting the petals.
Materials for the Crochet Flower Pouch
The source does not list yarn weight, yardage, or the hook size for the base. However, the yarn in the photos looks like smooth cream cotton, and the base hook looks like a standard crochet hook with a pink handle, so match your base hook to your yarn label.
- Yarn in one color (amount not stated, so buy extra)
- Crochet hook for the base, suited to your yarn
- Double-sided Tunisian crochet hook, 4 mm
- Stitch markers
- Tapestry needle and scissors
- Wooden beads (the tutorial source does not give a size or count)
Stitches You Will Use
- Magic circle: an adjustable ring that pulls tightly closed
- Chain and slip stitch: used for turning chains and joining rounds
- Single crochet and double crochet: the base stitches
- Back loop and front loop: the two loops at the top of a stitch. Working the back loop leaves the front loop as a ridge.
- Tunisian simple stitch: worked by picking up loops across a row, then working them off in a return pass
- Tunisian simple stitch two together: joins two loops into one to decrease
Before You Start
- Chain 3 at the start of a round counts as the first double crochet.
- Count after every round. The totals are 20, 30, 40, 50, 60, 70, 80, and 90.
- Mark the first stitch of each petal section, because the petals depend on exact counts.
- Keep Tunisian loops relaxed so the hook slides through easily.
Part One: Crochet the Flat Base
Step 1: Start the Magic Circle for the Crochet Flower Pouch
To begin, make a magic circle and work 1 single crochet into it. Next, chain 1, and then make 9 double crochet into the circle. After that, pull the tail to tighten the ring, slip stitch to close the round, and chain 3. This round has 10 stitches.

Step 2: Grow the Disc
Round 2: First, work 1 double crochet in the same stitch, and then work 2 double crochet in each stitch around, for 20 stitches. Finally, slip stitch and chain 3.
Round 3: Work 2 double crochet in the next stitch. Then work 1 double crochet in the next stitch and 2 in the following one. Repeat around, for 30 stitches, and slip stitch and chain 3.
Round 4: Next, work 1 double crochet in each of the next 2 stitches, then 2 in the next. Repeat around, for 40 stitches. Afterward, slip stitch and chain 3.
Round 5: Similarly, work 1 double crochet in each of the next 3 stitches, then 2 in the next. Repeat around, for 50 stitches.
Step 3: Widen the Circle
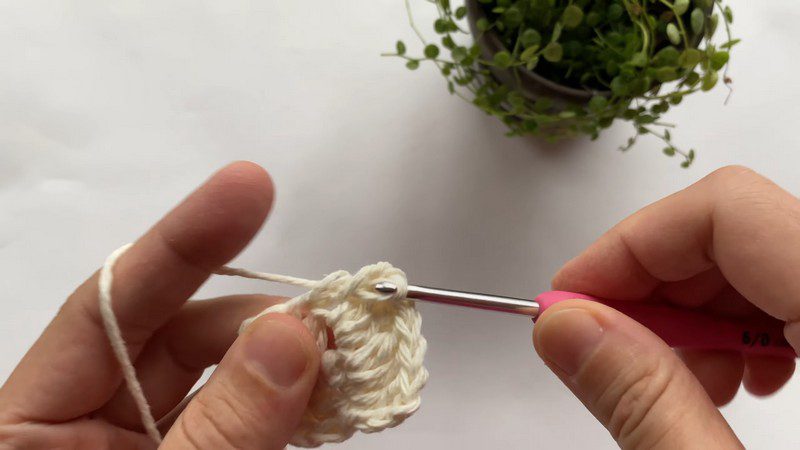
From here, each round adds one more plain stitch before the increase. Round 6 uses 4 plain stitches (60 total), while round 7 uses 5 (70), round 8 uses 6 (80), and round 9 uses 7 (90). Slip stitch and chain 3 after every round. Then lay the circle flat and measure it, because it should be about 10 inches (25 cm) across.
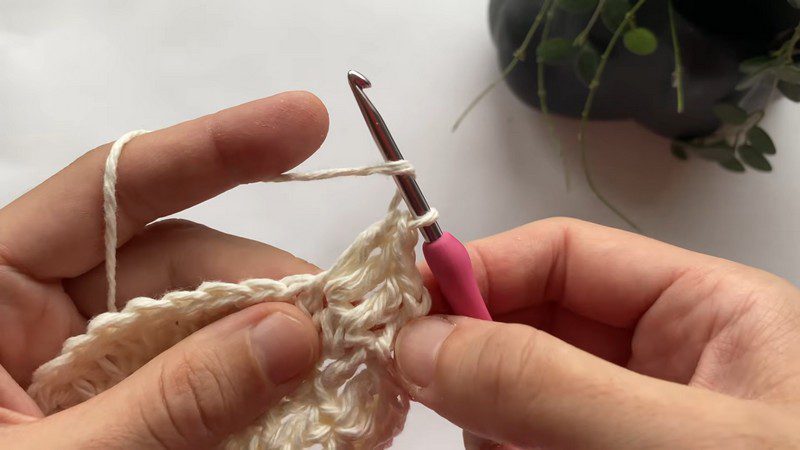
Step 4: Shape the Rim of the Crochet Flower Pouch
Now work 1 double crochet in the back loop of each stitch around, for 90 stitches. Next, slip stitch to close, chain 1, and fasten off. As a result, the unworked front loops form a ridge around the rim, and the petals grow from there.
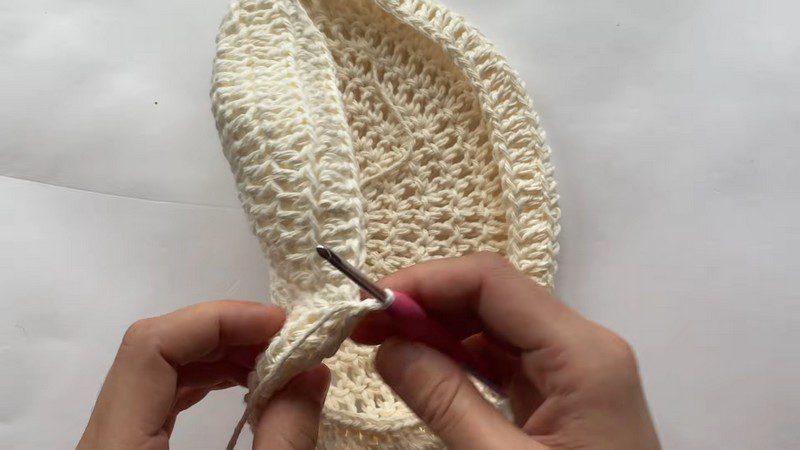
Part Two: Crochet Flower Pouch Petals in Tunisian Stitch
Step 5: Work the First Petal
First, attach the yarn to the ridge and work 1 single crochet in the front loop of each of 14 stitches. Then chain 1, turn, and switch to the 4 mm double-sided Tunisian hook.
Starting in the first stitch, pick up 14 loops, so you have 15 loops on the hook. For the return pass, yarn over and pull through the first loop. After that, yarn over and pull through 2 loops at a time until 1 loop remains.
Row 2: Skip the first stitch and work Tunisian simple stitch in the next stitches. Then work Tunisian simple stitch two together over the last 2 stitches, so the row ends with 13 stitches. Finish with a return pass.
Row 3: Work Tunisian simple stitch two together, and then work Tunisian simple stitch in the next 9 stitches. Next, work two together over the last 2 stitches, which leaves 11 stitches. Complete a return pass.
Keep decreasing 2 stitches per row until 3 loops remain. On the final return pass, skip the chain 1, yarn over, and pull through 2 loops twice, leaving 1 loop. Finally, chain 1 and fasten off.
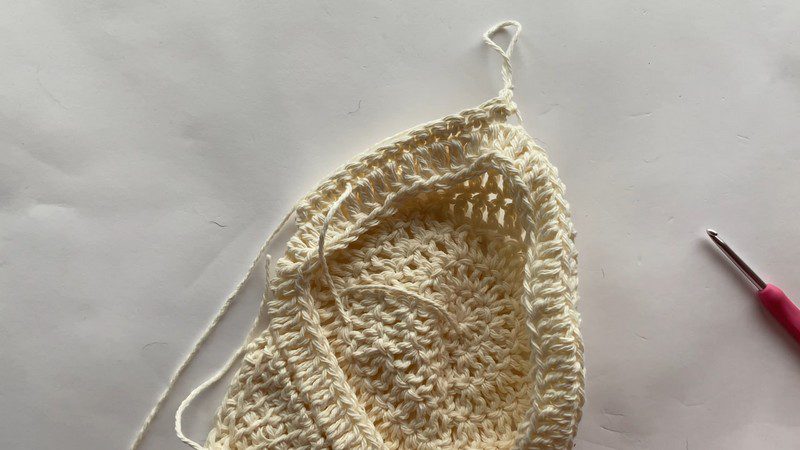
Step 6: Add Four More Petals
Make 4 more petals the same way, leaving 4 stitches between each petal. Once all five petals are done, pull a strand of yarn through them, because it draws the petals inward toward the center like a closing flower.

Why 90 Stitches Fit Five Petals
The numbers line up neatly. Five petals of 14 stitches use 70 stitches, and five gaps of 4 stitches use another 20. That adds up to exactly 90, the count of the rim. Therefore, place a marker at the start of each of the five sections before the first petal, so you can confirm the layout comes out even on your crochet flower pouch.
Customizing Your Crochet Flower Pouch
A different yarn color works as long as the thickness is similar. However, changing the yarn or hook alters the circle size, so measure after round 9. Also, the source does not say how the wooden beads are attached, so their size and position are a personal choice for your crochet flower pouch.
Troubleshooting
- The base curls: There may be too few increases. Recount each round against the totals above.
- The base ruffles: An extra increase may have crept in. Pull back to the last correct round.
- The petals twist: Check that the same number of loops sits on the hook after every pick-up row.
- A petal ends too short or long: Recount the decreases, since each row should lose 2 stitches.
- The petal tip looks messy: Remember to skip the chain 1 on the final return pass.
Finishing and Care
To finish, weave in all ends and check that every petal lies flat. Because the yarn fiber is not stated, follow the care symbols on your yarn label.
Crochet Flower Pouch FAQs
Can a beginner make this crochet flower pouch?
Yes, the tutorial is labeled beginner. The base uses basic stitches, and a small Tunisian swatch can help before starting the petals.
How big is the base?
It measures about 10 inches (25 cm) across after round 9.
What hook is needed for the petals?
A 4 mm double-sided Tunisian crochet hook.
How many petals does the pouch have?
Five, each worked over 14 stitches with 4 stitches between them.
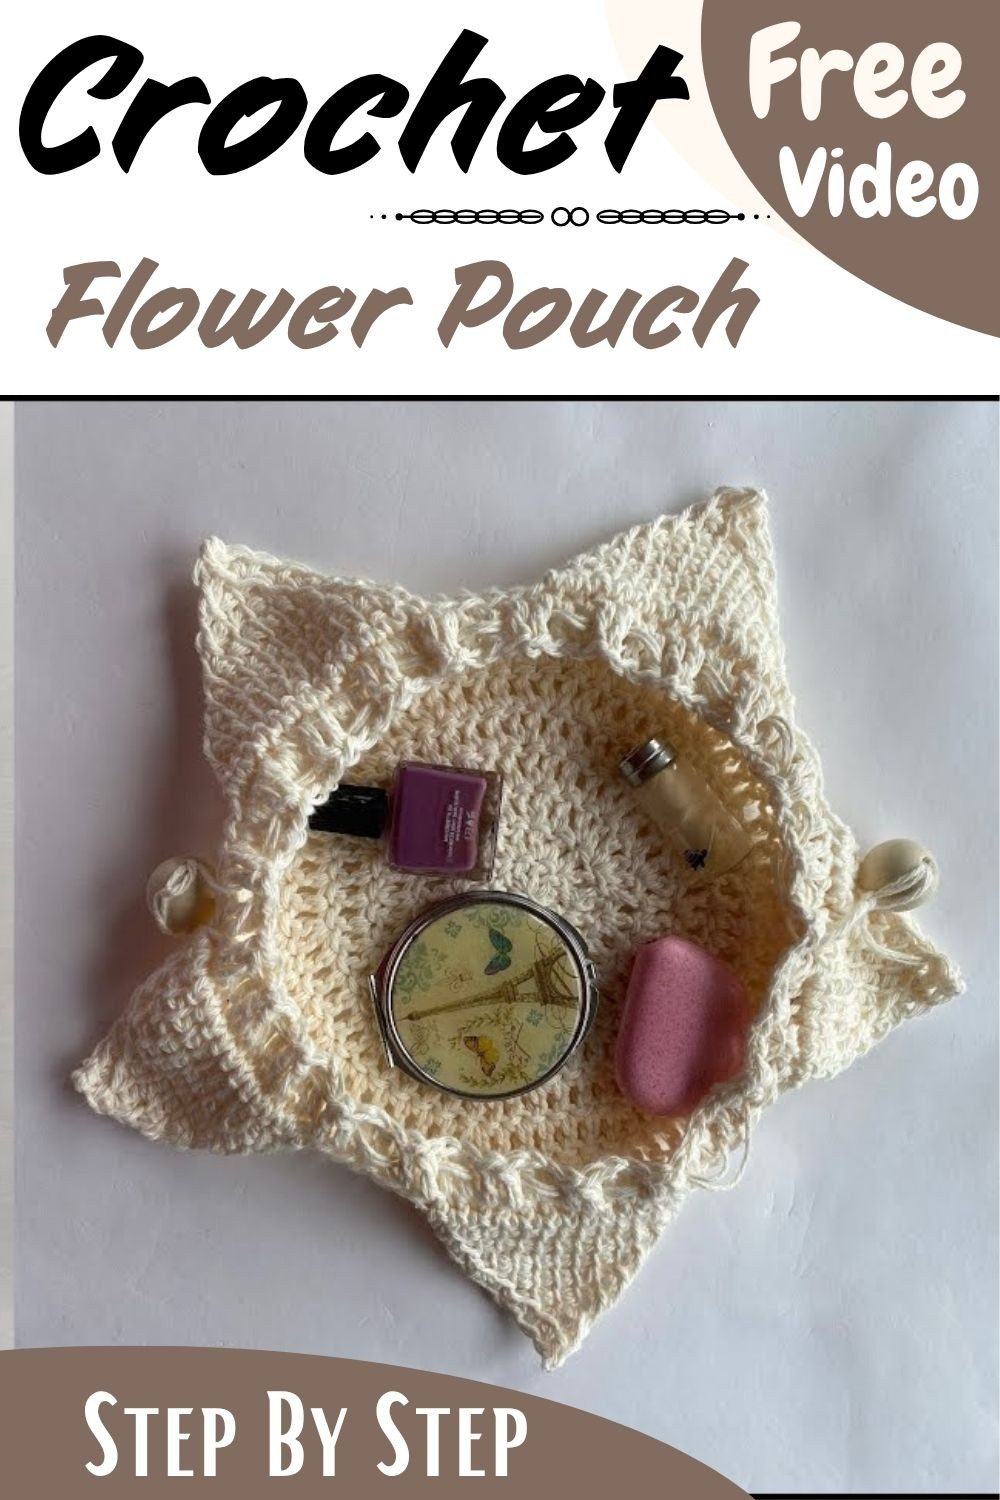
Pull the String and Watch It Bloom
Round by round, the flat base becomes a bowl, and five petals finish the shape. Keep your counts steady, and your crochet flower pouch will fall into place.