Crochet Cat Coaster Pattern with a Little Bow
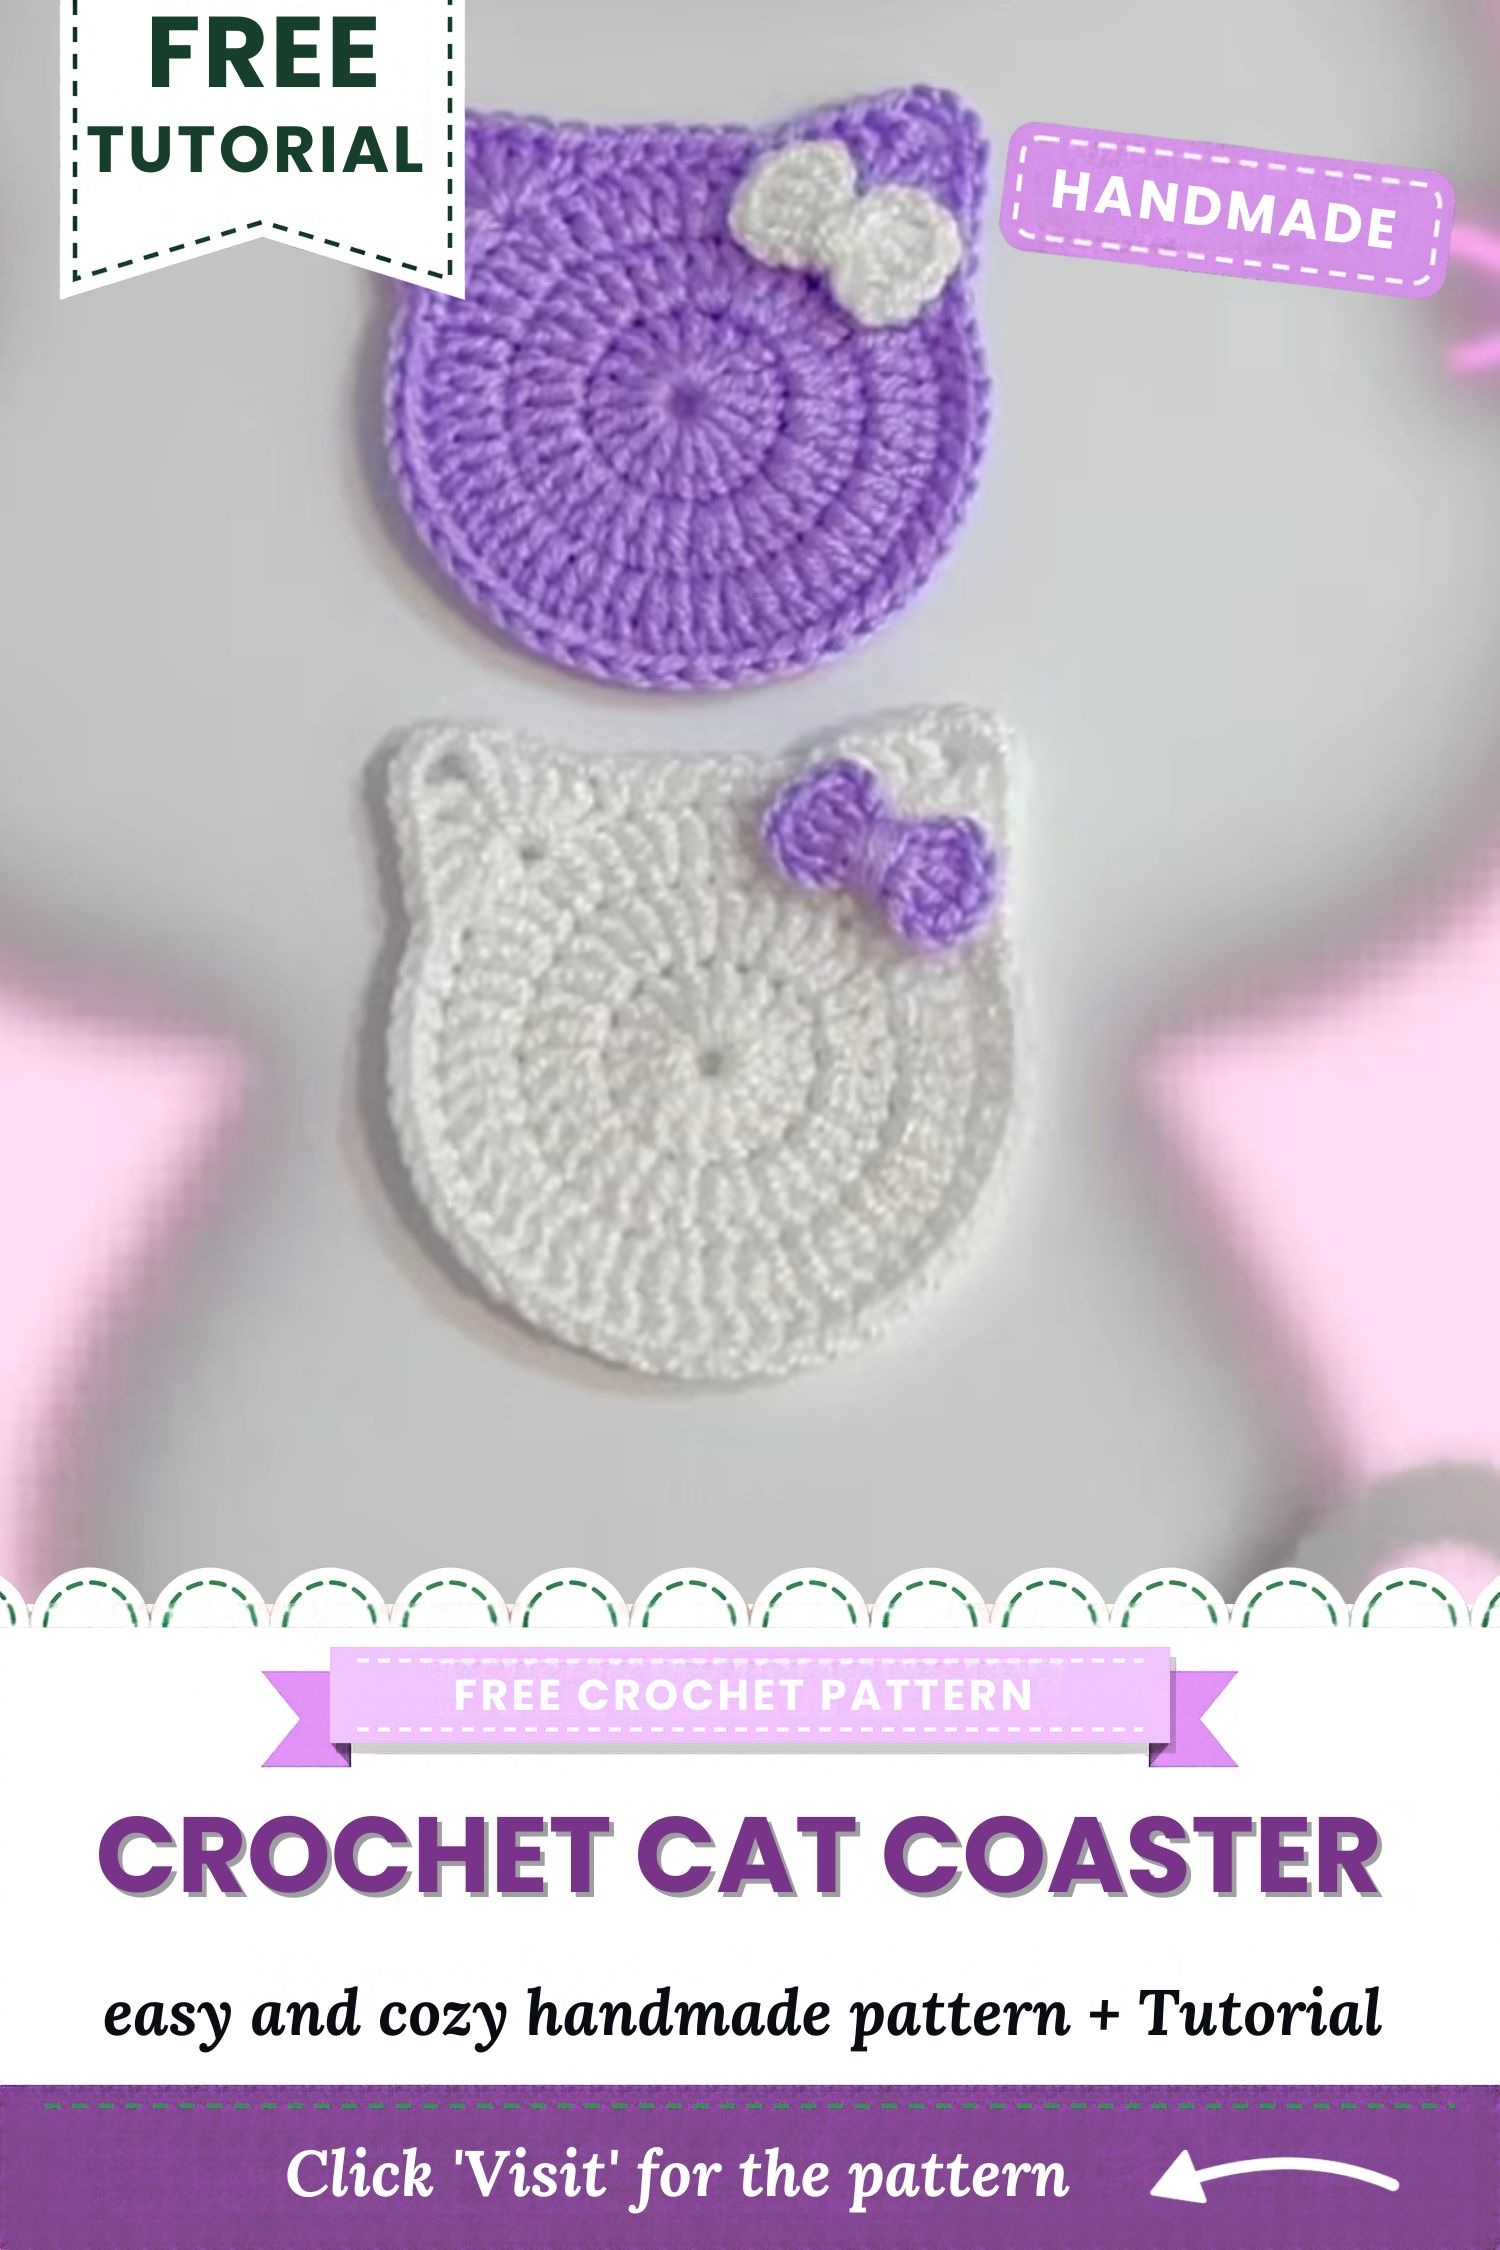
The cat on this coaster is not a separate piece sewn onto a circle. The round base is the head, and the two pointed ears are shaped straight into its top edge, so only a small white bow is left to attach at the end. Worked in soft lavender, this crochet cat coaster pattern turns a simple spiral of rounds into a face-shaped piece that still lies flat under a cup.
Worked from a magic ring, the base grows through increase rounds into a flat circle. After that, half double crochets, double crochets, and slip stitches form the ears. Pink inner ears and a simple face are optional extras. Because the stitches are basic, beginners can manage this crochet cat coaster pattern comfortably. However, exact counts appear in this free crochet cat coaster video, so keep it handy.
Materials & Supplies for the Crochet Cat Coaster Pattern
The source video shows a soft purple yarn for the body and a small white bow. However, the exact yarn brand, weight, and hook size are not stated in the details available. Therefore, the list below keeps to what is confirmed and marks the rest as flexible.
- Main yarn: Cotton or acrylic yarn in lavender or any colour you like. The photos show a smooth, slightly shiny purple strand.
- Bow yarn: A small amount of white yarn.
- Face and ear details (optional): Pink, black, or white yarn or embroidery thread.
- Crochet hook: A size that suits your yarn, usually between 3.0 mm and 4.0 mm. A slim metal hook appears in the photos.
- Tapestry needle: For weaving in ends and adding details.
- Stitch marker: A small locking marker helps you track the start of each round. A pink one is visible in the first photo.
- Scissors
Skill Level & Required Skills
This is a beginner-friendly project. Since it is a small flat circle with a simple ear shape, mistakes are easy to spot and fix.
You should be comfortable with:
- Making a magic ring
- Working single crochet and increases
- Using half double and double crochet stitches for the ears
- Working slip stitches
- Weaving in ends neatly
If the ears feel tricky, practise on a spare scrap circle first. The shaping only takes a few stitches, so a second try goes much faster.
Abbreviations & Special Terms
All terms use US crochet language.
- MR: Magic ring
- ch: Chain
- sc: Single crochet
- hdc: Half double crochet
- dc: Double crochet
- inc: Increase, which means two stitches worked into one stitch
- dec: Decrease, which means two stitches worked together
- sl st: Slip stitch
- st(s): Stitch(es)
Special term: Coaster base means the flat circle that forms the face. In other words, the ears are added to the top edge of this same circle.
Gauge & Finished Measurements
No official gauge or finished size is given in the available details, so none is invented here. Instead, the coaster grows round by round until it reaches the size you want, which makes gauge flexible.
A useful way to check size is to place a real cup on the piece. If the circle is slightly wider than the base of the cup, it is ready for the ear shaping. Also, tighter stitches make a firmer coaster, while looser stitches make a softer, larger one.
Above all, stitch a little firmly. A coaster needs to lie flat and hold its shape.
Step-by-Step Crochet Cat Coaster Pattern Instructions
Step 1: Coaster Base
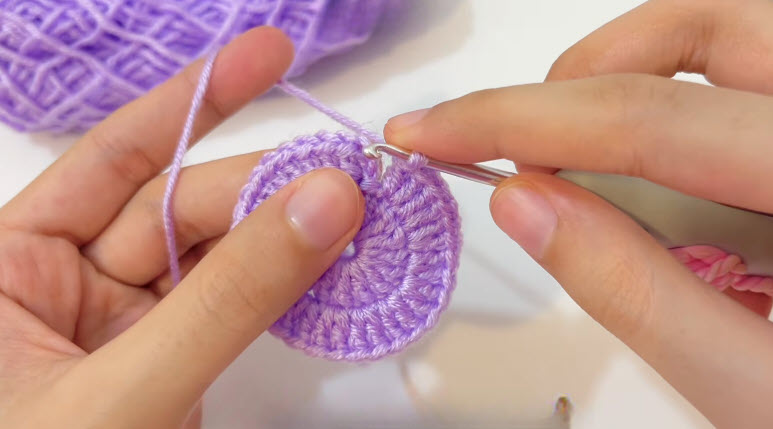
- First, make a magic ring and work the first round of stitches into it. The photos show a small hole left in the centre, so pull the ring snug but not fully closed if you prefer that look.
- Next, place a stitch marker in the first stitch.
- Then work an increase round to spread the stitches evenly and open the circle.
- After that, keep adding increases in later rounds. The circle should stay flat and never curl into a bowl. If it ruffles, you have too many increases. On the other hand, if it cups, you need more.
- Finally, stop when the base reaches your preferred coaster size.
Step 2: Shaping the Cat Ears
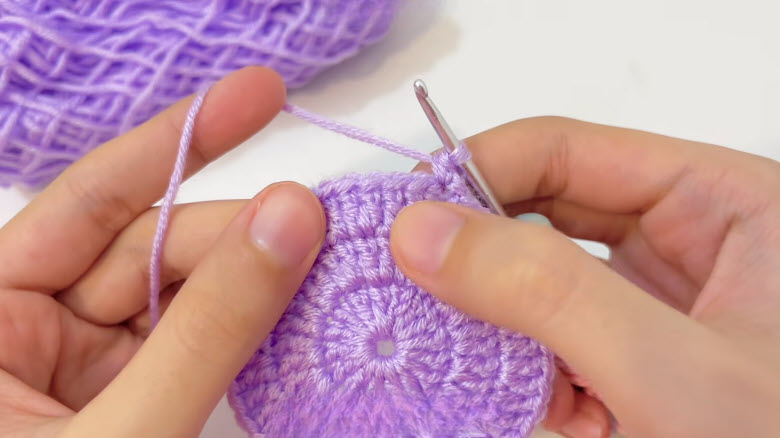
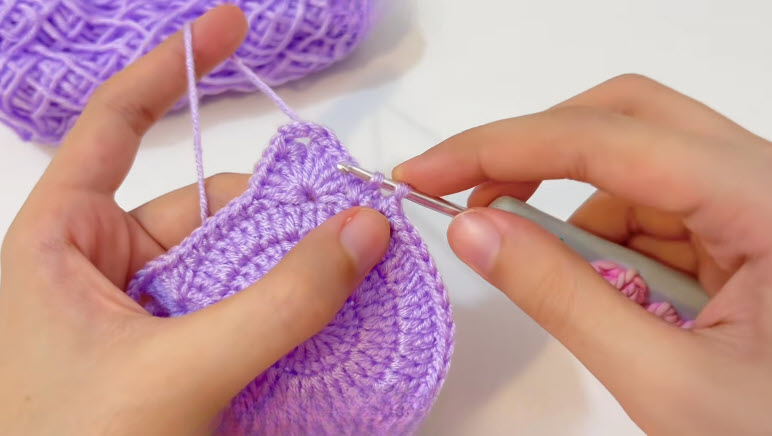
- First, find the top section of the circle.
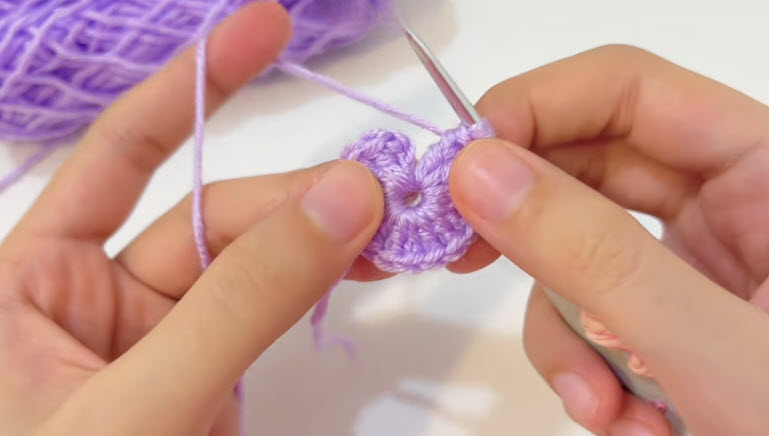
- Next, work a short group of slip stitches, half double crochets, and double crochets into the stitches along the top edge. This creates one pointed ear.
- Then move across the gap between the ears with a few simple stitches.
- After that, repeat the ear shaping on the other side.
- Finally, fasten off and secure the yarn.
Separate Parts for the Crochet Cat Coaster
The Bow
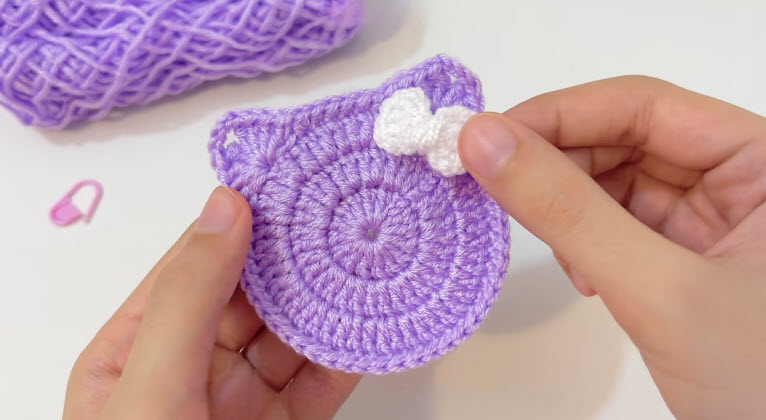
The white bow is made separately and sewn on later. Unfortunately, the available details do not give its stitch pattern, so follow the video for the exact method. In the photos, it looks like a small knotted bow with two soft loops and a centre wrap.
Keep the bow small. It should sit on one ear without covering the face.
Inner Ears and Face
Pink inner ears and a tiny embroidered face are suggested as optional extras. For best results, add them only after the main shape is complete.
Assembly & Joining Instructions
- First, lay the coaster flat with the ears facing up.
- Next, place the bow where it looks best. In the finished photo, it sits near the top right, close to one ear.
- Then pin or hold it in place with a stitch marker.
- After that, sew the bow on with the tapestry needle, using small stitches through the bow’s centre and the coaster edge.
- Next, add inner ear details in pink, pulling the yarn gently so the fabric does not pucker.
- Lastly, embroider any face features.
Check the back of the coaster before moving on. Otherwise, stitches that show through can snag on a cup.
Finishing Your Crochet Cat Coaster
- First, weave in every loose end, going in two directions for security.
- Then trim the tails close to the fabric.
- Next, press the coaster gently under a flat book if the edges curl.
- Finally, look at the top edge and ears from a short distance. Uneven spots usually show up quickly.
Photos & Visual Guide
The photos show the main stages:
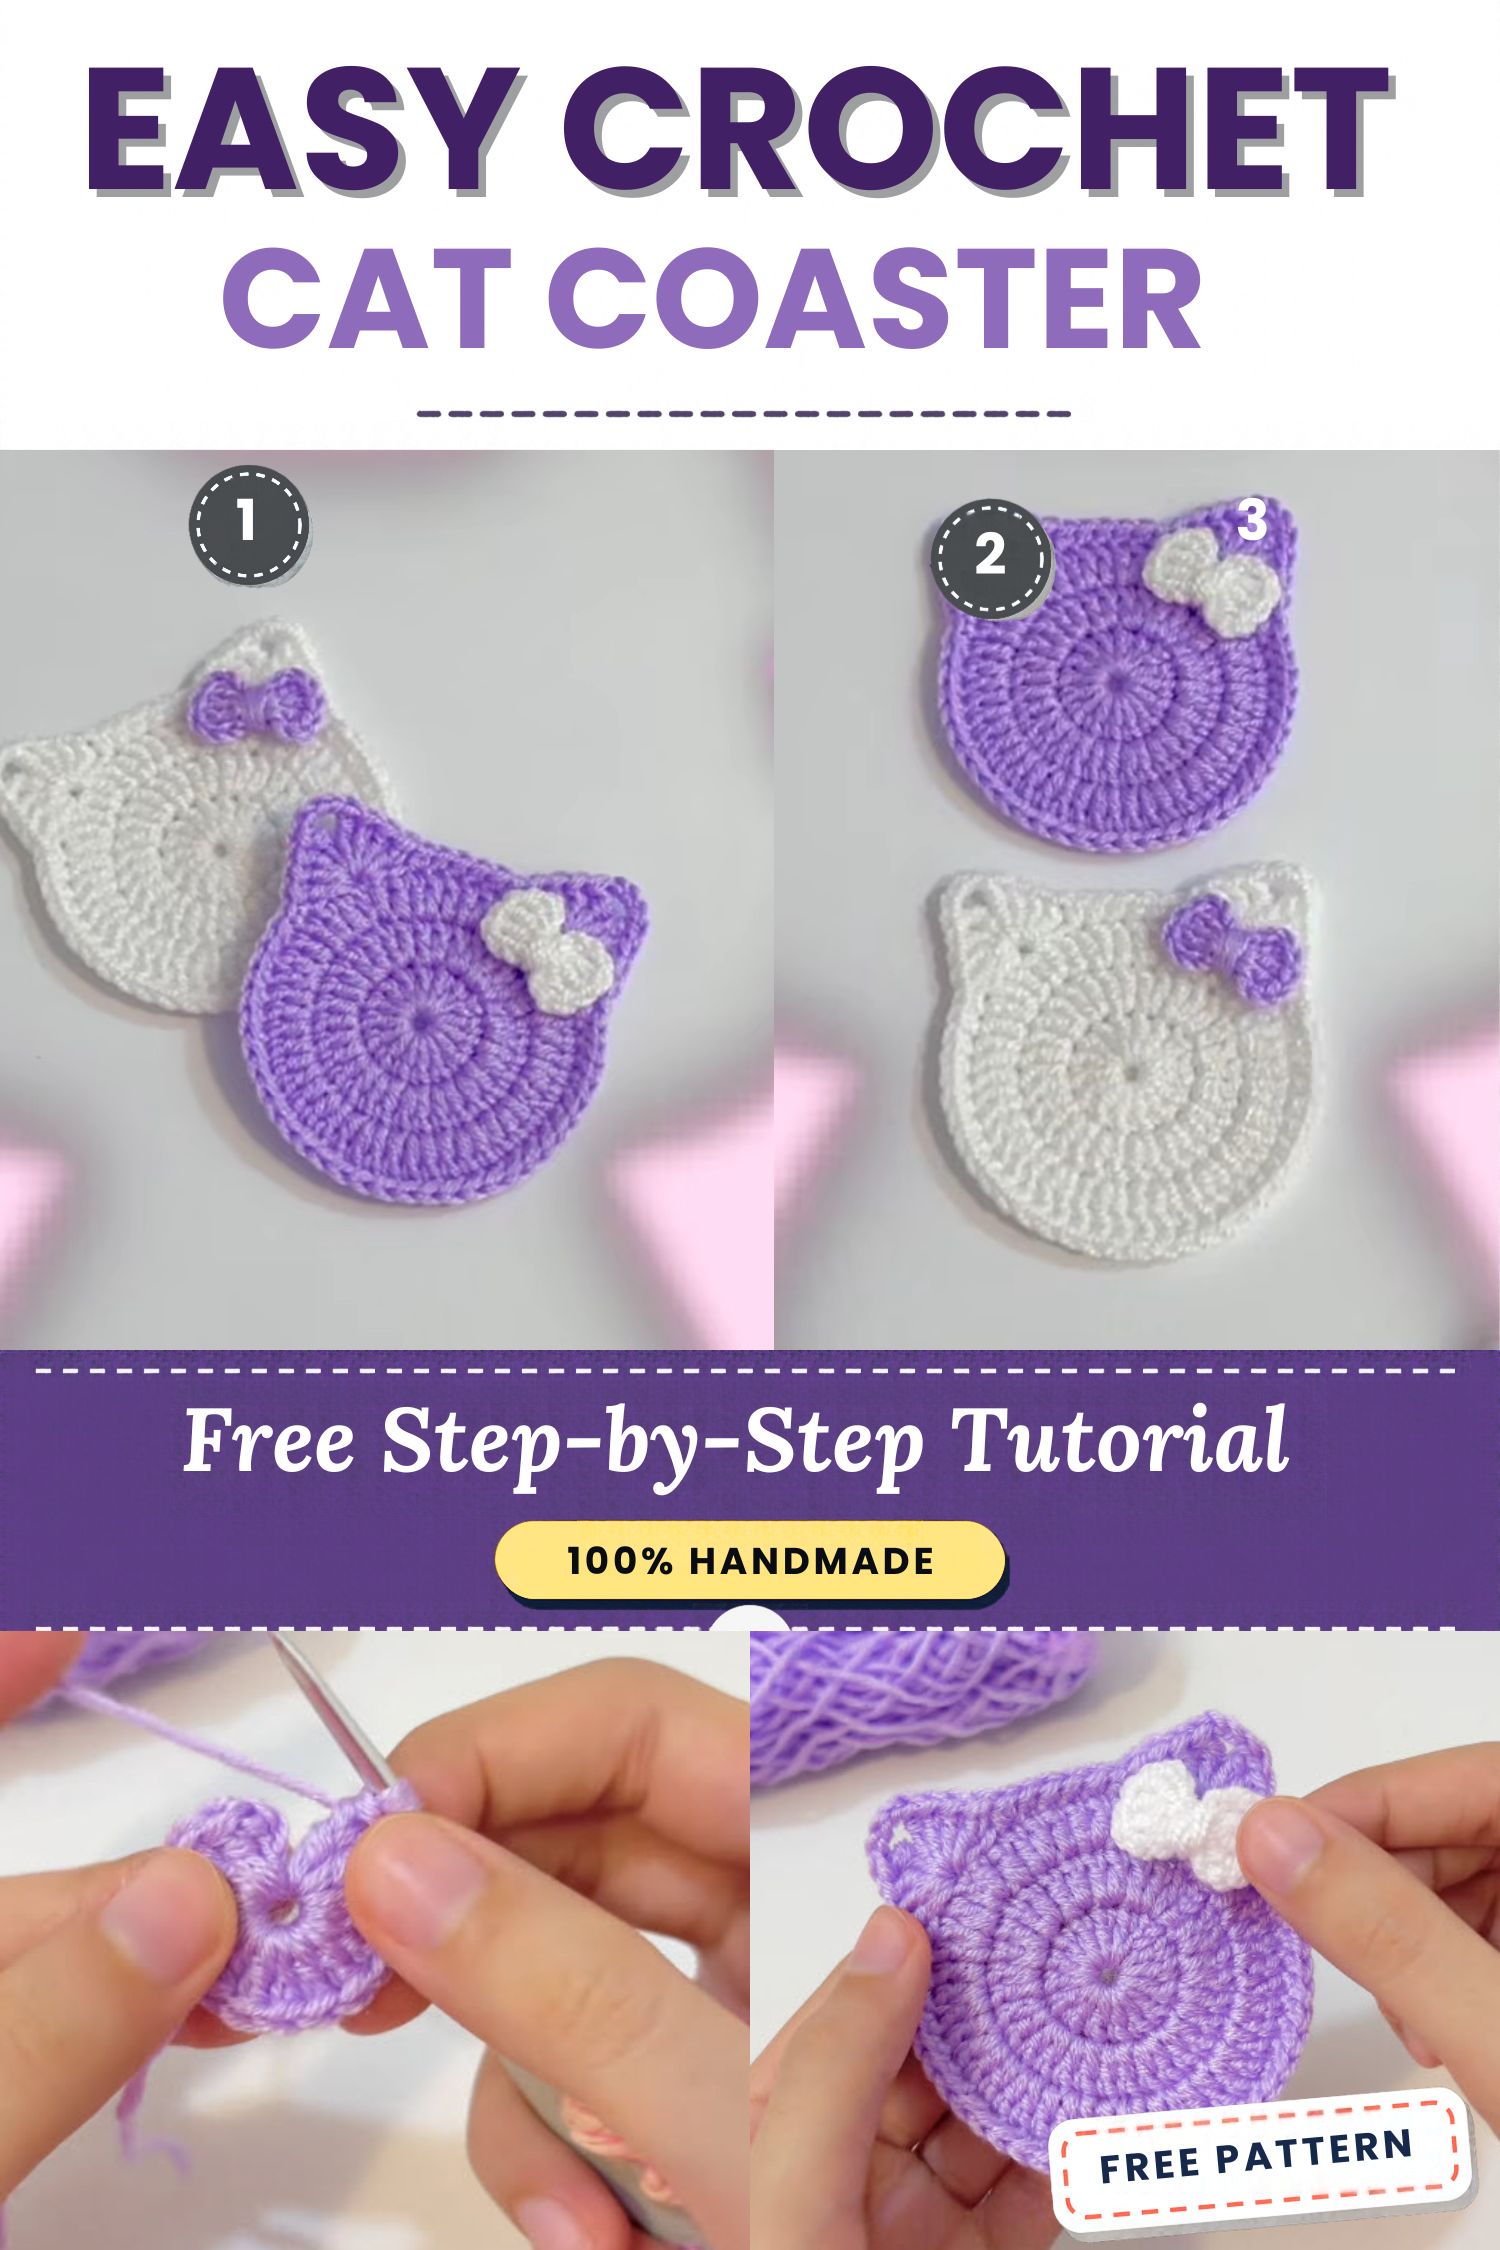
- Finished coaster: A lavender cat-shaped coaster with pointed ears and a white bow.
- Ear stage: The hook working along the top edge of the circle.
- Growing base: A larger round with a clear centre hole.
- Early rounds: A neat spiral of stitches around the ring.
- Starting point: A tiny disc, the first few rounds of the base.
Suggested alt text for each photo:
- Purple crochet cat coaster with a small white bow
- Hook shaping the pointed ear on the coaster edge
- Flat crochet circle growing round by round
- Small purple coaster base worked in tight rounds
- First rounds of the crochet cat coaster base
Safety Notes
- The bow is sewn on, so check that it is secure before using the piece around young children or pets.
- Do not leave a loose bow within reach of toddlers.
- Keep needles and hooks away from small hands.
- Hot mugs can scorch yarn. Therefore, for very hot drinks, use cotton rather than acrylic, which can melt or flatten under direct heat.
Sizing Options
The coaster is sized by how many rounds you work. For a smaller trinket dish or ornament, stop earlier. Likewise, for a mug rug, keep going for a few more rounds. In addition, thicker yarn with a larger hook produces a bigger piece without changing the pattern.
Bonus: Colour Pairing Ideas
Lavender and white is a soft pairing, but other combinations work well too:
- Grey body with a pink bow
- Cream body with a brown bow
- Mint body with a white bow
- Black body with a red bow for a bold, playful look
A set of four in different colours makes a charming gift.
Tips & Troubleshooting
- Keep the circle flat. Lay it on a table every few rounds. If it ruffles, remove a few stitches and redo the round.
- Use a marker. A stitch marker prevents miscounts in a spiral round.
- Close the ring well. Tug the starting tail firmly before moving on, or else the centre may loosen later.
- Match the ears. Count the stitches on each side before shaping.
- Bow too large? Use thinner yarn or fewer wraps.
- Edges curling? Try a slightly larger hook for the last round.
- Yarn splitting? Slow down and insert the hook straight through the stitch.
FAQs About the Crochet Cat Coaster Pattern
What size hook works best?
Anything from 3.0 mm to 4.0 mm suits most cotton and acrylic yarns. In short, choose one that gives firm stitches with no big gaps.
Can a beginner make this pattern?
Yes. The shape is simple, and the only new skill may be the ear shaping.
Which yarn is better, cotton or acrylic?
Cotton absorbs water and holds its shape, so it is better for everyday coasters. On the other hand, acrylic is soft and comes in lovely colours, but it is best for decorative use.
Can the bow be left off?
Yes. The coaster looks sweet with just the ears, or with a small embroidered face.
How do I wash the coaster?
Hand wash gently in cool water, then lay flat to dry. Generally, cotton can handle a little more than acrylic.
Where can the exact stitch counts be found?
They are shown in the original video, since they depend on the yarn and size you choose.
Ready to Stitch a Little Cat Face?
This crochet cat coaster pattern is quick, cheerful, and easy to personalise. A few simple rounds, two pointed ears, and a tiny white bow turn scrap yarn into something genuinely useful. So make one for yourself, then a few more as gifts, because they tend to be popular.