Crochet Christmas Santa Hat Ornamen Pattern for the Holidays
Crochet Christmas Santa Hat Ornament Pattern for the Holidays turns a few scraps of red and white yarn into a tiny festive charm. Beginners often wonder how something so small can look so polished, yet the answer lies in just two stitches worked in careful order.
Holiday crochet projects rarely finish this quickly, which makes the Santa hat ornament pattern a favorite among makers short on time but big on festive spirit. It pairs a simple holiday amigurumi shape with a soft miniature crochet charm finish, and the result works equally well as jewelry, a hair clip topper, or a tree decoration. Because the stitch count stays low throughout, even a first attempt tends to look neat and store-worthy.
What Is This Pattern?
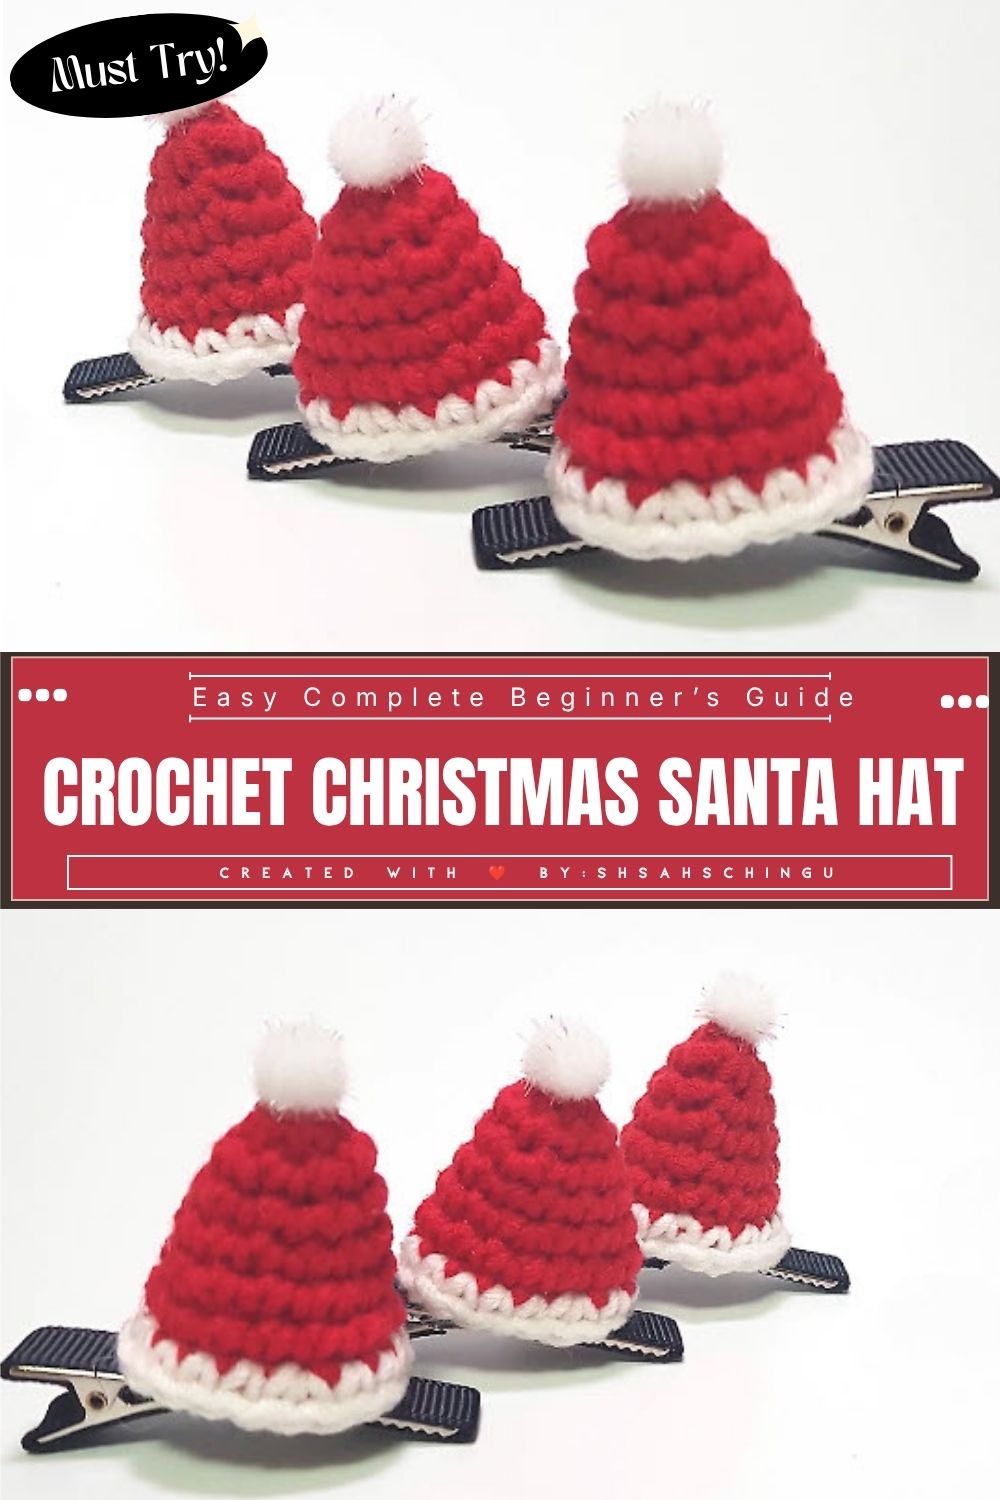
The pattern builds a cone-shaped hat starting from a magic ring, worked upward in single crochet, then finished with a contrasting white brim and a small pom-pom at the tip. Consequently, the shape mimics a classic Santa hat at a fraction of its real size. Most versions measure under two inches tall, so they attach easily to clips, pins, or ornament hooks. Since the piece is worked in the round, there are no seams to sew along the sides, which keeps the finished look tidy.
What Do You Need to Make It?
A short list of supplies gets this project started:
- Worsted or DK-weight yarn in red and white
- A 2.5mm to 3mm crochet hook, depending on yarn thickness
- A tapestry needle for weaving in ends
- Small scissors and stitch markers
- Optional: a hair clip, jewelry pin, or ornament hook for finishing
Because the yarn amounts needed are so small, this pattern is an excellent way to use up leftover holiday-colored scraps.
What Will You Learn From This Pattern?
Working through this project builds several transferable crochet skills:
- Starting a tight magic ring for a gap-free center
- Shaping a cone using gradual single crochet increases and decreases
- Attaching a contrasting color trim cleanly at the base
What Skills Does It Require?
The techniques stay approachable, though a little prior stitch experience helps things move faster. A crocheter should already know how to form a magic ring, work single crochet, and change yarn colors without leaving a visible knot. Counting stitches accurately also matters here, since the hat’s taper depends on consistent increases near the top.
How Long Does It Take?
Most makers finish one Santa hat ornament in twenty to thirty minutes once the stitch pattern feels familiar. Beginners should expect closer to forty-five minutes for their first try, largely due to slower magic ring tension and extra time spent counting rounds. Because the piece uses so little yarn, several can be completed in a single sitting.
What’s the Process Like?
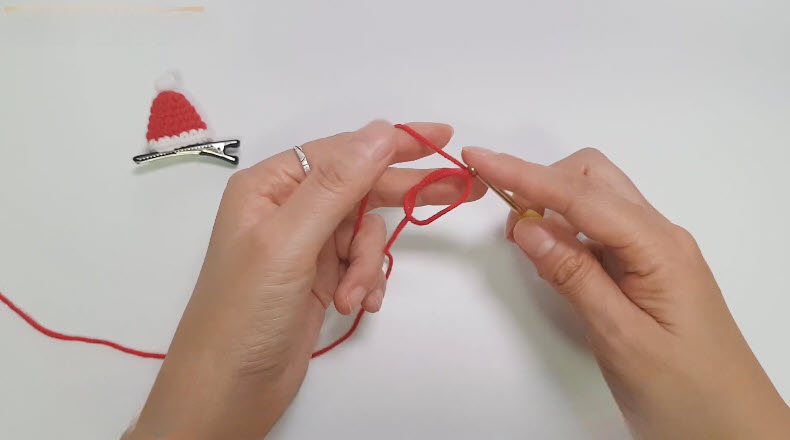
1: Form the starting loop.
- Wrap the red yarn around two fingers to create a magic ring, crossing the strands so the loop holds its shape.
- Insert the hook through the center of the ring to catch the working yarn cleanly.
- Keep a finished mini hat charm nearby on its clip base for quick size and color reference while working.
- Hold tension snug from the very first stitch so no gap forms at the center once the ring closes.
2: Close the first round.
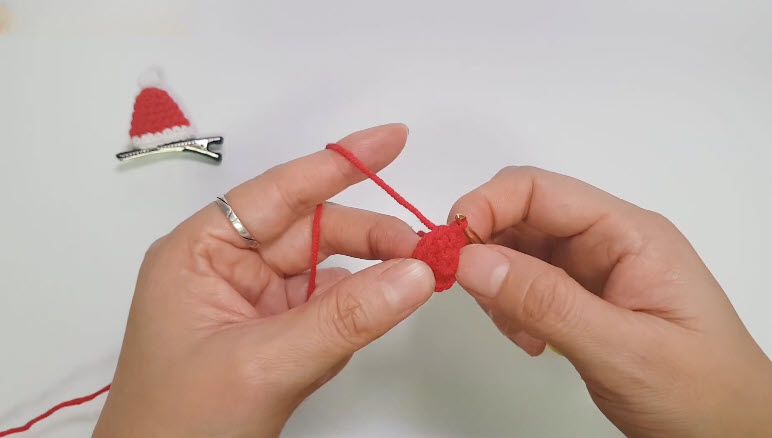
- Pull the short tail firmly to tighten the ring completely, removing any visible hole at the middle.
- Check that the stitches sit evenly around the circle before moving to the next round.
- Notice the small, solid red circle taking shape between the fingers, which becomes the crown of the hat.
- Leave the hook loosely in place so the next round can begin without losing the last loop.
3: Build the cone shape.
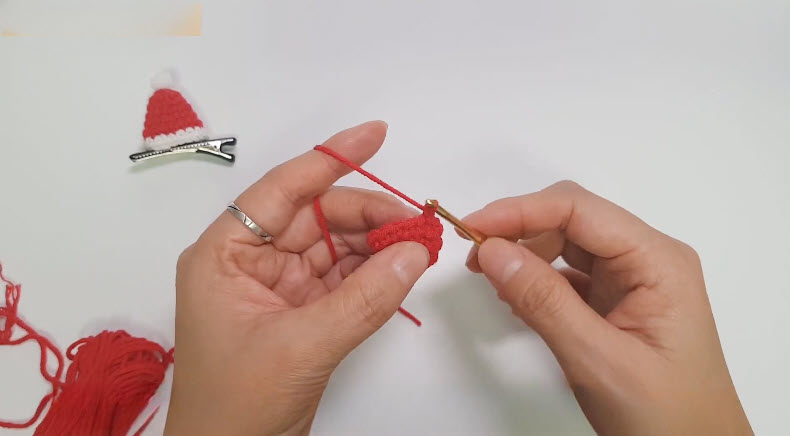
- Continue working single crochet in a continuous spiral rather than joining each round.
- Add gradual increases as needed so the piece grows slightly wider while also growing taller.
- Watch the shape lengthen into a narrow cone, matching the classic tapered Santa hat silhouette.
- Keep the working yarn tail trailing loose at this stage; it gets trimmed and woven in later.
4: Add the white trim.
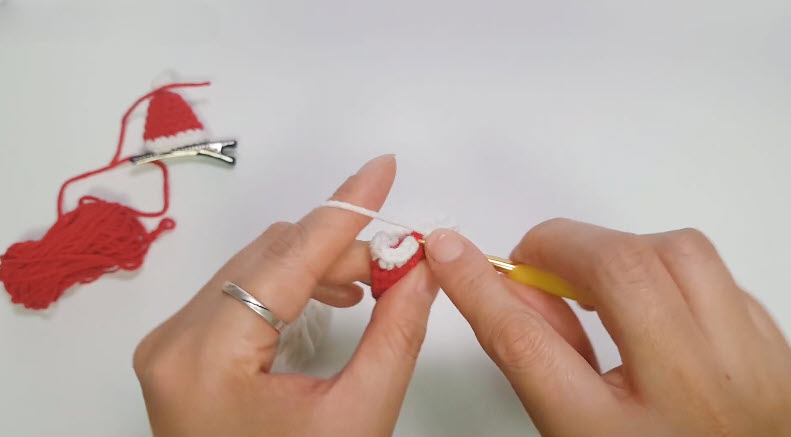
- Switch from red to white yarn once the cone reaches its full length.
- Work a fresh round of stitches directly along the base edge of the red section.
- Keep the white stitches slightly tighter than the red ones so the trim looks dense rather than loose.
- Let this round build up into a fuzzy-looking brim that clearly separates the hat from any raw edge.
 5: Finish and attach the pom pom.
- Weave in all loose ends on the inside of the hat so nothing shows on the outer surface.
- Attach a small, well-rounded white pom pom to the very tip of the cone.
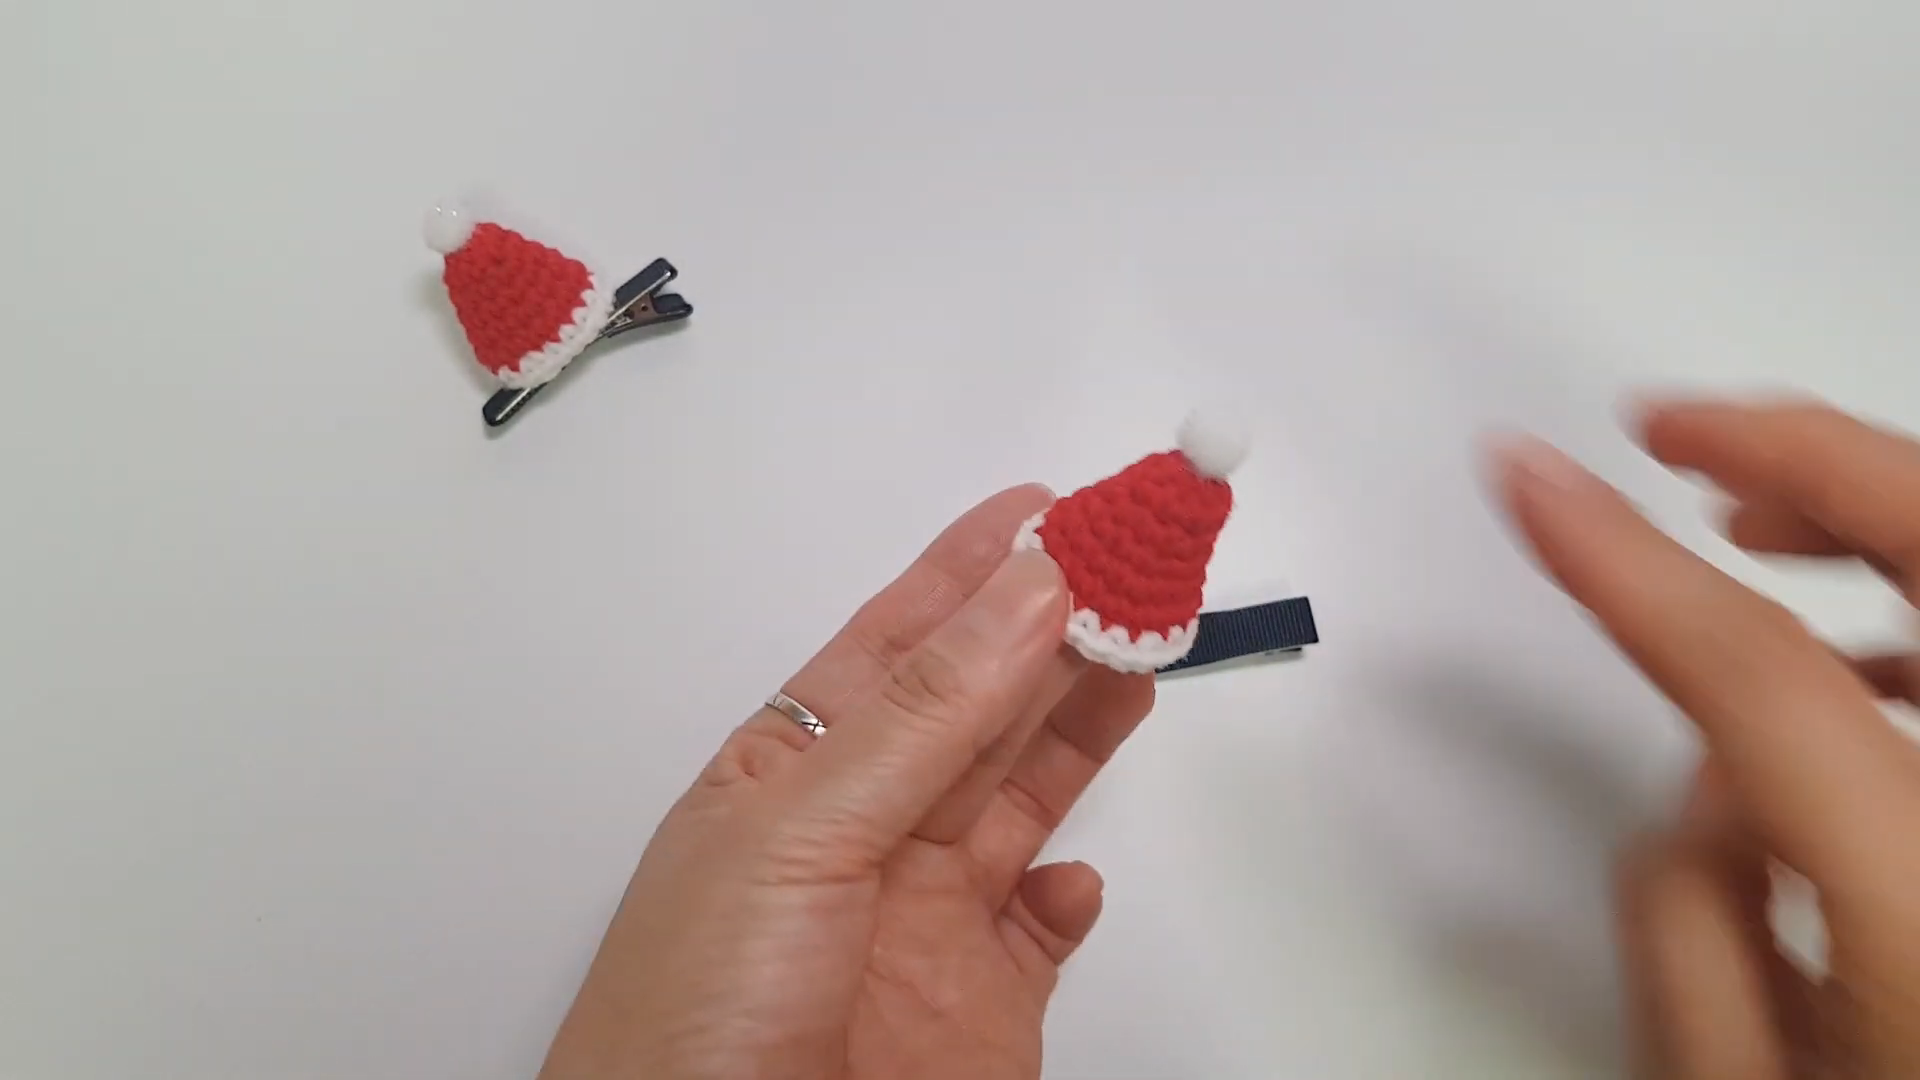
- Set the finished hat down beside a second completed piece already resting on its silver hair clip.
- Compare both hats for size and shape before moving on to final assembly.
6: Secure to the base.
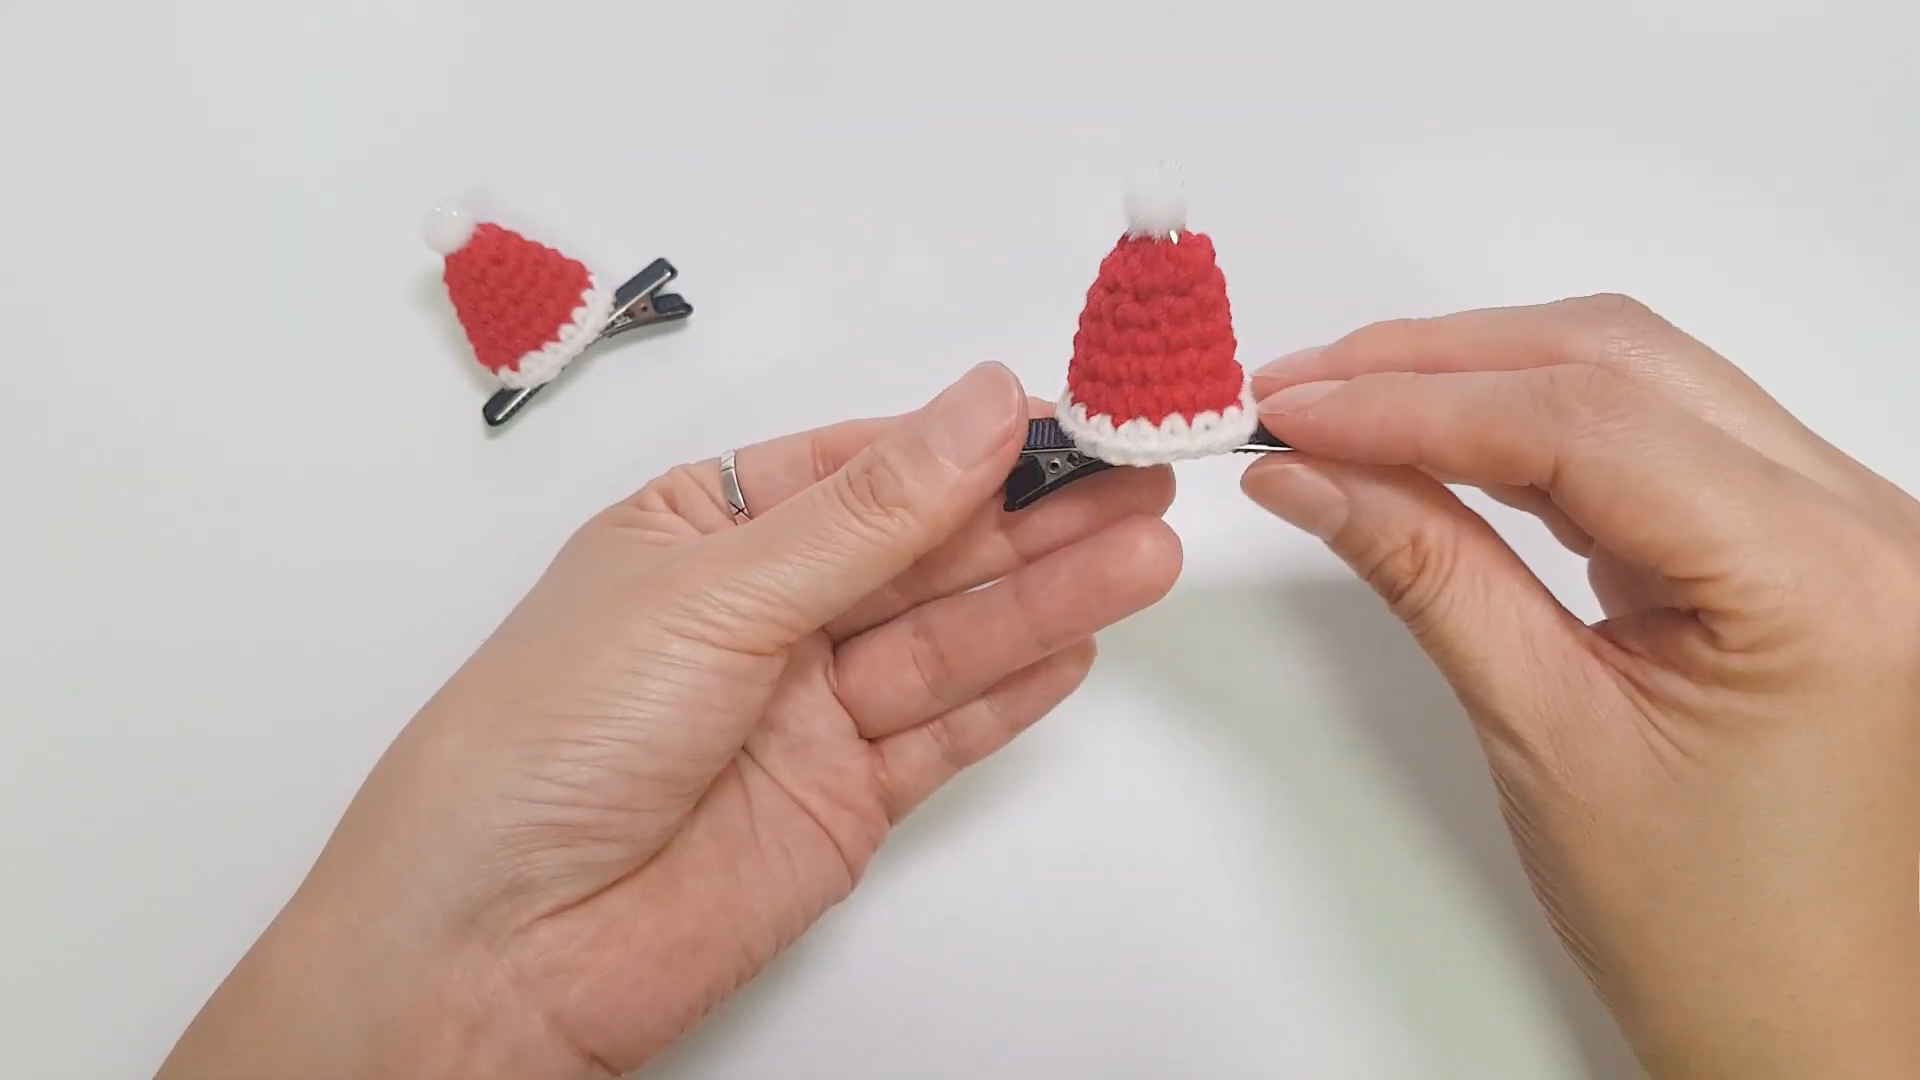
- Position the completed hat directly over the flat top of a hair clip or pin base.
- Glue or stitch it firmly in place, checking that the hat sits centered rather than tilted to one side.
- Press down gently along the contact point so the bond sets evenly without shifting the shape.
- Set the finished piece beside its matching pair once secure, ready for gifting or display.
What Usually Goes Wrong?
A loose magic ring is the most common early mistake, and it often leaves a small hole at the very top of the hat. Miscounted increase rounds also cause trouble, since skipping even one stitch can make the cone lean instead of sitting straight. Additionally, some makers rush the trim round, which leaves the white edge looking thin rather than full.
How Can Mistakes Be Avoided?
Slowing down during the first two rounds solves most tension problems before they start. Placing a stitch marker at the beginning of each round also helps track increases accurately, since spiral crochet has no natural stopping point. Finally, working the white trim with a slightly tighter tension than the body keeps the brim looking dense and well-defined rather than loose.
What Else Can You Make With This Pattern?
The same magic-ring-and-cone technique extends well beyond a single ornament. Smaller versions work nicely as earring charms, while slightly larger ones become tree topper accents or gift tag decorations. The color-changing trim technique used here also transfers directly to other holiday amigurumi projects, such as tiny mittens or stockings, making this a useful building block for a wider seasonal collection.
What Can This Piece Be Used For?
Beyond tree decoration, the finished hat suits hair clips, keychains, brooch pins, and gift wrap embellishments. Some makers dangle a pair from earring hooks, while others tuck one onto a bag zipper for a subtle holiday touch. Because the base is so lightweight, it attaches comfortably to almost any accessory without adding bulk.
Is It a Good Project for Beginners?
Yes, this ranks among the more forgiving holiday patterns available. The stitch count stays low throughout, and any small shaping errors tend to blend into the finished texture rather than standing out. New crocheters typically manage the technique after one or two practice rounds.
What Makes It Worth Trying?
Few projects deliver this much visual payoff for so little yarn and time invested. The finished Santa hat ornament photographs well, gifts easily, and scales into batches without much added effort. Its small size also makes it a practical way to test new yarn colors before committing to a larger project.
Why Are People Making This Right Now?
Holiday content creators and hobbyists alike have gravitated toward small-batch amigurumi as gifting season approaches, and this pattern fits that trend closely.
- Quick turnaround suits last-minute gift lists
- Low yarn cost appeals to budget-conscious crafters
- Compact size photographs well for social sharing
FAQ
Can this pattern be made without a hair clip base?
Yes, the hat works just as well glued to a jump ring or ornament hook instead of a clip.
What yarn weight gives the best results?
DK-weight yarn tends to produce the cleanest stitch definition for a piece this small.
How much yarn does one hat actually use?
Less than ten yards total, including the white trim and pom-pom, is typical for one finished piece.
Can the Crochet Christmas Santa Hat be skipped?
It can, though leaving it off changes the silhouette and removes some of the classic Santa hat detail.

Conclusion
A Crochet Christmas Santa Hat proves that festive crochet does not require hours of stitching or a long materials list. With a tight magic ring, a steady cone shape, and a clean white trim, this pattern delivers a polished holiday piece in under an hour. Whether it ends up on a tree, a clip, or a gift tag, the technique rewards repetition and invites variation once the basic shape feels comfortable.