Crochet Steering Wheel Cover Pattern for casual days
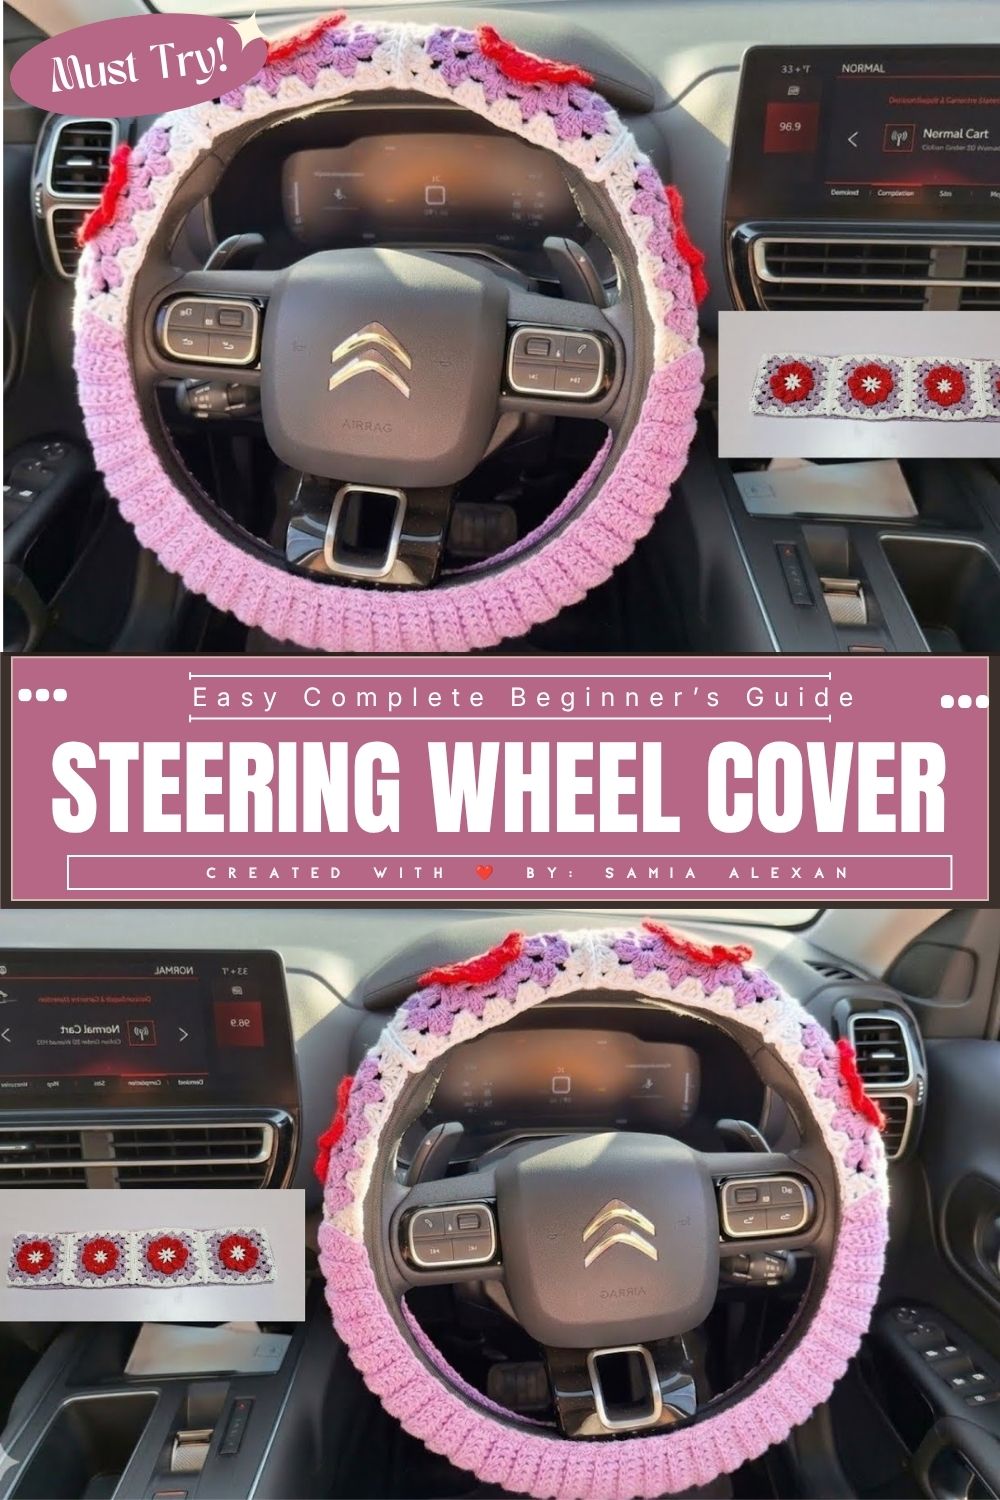
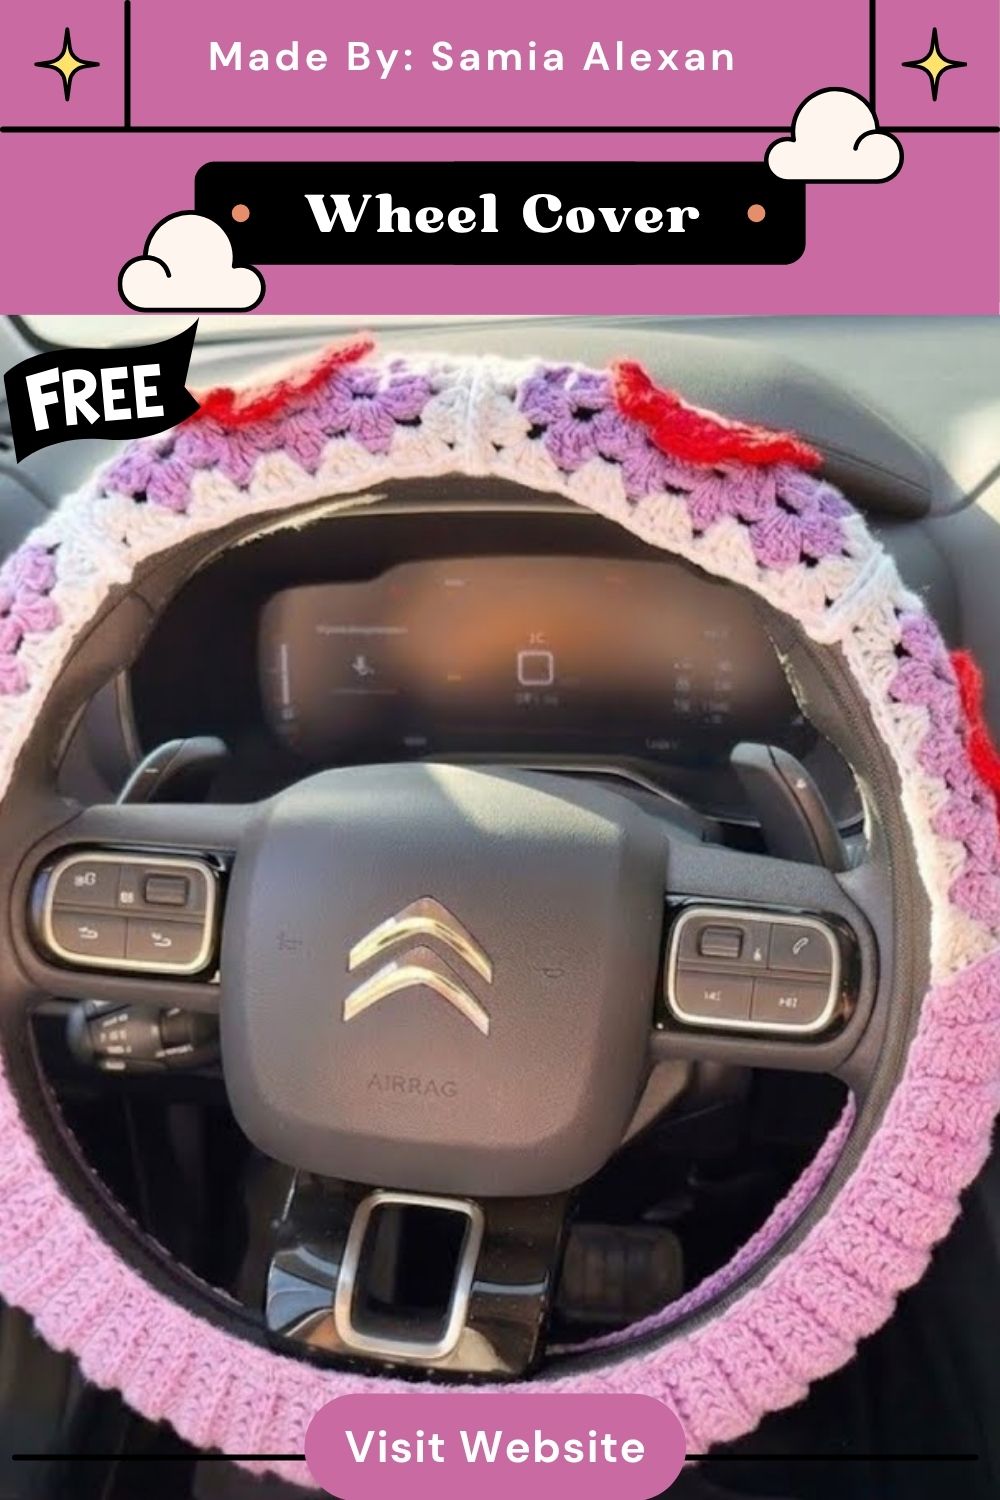
Soft lilac ribbing wraps around a ring of red-and-white flower squares, and the Crochet Steering Wheel Cover Pattern for Casual Days turns a plain black wheel into a cheerful handmade accent. Every school run or errand suddenly feels brighter.
Instead of a toy, you will make a practical car accessory: a stretchy ribbed band worked in lilac yarn, joined to a strip of granny flower squares. Cotton keeps the texture crisp, and the ribbing hugs the rim so the cover stays put during daily driving, even on bumpy roads.
Squares are made separately, so you can stitch a few during a movie night. Joining happens with white yarn, and the last step is a sewing pass around the wheel.
Time Box
- Skill level: Confident beginner to easy intermediate
- Prep: About 20 minutes for measuring and winding yarn
- Stitching: Roughly 6 to 8 hours across the squares and the ribbed band
- Finishing: About 1 hour for joining, sewing, and weaving in ends
Materials and Supplies
- Yarn: Cotton yarn in DK or light worsted weight
- Lilac for the ribbed band, about 100 g
- White for the centers, borders and joining, about 50 g
- Red for the flower petals, about 30 g
- Crochet hook: 4 mm (US G-6)
- Tapestry needle: For seams and hidden ends
- Scissors: Small and sharp
- Stitch markers: 2 to 3 for the first stitch of rounds and rows
- Measuring tape: For the wheel measurements
- Optional: A thin elastic cord if you want a snugger fit
No safety eyes, stuffing or keychain ring are needed for the project.
Crochet Techniques Used
- Magic ring
- Single crochet (sc), half double crochet (hdc), and double crochet (dc)
- Working in the back loop only for ribbing
- Increases at square corners
- Slip stitch joining
- Whip stitch sewing
Step 1: Measure Your Wheel
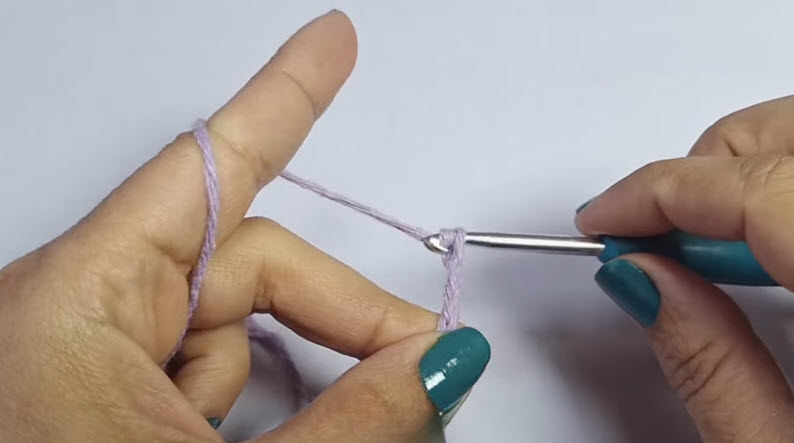
Wrap the tape once around the full circle of the wheel and note the number. Then wrap it around the thickness of the rim and note half of that number.
- Circumference decides how long the band and the square strip must be.
- Half rim width decides the chain length for the ribbed band.
Pro-Tip: Write both numbers on a sticky note and keep it beside your yarn. Every later step checks against them.
Time Box
- Skill level: Confident beginner to easy intermediate
- Prep: About 20 minutes for measuring and winding yarn
- Stitching: Roughly 6 to 8 hours across the squares and the ribbed band
- Finishing: About 1 hour for joining, sewing, and weaving in ends
Materials and Supplies
- Yarn: Cotton yarn in DK or light worsted weight
- Lilac for the ribbed band, about 100 g
- White for the centers, borders and joining, about 50 g
- Red for the flower petals, about 30 g
- Crochet hook: 4 mm (US G-6)
- Tapestry needle: For seams and hidden ends
- Scissors: Small and sharp
- Stitch markers: 2 to 3 for the first stitch of rounds and rows
- Measuring tape: For the wheel measurements
- Optional: A thin elastic cord if you want a snugger fit
No safety eyes, stuffing or keychain ring are needed for the project.
Crochet Techniques Used
- Magic ring
- Single crochet (sc), half double crochet (hdc) and double crochet (dc)
- Working in the back loop only for ribbing
- Increases at square corners
- Slip stitch joining
- Whip stitch sewing
Step 1: Measure Your Wheel
Wrap the tape once around the full circle of the wheel and note the number. Then wrap it around the thickness of the rim and note half of that number.
- Circumference decides how long the band and the square strip must be.
- Half rim width decides the chain length for the ribbed band.
Pro-Tip: Write both numbers on a sticky note and keep it beside your yarn. Every later step checks against them.
Step 2: Make the Flower Granny Squares
Make enough squares to match your circumference. Divide the circumference by the finished width of one square, then round to the nearest whole number.
2.1 White center
With white, make a magic ring. Chain 1, work 8 sc into the ring and pull the tail tight. Slip stitch to the first sc and cut the white yarn.
2.2 Red loops
Join red in any sc. Chain 1 and sc in the same stitch. Chain 3, sc in the next stitch. Repeat until 8 loops sit around the center, then slip stitch to the first sc.
2.3 Red petals
Slip stitch into the first loop. In that loop work (sc, hdc, 3 dc, hdc, sc) to form one rounded petal. Repeat in every loop, then slip stitch to the first stitch and cut the yarn. You should see 8 petals around a white star center.
2.4 Lilac bridges
Fold the petals forward so the round 2 stitches show behind them. Join lilac around the post of any round 2 sc. Chain 5, sc around the post of the next round 2 sc. Repeat until 8 chain spaces are complete, then slip stitch to the first stitch.
2.5 Lilac corners
Slip stitch into the first chain space. Corner space: work (3 dc, ch 2, 3 dc). Side space: work 3 dc. Alternate corner and side around, which gives 4 corners. Slip stitch to close and cut the yarn.
2.6 White border
Join white in any corner space. Chain 3, then work (2 dc, ch 2, 3 dc) in the same space for the first corner. Work 1 dc in each dc along each side. In every other corner space, work (3 dc, ch 2, 3 dc). Slip stitch to the top of the starting chain and fasten off.
Pro-Tip: Lay each finished square over the previous one. Tiny size differences show up at once, and fixing one square is easier than fixing a whole strip.
Step 3: Join the Squares into a Ring
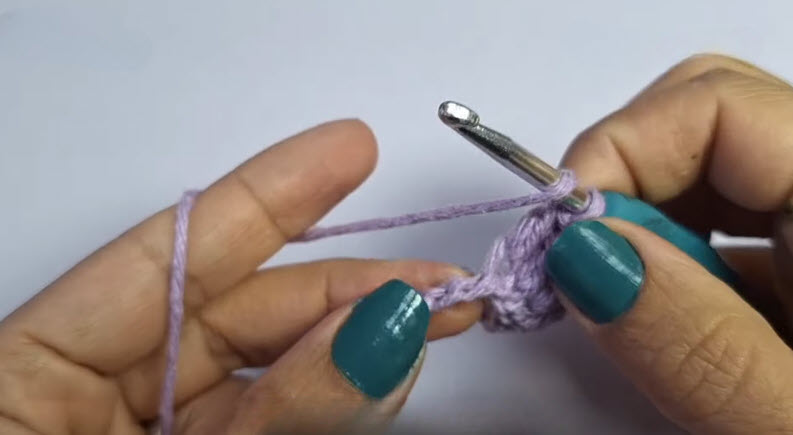
Hold two squares with right sides together. With white yarn, slip stitch through both loops along one edge, keeping the tension loose so the seam stays flat.
Add squares one by one until the strip matches your circumference. Then join the first and last squares to close the strip into a ring.
Why it matters: a loose seam lets the strip curve smoothly around the wheel instead of bunching.

Step 4: Work the Ribbed Band
4.1 Foundation chain
With lilac, chain about 16 stitches, or the number that measures half your rim width. Keep the chain relaxed. Stitches on the hook should sit evenly, never twisted.
4.2 First row
Work 1 hdc in the second chain from the hook and in each chain across. Chain 2 and turn. Place a stitch marker in the turning chain if you tend to lose count.
4.3 Ribbing rows
Work 1 hdc in the back loop only of each stitch across. Chain 2 and turn. Repeat row after row. Ridges form on the right side and the fabric gains stretch.
4.4 Reaching length
Keep working until the band, gently stretched, reaches your circumference. Test-fit against the wheel every 20 rows or so.
Pro-Tip: Aim for about 90 percent of the full circumference. Ribbing relaxes with use, and a slightly shorter band keeps the cover snug.
4.5 Closing the ring
Bring the short ends together and slip stitch or whip stitch them shut. Fasten off and weave in the ends.

Step 5: Attach the Band to the Squares
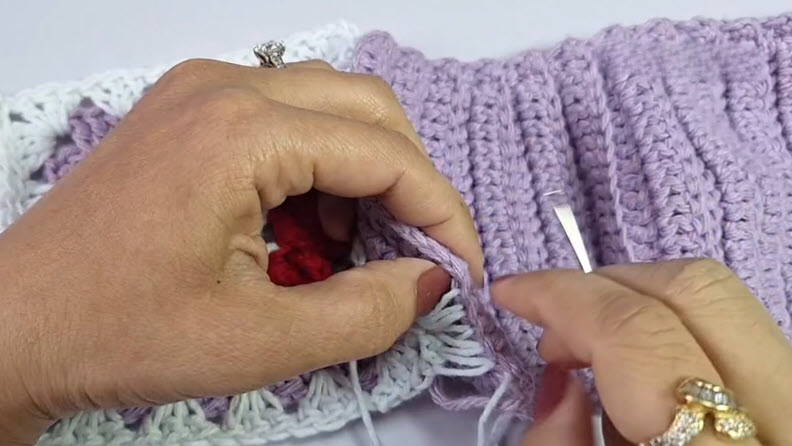
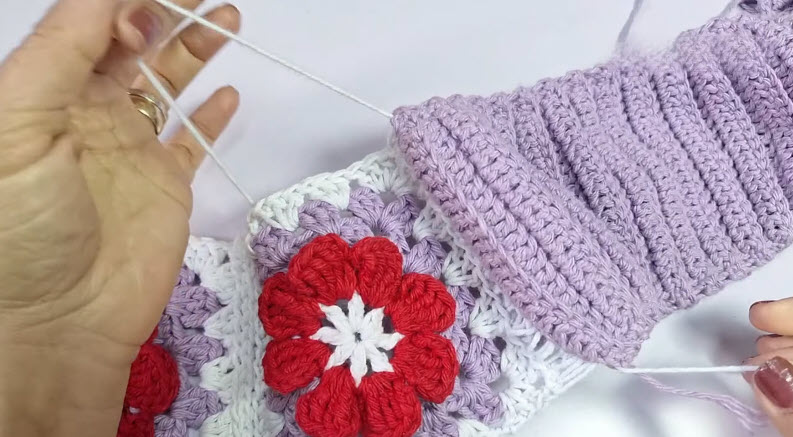
Slide the ribbed ring over the square ring so one long edge of each sits together. Thread white yarn on the tapestry needle.
- Start at a square seam so the join stays hidden.
- Whip stitch one long edge of the ribbed band to one edge of the squares.
- Take one stitch per rib ridge for an even line.
- Ease the ribbing slightly as you go so it gathers softly, as in the photos.
- Finish at your starting point and knot off inside the seam.
Why it matters: sewing at each ridge keeps the ribbing from twisting once the cover is in use.
Step 6: Fit and Finishing Touches
Stretch the cover over the wheel, ribbed side hugging the inner rim and flower squares showing on top. Tug it into place and check that the seam sits away from where your hands rest.
- Weave in every loose end twice.
- Trim tails close to the fabric.
- Add a few hidden stitches at the open edges if any spot lifts.
- Run thin elastic cord through the edge stitches for extra grip on smooth wheels.

Common Mistakes
- Chain too tight: A snug chain narrows the band and makes the cover hard to pull on.
- Skipping the measurement: Guessing the length leads to a cover that slides or refuses to fit.
- Uneven square sizes: Different tension makes the strip wavy, so check each border.
- Hard seams: Pulling the joining yarn too firmly creates ridges that press into your palms.
Helpful Beginner Tips
- Keep stitches even. Firm, consistent tension gives crisp ribs and neat petals.
- Use stitch markers. Mark the first stitch of each round or row to avoid miscounts.
- Swatch first. Stitch one square and one small rib sample to confirm hook size and fit.
- Stay relaxed while joining. Loose slip stitches keep seams flexible.
- Choose washable cotton. Cotton handles sun, heat and hand contact better than fluffy yarn.
Design Customization Ideas
Different colors
Swap lilac for sage green, navy or charcoal for a calmer look. Pick petals in mustard, coral or pink to match your interior.
Cute accessories
Sew a small crochet leaf or button in the center of a few squares. A tiny tassel hanging from the seam adds movement.
Mini size variations
Make smaller squares with fewer border rounds for compact wheels. The same method also works for a gear-shift cover or a handbrake sleeve.
Bonus Section: Washing and Care Notes
Hand wash the cover in cool water with mild soap. Press out water with a towel and never wring the ribbing. Dry it flat, shaped over a rolled towel, so the ridges keep their bounce.
Keep it out of direct hot sun when parked, since strong heat can fade red cotton over time.
Frequently Asked Questions
What is the best yarn for a crochet steering wheel cover?
Mercerized or plain cotton works best. It has a smooth surface, holds ribs well and survives frequent hand contact.
How do I make the cover fit firmly?
Use back loop ribbing, make the band slightly shorter than the wheel circumference and add a light elastic cord if needed.
How long does the project take?
Most crocheters finish in 8 to 10 hours spread over several days. Squares can be stitched in short sessions.
Can beginners make it?
Yes. Only basic stitches are used, and the flower squares are the only part that needs a little focus.
In Summary
You now have a full crochet pattern for a bright, hard-wearing wheel cover that turns everyday drives into a small creative moment. Start with one square, enjoy the rhythm of the ribbing, and watch the pieces come together.
Try the pattern this week, then share your color choices in the comments so other makers can borrow ideas. Save the post for your next beginner crochet session, and keep stitching handmade crochet ideas for every corner of your day.