Crochet Animal Ice Cream Keychain Amigurumi Pattern
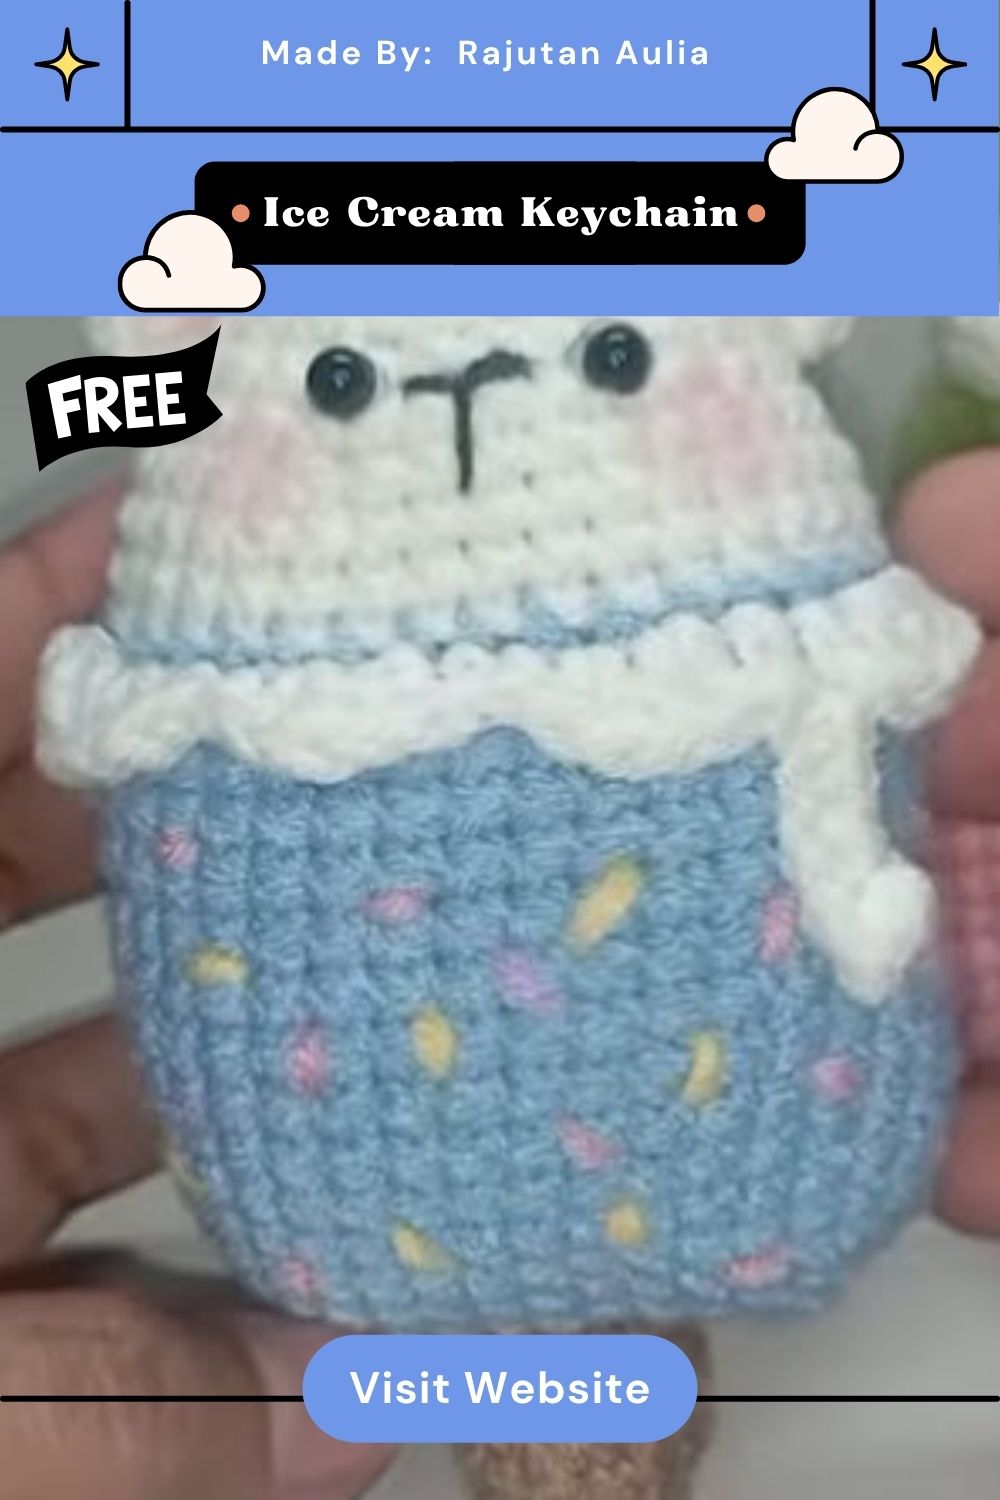
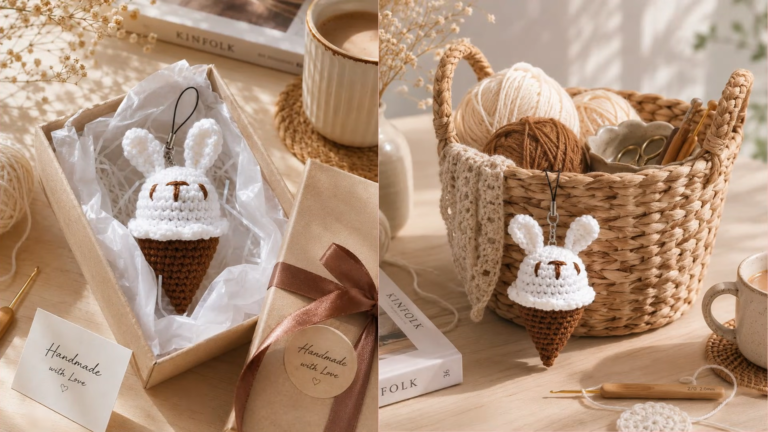
Crochet Animal Ice Cream Keychain Amigurumi Pattern shapes a golden cone and a cute animal-faced scoop into an adorable ice cream keychain project.
Warm golden stitches build into a textured waffle-cone shape in this amigurumi, creating a piece designed to capture that beloved summer treat in miniature, huggable form. This pattern offers crocheters a cheerful, food-themed kawaii amigurumi keychain project that turns two simple rounded shapes into something genuinely delightful. Anyone who loves sweet-treat crochet designs will find this ice cream irresistible to make.
About This Crochet Pattern
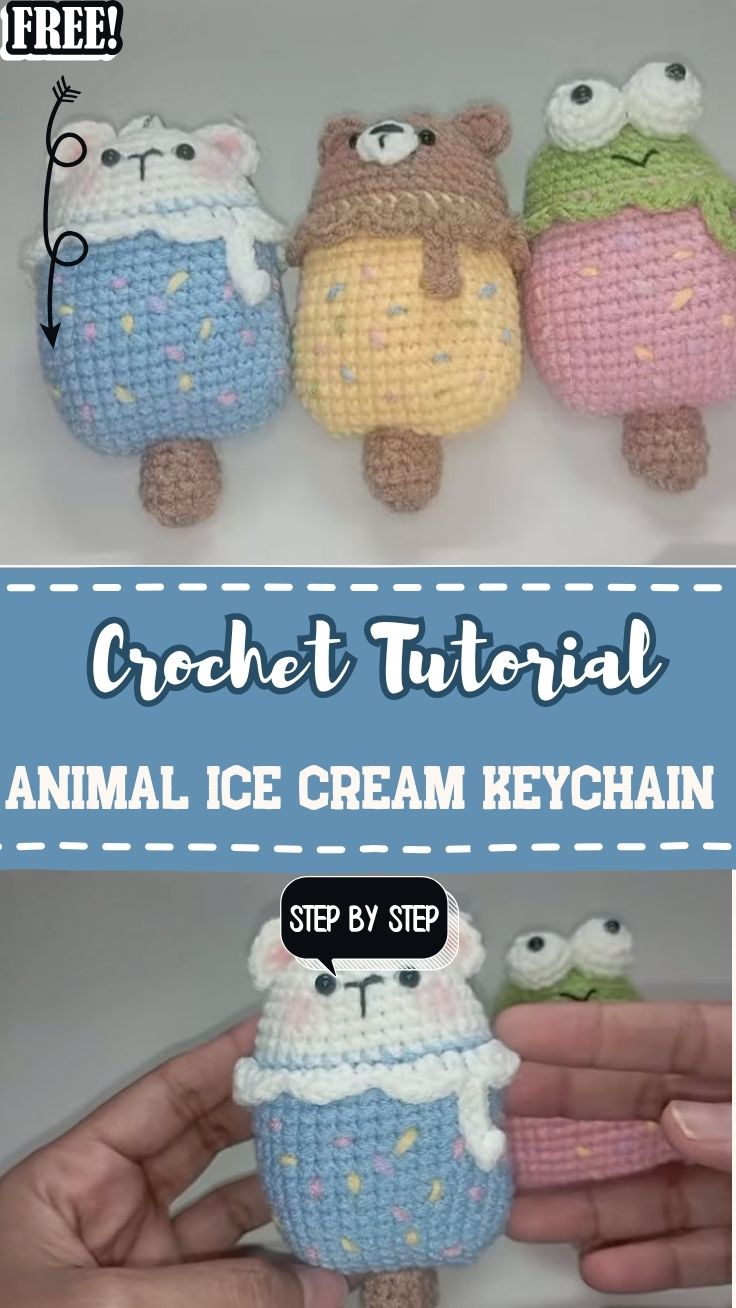
Built from two separate pieces, a textured golden cone and a soft white scoop, this Crochet Animal Ice Cream Keychain joins together to form that unmistakable ice cream cone silhouette everyone recognizes instantly. The contrast between the cone’s textured stitch pattern and the scoop’s smooth rounded surface gives the finished piece lovely visual variety.
What makes this design so appealing is how two simple, separately worked shapes combine into something far more charming than either piece alone. Because the cone and scoop are crocheted independently before joining, this keychain stays approachable even for someone newer to amigurumi, letting each piece feel like a quick, satisfying win before the final assembly brings the whole treat together.
Project Details
- Time Box: 20 minutes starting the cone base, 25 minutes building the textured cone body, 20 minutes crocheting the ice cream scoop, 10 minutes joining and finishing
- Finished Size: Approximately 2–2.5 inches (excluding keychain clasp)
- Recommended Yarn Weight: DK or worsted weight
- Crochet Hook Size: 2mm–2.5mm for a tight, keychain-friendly fabric
Materials Needed
- Yarn in golden yellow or tan (for the cone)
- Yarn in white or cream (for the ice cream scoop)
- Crochet hook (2mm–2.5mm)
- Fiberfill stuffing
- Tapestry needle
- Small black beads or embroidery thread (for a simple animal face, optional)
- Keychain clasp and jump ring
- Scissors
Crochet Stitches & Techniques
- Magic Ring
- Chain Stitch
- Single Crochet (sc)
- Increase (inc)
- Invisible Decrease (invdec)
- Fastening Off
- Sewing Pieces Together
Keeping the technique list short here means the real charm comes from shaping two simple pieces well rather than mastering anything complicated.
Pattern Instructions
This keychain builds from two separately crocheted pieces, a textured cone and a rounded scoop, before joining together to form the finished ice cream character. Working through the stages below in order keeps each piece consistent and makes the final joining step much easier once both parts are complete.
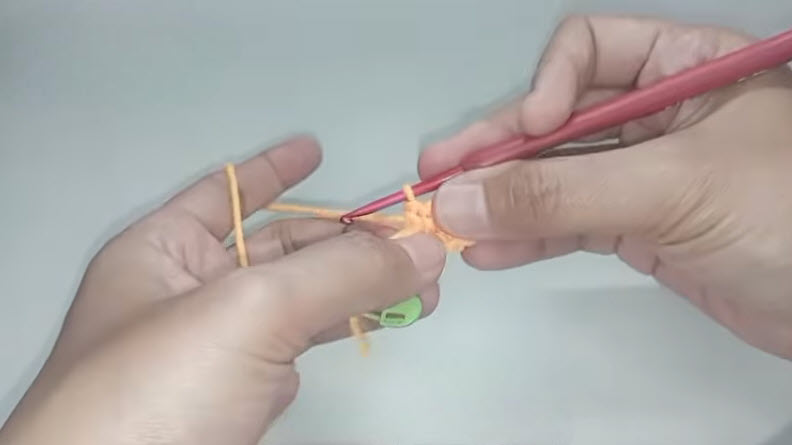
Step 1: Starting the Cone With a Small Foundation
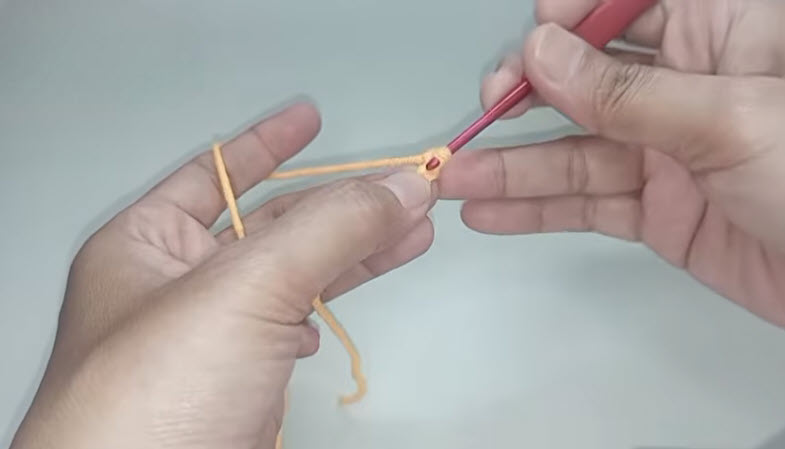
Begin by working a small chain or ring foundation in your golden cone-colored yarn, anchoring your hook before starting the first round of stitches. Keep tension snug here, since this small starting point determines how evenly the narrow tip of the cone forms. This tiny beginning becomes the pointed base that the entire cone shape builds upward from.
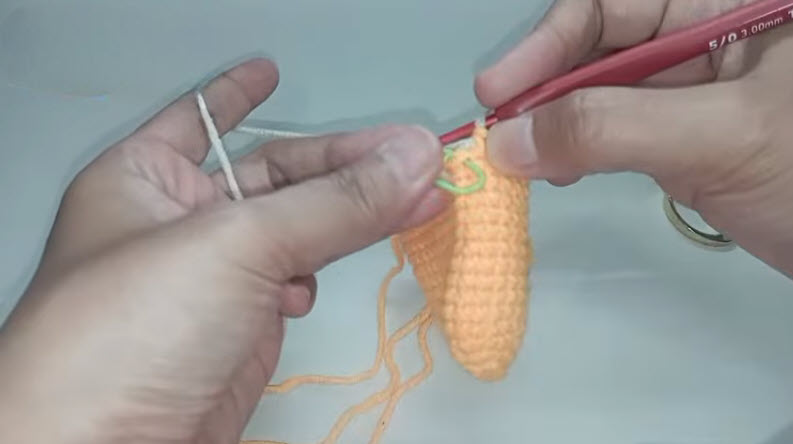
Step 2: Building the Textured Cone Body
Continue working rounds upward, adding surface texture stitches that mimic the classic crisscross waffle pattern found on a real ice cream cone. Watch how the piece grows from that narrow point into a widening cone shape as the textured rounds stack on top of each other. Keep your stitch placement consistent here, since the textured pattern depends on even spacing to read clearly as a waffle design.
Step 3: Finishing the Cone and Adding Details
Complete the final rounds of the cone, widening it to its full intended top diameter before fastening off. Add any small decorative touches near the top edge if desired, such as a contrasting trim round, to give the cone opening a clean, finished look. Set the completed cone aside, ready to receive the ice cream scoop in the next stage.
Step 4: Crocheting and Stuffing the Ice Cream Scoop
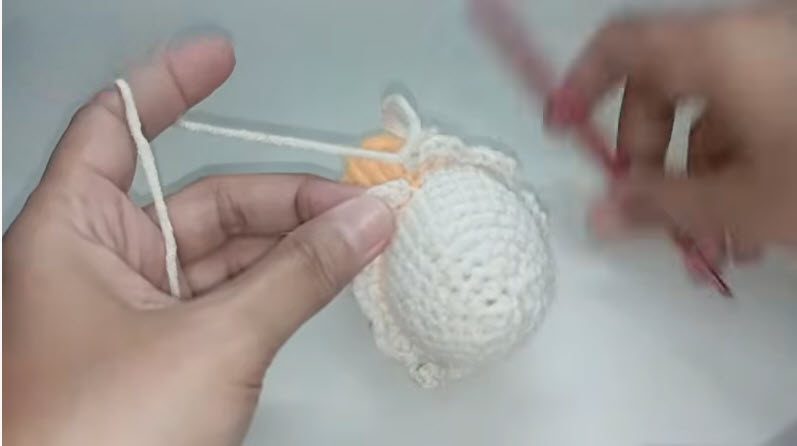
Form a magic ring using your white or cream yarn and work the opening rounds that will grow into the rounded scoop shape. Increase steadily through the early rounds to build outward roundness, then stuff the piece firmly as you work any decrease rounds to close it into a smooth, plump dome. This soft, rounded scoop becomes the second half of the finished ice cream character, ready to nestle into the top of the cone.
Joining All Pieces
Position the finished scoop into the open top of the cone, checking that it sits centered and secure before stitching the two pieces together with a tapestry needle. Add a simple embroidered or beaded animal face onto the front of the scoop if desired, positioning the features centered for that classic cheerful amigurumi expression.
Final Assembly
Weave in every loose yarn end neatly through the back of the stitching, trimming any excess close to the surface. Attach the keychain clasp through a secure loop at the top of the scoop, giving it a gentle tug to make sure it holds firmly before it’s ready to clip onto a bag or set of keys.
Tips for Success
- Keep even tension throughout so both the cone and scoop hold their shapes smoothly.
- Space textured stitches evenly on the cone to maintain a clean waffle pattern.
- Stuff the scoop gradually rather than all at once for a smoother, well-rounded finish.
- Center the scoop carefully within the cone opening before stitching the pieces together.
- Hide yarn ends by weaving through several stitches instead of simply knotting.
- Reinforce the keychain attachment point with a few extra stitches for durability.
Personalization Ideas
Swapping the white scoop for pastel pink or mint green instantly creates a completely different flavor variation using the same construction technique. Adding a small embroidered animal face, such as tiny bear ears or cat whiskers, transforms this into a whole collection of animal-themed ice cream characters.
A jumbo version stuffed generously with fiberfill also makes a delightful standalone plush for younger crafters who love sweet-treat toys. Creating a whole set with different scoop colors makes for a fun matching keychain collection to share with friends.
Common Mistakes to Avoid
- Uneven cone shaping: Count your stitches carefully during increase rounds to keep the cone symmetrical.
- Inconsistent waffle texture: Space textured stitches evenly across each round for a clean pattern.
- Overstuffed scoop: Add fiberfill in small increments, checking firmness as you go.
- Off-center joining: Check scoop placement carefully before stitching it permanently into the cone.
- Loose keychain attachment: Reinforce the loop with extra stitching so it doesn’t stretch out over time.
Frequently Asked Questions
What yarn weight works best for a keychain-sized amigurumi?
DK or worsted weight yarn keeps both pieces compact while still holding their shapes well.
How do I create the waffle texture on the cone?
Work small surface stitches or a textured stitch pattern in a crisscross arrangement as you build the cone rounds.
How long does this project usually take to complete?
Most crocheters finish within an hour and fifteen minutes, working the cone and scoop across a single relaxed session.
Is this pattern appropriate for a first-time amigurumi maker?
Yes, since both pieces use simple, familiar stitches, it’s a great project for building confidence with joining separate parts.
Can I add an animal face to my ice cream keychain?
Absolutely, small embroidered or beaded features on the scoop give it a fun, animal-inspired character.
Can I turn this into an ornament instead of a keychain?
Yes, simply swap the clasp for a small hanging loop at the top of the scoop.
How do I attach the keychain hardware securely?
Sew a sturdy loop through several layers of stitches before clipping on the jump ring and clasp.
Gift and Display Ideas
This little Crochet Animal Ice Cream Keychain makes a fun, playful gift for kids or anyone who loves sweet-treat accessories, and it clips easily onto backpacks, lunch bags, or purses for a cheerful pop of color. A small collection featuring different flavor colors and animal faces also makes a charming display propped together on a shelf. Bundled as a set, these keychains make an adorable party favor or summer-themed gift for young crochet fans.