Crochet Cassette Tape Bag Pattern for Fashionable Looks
Retro style meets distinctive charm in the Crochet Cassette Tape Bag, turning a nostalgic old-school shape into a lovely, practical bag. Its unique design stands out with a fashionable look, making it especially appealing for anyone wanting to add a touch of vintage charm to their style.
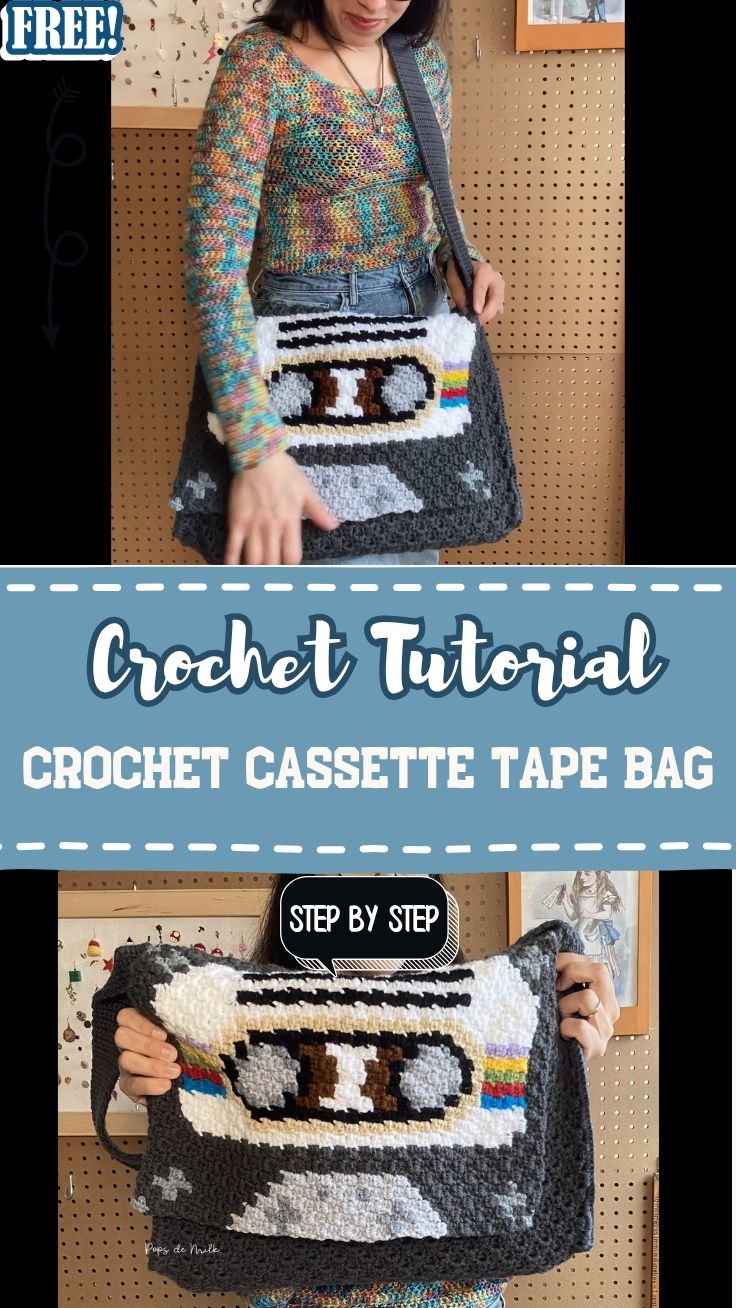
The design brings a classic cassette tape to life as a small crocheted bag. Its charming details and compact size turn it into a distinctive, eye-catching accessory rather than an ordinary everyday bag. For anyone hunting for unique crochet bag ideas, the piece makes an excellent pick, since the finished retro crochet accessory doesn’t just draw attention it also works as a handy little pouch for carrying essentials.
What This Crochet Project Is All About
This project builds a rectangular bag body shaped to resemble a cassette tape, complete with small detail work that mimics the tape’s window and reel design. It’s worked mostly in straightforward rows, with the fun coming from the shaping and finishing touches rather than complicated stitch combinations.
It’s a great easy crochet project for makers who enjoy shape-based designs and want a quick, satisfying build that results in something wearable and eye-catching.
Time Box for This Project
- Bag body panels: 1-1.5 hours
- Detail work (window and reel shapes): 45 minutes to 1 hour
- Strap and assembly: 30-40 minutes
- Finishing touches: 20-30 minutes
Total time: roughly 3 hours, depending on your crochet speed and the level of detail you add.
Required Materials and Supplies
Before starting, gather everything listed below so the project moves along without interruption.
Yarn Type
- Worsted weight cotton or acrylic yarn for structure
- A main body color plus one or two contrast colors for the tape detailing
Hook Size
- 4mm to 4.5mm hook, adjusted based on your yarn weight and tension
Extra Tools
- Yarn needle for seaming and detail work
- Stitch markers
- Small piece of fabric or foam for structure (optional)
- A button, zipper, or snap closure for the bag opening
Crochet Stitches and Abbreviations Used
- Ch – Chain
- Sc – Single crochet
- Dc – Double crochet
- Sl st – Slip stitch
- Inc – Increase
- Dec – Decrease
- Rep – Repeat
Step-by-Step Crochet Instructions
Step 1: Chain the Base Rectangle
Chain a length matching your desired bag width, then work single crochet rows back and forth until you reach your target height for the front panel.
Step 2: Repeat for the Back Panel
Crochet a second rectangle matching the first exactly, since both panels need to line up when joined together later.
Step 3: Add the Cassette Window Detail
Using a contrast color, crochet a small rectangle or two smaller shapes to represent the tape’s window, then attach it to the front panel using your yarn needle.
Step 4: Crochet the Reel Circles
Make two small circular motifs in a contrasting color to mimic the tape reels, then stitch them onto the window detail for a realistic touch.
Step 5: Add Line Details
Use a thin strand of yarn to embroider a few straight lines across the front panel, echoing the label lines found on a real cassette tape.
Step 6: Join the Front and Back Panels
Line up both rectangles and single crochet around three sides, leaving the top open for the bag opening.
Step 7: Attach the Strap
Chain a long length for your strap, then single crochet back across it for extra strength before attaching both ends to the top corners of the bag.
Step 8: Add the Closure and Finish
Sew on your chosen button, zipper, or snap closure, weave in all loose ends, and give the bag a light steam or block to help it hold its shape.
Personalization Ideas
Try Bold Retro Colors
Use classic black and clear-toned yarn shades to mimic an actual cassette tape look.
Add a Beaded Strap
Thread small beads onto your strap chain for extra sparkle and detail.
Personalize the Label Area
Leave a small blank space on the front panel to add an embroidered name or initial, just like a labeled cassette.
Helpful Beginner Tips
- Keep both body panels identical in row count so the bag sits evenly once joined.
- Work detail pieces separately, then attach them once the main panels are complete.
- Use a stiffer yarn or add fabric backing if you want the bag to hold its shape better.
- Try the strap length against your body before final attachment.
Common Mistakes and Solutions
Mistake: Front and back panels don’t match in size.
Solution: Count rows carefully on both panels rather than relying on visual comparison alone.
Mistake: Window and reel details look uneven.
Solution: Use a stitch marker to center each detail piece before sewing it in place.
Mistake: The bag loses its shape when filled
. Solution: Add a piece of fabric, foam, or cardboard inside for structure.
Mistake: Strap feels too thin or stretches easily.
Solution: Double up your yarn strand or add a row of single crochet along the strap chain for reinforcement.
Pattern Customization Ideas
- Make a mini keychain version using the same design at a smaller scale.
- Swap the classic black and clear color scheme for pastel or neon tones.
- Add a long crossbody strap instead of a short handle for a different carrying style.
- Try a zippered top instead of a button closure for a more secure bag.
Size and Color Suggestions
This pattern scales easily by adjusting your starting chain length and row count. For color choices:
- Classic black and clear tones for an authentic cassette look
- Pastel shades for a softer, playful version
- Bright primary colors for a bold statement piece
- Two-tone combinations mixing a solid body with a contrast window detail
FAQ Section
Is this pattern good for beginners?
Yes, since it mainly uses single crochet and basic shaping, with the detail work being the only slightly fiddly part.
What yarn works best for structure?
A sturdy worsted weight cotton or acrylic yarn holds its shape better than thinner or more delicate yarns.
Can I line the inside of the bag?
Yes, sewing in a fabric lining adds durability and helps keep small items from slipping through the stitches.
How do I keep the bag from sagging?
Adding a stiff interfacing, foam insert, or cardboard base helps the bag maintain its rectangular shape.
Can this be made without the cassette details?
Yes, the base rectangle shape works as a simple bag on its own if you’d rather skip the detail work.
Bonus Section: Styling Your Finished Bag
This little bag works well as a crossbody accessory over a simple outfit, adding a playful pop without overwhelming the look. Pair it with solid colors so the retro detailing stands out as the focal point.
Give This Retro Design a Try
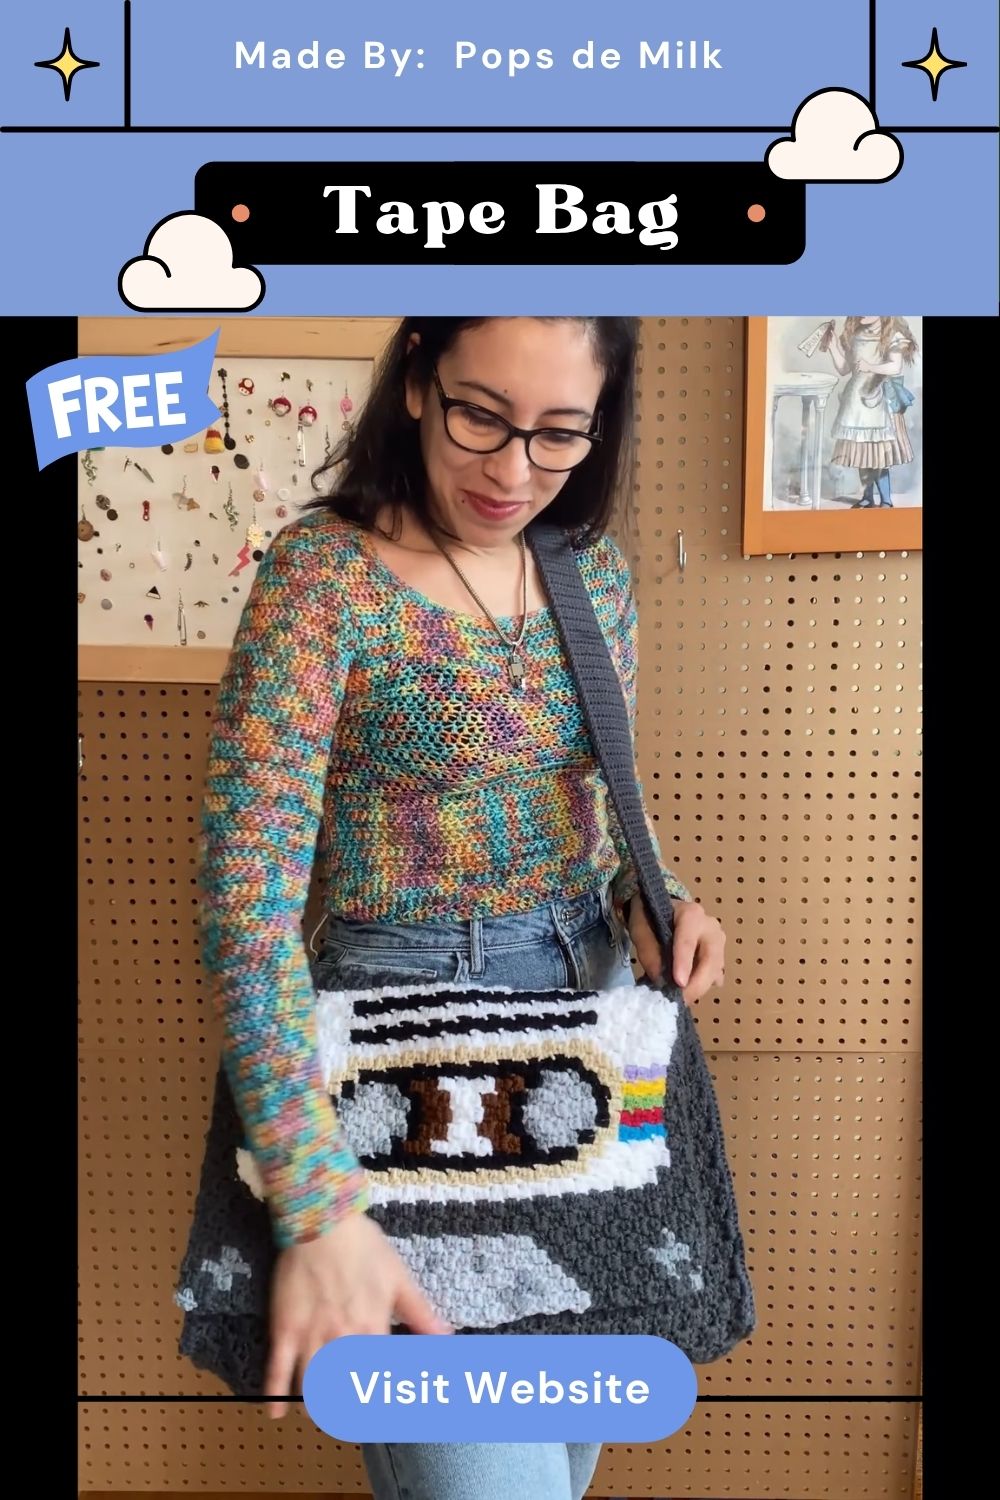
This crochet cassette tape bag brings a fun, nostalgic twist to a handmade accessory, proving that a simple shape and a bit of detail work can turn into something genuinely eye-catching. Follow along with the tutorial for the finer detailing steps, take your time with the window and reel shapes, and you’ll end up with a bag that’s as fun to make as it is to carry.
If you’re looking for more handmade crochet ideas with personality, this cassette tape bag is a fun addition to your next project list.