Easy Crochet Dress Pattern for Everyday Wear
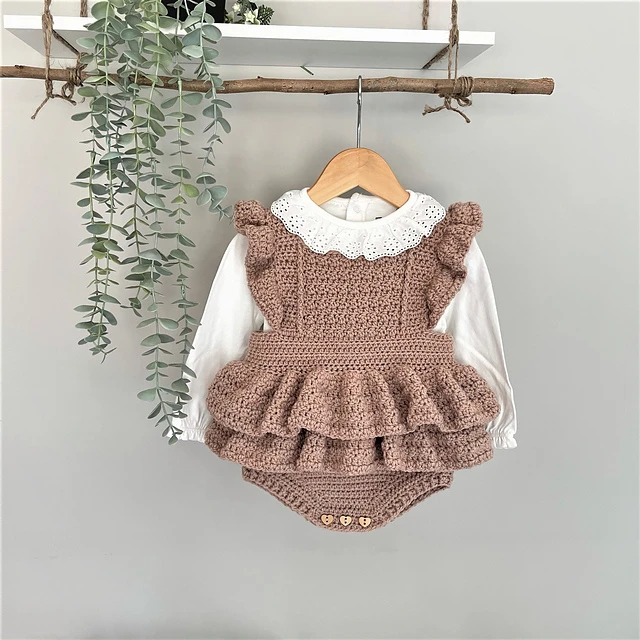
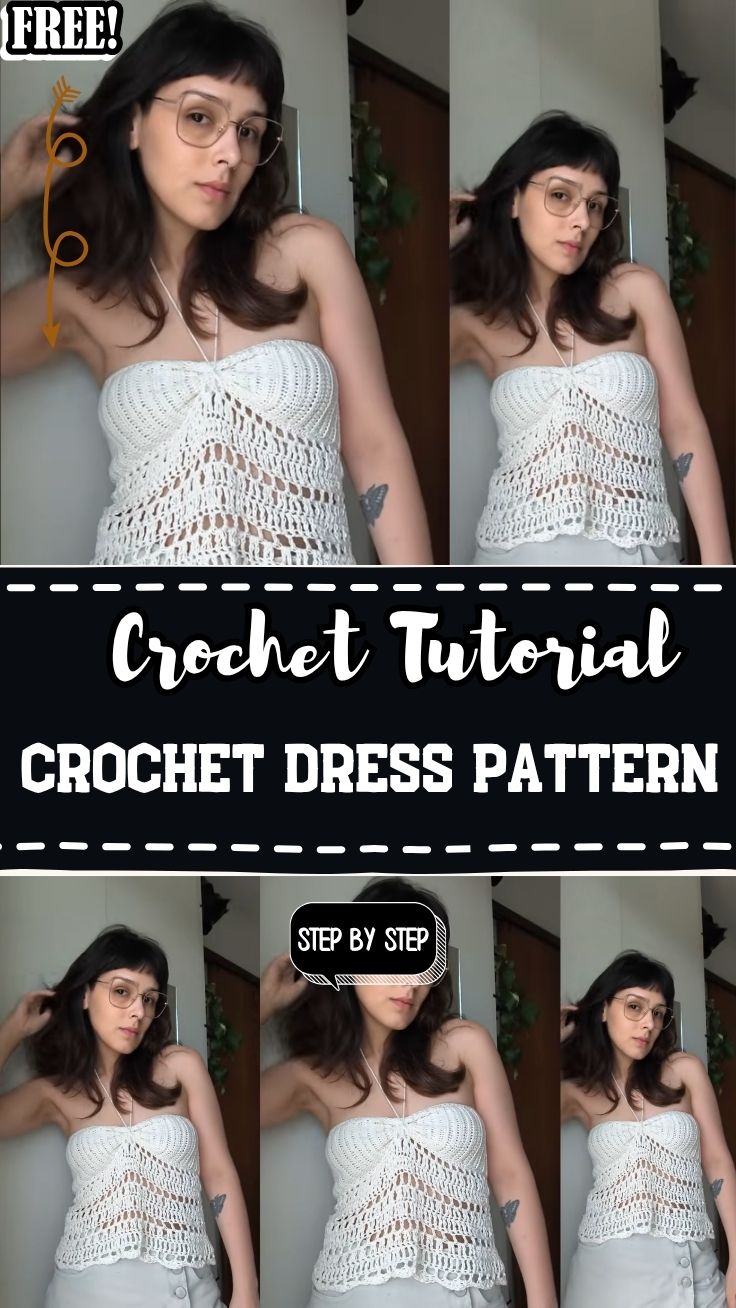
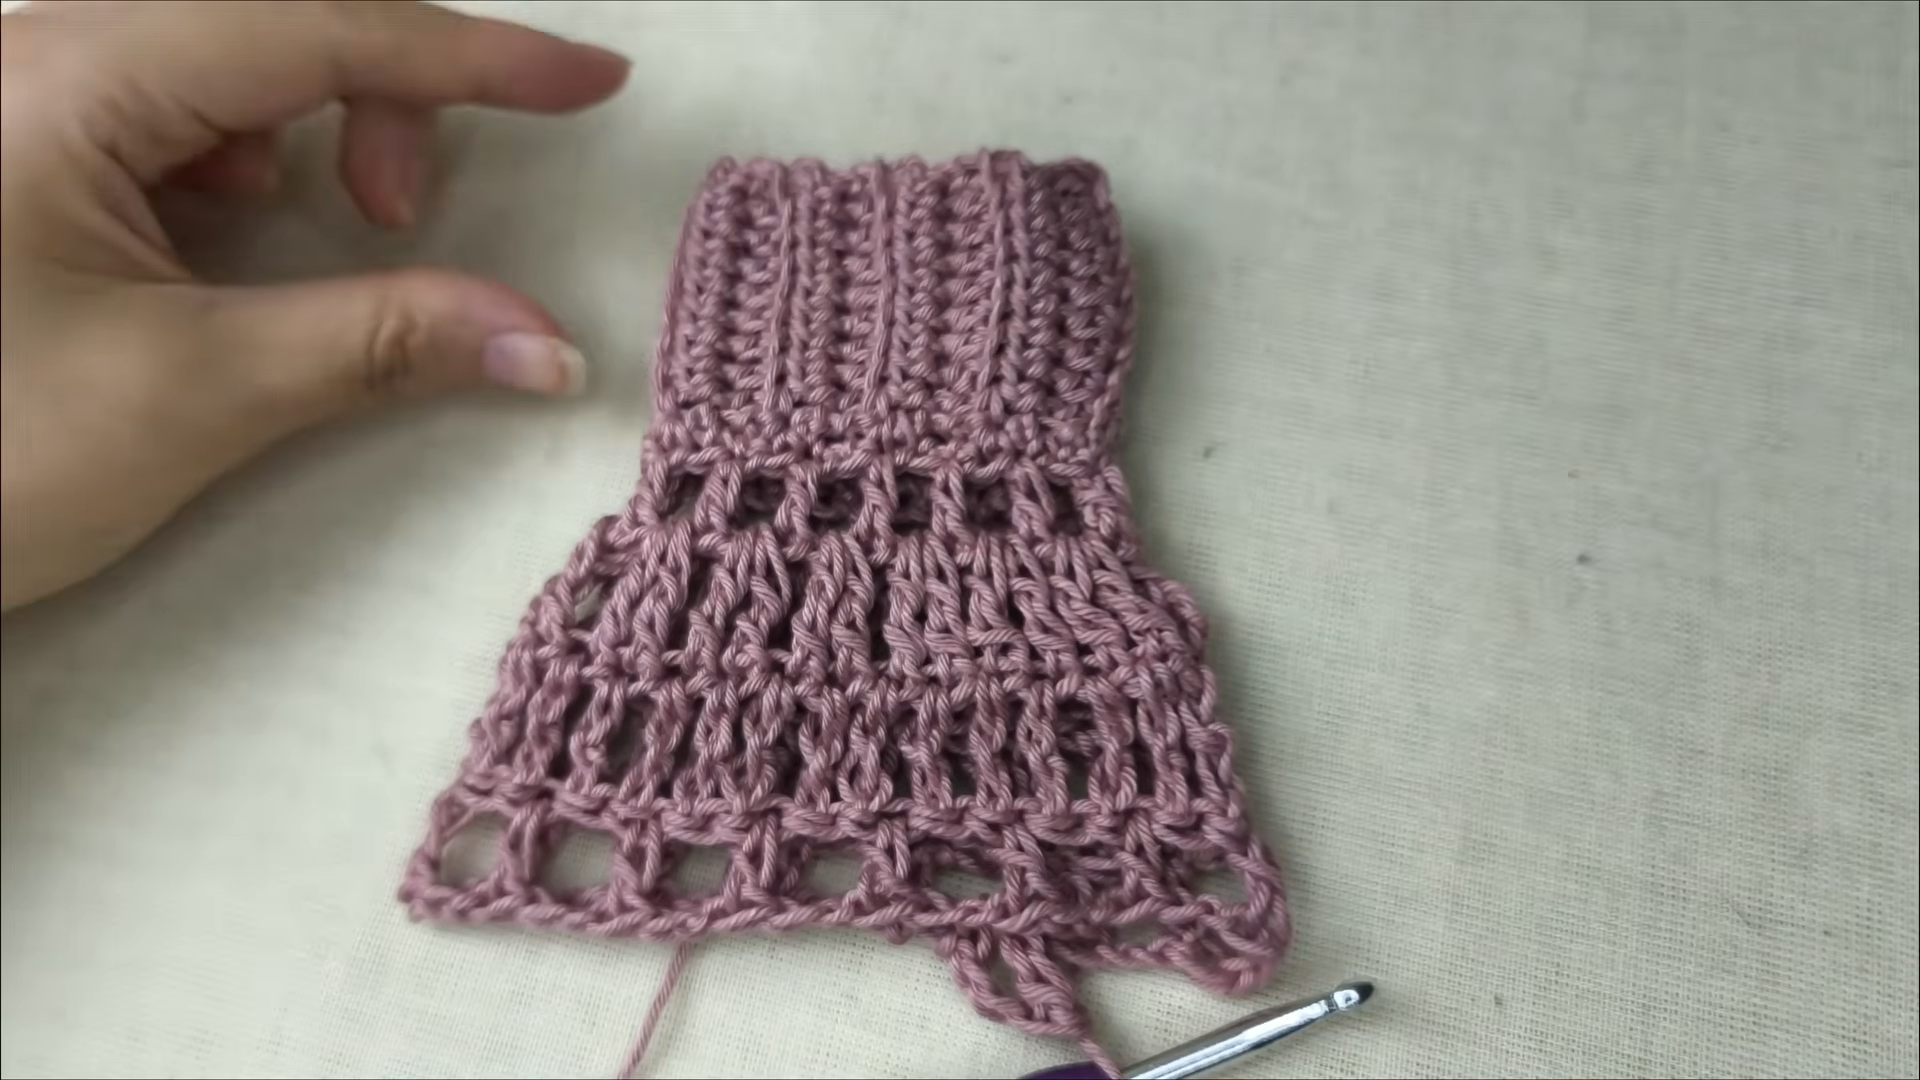
Dusty rose yarn flows from a snug ribbed bodice into a softly flared, lacy skirt in this Easy Crochet Dress Pattern for Everyday Wear, creating a piece that feels equally suited to casual days and slightly dressier occasions. A gentle transition from dense texture up top to open, airy stitchwork below gives this crochet dress pattern a beautifully balanced silhouette from neckline to hem.
Tightly worked ribbed rows shape a fitted bodice through the upper body, while the stitch pattern gradually opens into a breezy lace-style skirt that flares gently outward. That shift in texture creates real visual interest without requiring separate panels or complicated seaming, since the entire piece grows as one continuous garment. Anyone searching for a genuinely wearable handmade crochet dress that transitions easily from daytime errands to a casual dinner will appreciate how naturally this design comes together.
About This Crochet Pattern
A dense, ribbed body forms the fitted upper portion of this dress, worked in rows before the stitch pattern opens into a looser, lacier texture through the skirt section. That gradual shift from structured to flowing fabric gives the finished dress a flattering shape without needing separate bodice and skirt pieces sewn together.
Skill level sits in the beginner-to-intermediate range, mainly because garment shaping and the stitch pattern transition both require a bit more planning than a flat accessory. None of the individual techniques feel especially advanced, though sizing this piece correctly benefits from careful measuring throughout the project.
Project Details
- Skill Level: Beginner to Intermediate
- Finished Size: Customizable (recommend measuring bust, waist, hip, and desired length before starting)
- Estimated Time Required: 7 to 10 hours
- Recommended Yarn Weight: DK weight cotton yarn
- Crochet Hook Size: 3.5mm to 4.0mm
Materials Needed
- DK weight cotton yarn in your chosen color
- Crochet hook (3.5mm–4.0mm)
- Tapestry needle
- Stitch markers
- Scissors
- Measuring tape
Crochet Stitches & Techniques
- Chain Stitch (ch): Forms the foundation row for the dress body.
- Single Crochet (sc): Builds the dense, ribbed texture of the bodice.
- Double Crochet (dc): Forms the taller, looser stitches used through the skirt section.
- Chain-Space Stitch: Creates the open, lacy texture across the lower half of the dress.
- Fastening Off: Secures the piece once the full garment is complete.
- Sewing Pieces Together: Joins the side seam and any strap or shoulder details.
Only these core techniques appear throughout the pattern, keeping the project manageable despite its garment format and stitch pattern transition.
Pattern Instructions
Chaining the Foundation Row
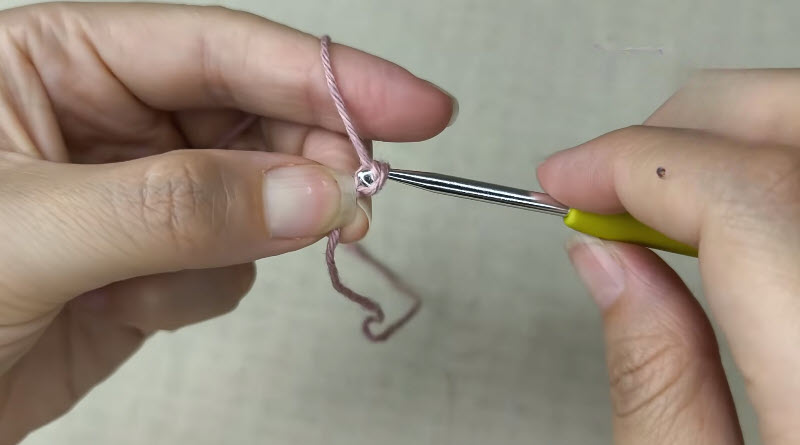
Chain a length matching your bust measurement plus a small amount of ease, checking the count against a well-fitting garment before moving forward. Getting this starting measurement right saves considerable rework later, since a finished bodice section is much harder to resize than an initial chain.
Building the Ribbed Bodice
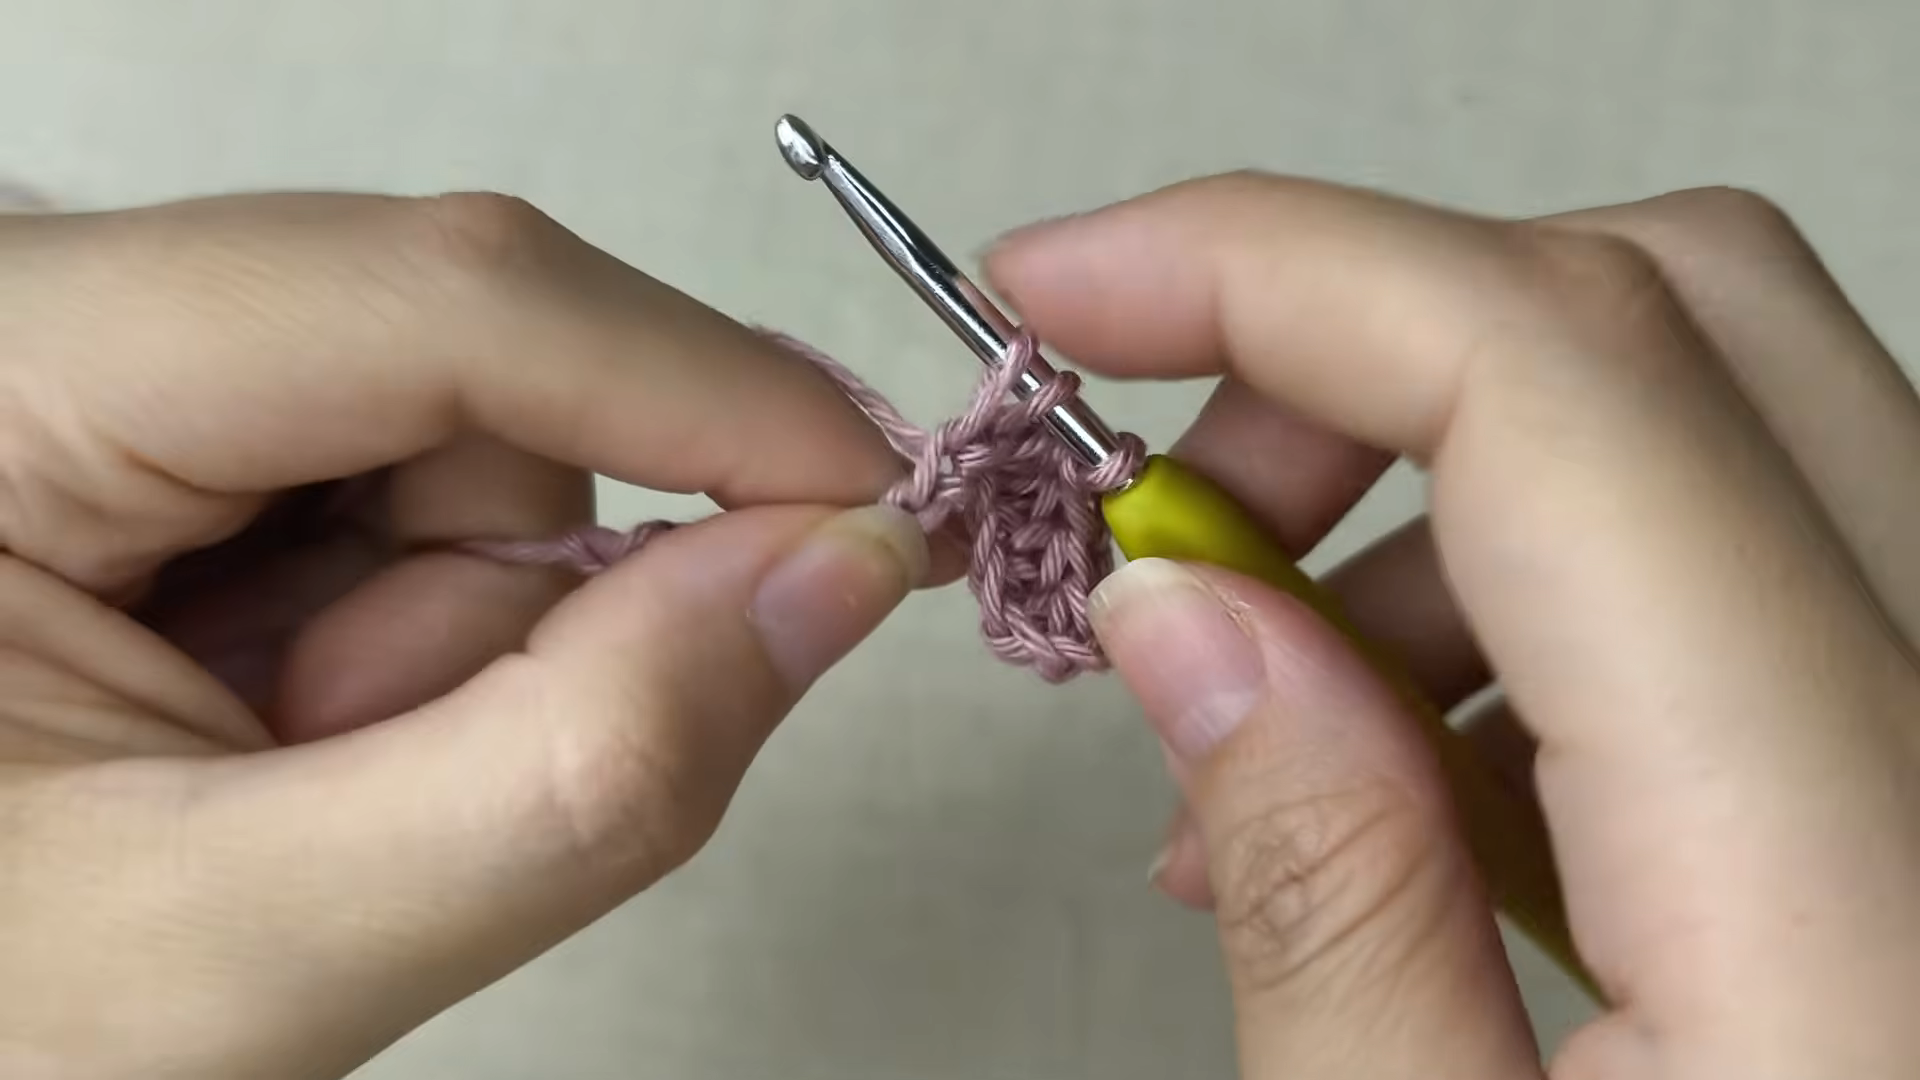
Work tight rows of single crochet across the full width, continuing until the piece reaches your natural waistline. Keep tension consistent through this section, since a snug, even texture here is what gives the finished dress its fitted, structured upper body.
Transitioning the Stitch Pattern
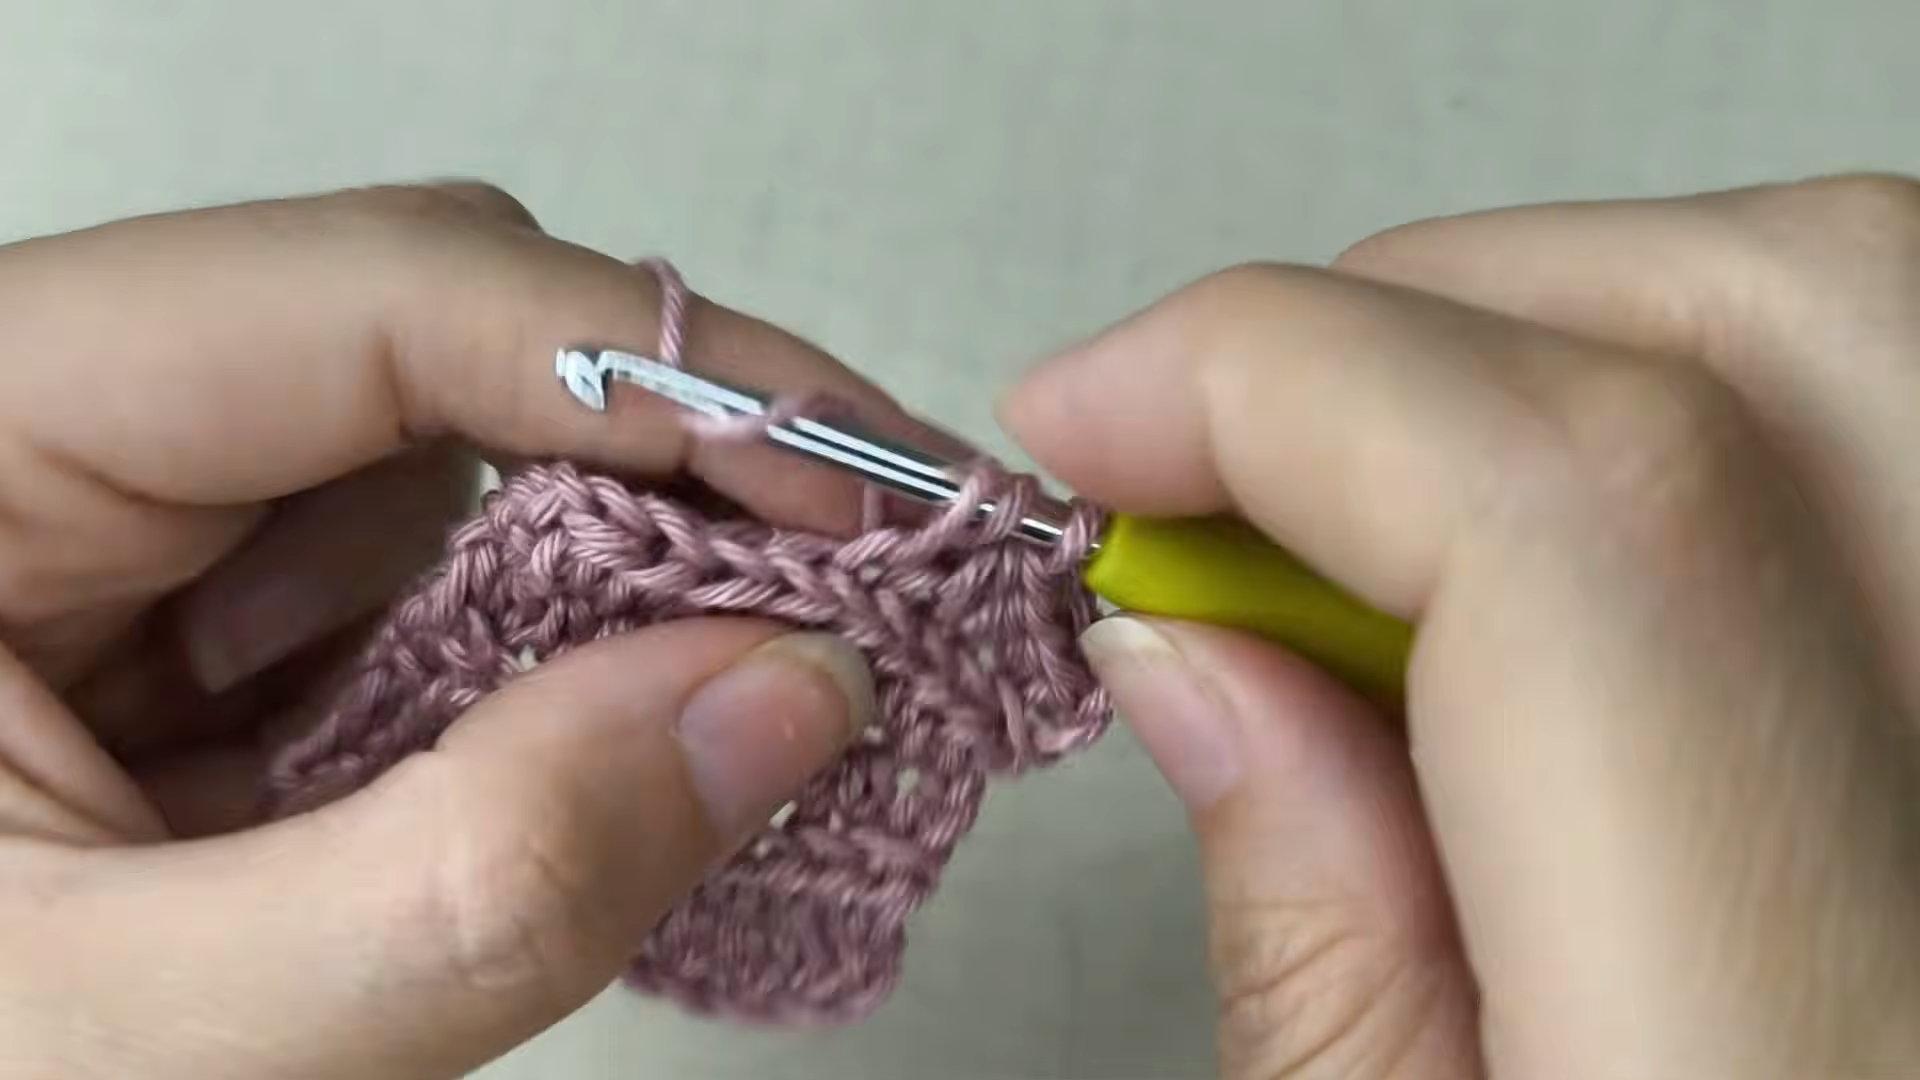
Begin introducing taller stitches and small chain spaces gradually as you move past the waistline, easing the fabric from dense ribbing into a more open, lacy texture. This transition doesn’t need to happen abruptly, since a gradual shift over a couple of rows creates a smoother, more natural-looking change.
Working the Lace Skirt Section
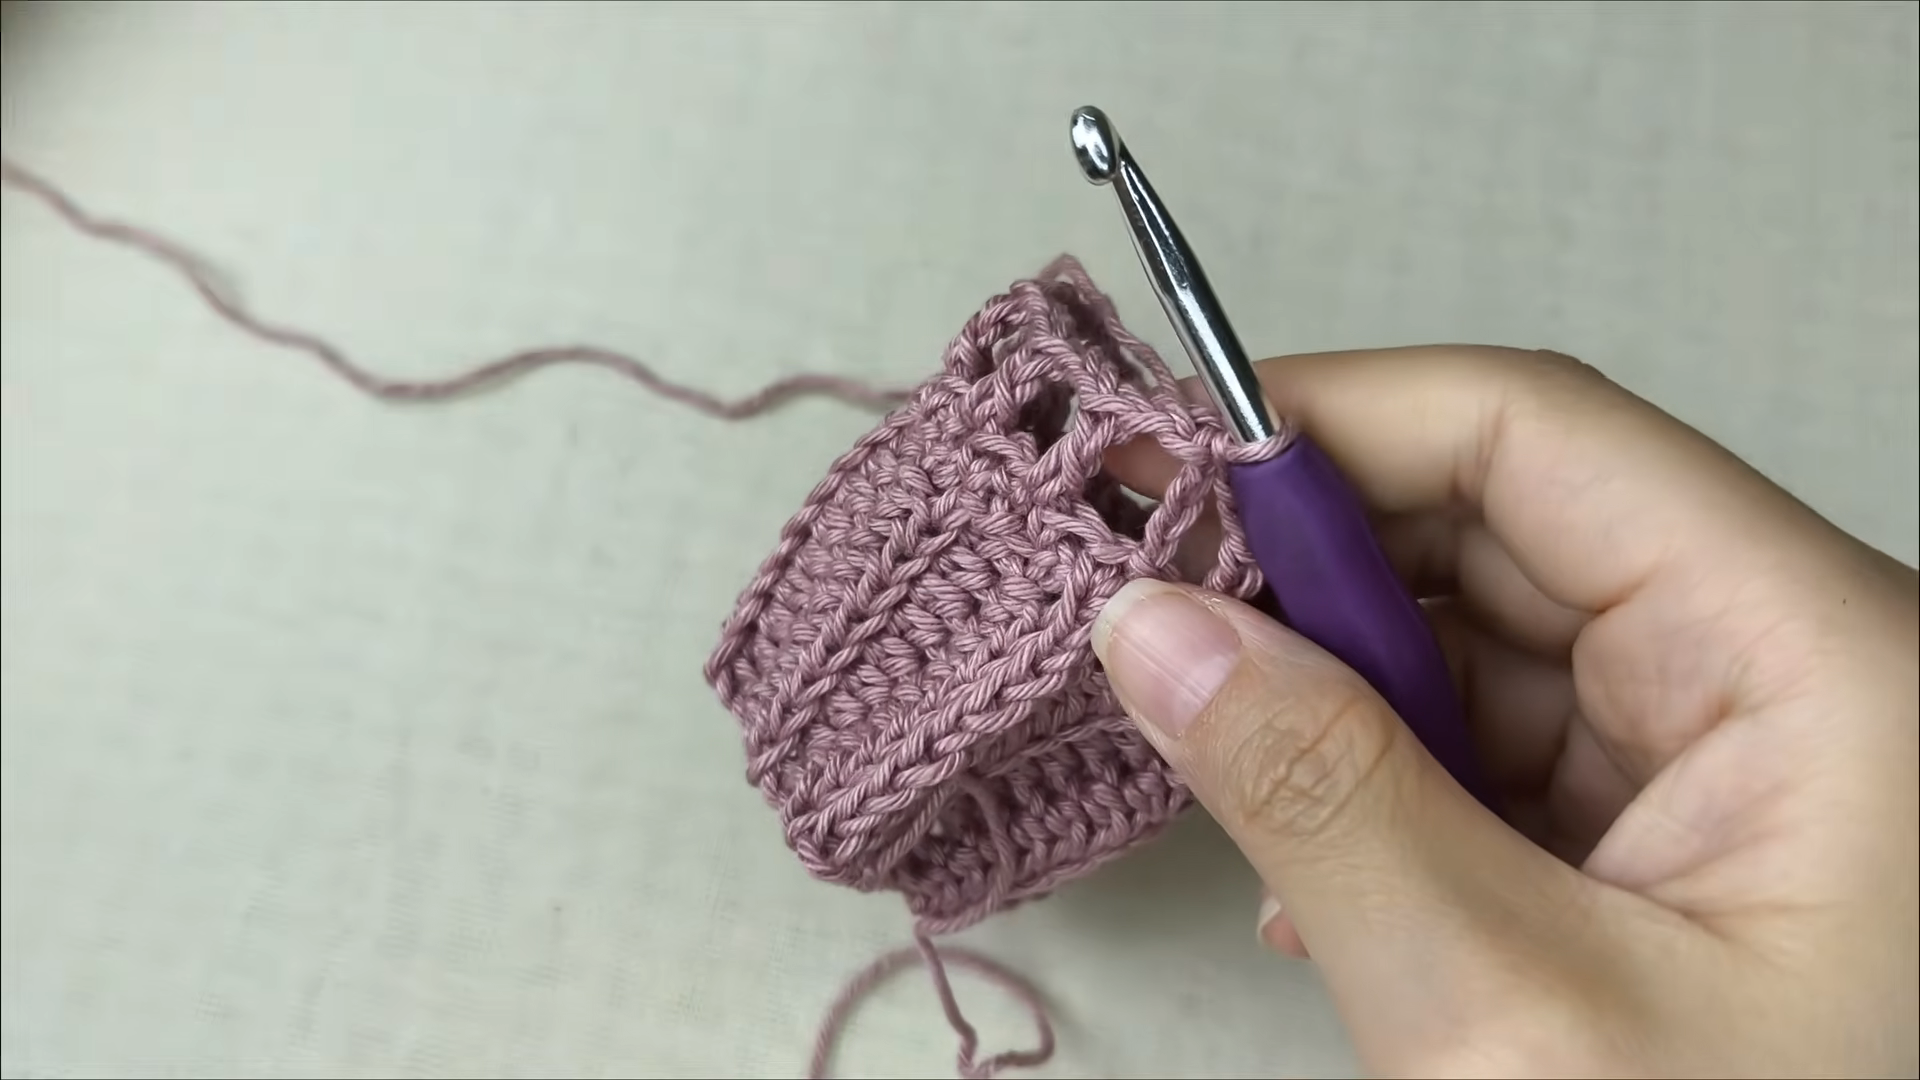
Continue building rows of double crochet and chain spaces, allowing the piece to widen gradually as it grows downward into a softly flared skirt shape. Work until the skirt reaches your desired dress length, keeping the increase pattern even so the flare stays balanced all the way around.
Shaping the Hem Edge
Finish the final row with a simple scalloped or picot border if you’d like extra detail along the bottom edge, or leave the lace pattern’s natural open edge as the finished hemline. Either approach works well, so choose based on the level of detail you prefer for the finished dress.
Joining the Side Seam
If working this dress in a single flat panel, fold the piece in half and join the side seam from hem to underarm, leaving the top open for the neckline and arms. Keep the seam tension even so the finished dress doesn’t pull or twist to one side once worn.
Adding Straps or Sleeves
Crochet simple straps or short sleeves if desired. Attach them securely to the top edge of the bodice. Keep the attachment points evenly spaced and mirrored on both sides. Try the dress on during this step if possible. Adjust the strap length or sleeve fit before securing them completely.
Final Assembly
Weave in every remaining loose end using a tapestry needle, checking the stitch pattern transition and side seam closely for any stray tails. Give the finished dress a light steam or block if any section looks uneven after assembly, paying particular attention to the lace skirt for consistent drape.
Tips for Success
- Measure bust, waist, hip, and length before chaining the foundation row.
- Keep the ribbed bodice tension tight and even for a properly fitted upper body.
- Ease the stitch pattern transition gradually over a couple of rows for a smoother visual shift.
- Try the dress on partway through assembly to catch fit issues while they’re easy to adjust.
- Block the finished lace skirt section to help the drape hang evenly.
Personalization Ideas
Color Variations
Swapping dusty rose for a deep jewel tone shifts this dress from casual daywear toward a dressier evening look.
Length Adjustments
Shortening the skirt section creates a flirty mini-dress version, while lengthening it moves toward a flowing maxi silhouette.
Sleeve Options
Adding fuller sleeves instead of simple straps changes the whole mood from sundress-casual to something more covered and cozy.
Trim Details
Adding a scalloped or picot border along the hem and neckline gives the finished dress a more polished, finished look.
Common Mistakes to Avoid
What yarn works best for a dress like this?
Cotton yarn holds its shape nicely and drapes well for garment work, making it a solid choice for both the fitted bodice and flowing skirt sections.
How do I know where to start the stitch pattern transition?
Measuring to your natural waistline while trying the piece on periodically helps identify the right point to begin shifting into the lace texture.
Is this Crochet Dress Pattern suitable for beginners?
The ribbed bodice section stays manageable for beginners, though the stitch pattern transition and overall garment shaping benefit from some prior crochet experience.
Can I make this dress without a stitch pattern transition?
Yes, working the entire piece in one consistent stitch pattern simplifies the project, though it loses the contrast between the fitted bodice and flared skirt.
How much yarn do I typically need for this project?
Amount varies significantly by size and dress length, but most versions use several skeins of DK weight cotton yarn.
Can I add pockets to this Crochet Dress Pattern?
Absolutely. Crocheting a simple pocket panel and sewing it onto the skirt section adds practical function to the finished garment.
What’s the best way to prevent the dress from stretching out of shape?
Choosing a sturdier yarn like cotton and blocking the finished piece helps it hold its shape and drape through regular wear.

Conclusion
A fitted bodice and airy, lacy skirt create a versatile silhouette. The design shows how one continuous crochet piece can feel stylish and wearable. You can wear it for everyday errands or dress it up for special occasions. The flattering fit adds to its appeal. Try the Crochet Dress Pattern and experiment with different colors or trim details. Then, share your finished dress with fellow crocheters who love practical and beautiful crochet projects.