Free Crochet Shell Stitch Bag Pattern to Try Today
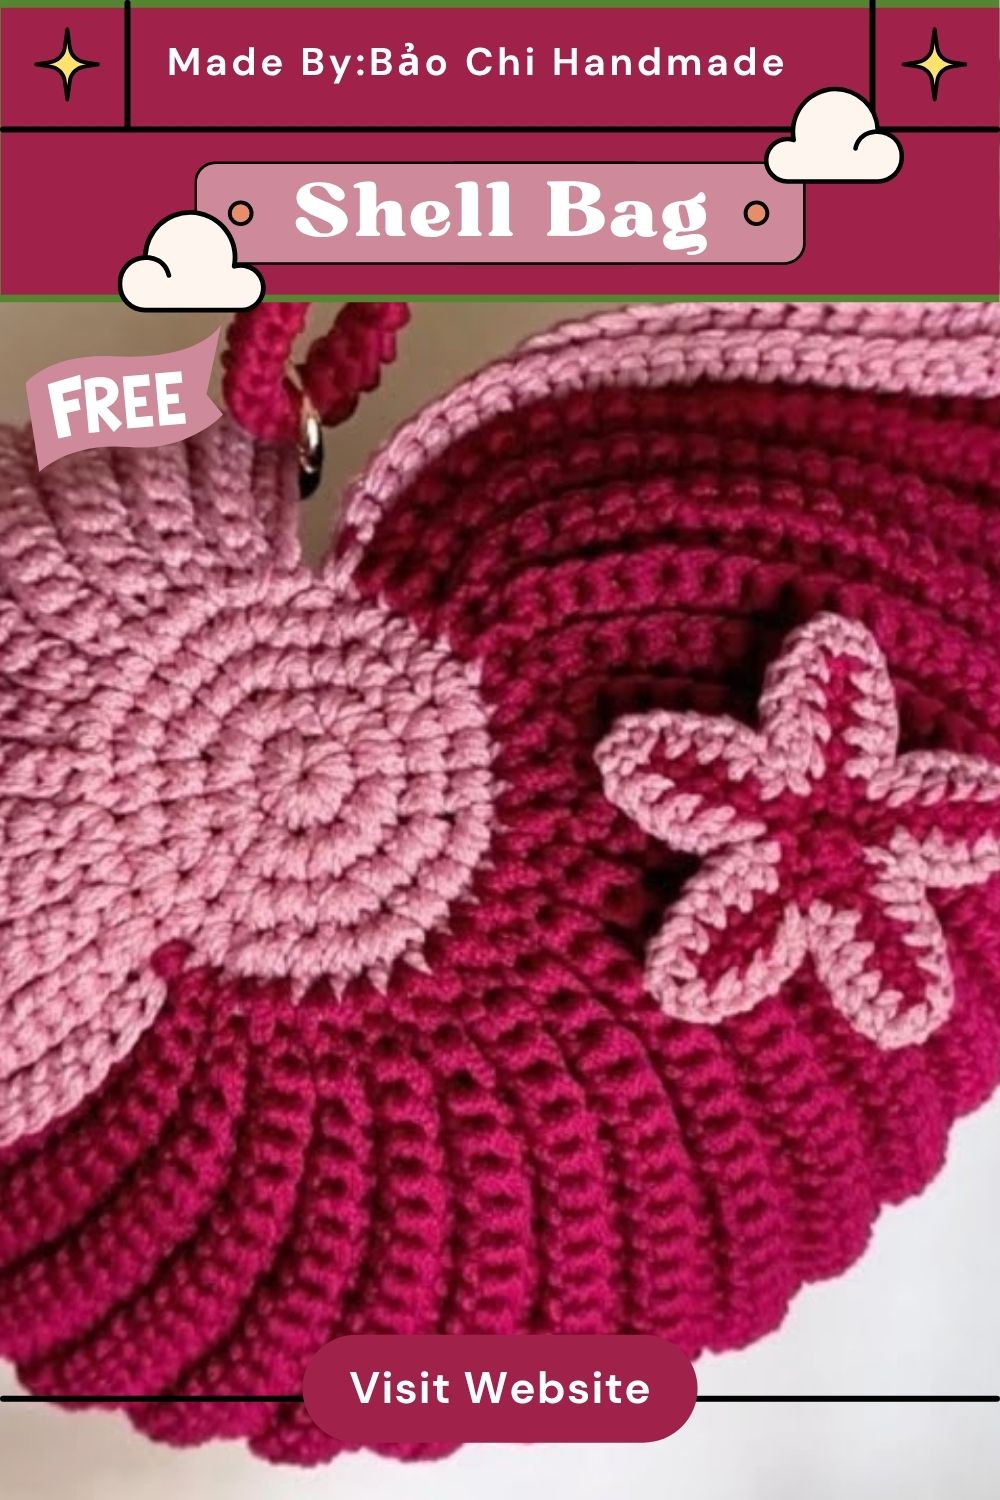
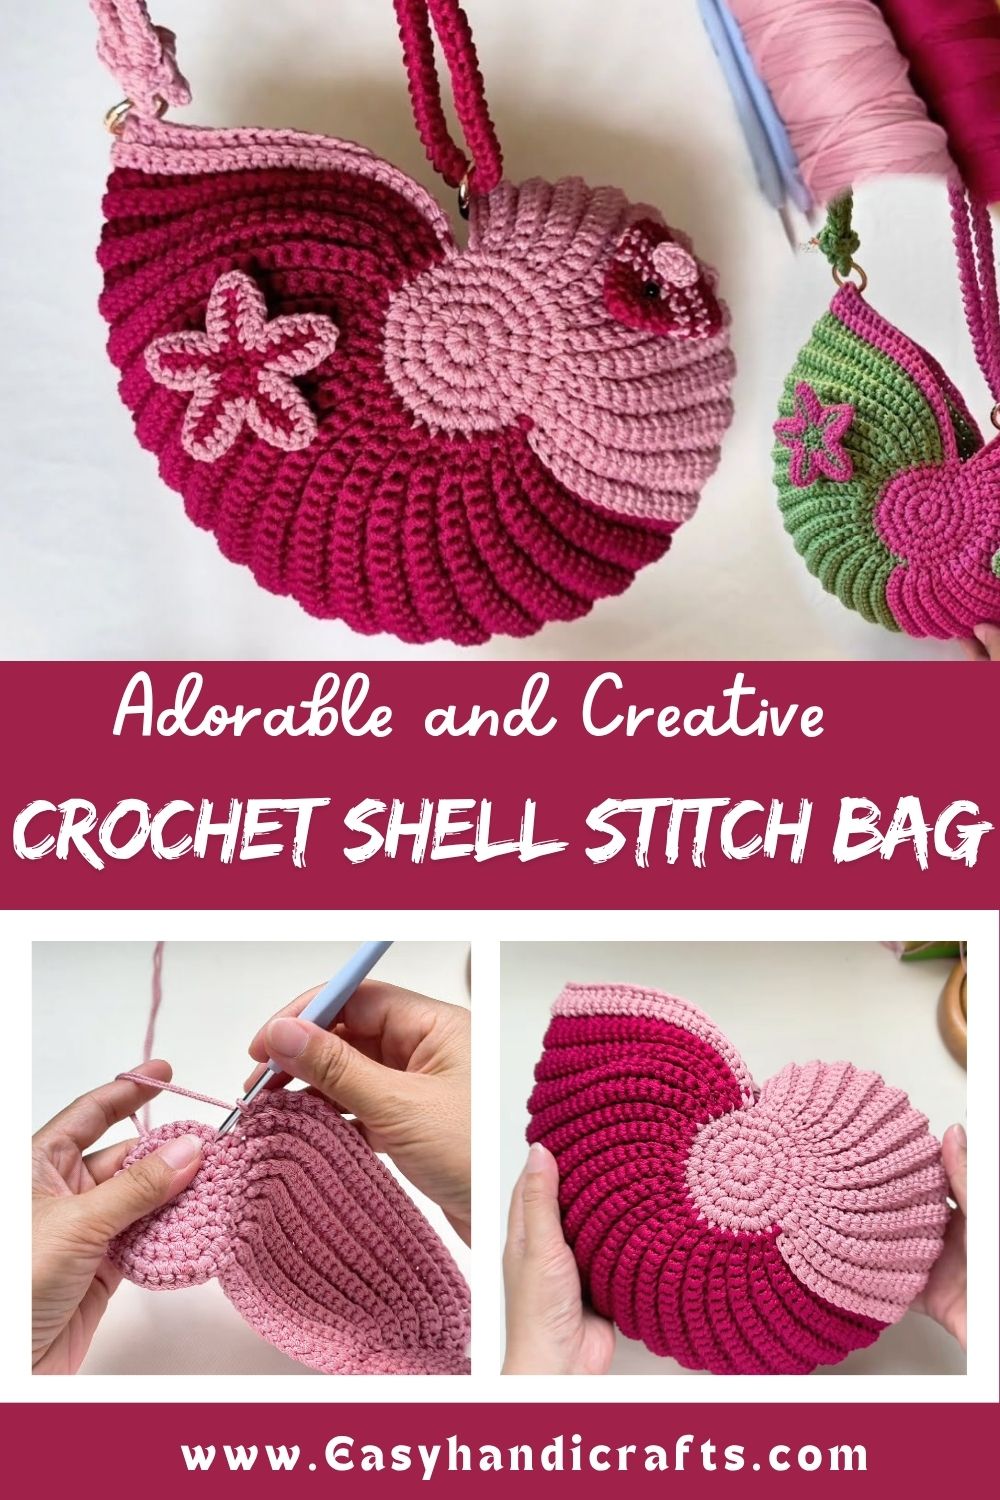
Layer after layer of shell stitches spiral outward from a tiny center point, gradually curving upward into a rounded bag shape. Two-tone yarn placement creates that eye-catching swirl effect, giving the piece a texture that feels almost sculptural rather than flat.
- Skill Level: Intermediate
- Finished Size: Approximately 8 to 10 inches in diameter (adjustable based on yarn weight and hook size)
- Estimated Time Required: 4 to 6 hours
- Recommended Yarn Weight: Medium worsted or cotton cord/T-shirt yarn
- Crochet Hook Size: 4mm to 5mm
Materials Needed
- Yarn in two contrasting colors (main color and accent color)
- Crochet hook (4mm–5mm)
- Tapestry needle
- Stitch markers
- Scissors
- Optional lining fabric (for added durability if using as a bag)
- Optional handle or strap hardware
Crochet Stitches and Techniques
- Magic Ring (MR): Creates the tight starting center for the spiral.
- Chain Stitch (ch): Forms the small gaps between shells.
- Slip Stitch (sl st): Connects shell groups smoothly.
- Double Crochet (dc): The main stitch used to build each shell.
- Increase (inc): Adds shells gradually to keep the spiral flat and expanding.
- Color Changes: Alternates between the two shades to create the spiral effect.
- Fastening Off: Secures the final round once the shape reaches the desired size.
Only these core techniques appear throughout the pattern, keeping the stitch count manageable despite the visually complex final look.
Pattern Instructions
Starting the Spiral Base
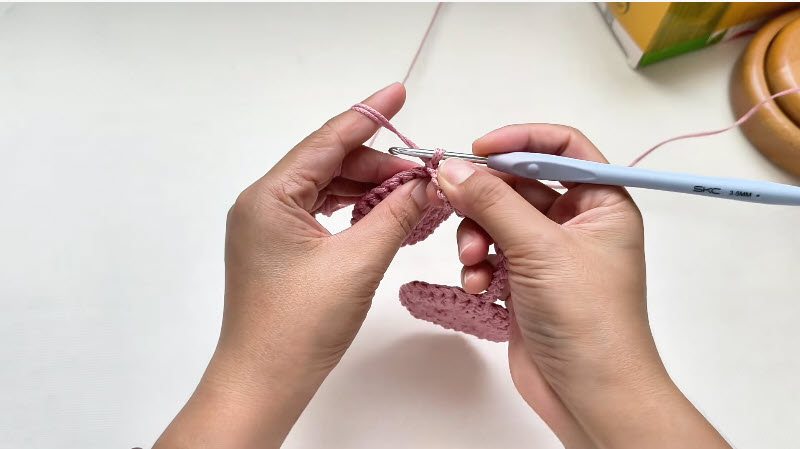
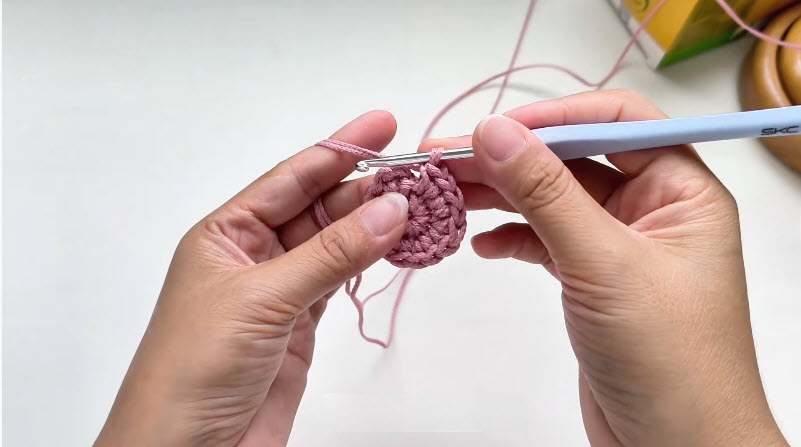
Form a magic ring using your first color and work a small group of double crochets into the center, followed by a chain space before repeating around. Pull the ring closed and count your shell groups carefully, since this first round sets the spacing for every round that follows.
Building the Shell Rounds
Continue working shell groups into the chain spaces of the previous round, increasing shell count gradually so the piece lies flat rather than cupping or ruffling. Switch colors every round or every few rounds depending on your desired spiral width, carrying the unused yarn along the back of the work to avoid extra ends.
Shaping the Bowl
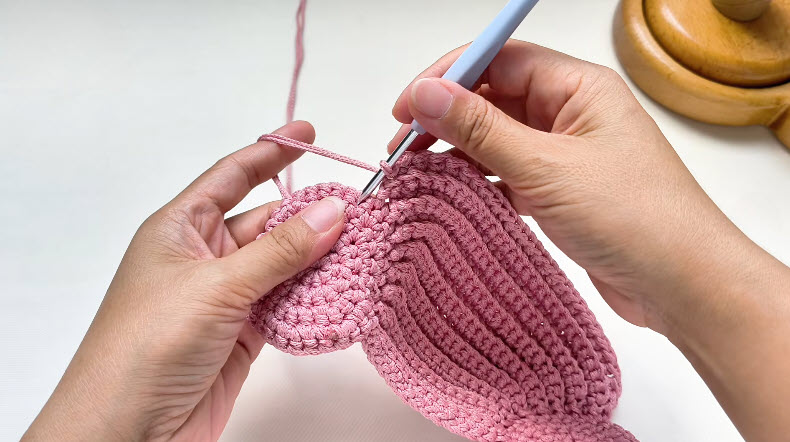
Once the flat spiral reaches your target diameter, stop increasing and begin working shell rounds evenly to curve the fabric upward into a bowl or bag shape. Watch the tension here, since working too tightly flattens the curve while working too loosely causes the sides to flare outward.
Finishing the Rim
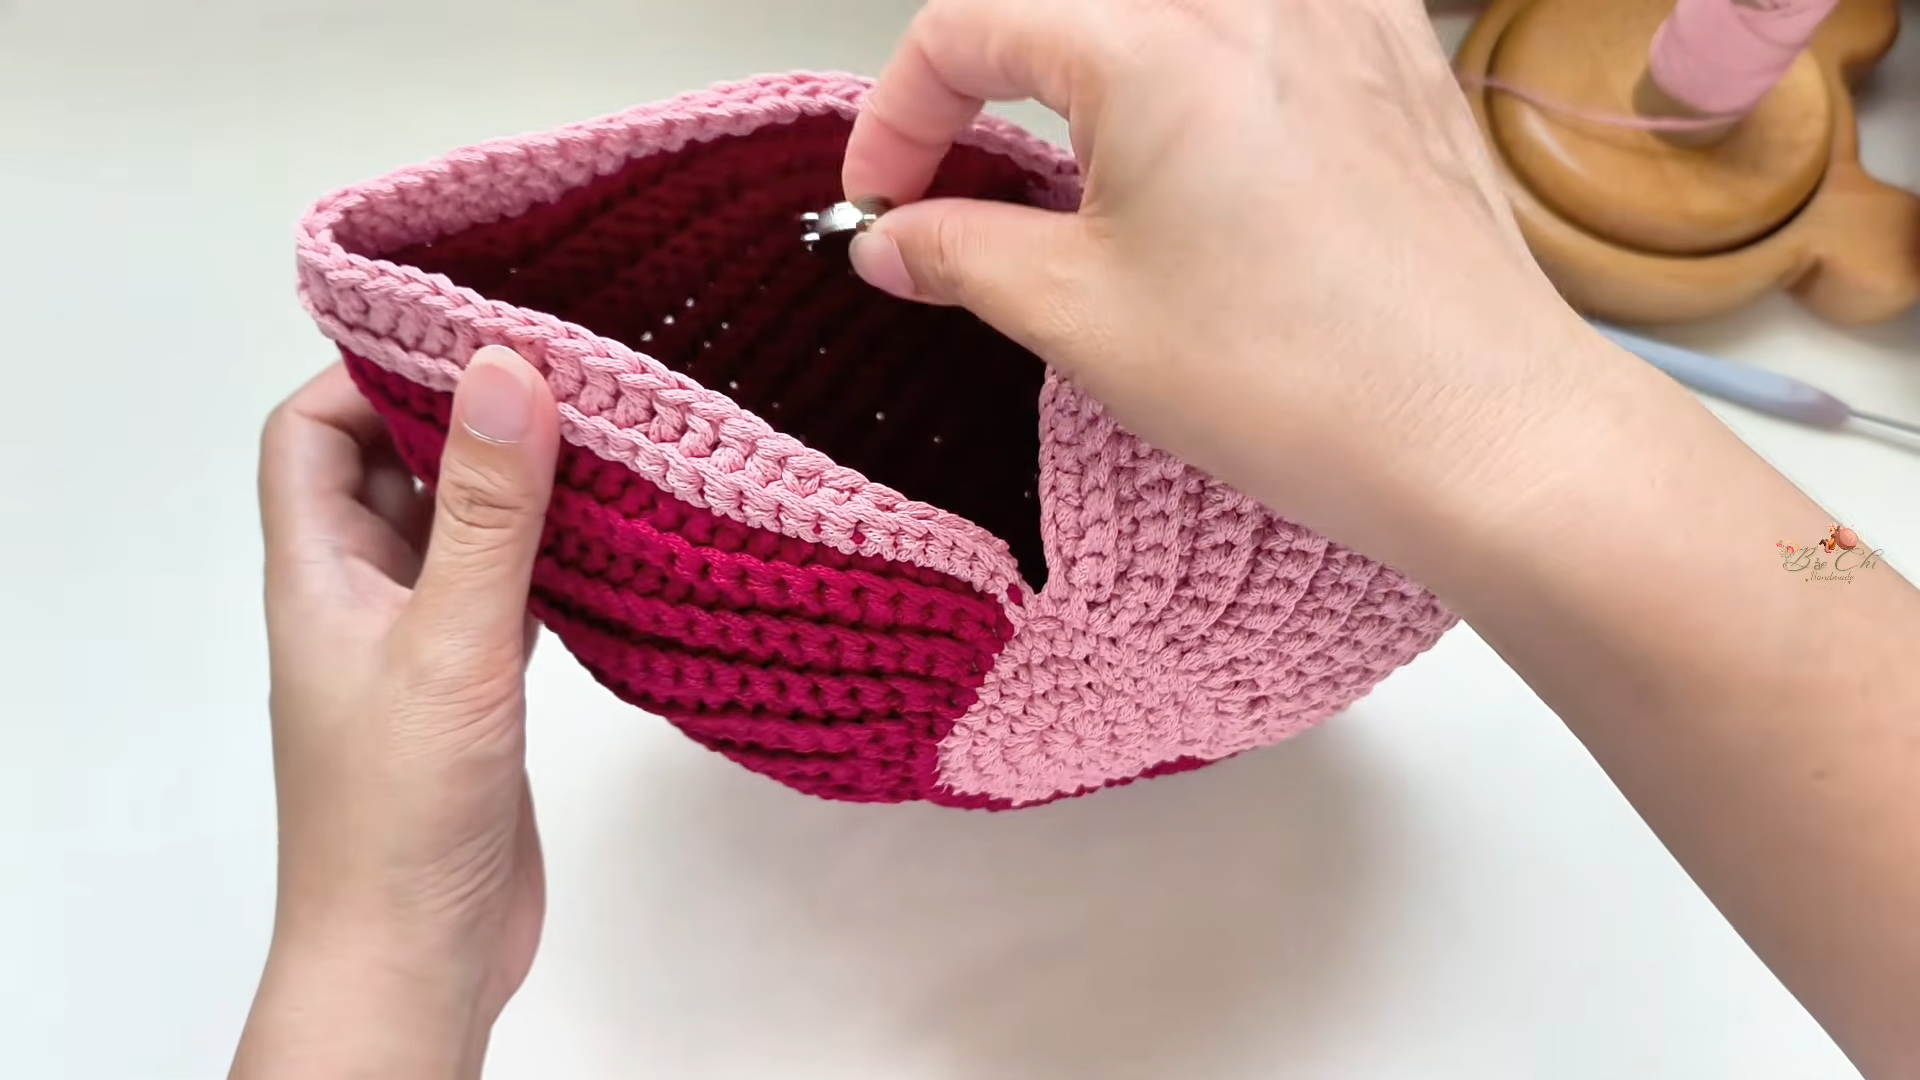
Work a clean round of single crochet or slip stitch around the top opening to give the rim a neat, finished edge. This round also strengthens the opening if the bag will be used to carry items rather than displayed as a decorative bowl.
Attaching a Handle
If turning the spiral into a bag, chain a length long enough for a comfortable handle and single crochet back along it for added thickness. Sew both ends securely to opposite sides of the rim, checking that the handle sits evenly before weaving in the final tails.
Final Assembly
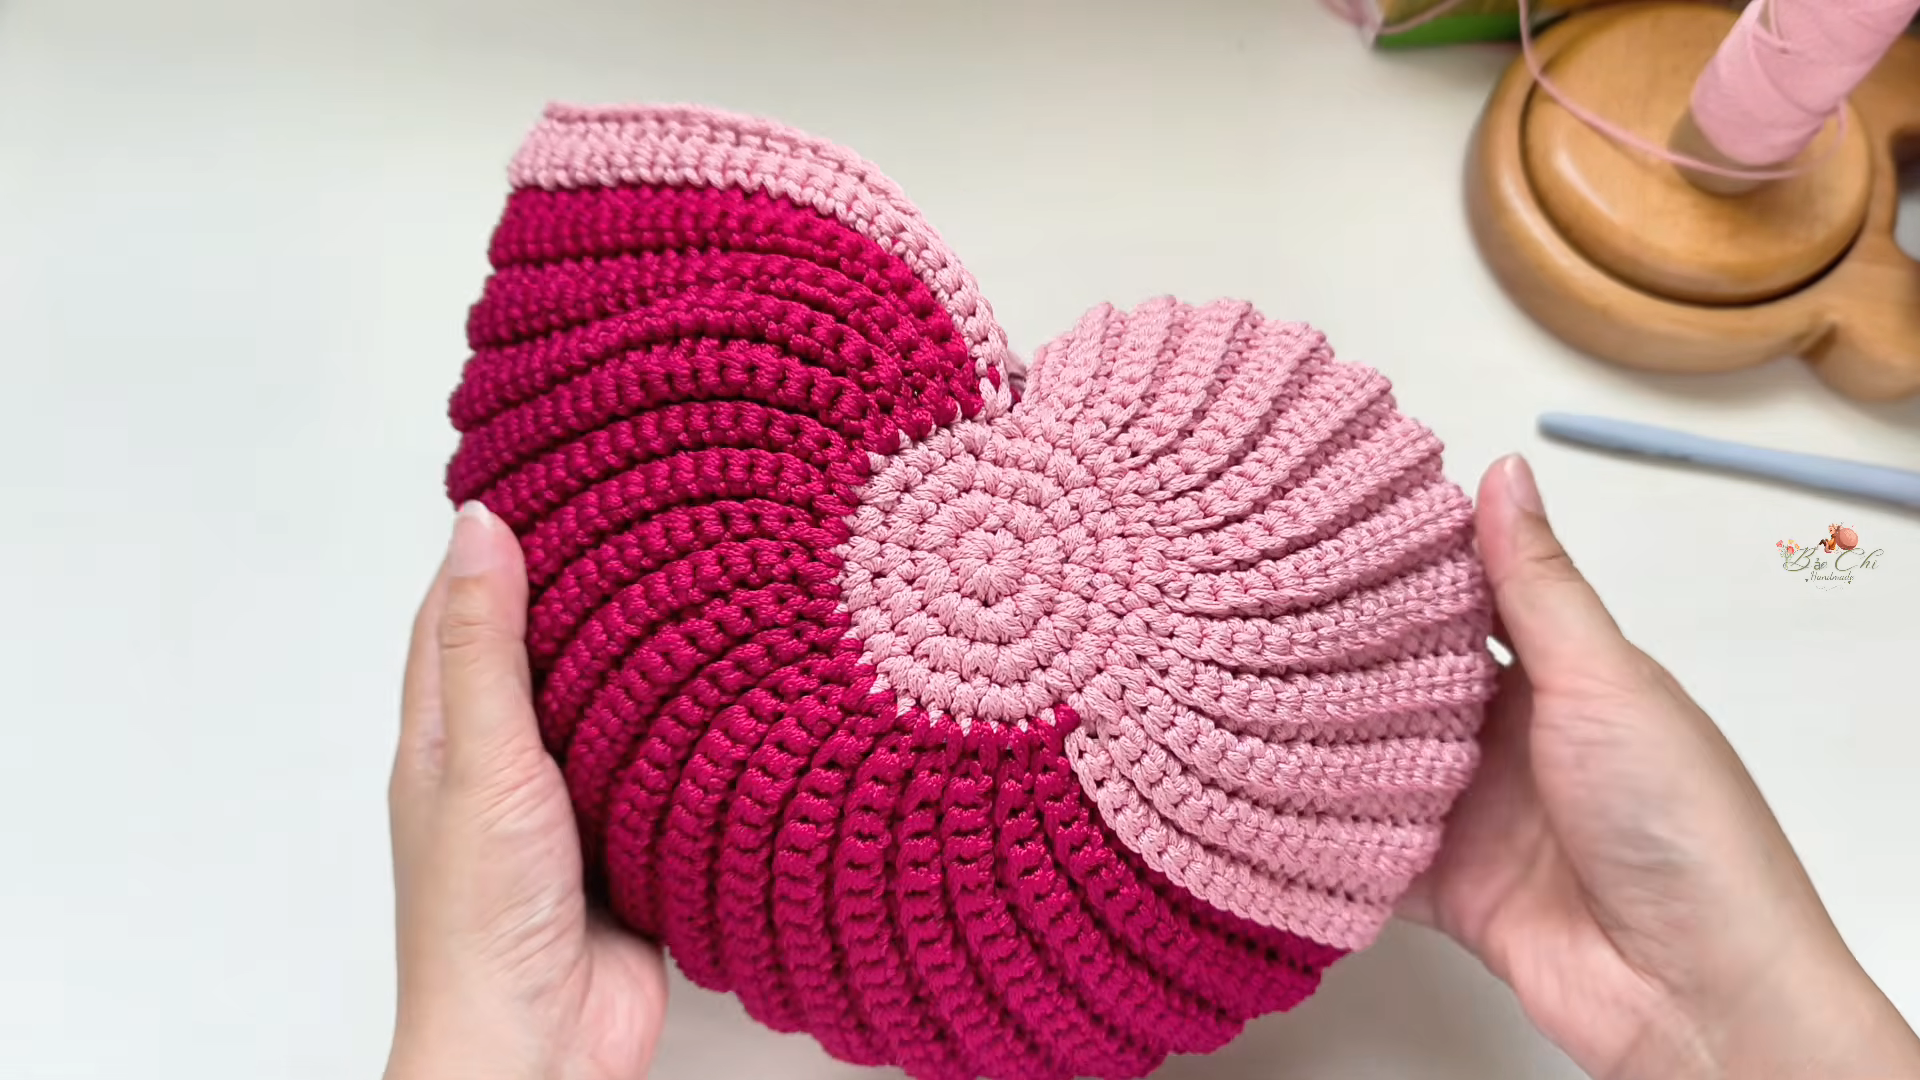
Weave in every loose end from the color changes using a tapestry needle, tucking them along the wrong side of the spiral pattern where they stay hidden. Steam or block the piece lightly if any rounds look uneven, which helps the spiral lie smoothly against itself.
Tips for Success
- Keep a consistent shell count per round to prevent the spiral from twisting unevenly.
- Carry your unused color loosely along the back so tension stays even across color changes.
- Mark the beginning of each round, since spiral patterns have no clear stopping point otherwise.
- Block the finished piece to help the shells sit flat and symmetrical.
- Weave color-change tails in as you go rather than leaving them all for the end.
Personalization Ideas
Three or more colors instead of two create an even bolder spiral effect for makers who enjoy experimenting with palettes. A smaller hook and thread-weight yarn can shrink the pattern into a decorative coaster or small trinket dish. Chunky yarn and a larger hook can turn it into an oversized statement bag. Adding a zipper along the rim gives the finished piece a more secure closure for everyday use. A crossbody strap instead of a short handle can also turn it into a completely different wearable accessory.
Common Mistakes to Avoid
Frequently Asked Questions
What yarn type works best for this bag?
Cotton or cotton-blend yarn holds shape well and gives the shell texture nice definition, though T-shirt yarn also works beautifully for a sturdier, bag-like result.
Can I use more than two colors?
Yes, adding extra shades only changes the color sequence, not the stitch pattern itself, so feel free to experiment with a multi-color spiral.
Why does my spiral look uneven?
Inconsistent shell counts or tension changes between rounds usually cause this. Counting stitches at the start of each round prevents most spiral shifting.
Is this pattern beginner-friendly?
It works best for crocheters who already feel comfortable with basic stitches and simple color changes, since tracking the spiral takes a bit of practice.
How do I keep the bag from stretching out of shape?
Adding a fabric lining or working with a firmer yarn like cotton helps the finished bag hold its shape under everyday use.
Can this pattern be made without a handle?
Certainly. Skipping the handle turns it into a decorative bowl or catch-all dish instead of a wearable bag.
How many rounds does the spiral usually take?
Round count varies by yarn weight and desired size, but most versions finish somewhere between fifteen and twenty-five rounds total.