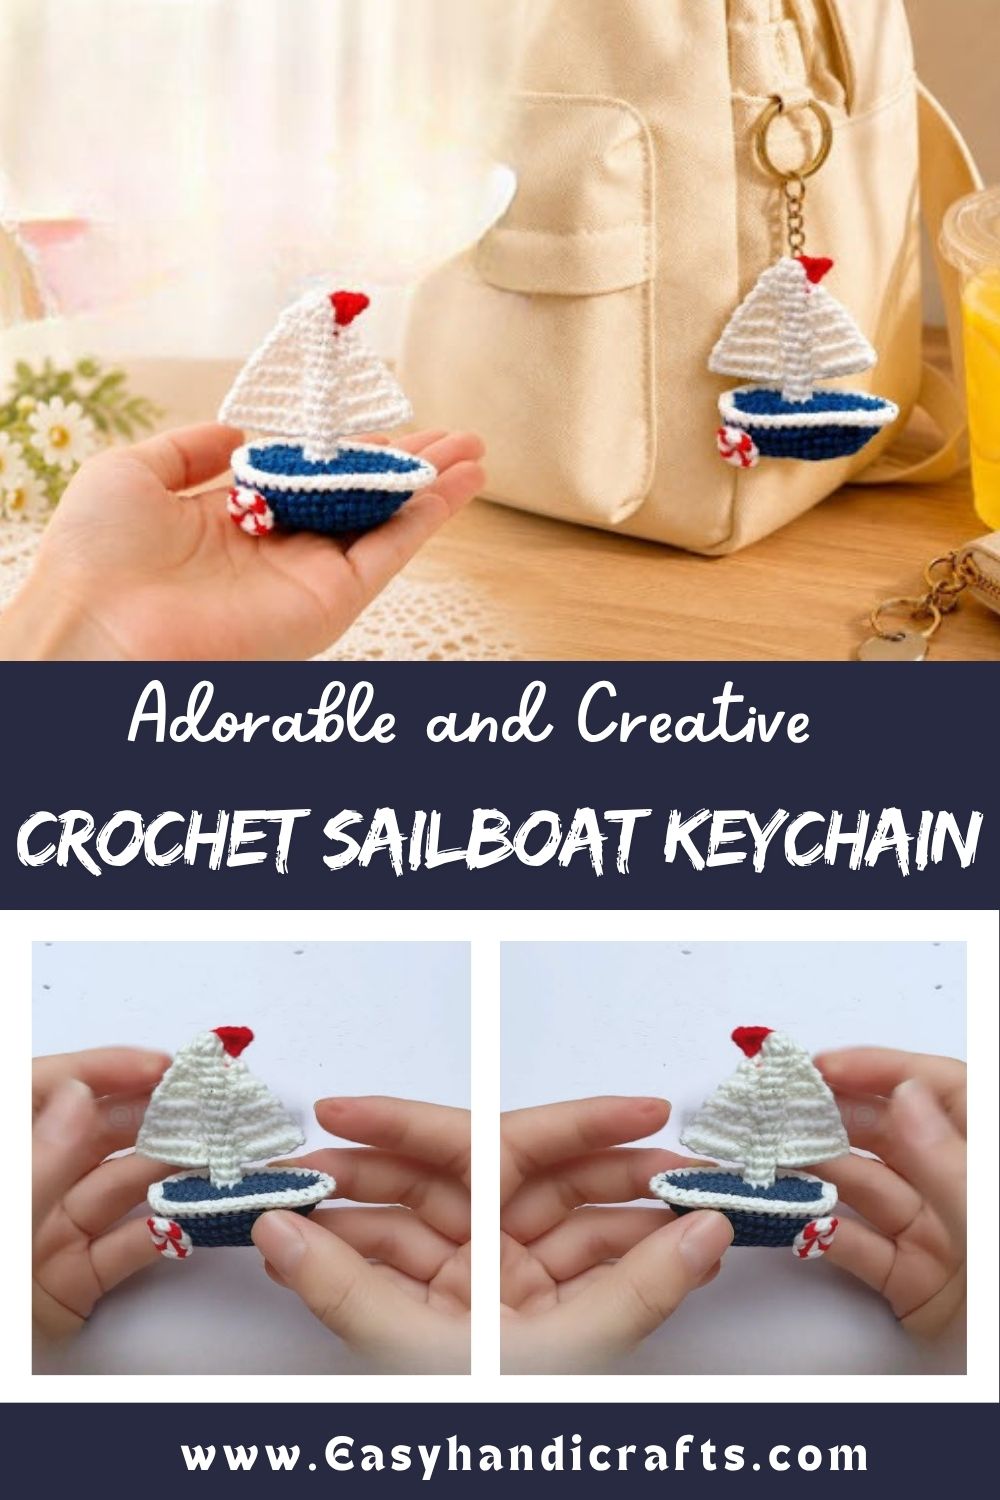
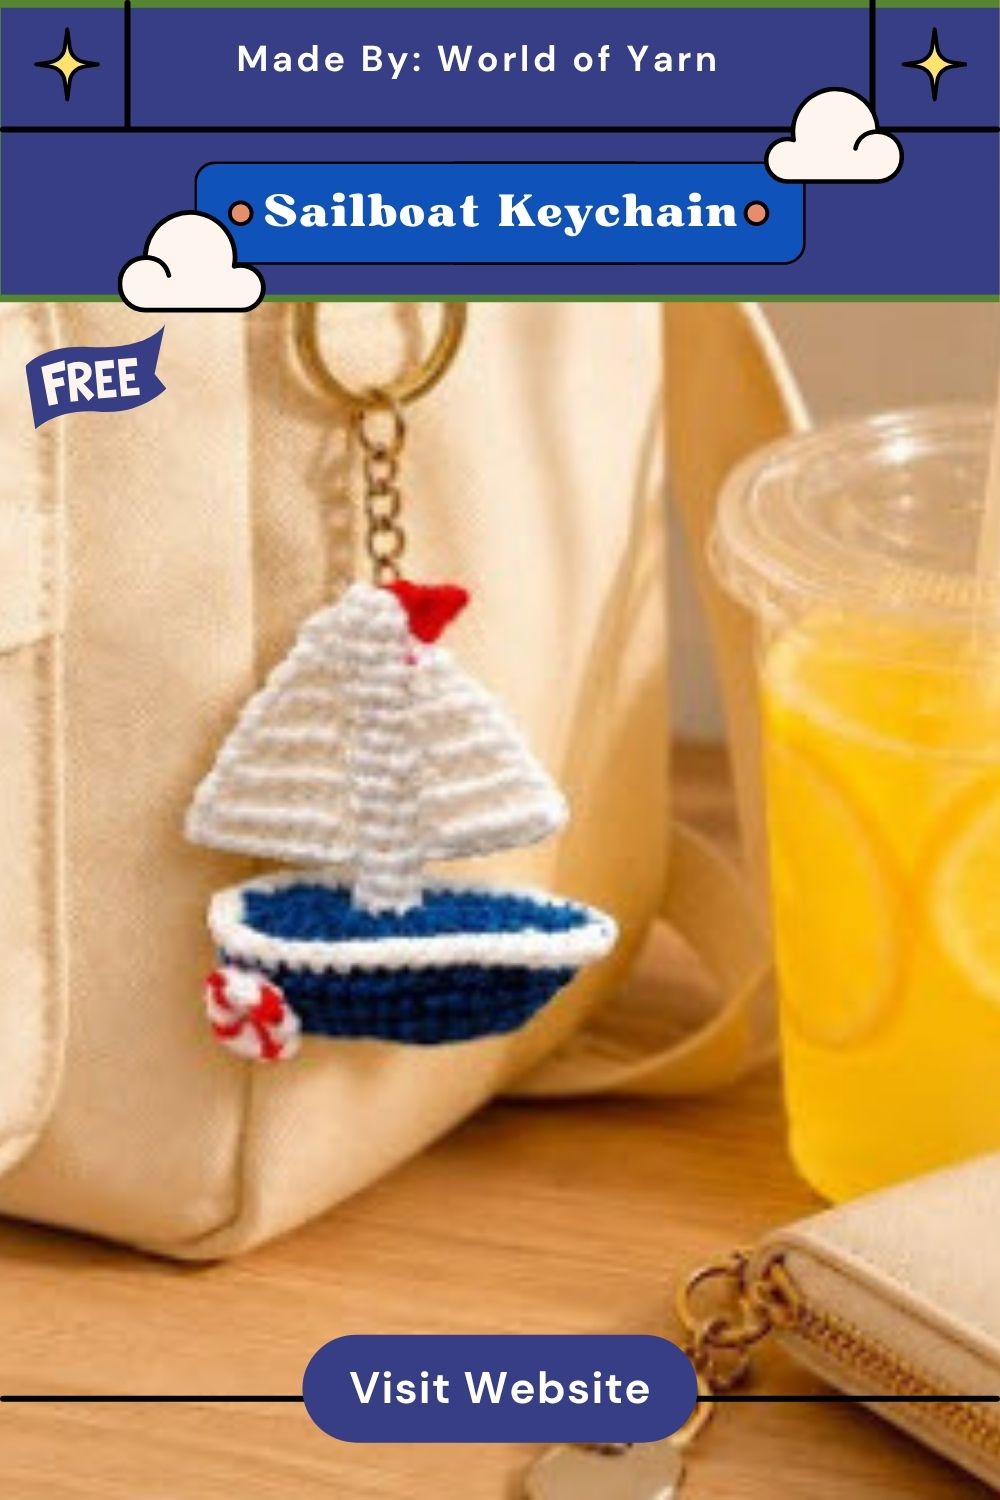
Free Crochet Sailboat Keychain Pattern for Beach Lovers
Skill Level
Beginner to Intermediate. Basic stitches and simple shaping are all you need. Anyone comfortable with a hook and a few core techniques can follow along without trouble.
Materials and Tools
Gather these supplies before you start so the process stays smooth and uninterrupted:
- Worsted weight cotton or acrylic yarn in white, navy, or red (hull and sail colors)
- A small amount of contrasting yarn for stripes or accents
- Crochet hook sized to match your yarn weight (usually 3.5mm–4mm)
- Stuffing (polyester fiberfill works great)
- Tapestry needle for sewing pieces together and weaving in ends
- Stitch marker to track rounds
- Small wooden dowel or skewer piece for the mast
- Keyring or lobster clasp hardware
- Scissors
Key Techniques Used in This Pattern
Ngl, this pattern leans on a handful of core techniques that make the whole build come together nicely:
- Magic ring to start the hull with a tight, gap-free center
- Single crochet in the round to shape the curved boat body
- Increasing and decreasing to form the pointed bow and rounded stern
- Flat single crochet rows to build the triangular sail
- Whip stitching to attach the sail and mast securely to the hull
Step-by-Step Instructions
Step 1: Prepare Your Materials
Cut your yarn colors ahead of time and set your hardware nearby. Having everything within reach keeps the process from stalling midway.
Step 2: Crochet the Hull
Start with a magic ring and build upward using single crochets, increasing in the first couple of rounds to widen the base. Once the hull reaches your desired length, decrease gradually to taper both ends into that classic boat shape.
Step 3: Stuff the Hull Lightly
Add a small amount of stuffing as you approach the final rounds. Keep it light so the hull stays flat-bottomed rather than puffy.
Step 4: Make the Sail
Work flat rows in white or your chosen sail color, decreasing one stitch at the start of each row until you reach a single point. This naturally forms the triangle shape sailors know so well.
Step 5: Attach the Mast
Insert your small dowel or skewer piece through the center of the hull, leaving enough sticking up to support the sail. Secure it in place with a few stitches or a dab of fabric glue.
Step 6: Sew the Sail to the Mast
Whip stitch the sail along the mast, keeping the edge straight and taut. A tight stitch here keeps the sail looking crisp instead of floppy.
Step 7: Add Final Details
Stitch on a small flag, stripes, or an anchor detail if you want extra flair. This step is optional but adds real personality to the final piece.
Step 8: Attach the Keyring
Loop your keyring or clasp through a sturdy point at the top of the hull. Reinforce with a few extra stitches so it holds up to daily use.
Helpful Tips for Beginners
- Use a slightly smaller hook than recommended for tighter stitches and less visible stuffing
- Keep your tension even, especially around the increase and decrease rounds
- Weave in ends as you go instead of leaving them all for the end
- Test the keyring attachment point before adding final stuffing, since it’s easier to reinforce early
Common Mistakes to Avoid
- Overstuffing the hull, which distorts the sleek boat silhouette
- Skipping stitch markers, which leads to losing track of rounds
- Attaching the mast too loosely, causing the sail to wobble or fall
- Rushing the decrease rounds, which creates an uneven bow or stern
Customization Ideas
Real talk, this pattern is easy to tweak once you get the hang of it:
- Swap the hull color for pastel shades to match a spring or beach theme
- Add tiny porthole details using contrasting yarn dots
- Make a mini fleet in different sizes for a keychain gift set
- Use metallic thread for a subtle shimmer effect on the sail
- Turn it into a bag charm instead of a keychain by adding a longer strap
Frequently Asked Questions
Q: How long does this Free Crochet Sailboat Keychain take to make?
A: Most makers finish it within 45 minutes to an hour, depending on experience level.
Q: What yarn weight works best for this pattern?
A: Worsted weight yarn gives the cleanest shape and holds up well for everyday keychain use.
Q: Can I make this without a wooden mast?
A: Yes, a sturdy pipe cleaner or rolled cardstock tube works as a substitute if you don’t have a dowel on hand.
Q: Is this pattern suitable for selling?
A: Absolutely, small accessories like this are popular at craft fairs and online shops for personal or commercial use.
Q: How do I keep the sail from sagging over time?
A: A tight whip stitch along the mast and a touch of fabric stiffener will keep the sail upright and crisp for longer.
Q: What size hook should I use?
A: A 3.5mm to 4mm hook works well for most worsted weight yarns, giving tight, stuffing-proof stitches.
Conclusion
This Free Crochet Sailboat Keychain pattern packs coastal charm into a project small enough to finish in an afternoon. It works as a thoughtful handmade gift, a fun addition to your own keys, or a sweet little item for a summer craft fair table. No joke, there really is something satisfying about carrying a tiny handmade boat wherever you go. Give it a try, experiment with colors, and let this pattern become your go-to quick make whenever beach season rolls around.