Crochet Apple Pig Amigurumi Pattern for Collectible Toys
This amigurumi pig doesn’t demand advanced skills. Anyone who knows single crochet, increases, and decreases can finish a full toy in a weekend.
Skill Level
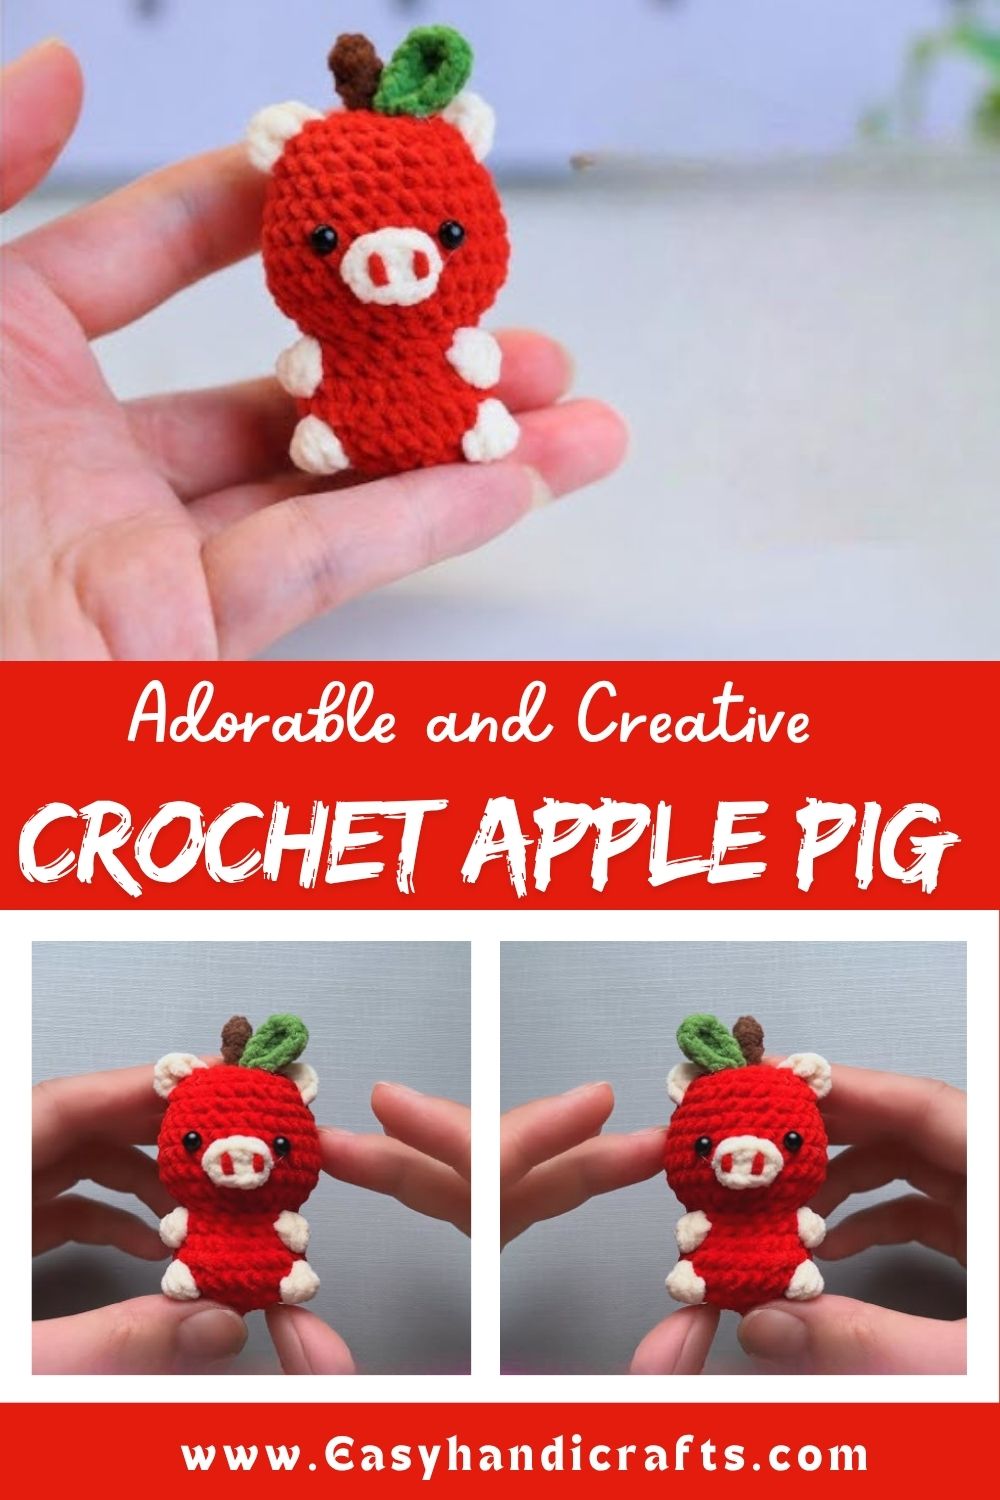
This crochet apple pig amigurumi pattern sits at a solid beginner level, with a few intermediate-friendly details for extra polish. Every piece relies on single crochet worked in spiral rounds, so no chart-reading skills are required. Shaping the snout and stacking the ears takes a bit of patience, but nothing here should overwhelm a first-time amigurumi maker. Real talk, if you’ve made even one round toy before, this pattern will feel familiar within the first ten minutes.
Materials and Supplies List
Before starting, gather everything so your crochet session flows without interruptions.
Yarn Colors
- Red or green worsted weight yarn (main apple body)
- Pink yarn (pig snout and ears)
- Brown yarn (curled stem)
- Small scraps of black yarn (nose details and optional embroidery)
- Green scraps (small leaf accent, optional)
Hook Size
- 3.5mm or 4mm crochet hook, depending on your yarn weight and how tight you like your stitches
Safety Eyes
- 8mm to 9mm plastic safety eyes, one pair
Stuffing
- Polyester fiberfill, enough for one medium amigurumi body
Tools
- Yarn needle for sewing and weaving in ends
- Sharp fabric scissors
- Stitch markers (a scrap of yarn or a locking marker both work)
Optional Accessories
- Small keychain ring or clasp, if you want a wearable version
- Tiny felt or embroidered leaf for the stem top
- Ribbon for a bow accent around the neck
Crochet Techniques Used
This project sticks to core amigurumi skills, which makes it approachable no matter your experience level.
- Magic ring: starts every round piece with a tight, gap-free center
- Single crochet: builds the entire body, snout, and ears
- Increase (2 sc in one stitch): shapes the rounded curves of the apple body
- Decrease (sc2tog): closes off the top and bottom smoothly
- Sewing parts together: joins the snout, ears, and stem to the finished body
Step-by-Step Crochet Pattern Instructions
Head and Body Creation
Since this character combines the head and body into one rounded apple shape, you’ll crochet a single continuous piece.
- Start with a magic ring and work 6 single crochet stitches into it.
- Increase every stitch on round 2 to reach 12 stitches.
- Continue increasing every other stitch for the next two rounds until you reach around 30 to 36 stitches, depending on your desired size.
- Work several rounds even, without increasing, to build the rounded apple sides.
- Insert the safety eyes partway through, once the piece is wide enough to hold them securely.
- Begin decreasing gradually near the top and bottom to close the apple shape into its classic curve.
- Stuff firmly before the final rounds close completely.
Making the Pig Snout
- Work a magic ring with 6 single crochet stitches.
- Increase to 12 stitches on the next round.
- Work one plain round without increasing to keep the snout slightly domed.
- Fasten off, leaving a long tail for sewing.
- Embroider two small nostril dots using black yarn before attaching the snout to the face.
Ears and Stem
For the ears:
- Make two small flat circles using a magic ring, increasing to about 10 to 12 stitches.
- Fold each circle slightly to create a natural, floppy pig-ear curve before sewing them on.
For the curled stem:
- Chain a short length in brown yarn.
- Work slip stitches back down the chain to create a simple twisted stem shape.
- Attach the finished stem to the top of the apple body, right where a real apple stem would sit.
Facial Details
Position the safety eyes with a bit of space between them for a friendly, rounded expression. Add the embroidered nostrils to the snout before sewing it onto the face, since stitching details on a flat piece is far easier than working on a stuffed, curved surface.
Assembly Process
- Sew the snout onto the lower-center front of the apple body.
- Attach both ears just above and slightly behind the snout.
- Secure the curled stem at the top center.
- Weave in every loose end and double-check that the safety eyes sit flush against the body.
Finishing Touches
Go back over each seam and tuck away any stray yarn tails with your needle. If any section along the body feels soft or uneven, use your needle to nudge in a bit more stuffing from the closest gap. Give the ears one last fold to lock in their shape, and your crochet apple pig amigurumi is ready to display or gift.
Helpful Beginner Tips
- Crochet tighter than usual: drop down a hook size from what your yarn label suggests, since loose stitches let stuffing peek through and ruin the clean amigurumi look.
- Never skip stitch markers: spiral rounds have no obvious end point, so it’s easy to lose track without one.
- Stuff gradually: add small amounts of filling as you close each section, which keeps the shape round instead of lumpy or lopsided.
Design Customization Ideas
- Different colors: try a golden-yellow apple, a two-tone red and green body, or even a pastel version for a nursery shelf.
- Cute accessories: add a tiny bow, a felt leaf, or a knitted scarf for seasonal variations.
- Mini size variations: switch to fingering weight yarn and a smaller hook to create a tiny keychain-sized version, perfect for bag charms or party favors.
FAQ Section
What is the best yarn for amigurumi?
Worsted weight cotton or acrylic yarn works best for amigurumi toys like this crochet apple pig. Cotton gives cleaner stitch definition, while acrylic is softer and budget-friendly. Both hold their shape well once stuffed.
How do you make a crochet plush firm?
Firmness comes down to two things: tight stitches and even stuffing. Drop down a hook size below what your yarn calls for, then add stuffing in small amounts throughout the project instead of stuffing everything at the very end.
How long does this project take?
Most makers finish a single crochet apple pig amigurumi in about 3 to 5 hours, spread across one or two sittings. Beginners may need a little extra time for the snout and ear shaping, but the pattern overall works up fairly fast.
Conclusion
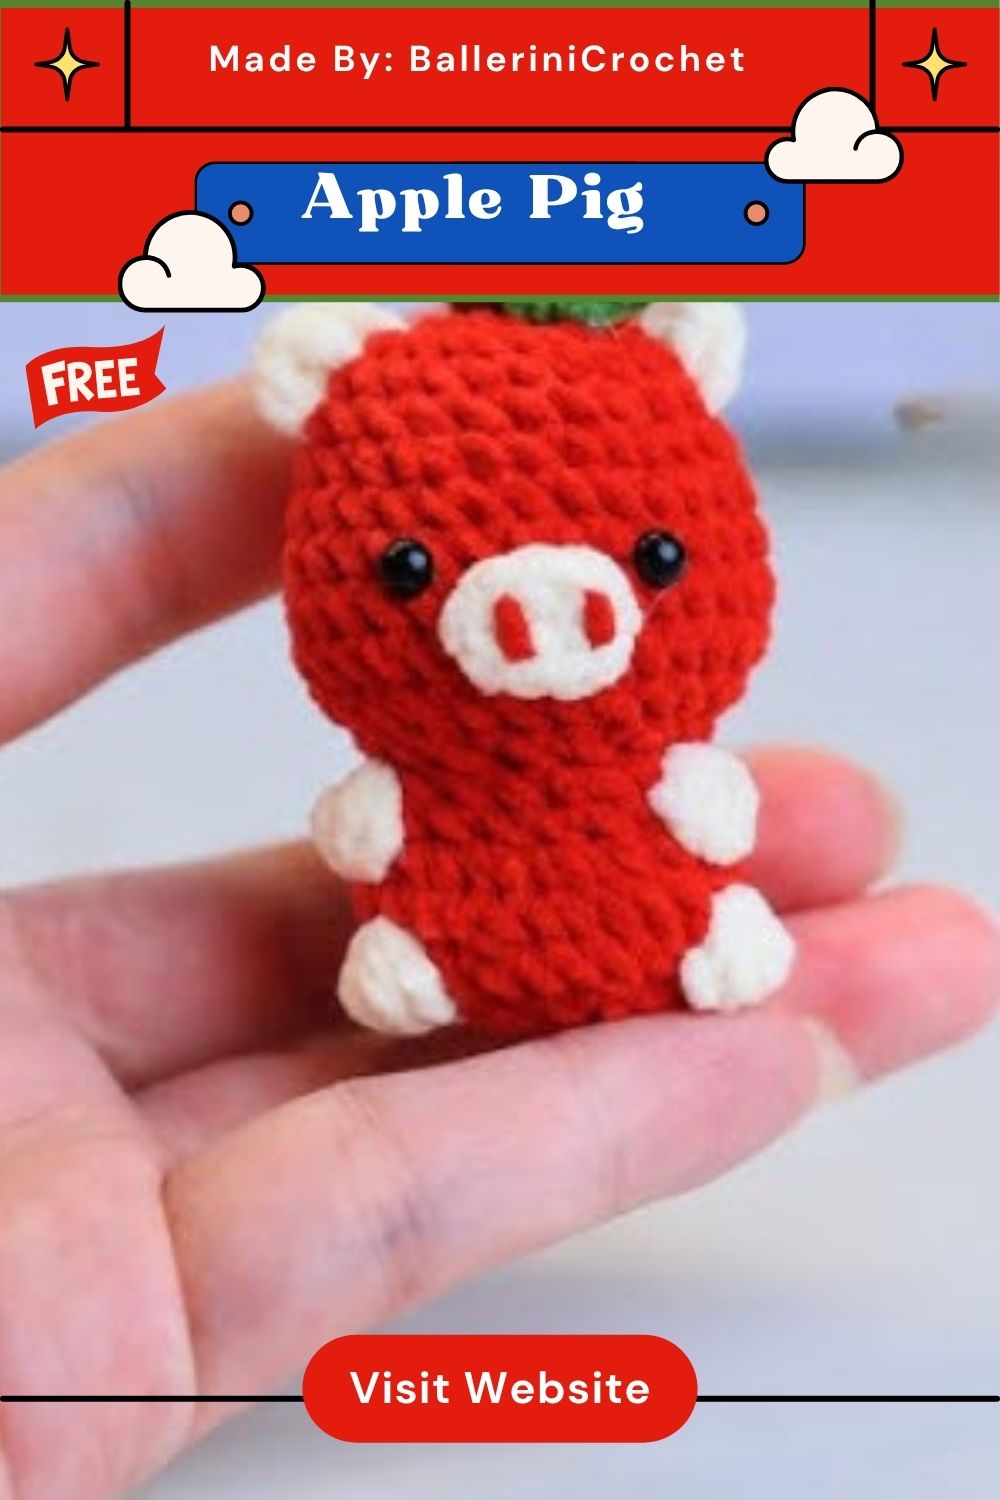
A crochet apple pig amigurumi brings together two cheerful shapes into one collectible toy that’s simple enough for a first amigurumi project, yet charming enough to keep making in new colors. No joke, once you finish your first one, you’ll want a whole basket of them in every apple shade imaginable. Grab your hook, pick a yarn color, and start stitching your own fruity little piggy today.