Crochet Little Pear Amigurumi Pattern with Movable Legs
Sweet, round, and endlessly charming, this little Crochet Little Pear Amigurumi brings a splash of fruity personality to any yarn stash. Beginners will love how forgiving the shape is, while more experienced hookers can enjoy adding playful details like blushing cheeks and dangly, movable legs.
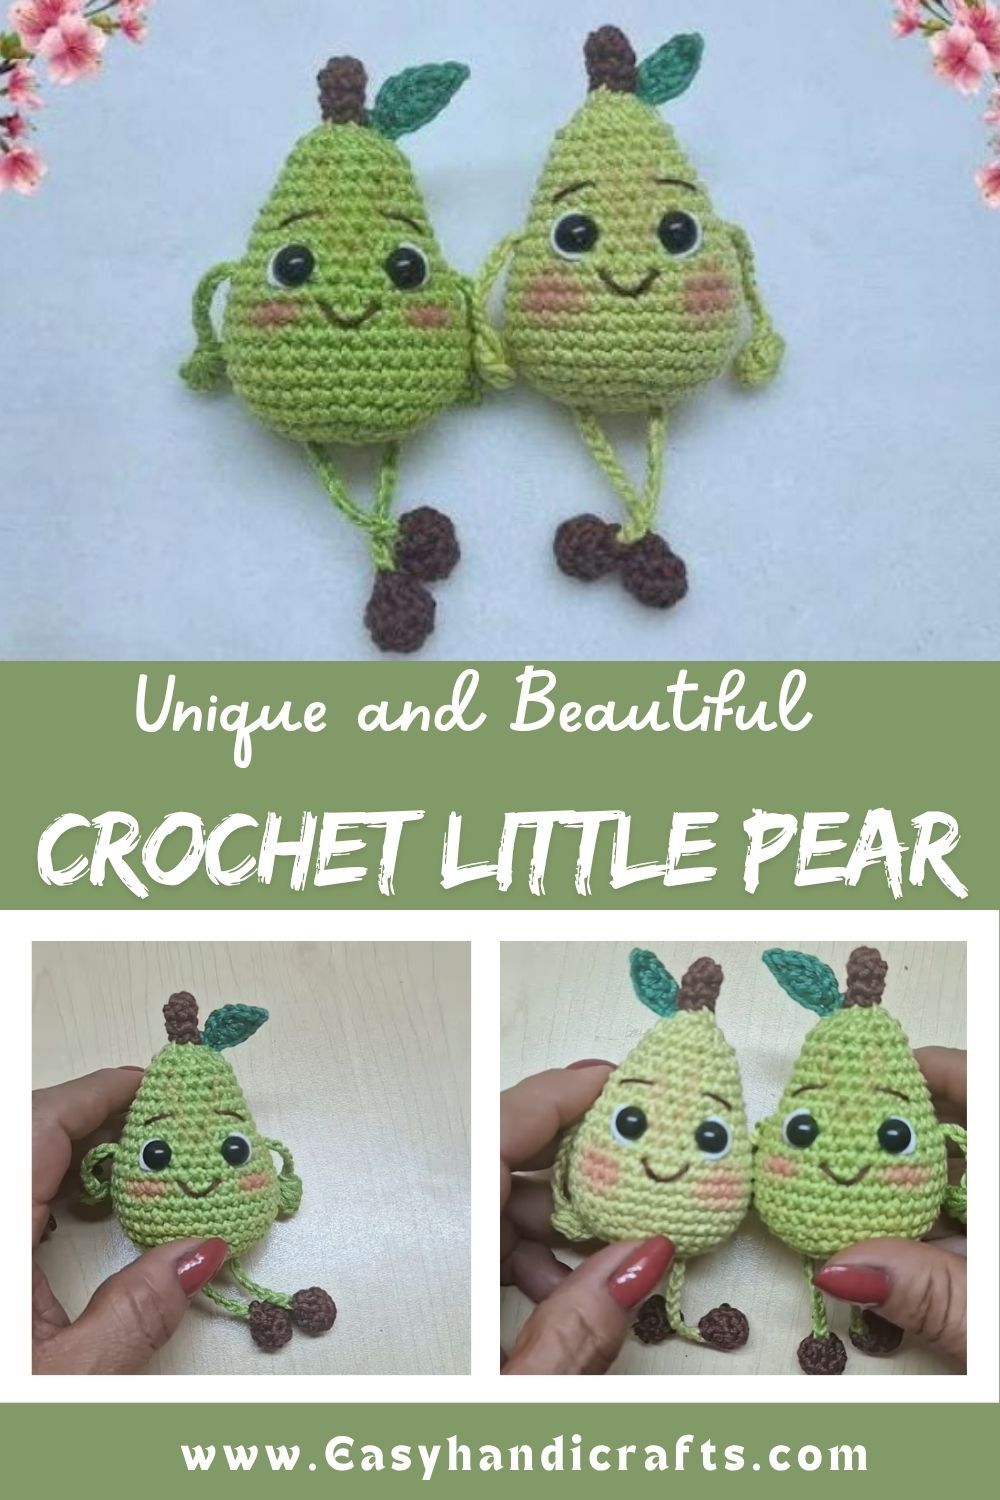
Soft color-blocking near the top gives the pear its realistic blush, while the movable legs add a playful, almost cartoon-like energy that photographs beautifully. Crafters drawn to kitchen-themed nurseries, fruit-stand displays, or quirky desk companions tend to fall for this design immediately, since it walks the line between cute and slightly silly in the best way.
Project Details
- Skill Level: Beginner to Confident Beginner
- Finished Size: Approximately 4.5–5 inches tall (excluding legs)
- Estimated Time Required: 3–5 hours, depending on stuffing and finishing pace
- Recommended Yarn Weight: Worsted weight (Medium, Category 4) cotton or acrylic
- Crochet Hook Size: 3.5mm (E/4) or 3.75mm (F/5), sized one hook smaller than the yarn label suggests for tighter stitches
Materials Needed
- Worsted weight yarn in golden-yellow or light green (main pear color)
- Small amount of dark green yarn (leaf)
- Small amount of brown yarn (stem)
- Pink or rose yarn scraps for cheek blushing (optional embroidery)
- 3.5mm or 3.75mm crochet hook
- 6mm safety eyes (2)
- Polyester fiberfill stuffing
- Tapestry needle for weaving in ends and sewing pieces
- Stitch markers for tracking rounds
- Sharp scissors
- Two small sew-on buttons or joint discs for the movable leg mechanism
- Strong doubled thread or embroidery floss for joining legs
Crochet Stitches and Techniques
- Magic Ring (MR)
- Chain Stitch (ch)
- Single Crochet (sc)
- Increase (inc)
- Invisible Decrease (invdec)
- Slip Stitch (sl st)
- Color Changes
- Fastening Off
- Sewing Pieces Together
- Button-Joint Technique for Movable Limbs
Only the essentials appear here, since a pear shape doesn’t need double or half double crochet to look polished. Keeping the stitch list lean also makes this an ideal first amigurumi project for someone still building confidence with a hook.
Pattern Instructions
Crocheting the Body
Start with a magic ring of 6 single crochet stitches, then build outward in gradual increase rounds until the widest point of the pear reaches roughly 30–32 stitches. Round shaping like this forms the pear’s rounded bottom, and slowing the increases in the middle rounds helps create that classic tapered pear silhouette rather than a plain sphere.
Work several rounds even (without increasing) once the widest circumference is reached, since this is where stuffing gets added gradually as the piece grows. Switch to gentle decrease rounds near the top third of the body to narrow the shape into the pear’s signature neck, stuffing firmly but not overly tight as the opening closes.
Making the Stem and Leaf
A tiny chain-based stem adds instant personality. Chain 6–8 stitches in brown yarn, then slip stitch back down the chain to create a sturdy little stalk, leaving a tail long enough for attaching to the top of the pear.
Green leaf shapes come together quickly using two rounds of single crochet worked flat, increasing at the tip and base to form a simple almond outline. Two tiny leaves layered slightly off-center look more natural than one perfectly symmetrical leaf, so don’t worry about making them identical.
Crafting the Movable Legs
Movable legs give this pattern its playful edge, and the technique is simpler than it sounds. Crochet two small leg tubes in single crochet, stuff them lightly, and leave the top open rather than closing it off completely.
Threading doubled string or floss through the leg opening, then through the body at the desired hip position, and finally through a flat button or joint disc on the inside creates a hinge that lets the legs swing and dangle freely. Pulling the connection snug but not overly rigid keeps the legs poseable rather than stiff, which is exactly the wobbly, character-filled look this Crochet Little Pear Amigurumi pattern is going for.
Facial Features
Safety eyes should go in before the body closes completely, spaced with a couple of stitches between them for a friendly, wide-eyed expression rather than a cross-eyed look. Testing eye placement with removable stitch markers first saves a lot of frustration, since safety eyes can’t be repositioned once locked into place.
Rosy cheeks embroidered in soft pink thread, placed just below and outside the eyes, round out the pear’s expression beautifully. A few small straight stitches or a light brushing technique with pink yarn both work well here, so pick whichever finish matches the personality intended for the finished piece.
Joining All Pieces
Attach the stem to the top center of the pear using the leftover yarn tail, tacking it down firmly so it stands upright rather than flopping to one side. Position the leaf pair just beside the stem base, angling them slightly outward for a natural, growing-on-the-vine appearance.
Legs get joined using the button-joint method described above, positioned toward the lower third of the body so the pear can sit upright on a flat surface once finished. Double-checking that both legs hang at a matching height prevents an uneven, lopsided look once the piece is complete.
Final Assembly
Weaving in every loose end thoroughly keeps the finished pear looking tidy from every angle, including inside the stuffing where stray tails sometimes hide. A final light shaping pass, gently squeezing and adjusting stuffing through the fabric, helps smooth out any lumps before the pear meets its new home on a shelf or in a gift box.
Tips for Success
- Count stitches at the end of every round, especially through increase and decrease sections
- Use a stitch marker on the first stitch of each round to avoid losing track of where rounds begin
- Stuff gradually as the body grows rather than cramming it all in at the end
- Keep tension consistent, since loose stitches let stuffing peek through
- Hide yarn tails by weaving them through several stitches in different directions for extra security
- Test the button-joint tension on a scrap piece first if this technique is new
Personalization Ideas
- Swap the golden-yellow yarn for deep red or green to create an apple version instead
- Add a tiny knitted scarf or hat for a seasonal, holiday-ready pear
- Embroider different eyebrow shapes for surprised, sleepy, or mischievous expressions
- Attach a keychain clasp to the stem for a fun bag charm
- Scale the pattern down with thinner yarn and a smaller hook for a miniature ornament version
- Go jumbo with bulky yarn and a larger hook for a huggable, oversized cuddle pear
Common Mistakes to Avoid
Skipping stitch markers is one of the most common mistakes. It’s easy to lose track of the starting point after color changes or interruptions. Add the stuffing in small amounts as you go. This creates a smooth, even shape and prevents lumps.
Wait before attaching the safety eyes. Check their placement first because they lock into place permanently. When joining the legs, avoid pulling the thread too tightly. A lighter touch keeps the legs soft and movable.
Frequently Asked Questions
What yarn weight works best for this Crochet Little Pear Amigurumi pattern?
Worsted weight cotton or acrylic yarn gives the cleanest stitch definition and holds its shape well for a project this size.
Can safety eyes be replaced with embroidered ones?
Yes, embroidered eyes work fine as a child-safe alternative, though they take a bit more patience to get symmetrical.
How much yarn is needed for one pear?
A single skein comfortably covers the body, stem, leaves, and legs with plenty left over for another project.
Is the button-joint technique difficult for beginners?
It looks more complicated than it actually is, and most crocheters get comfortable with it after one practice attempt.
Can this pattern be made without movable legs?
Absolutely, the legs can simply be sewn on directly for a simpler, fixed-position finish.
What stuffing gives the firmest shape?
Polyester fiberfill packed in small, even amounts produces the roundest, most consistent shape.
How long does this Crochet Little Pear Amigurumi project usually take to finish?
Most crocheters complete the entire pear, including finishing touches, within a single afternoon or two shorter sessions.
Conclusion
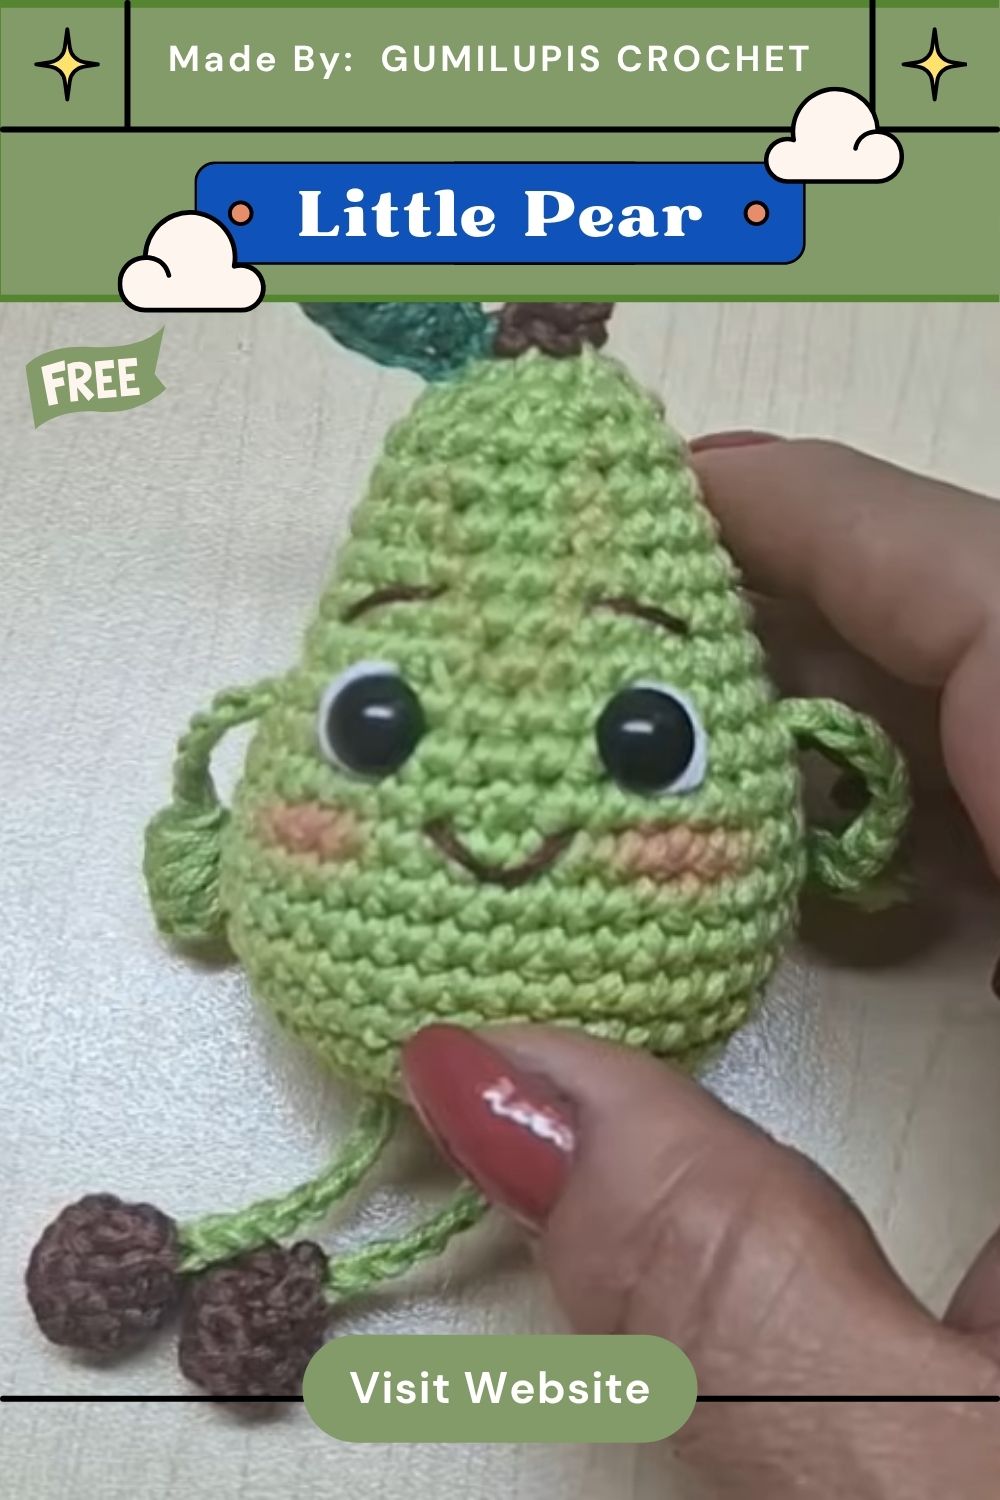
This Crochet Little Pear Amigurumi may be small, but it’s full of personality. Grab your hook and choose your favorite yarn color. Bring this little pear to life one round at a time. Display it on a shelf or share it with fellow crafters. Finishing a handmade project is always something to celebrate.