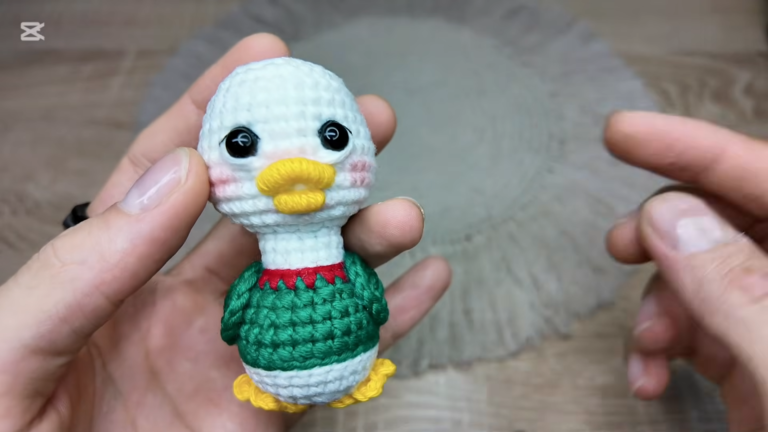
Free Crochet Chicken Amigurumi Pattern for Good Vibes
Bringing pure joy right from the first stitch, this little chicken amigurumi is one of those crochet projects you’ll enjoy making just as much as showing off. With its round chubby body, tiny wings, and adorable expression, it makes a charming addition to any shelf, desk, or gift. Its easy design and distinctive charm bring a sense of happiness and beauty to every stitch.
Turning simple yarn into something beautiful and distinctive is the true charm of crochet, and this little chicken amigurumi is a perfect example of that. This project is special for kids, gift-givers, amigurumi enthusiasts, and beginner crocheters alike, while chicken lovers are sure to fall for its cute style too. With its easy design and quick-finish technique, you can create this charming little bird in your favorite yarn colors over a few relaxing sittings, adding joy and beauty to any collection.
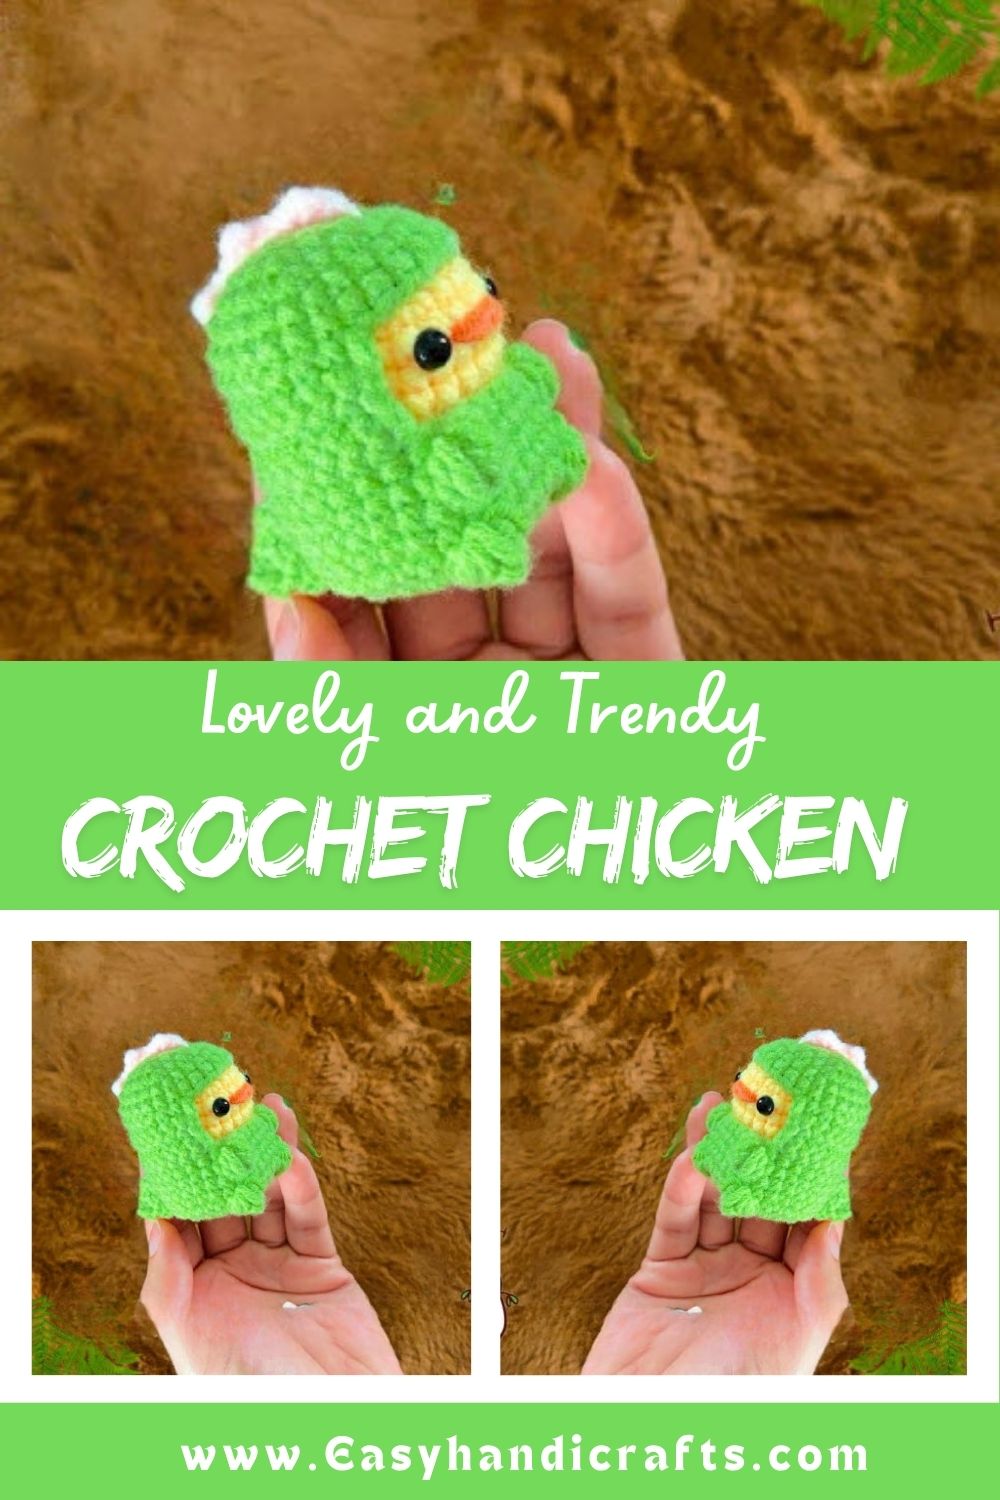
Explanation of the Crochet Project
This amigurumi chicken pattern is built using basic crochet stitches worked in continuous rounds, a technique that’s common in most amigurumi patterns. The body starts small and grows into a plump, rounded shape, giving the finished chicken its signature huggable look. Simple wings, a little beak, and a comb on top complete the design without adding unnecessary complexity.
Because the shaping relies on repeated increases and decreases, this project is a great way to practice pattern reading while still enjoying a fast, rewarding result. Once finished, this chicken makes a lovely addition to a farmhouse-themed nursery, an Easter basket, or a shelf full of amigurumi friends.
Skill Level
This pattern suits confident beginners and intermediate crocheters comfortable with magic rings, single crochet, increases, and decreases. No advanced techniques are required, though basic amigurumi experience helps shaping stay smooth, neat, and consistent throughout the entire chicken body.
Required Materials and Supplies
Before diving into the stitches, let’s talk about what you’ll need to gather. Having the right supplies ready makes the entire process smoother and far more enjoyable.
Yarn
- Worsted weight yarn (Category 4) in yellow or white for the body
- Small amounts of orange yarn for the beak and feet
- Small amounts of red yarn for the comb and wattle
- Black yarn or safety eyes for the face
Hook Size
- 3.5mm or 4mm crochet hook, depending on your yarn weight and desired tension
Extra Tools
- Stitch marker to track the start of each round
- Yarn needle for weaving in ends and sewing pieces together
- Polyester fiberfill stuffing
- Small pair of scissors
- Optional: safety eyes and a fiberfill stuffing tool for neat shaping
Crochet Stitches and Abbreviations Used
Here’s a quick reference guide for the stitches you’ll use throughout this pattern:
- MR – Magic Ring
- ch – Chain
- sc – Single Crochet
- inc – Increase (2 sc in same stitch)
- dec – Invisible Decrease
- st(s) – Stitch(es)
- rnd – Round
- BLO – Back Loop Only
- FO – Fasten Off
Step-by-Step Crochet Instructions
Body
Start with a magic ring and build your rounds gradually, increasing evenly to shape the rounded chicken body. Work several rounds even without increasing once you reach your desired width, then begin decreasing steadily to close the top, adding stuffing as you go for a firm, huggable shape.
Head
The head follows a similar increase-and-decrease structure as the body, just on a smaller scale. Keep stitches tight and consistent so the stuffing doesn’t peek through, and stuff firmly before closing the final round.
Wings
Work two small flat or slightly domed pieces using single crochet in rounds or rows. These stay simple and unstuffed or lightly stuffed, then get sewn onto either side of the body for that classic amigurumi charm.
Beak
Using orange yarn, crochet a tiny triangle-style piece with a magic ring base, decreasing quickly to form a small pointed shape. This gets attached to the center of the face.
Comb and Wattle
Small red pieces worked in simple rows or a mini magic ring circle add the chicken’s signature comb and wattle. These small details make a big difference in bringing personality to the finished piece.
Feet
Two tiny orange pieces, often worked flat or as small ovals, form the chicken’s feet. Attach these to the bottom of the body so your chicken can stand upright.
Assembly
Once every piece is complete, it’s time to bring your chicken to life. Attach the head securely to the body, then position the wings symmetrically on either side. Place the beak, comb, and wattle carefully before securing eyes for the sweetest expression. Take your time here, since assembly truly shapes your chicken’s final personality.
Helpful Beginner Tips
- Always use a stitch marker; amigurumi rounds are easy to lose track of without one
- Stuff firmly but avoid overstuffing, which can distort your stitches
- Keep tension consistent throughout to avoid gaps where stuffing shows
- Count stitches after every increase or decrease round to catch mistakes early
- Block small pieces like wings before sewing for a neater finish
Common Mistakes and Solutions
Mistake: Losing track of the round start. Solution: Always place a stitch marker in the first stitch of every round and move it up as you go.
Mistake: Visible gaps or holes near the neck. Solution: Use invisible decreases instead of regular decreases for smoother, tighter shaping.
Mistake: Wobbly or lopsided body shape. Solution: Stuff evenly in small amounts rather than all at once, adjusting as you stuff.
Mistake: Wings or feet falling off over time. Solution: Sew pieces on with several secure stitches and weave ends through the body for extra reinforcement.
Pattern Customization Ideas
- Swap yellow for white and add fun patches for a farmhouse-style rooster look
- Add a tiny knitted or crocheted scarf for a seasonal touch
- Attach a small keychain ring for a portable, giftable version
- Create a whole flock in different sizes using varying yarn weights
- Add embroidered eyelashes for extra character
Size and Color Suggestions
This pattern typically results in a chicken measuring around 4 to 6 inches tall, depending on yarn weight and tension. Classic yellow remains the most popular choice, but white, brown, and speckled color combinations also look wonderful. For a playful twist, pastel shades work beautifully for spring and Easter-themed decor.
FAQ Section
Is this Free Crochet Chicken Amigurumi pattern suitable for beginners?
Yes, as long as you’re comfortable with basic increases, decreases, and working in continuous rounds.
What yarn weight works best?
Worsted weight yarn gives the best structure and stitch definition for this size of amigurumi.
Can I make this Free Crochet Chicken Amigurumi bigger?
Yes, using bulkier yarn and a larger hook will naturally increase the finished size.
Do I need safety eyes, or can I embroider them?
Both options work well. Safety eyes give a classic amigurumi look, while embroidered eyes offer a softer, more textile-style finish.
How long does this project usually take?
Most crocheters finish this chicken within a few hours to an evening or two, depending on experience level.
Conclusion
This free crochet chicken amigurumi pattern is proof that small projects can carry big personality and even bigger good vibes. With simple stitches, a handful of colors, and a little patience, you’ll end up with a charming little companion perfect for gifting, decorating, or simply making your day brighter. Grab your hook, pick your favorite yarn colors, and enjoy every stitch of this cheerful crochet adventure.