Free Crochet Bear Coin Pouch Pattern for Trendy Style
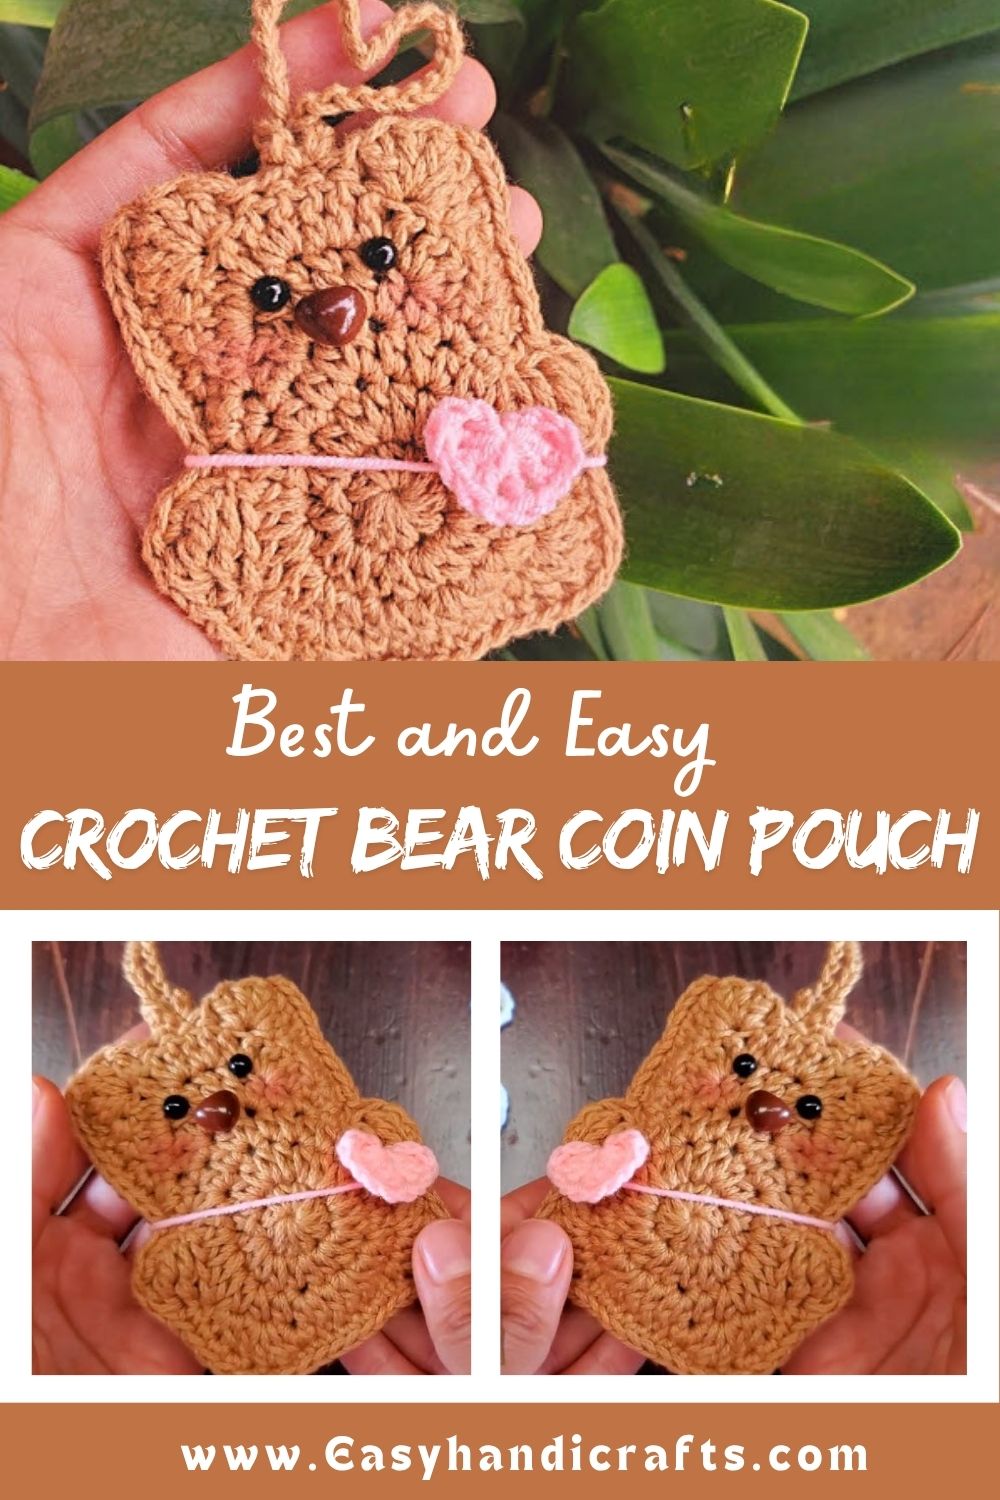
Turning an adorable teddy bear design into a handy coin pouch, the Crochet Bear Coin Pouch Pattern is a charming amigurumi project you’ll love. With its simple pattern and easy shaping, it’s a great pick for crocheters at every skill level. If you’re looking to make something beautiful, unique, and handmade for everyday use, this project is definitely the one for you.
This Crochet Bear Coin Pouch isn’t just a cute amigurumi; it’s also a practical everyday accessory. It can be used to store coins, keys, earbuds, lip balm, or other small essentials, while its adorable teddy bear design sets it apart from a regular coin pouch. Crocheters who know basic single crochet and simple shaping can complete this Crochet Bear Coin Pouch pattern with ease, making it suitable for both beginner and intermediate levels. This project requires yarn, a crochet hook, fiberfill, a zipper or drawstring, safety eyes, and a few basic amigurumi supplies. What stands out about this tutorial is its clear step-by-step instructions, which show you how to easily turn an adorable bear shape into a fully functional coin pouch.
Skill Level
This pattern sits in the beginner to intermediate range, since it only uses simple stitches, but requires attention when shaping the rounded head and joining the pouch opening evenly. Anyone who has made one or two amigurumi pieces before will feel comfortable here. First-timers can manage it too, as long as they go slow through the shaping rounds and keep their stitch count steady.
Materials and Supplies Needed
Gathering everything before you start saves a lot of back-and-forth later. Here’s your full shopping list:
- Yarn: worsted weight (4) cotton or acrylic yarn in brown or tan for the bear body, plus small amounts of white and black for face details
- Crochet hook: 3.0mm to 3.5mm hook, sized slightly smaller than the yarn label suggests for tight amigurumi stitches
- Safety eyes: 8mm to 10mm black safety eyes, one pair
- Stuffing: polyester fiberfill for a firm, huggable shape
- Needle: yarn needle for sewing pieces together and weaving in ends
- Scissors: small, sharp pair for trimming yarn
- Zipper or drawstring: a 4 to 5 inch zipper, or thin cord if you prefer a drawstring closing
- Keychain ring (optional): a small D-ring or keyring clasp if you want to attach it to a bag or keychain
Crochet Techniques Used
Before diving into the steps, here’s a quick rundown of the stitches and methods this pattern relies on:
Magic Ring
Starting each piece with a magic ring keeps the center tight and avoids that annoying little hole you sometimes get with a chain start.
Single Crochet
The entire bear is worked in single crochet, which gives amigurumi its dense, sturdy texture and keeps stuffing from peeking through.
Increase and Decrease
Increases (two single crochets in one stitch) shape the rounded head and body, while decreases (single crochet two stitches together) bring the piece back in for a smooth curve.
Sewing Parts Together
A yarn needle and matching thread color join the ears, muzzle, and any accessories neatly onto the main pieces without visible seams.
Step-by-Step Pattern Instructions
Grab your hook and let’s get into the fun part.
Making the Head
- Start with a magic ring, work 6 single crochets into it, and pull tight to close.
- Increase every stitch on round 2 to reach 12 stitches total.
- Continue increasing every other stitch for the next two rounds until you reach 24 stitches.
- Work several rounds even (no increasing) until the head reaches your desired size.
- Begin decreasing gradually over the following rounds to round off the top of the head.
- Insert safety eyes before closing the last few stitches, then stuff firmly and close the opening.
Building the Body/Pouch Base
- Using your main yarn color, start another magic ring and build up to a wider circle, similar to the head, for the pouch base.
- Once your base circle reaches the desired width, switch to working in rounds without increasing to form the sides of the pouch.
- Keep the sides tall enough to hold coins comfortably, usually around 2 to 3 inches.
- Leave the top open for your zipper or drawstring closing.
Ears, Muzzle, and Little Details
- Crochet two small circles for ears using the magic ring method, about 6 to 8 stitches wide.
- Make one slightly oval muzzle piece in a lighter shade for contrast.
- A tiny tail piece is optional, worked the same way as the ears but even smaller.
Facial Details
Embroider a small triangle or oval nose in black yarn onto the muzzle piece. A few straight stitches below the nose create the classic bear mouth shape. Keep these stitches snug so they hold their form.
Assembly Process
- Sew the muzzle onto the lower half of the head, right below the safety eyes.
- Attach both ears symmetrically along the top sides of the head.
- Sew the completed head onto the top edge of the pouch body, making sure it sits centered and secure.
- If adding a tail or bow accessory, stitch it onto the back or side of the pouch now.
Finishing Touches
Sew your zipper carefully along the open edge of the pouch, or thread your drawstring cord through evenly spaced stitches around the opening. Weave in any remaining yarn tails, and give the whole piece a gentle shape with your hands. Attach a keychain ring to one side if you’d like to clip it onto a bag.
Helpful Tips for Beginners
A few small habits make a big difference in amigurumi projects:
- Keep stitches tight: using a hook one size smaller than usual for your yarn weight prevents stuffing from showing through gaps.
- Use stitch markers: amigurumi is worked in continuous spiral rounds, so a stitch marker on your first stitch of each round keeps your count accurate.
- Stuff evenly and firmly: add small amounts of stuffing as you go rather than cramming it all in at the end, which helps avoid lumpy spots.
Design Customization Ideas
This pattern is easy to make your own with a few simple swaps:
- Different colors: try pastel pink, gray, or even a two-tone panda-style bear for a fresh look.
- Cute accessories: add a small bow, bandana, or flower to personalize each pouch.
- Mini size variations: work the pattern with a smaller hook and thinner yarn to create a tiny charm-sized version for earrings or bag clips.
Frequently Asked Questions
What is the best yarn for amigurumi?
Cotton yarn is a popular choice for amigurumi since it holds its shape well and gives stitches a crisp, defined look. Acrylic yarn works nicely too and comes in a wider range of colors at a lower cost.
How do I make my crochet plush firm?
Firmness comes down to two things: using a smaller hook for tighter stitches and stuffing generously in small batches. Pushing stuffing into every curve, especially the head and ears, keeps the shape from sagging over time.
How long does this project take?
Most makers finish this bear coin pouch in about 3 to 5 hours, depending on experience level. Beginners might spread it across a couple of relaxed evenings, while faster crocheters can finish it in one sitting.
Wrap-Up
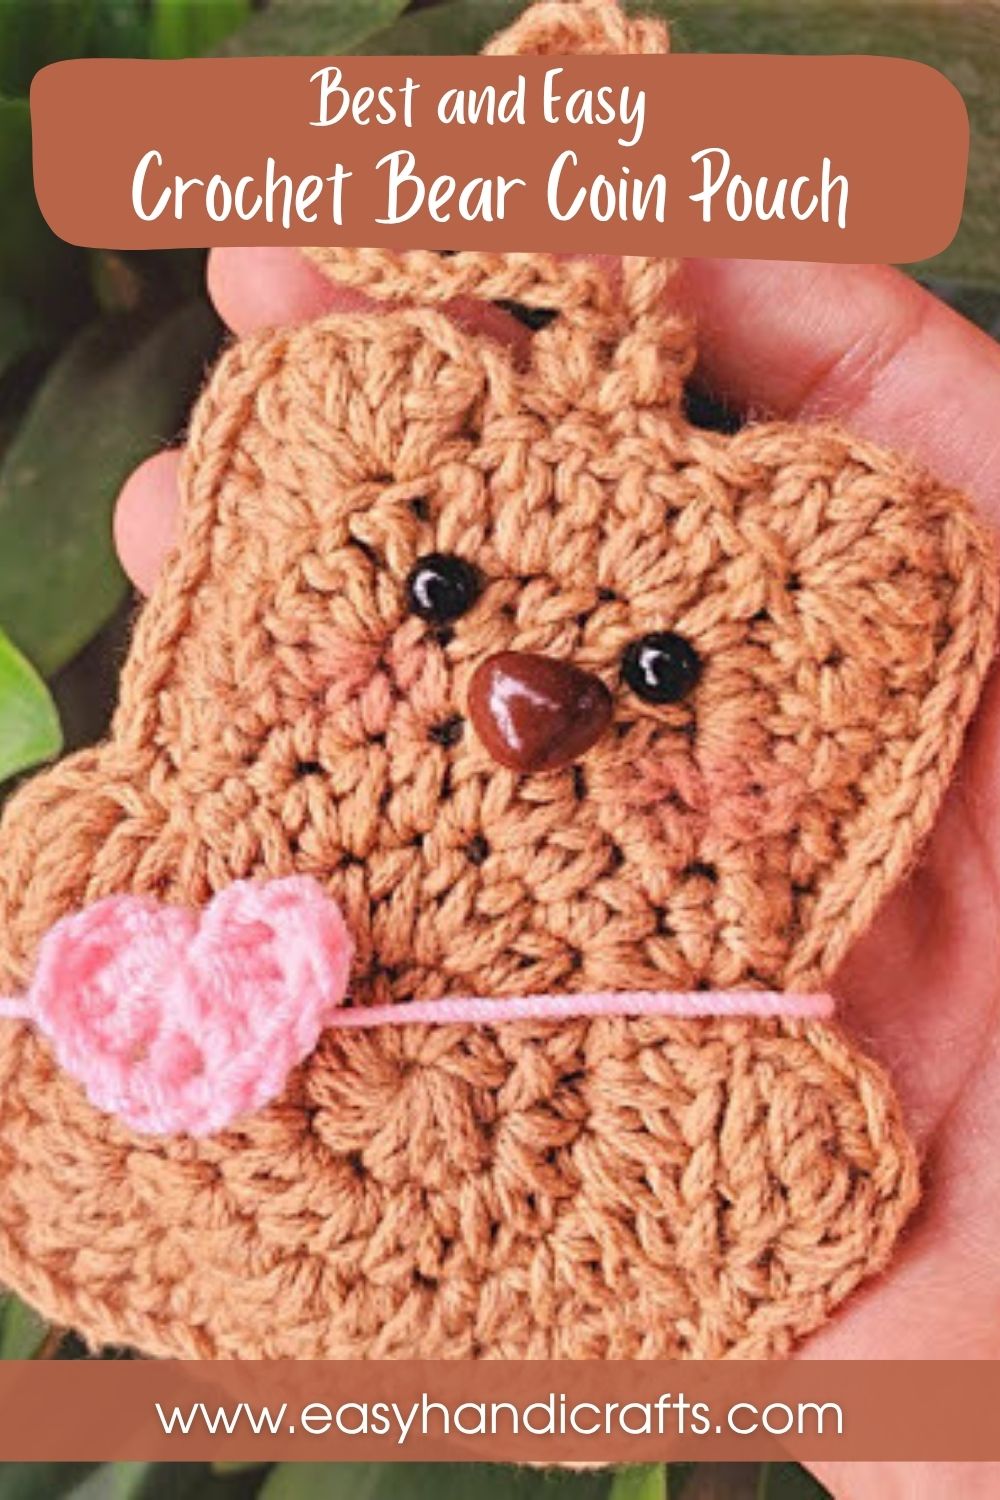
This Crochet Bear Coin Pouch is proof that practical items can still be adorable, and it’s a wonderful project to add to your amigurumi collection. Grab your hook, pick a cozy color, and give this pattern a try this week. Once you finish, snap a photo and share your handmade creation with fellow crochet lovers online.